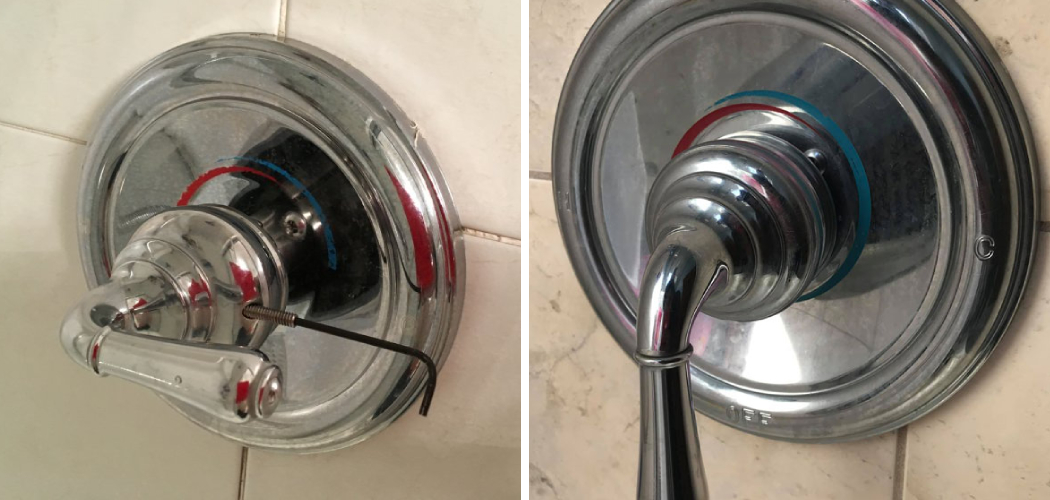
Are you looking for a way to replace or upgrade the shower handle in your bathroom? If so, then chances are that you’re dealing with a Pfister-brand product.
Whether it’s been years since an update or something has gone wrong and requires immediate attention, getting rid of a troublesome shower handle is always best done sooner rather than later. One of the easiest and most affordable routes is to replace a dated Pfister shower handle.
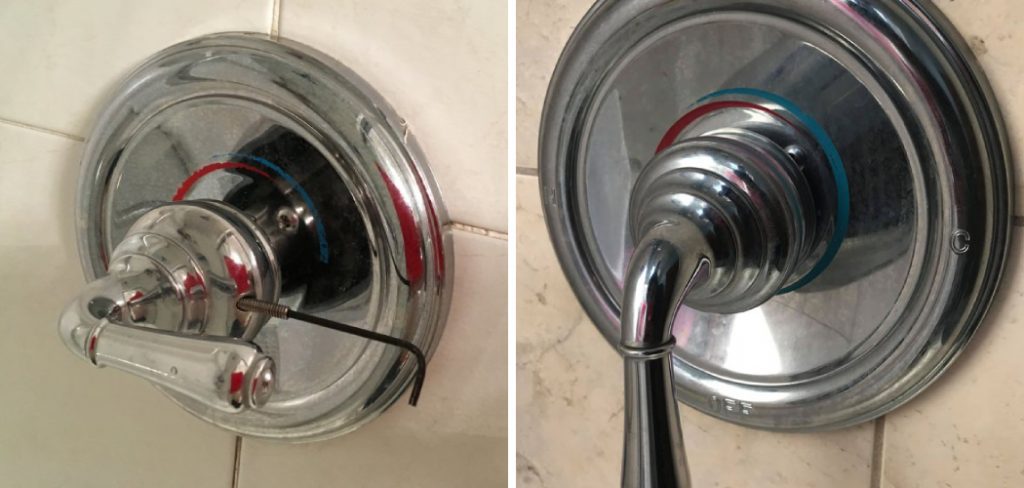
If you’re ready to take on the task of removing your Pfister shower handle, here are some useful tips and tricks that you can use to get the job done!
This post will help provide some quick tips on how to remove a Pfister shower handle safely and effectively without damaging any other components of your bathroom fixture.
What is the Importance of Replacing a Pfister Shower Handle?
Before we get into the details of the process, it’s important to understand why you might want to replace a Pfister shower handle in the first place. Replacing your shower handle can be important for several reasons, including:
• Aesthetic: If you’re looking to update the look of your bathroom, replacing an old and dated Pfister shower handle can help give it a fresh facelift.
• Safety: Worn-out or broken hardware can make your shower fixture less safe, so replacing a faulty handle is essential if you want to keep yourself and your family safe.
• Functionality: If the handle on your fixtures is loose or sticking, then replacing it with a new one will ensure that it works as intended. If you have any other issues such as weak water pressure, a worn-out handle can also be the culprit.
Now that you know why replacing your shower handle is important, let’s take a look at how to do it!
What Will You Need?
Before you begin, it’s important to have the right tools for the job. You will need the following items:
- Phillips screwdriver
- Flathead screwdriver
- Pliers
- Adjustable wrench
- New replacement handle (if necessary)
Once you have all of these items on hand, you can begin the process of removing your existing Pfister shower handle.
10 Easy Steps on How to Remove a Pfister Shower Handle
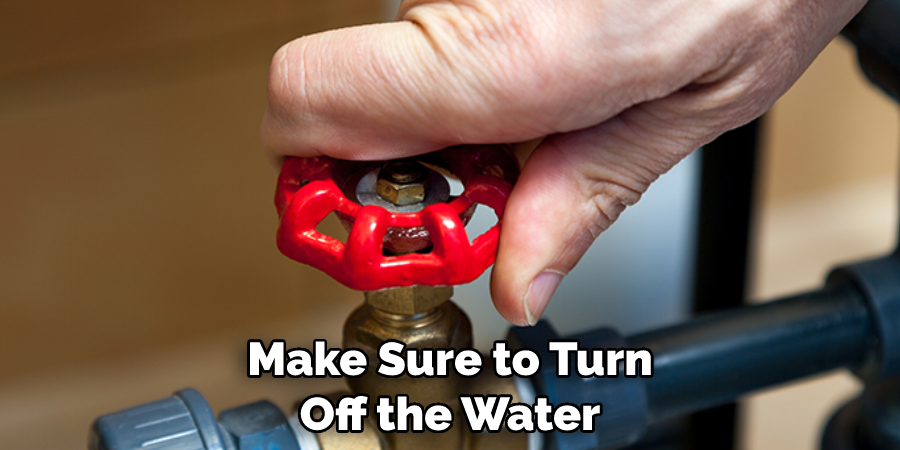
Step 1. Turn Off the Water:
Before you start, make sure to turn off the water so that you don’t have a mess on your hands! It is important to shut off the water before you start working on any plumbing fixture. As a safety precaution, test the handle once you’ve turned off the water to make sure that it does not turn on.
Step 2. Remove the Handle:
Using your Phillips screwdriver, remove the screws that are holding the handle in place. Once they are removed, lift off the handle from the fixture. Be careful not to pull on the handle too hard, as it may be connected with a retaining clip.
Step 3. Remove the Trim, If Necessary:
If your shower handle has a separate trim piece, you must also remove it. Using your flathead screwdriver, loosen the screws that are holding the trim in place and carefully pull it off from the fixture. Don’t forget to save the screws, as you will need them when you install your new handle.
Step 4. Remove the Screws:
Once you’ve removed both the handle and trim, look underneath for any screws that may be connecting the handle to the base. Using your Phillips screwdriver, remove these screws and set them aside in a safe place. Another way to do this is by using a pair of pliers to grip the screws and pull them out.
Step 5. Remove the Retaining Clip:
Once you’ve removed the screws, the next step is to remove the retaining clip. This clip can be hard to remove since it fits tightly around the stem of your handle, so use an adjustable wrench or small pliers if necessary. Once you’ve removed it, lift off your old handle and discard it.
Step 6. Clean Up:
Before installing your new handle, take some time to clean up any dust or dirt that may have accumulated around the area where your old handle was located. Use a damp cloth or vacuum to make sure that everything is clean and ready for the new handle. There should be no debris or residue left on the fixtures.
Step 7. Prepare for Installation:
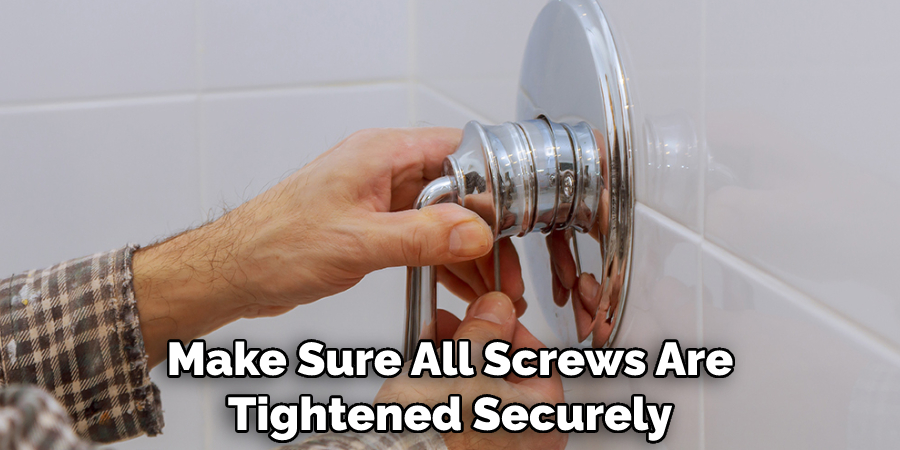
Before you install the new handle, check to ensure that all the parts are there and fit properly. Make sure all screws are tightened securely and that there aren’t any signs of wear or damage on your new handle. If there are any parts missing or damaged, replace them before installing the new handle.
Step 8. Install the Handle:
Now that everything is prepared, it’s time to install your new Pfister shower handle. Begin by placing the retaining clip back in place, then attach the base of your new handle with the screws that you saved earlier. Finally, screw in the trim piece if necessary and make sure everything fits snugly before moving on to Step 9.
Step 9. Test the Handle:
Once you’ve installed your new handle, turn on the water and test it out. Make sure that it moves smoothly and that there aren’t any leaks. If everything looks good, turn off the water again and move on to Step 10.
Step 10. Reattach the Handle:
Finally, reattach your handle to the fixture using your Phillips screwdriver. Make sure all screws are tightened securely before testing one last time. When you’re finished, enjoy your new Pfister shower handle!
By following these easy steps, you’ll be able to remove and install a Pfister shower handle successfully. If you have any questions or need additional help, please contact our customer service team for assistance.
5 Additional Tips and Tricks
1. To prevent further damage, ensure you have the correct replacement parts on hand before removing a Pfister shower handle. It is always best to purchase the exact model to fit properly and work correctly.
2. If possible, wear protective gloves while attempting to remove a Pfister shower handle, as it might become very hot or slippery during removal. Otherwise, you could end up with a nasty burn or cause further damage to the handle.
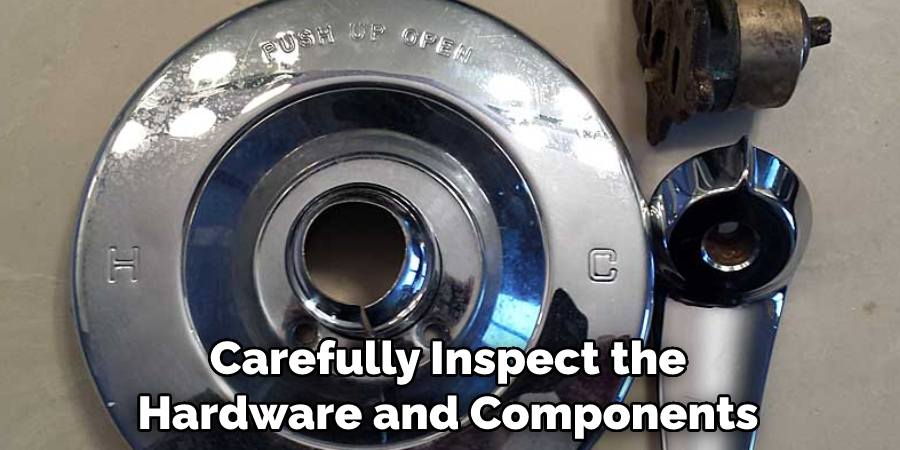
3. Carefully inspect the hardware and components of your shower before attempting to remove a Pfister shower handle. Make sure you are familiar with all the moving parts and their locations so they can be reassembled properly when finished.
4. When using any tools to assist in removing a Pfister shower handle, use caution not to cause additional damage to the hardware or plumbing system.
5. After successfully removing a Pfister shower handle, use a non-abrasive cleaner to wipe down the surface before replacing the handle and other components. This will ensure that all of the remaining surfaces are clean and free from dirt, oils, or residue.
With these tips and tricks in mind, you should be able to easily remove a Pfister shower handle with little to no difficulty. Follow all of the instructions carefully and take extra precautions to prevent further damage or injury.
5 Things You Should Avoid
1. Avoid Using a Screwdriver: Avoid prying the handle off with a screwdriver as this can cause damage to the underlying hardware and plumbing system.
2. Avoid Using Excessive Force: Excessive force whilst removing the handle can cause it to break apart and potentially injure you.
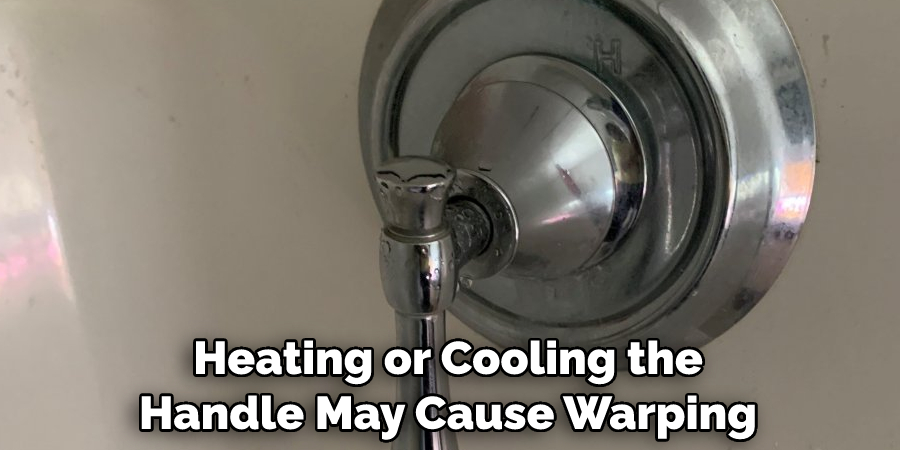
3. Avoid Heating or Cooling the Handle to Remove It: Heating or cooling the handle may cause warping, cracking, or other damage, preventing a successful removal and future installation of a new handle.
4. Avoid Neglecting to Replace Any Old Parts: Ensure that all parts are replaced with new ones as soon as possible following your successful removal of a Pfister shower handle so that you don’t encounter any plumbing issues in the future due to wear and tear.
5. Avoid Forgetting to Turn Off the Water Main Before Beginning Work: Make sure that you turn off the main water supply before attempting to remove the handle and that all other faucets in the house are turned off as well.
By following these tips, you can ensure a smooth and successful removal of your Pfister shower handle. It’s also important to ensure that you have all of the necessary replacement parts on hand before beginning work so that your new handle is installed properly and securely. With patience, diligence, and care, you can successfully remove your Pfister shower handle with ease.
What Are the Different Types of Shower Handles?
There are several types of shower handles available, including:
- Lever Handle: This type of handle is designed to be easy to grip and turn. It typically only requires a quarter turn in either direction to control water flow and temperature settings.
- Knob Handle: This type of handle usually has a single dial that needs to be turned clockwise or counterclockwise to adjust the water pressure and temperature levels.
- Push Button Handle: These handles feature a button that needs to be pushed down in order to activate the shower head. They are often used in modern homes and come with various decorative finishes.
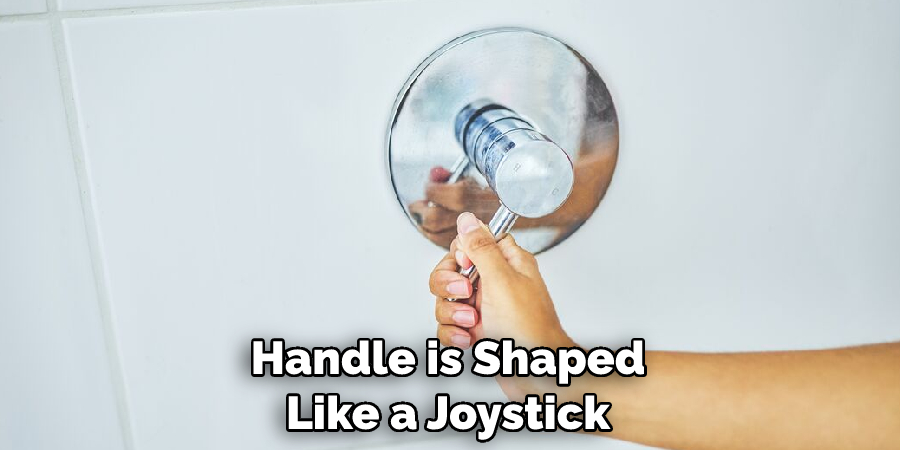
- Joystick Handle: As the name implies, this type of handle is shaped like a joystick and must be pushed or pulled to activate the shower head.
No matter which type of handle you choose, make sure that it is compatible with your existing plumbing system before attempting any installation or removal process. Additionally, always wear protective gloves while working with hardware components to protect yourself from injuries or cuts. Following these tips will help ensure a successful and safe removal of your Pfister shower handle.
How Do You Remove a Shower Handle Stem?
In order to remove a shower handle stem, you must first locate the setscrew that is holding it in place. This screw can usually be found at the bottom of the handle or beneath an escutcheon plate. Once located, use a Phillips head screwdriver to loosen and remove it.
Once the setscrew has been removed, you can now begin to unscrew and pull out the handle stem. Make sure to grip it firmly and turn it counterclockwise until it comes loose from the wall. Depending on how old your shower is, there may also be some corrosion build-up around the stem’s threads, requiring additional force when removing.
After successfully removing your old shower handle stem, inspect all of its parts for any signs of damage or wear. If there are any issues, replace the part before attempting to install a new one. Finally, apply some pipe joint compound or Teflon tape around the threads of your new shower handle stem and reinstall it on the wall.
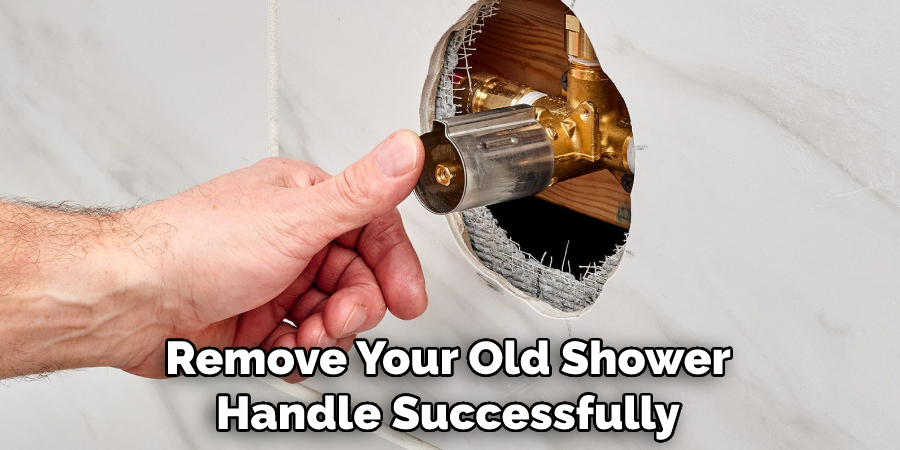
By following these steps you can easily remove a shower handle stem with minimal effort and time. Ensure that all moving parts are properly lubricated and free from debris so that your new handle operates smoothly and safely when installed. With patience and diligence, you will be able to remove your old shower handle successfully stem in no time!
Conclusion
Removing a Pfister shower handle may not necessarily seem like an intimidating task, but it is important to take all the necessary precautions, such as shutting off your water supply, allowing the water to drain out, and using protective gear while performing the repair.
Even if you are tempted to break out your toolbox and take off the handle yourself, remember that it is best to consult a professional plumber if you hit any unexpected road bumps!
Repairing plumbing fixtures can be tricky, and even the slightest mistake can result in unwanted expenses. With that said, armed with knowledge and well-thought steps on how to remove a pfister shower handle from this blog post, you can approach this repair confidently and conquer it like a pro!
Hopefully, this blog post was able to provide you with all the information that you needed in order to remove a pfister shower handle successfully. Good luck, and stay safe!

