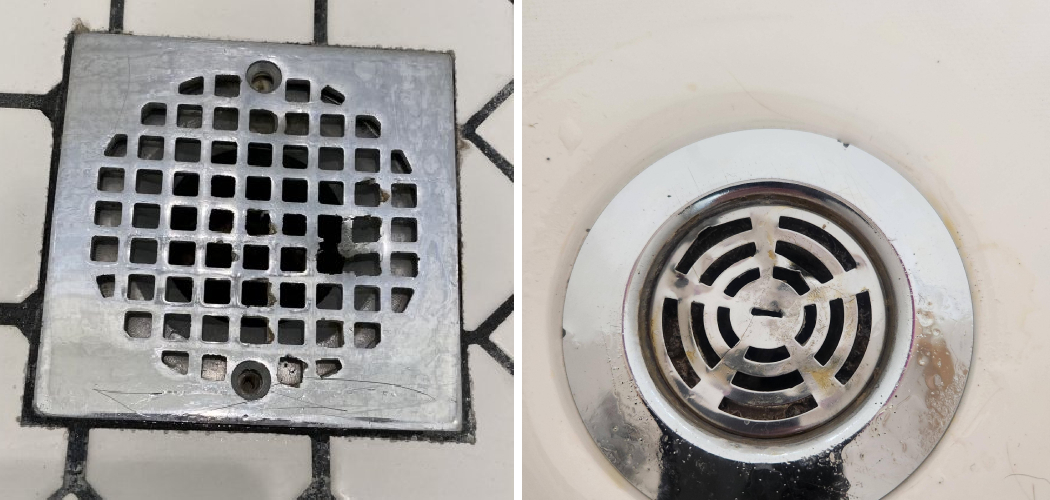
Maintaining shower drain grates is crucial for ensuring your bathroom’s overall hygiene and functionality. Clogged or dirty drains can lead to water buildup, unpleasant odors, and even damage to the shower’s structure over time. Regular cleaning and maintenance prevent these issues, ensuring the shower remains a clean and safe environment.
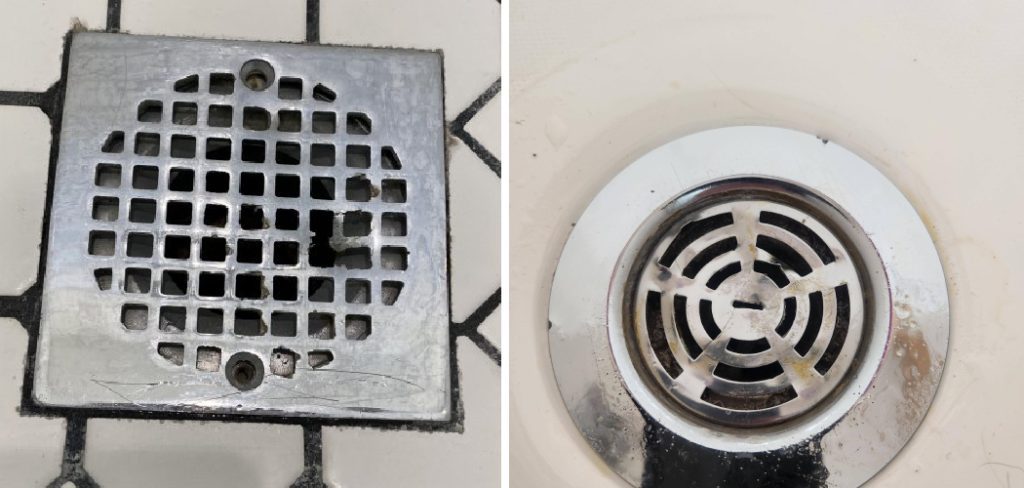
Learning how to remove a shower drain grate is an essential skill for homeowners. This process is the first step in cleaning the drain and addressing any clogs or blockages. While the removal process may vary slightly depending on the grate type, the basic principles remain the same and can be accomplished with a few simple tools.
Proper drain maintenance, including regular removal and cleaning of the shower drain grate, can extend the life of your plumbing system, improve water flow, and prevent expensive repairs. It also contributes to a cleaner, more hygienic bathroom, reducing the risk of mold and bacteria growth.
Understanding how to remove a shower drain grate and maintain your drain is not just about fixing immediate issues; it’s about preventing future problems and ensuring a healthy living environment.
Assessing the Situation
Before attempting to remove a shower drain grate, it’s essential to properly assess the situation. This preparatory step ensures that you clearly understand what you’re dealing with and what tools you’ll need.
A. Identifying the Type of Shower Drain Grate
Shower drain grates come in various types, including flat grates that lie flush with the shower floor and dome-shaped grates that protrude above the floor level. The removal method can differ significantly depending on the grate type.
Flat grates often require a tool to pry them open, while dome-shaped grates might be screwed in or simply twist off. Identifying the exact type of your drain grate is crucial for determining the correct approach to remove it.
B. Checking for Any Obstructions or Build-Up Around the Grate
Inspect the area around the shower drain grate for any signs of soap scum, hair, or other debris that might be obstructing the removal process. These obstructions can make it more difficult to remove the grate and indicate underlying issues that need to be addressed once the grate is removed.
C. Ensuring Proper Tools and Safety Equipment
Having the right tools at hand is vital for a smooth removal process. Depending on your shower drain grate type, you may need a screwdriver, Allen wrench, or a flathead screwdriver. In some cases, applying penetrating oil might be necessary to loosen corroded screws.
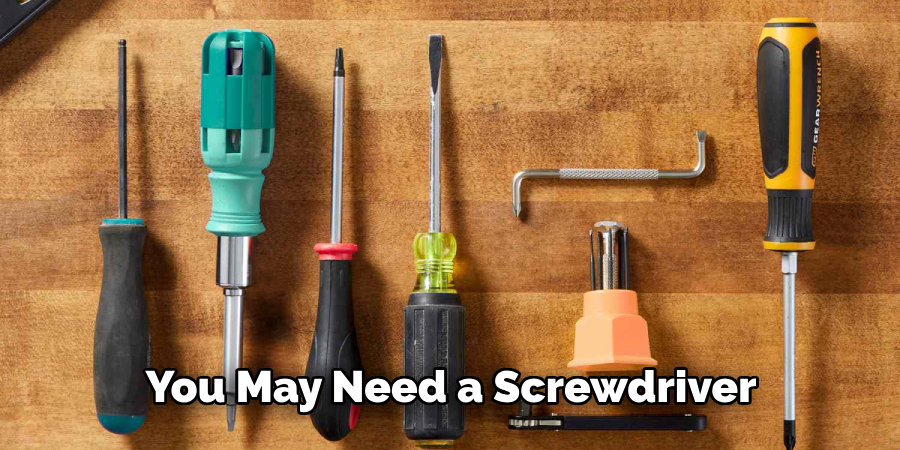
Safety should not be overlooked; wearing protective gloves can prevent injuries from sharp edges or debris, and eyewear is recommended to protect your eyes from dust or small particles that could be dislodged during the process.
Preparing the Area
Preparing the work area before commencing the removal of the shower drain grate is critical to ensure safety and prevent damage to your bathroom.
A. Clearing the Shower Floor of Any Items or Debris
Begin by removing all items from the shower floor, such as mats, bottles, and soap bars. Sweep or vacuum any debris, hair, or dust to create a clean workspace. This step facilitates easier access to the grate and prevents small items from falling into the drain once the grate is removed.
B. Protecting Surrounding Surfaces from Damage
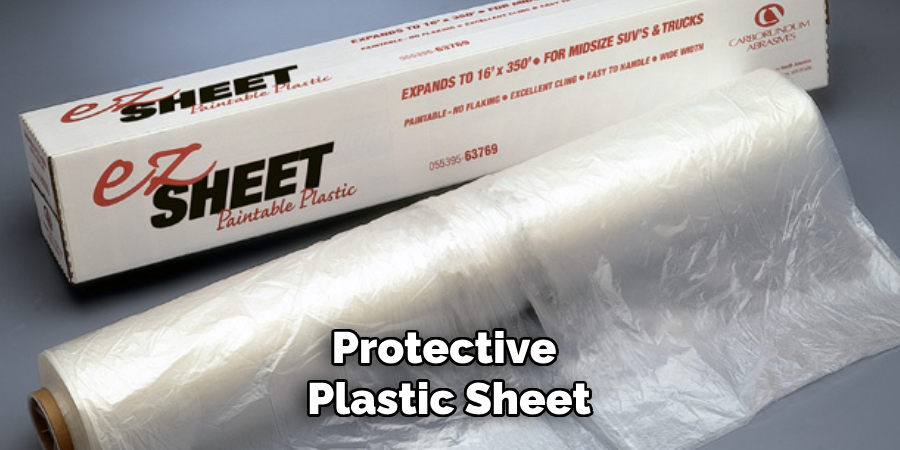
To protect the shower floor and surrounding areas from scratches or damage during the grate removal process, lay down a soft cloth or a protective plastic sheet. If you’re going to use tools that might slip or if chemicals are involved in cleaning, this precaution can prevent costly repairs to your bathroom surfaces.
C. Allowing Sufficient Time for the Shower to Dry
Before attempting to remove the shower drain grate, it’s advisable to wait until the shower floor is completely dry. A dry environment reduces the risk of slipping and ensures that any penetrating oil applied to loosen screws does not dilute. A dry surface makes it easier to spot and clean any residue or build-up around the drain grate.
Loosening the Grate
Once you’ve prepared the area and have your tools and safety equipment ready, it’s time to focus on actually loosening and removing the shower drain grate.
A. Using a Screwdriver or Allen Wrench to Remove Screws (if applicable)
If your shower drain grate is secured with screws, you’ll need either a screwdriver or an Allen wrench to remove them. The type of tool required depends on the screw head, with Phillips and flathead screws being the most common.
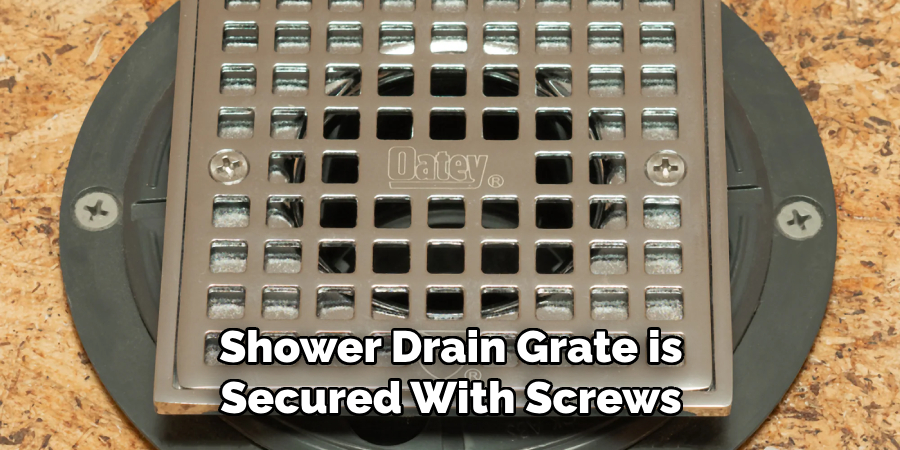
Carefully insert the tool into the screw head and turn counterclockwise to loosen. If you encounter resistance, avoid applying excessive force to prevent stripping the screw head. Hold onto the screws after removal; you’ll need them to reinstall the grate after cleaning.
B. Applying Penetrating Oil to Loosen Corroded Screws (if necessary)
In cases where screws have become corroded and are difficult to remove, applying a penetrating oil can be immensely helpful.
Directly spray or apply a small amount of oil onto each screw, making sure to cover it completely. Allow the oil to sit for several minutes to penetrate and lubricate the threads. This should make it easier to turn the screws. Be prepared to apply additional oil and wait a bit longer if the screws don’t initially budge.
C. Gently Tapping the Grate with a Rubber Mallet to Loosen Sealed Edges
For shower drain grates that are not fastened with screws but are instead sealed or tightly fitted into place, using a rubber mallet can be effective. Gently tap around the edges of the grate in a circular pattern to loosen it.
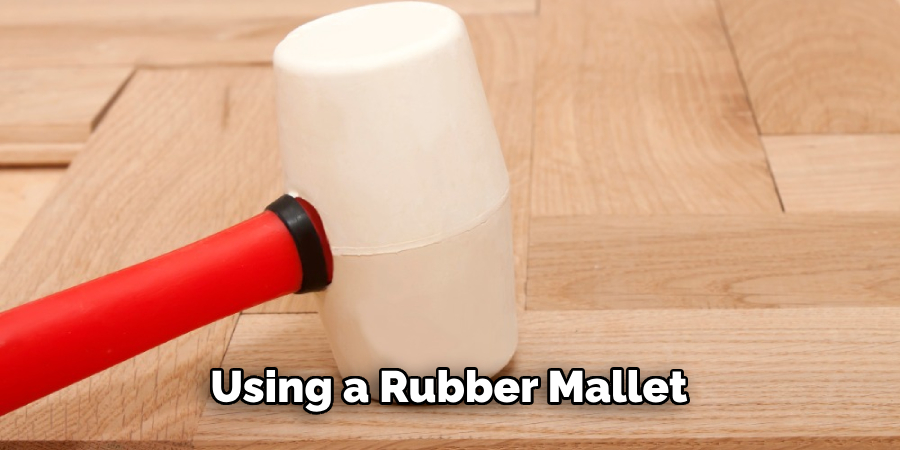
This method is particularly useful for dome-shaped grates or those that sit flush with the shower floor without visible fasteners. Be cautious not to apply too much force to avoid damaging the grate or the shower floor.
Once the edges begin to loosen, you may be able to lift the grate either by hand or with the help of a flathead screwdriver inserted beneath the edge.
The process of loosening the shower drain grate, whether it involves unscrewing, lubricating, or tapping, marks an essential stage in the removal. This step ensures that you can safely and effectively lift the grate without causing damage to the surrounding area or to the grate itself.
How to Remove a Shower Drain Grate: Removing the Grate
Once the grate has been successfully loosened, it’s time to remove it completely to proceed with the cleaning or replacement. The following steps should be meticulously followed to ensure a smooth removal process.
A. Using a Flathead Screwdriver to Pry Up the Edges of the Grate
If the grate does not immediately lift off after loosening, a flathead screwdriver can be employed to gently pry up the edges. Carefully insert the screwdriver’s flat end under the grate’s edge. Apply a gentle yet firm levering action to raise the grate from its seating.
It’s essential to proceed cautiously to avoid damaging the edges of the grate or the surrounding shower floor. Work your way around the grate, gradually lifting it until it’s loose enough to be removed by hand.
B. Gripping the Grate Firmly and Lifting Straight Up
With the edges of the grate pried open, place your fingers underneath or around the grate, depending on its design, and grip it firmly. Ensure that your hold is secure before attempting to lift. Then, with a steady motion, lift the grate straight upwards.
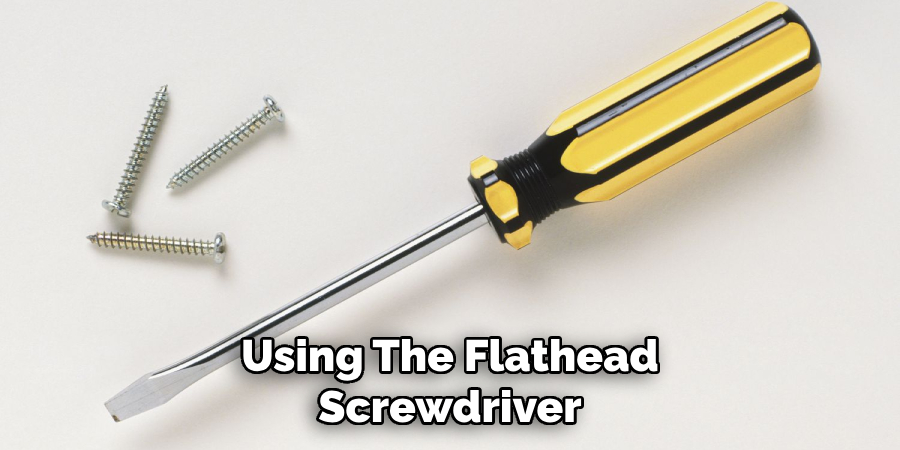
Avoid any wiggling or lateral movement to prevent damage to the grate or the drain opening. If the grate is stubborn, revert to using the flathead screwdriver to loosen it further before attempting to lift it again.
C. Checking for Any Remaining Securing Mechanisms
Before and during the lifting process, remain vigilant for any mechanisms or screws that might still be securing the grate in place. It’s not uncommon to overlook a fastener, especially in shower designs where the securing mechanisms are not immediately apparent.
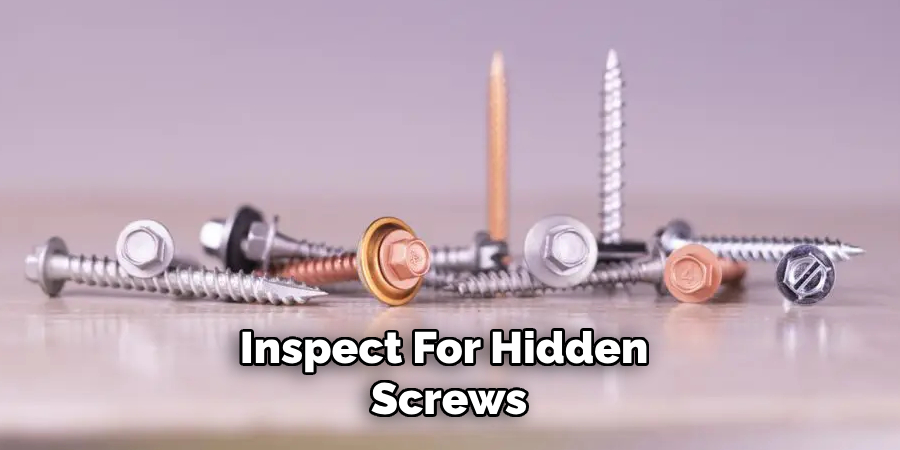
If the grate does not lift easily after applying a reasonable amount of force, cease the removal attempt and inspect for hidden screws or clips. Address these securing elements as per the previous instructions and attempt the lifting process again once you are confident that all fasteners have been removed or loosened.
Although seemingly straightforward, removing the shower drain grate requires attention to detail and patience. Each step, from loosening to lifting, is crucial in ensuring that the grate is removed efficiently without causing harm to the bathroom infrastructure or the grate itself.
Whether you’re clearing a blockage, performing routine cleaning, or replacing the grate, understanding and following these steps can make the process significantly smoother and more effective.
How to Remove a Shower Drain Grate: Cleaning and Inspecting the Drain
Once the grate has been successfully removed, the next crucial step is to clean and inspect the drain, ensuring it’s free from debris and in good working condition. Keeping the drain clean not only prevents clogs but also extends the life of the plumbing.
A. Removing Any Debris or Build-Up from the Drain Opening
Clean any visible debris, hair, or build-up from the drain opening. Wear gloves, and use your fingers or a pair of needle-nose pliers to carefully extract materials that could cause blockages.
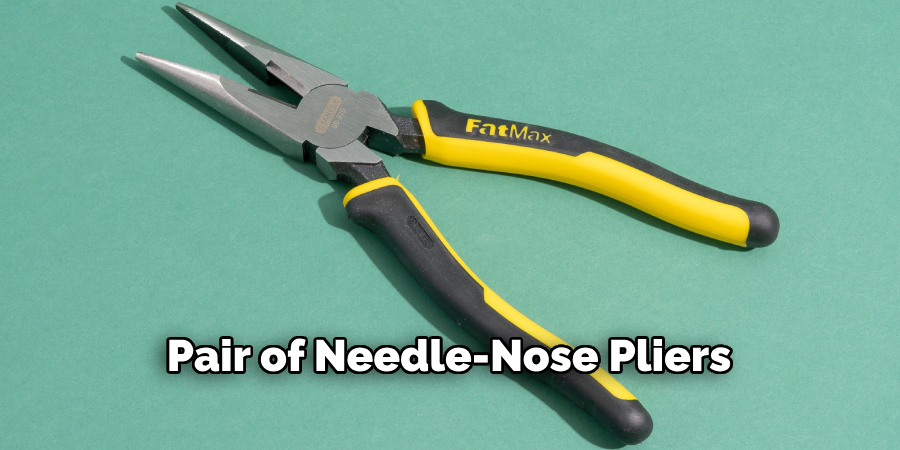
Consider using a plumbing snake or a bent wire hanger to reach deeper into the drain and loosen compacted debris for tougher build-ups. Ensure you remove as much debris as possible for a smoother water flow.
B. Inspecting the Drain for Damage or Wear
With the drain opening cleared, conduct a thorough inspection for signs of damage or wear, such as cracks, corrosion, or loose parts. Use a flashlight to illuminate the interior and visually inspect for any abnormalities.
Pay special attention to the drain edges and the area where the grate sits. Any damage found at this stage can significantly impact the efficiency of the drain and may require professional intervention to prevent potential leaks or further complications.
C. Cleaning the Grate and Drain Opening Thoroughly
After inspecting the drain, move on to thoroughly clean the removed grate and the drain opening. For the grate, use a soft-bristled brush, a mild detergent, baking soda, and vinegar solution to scrub away any residue, lime scale, or rust.
Rinse with warm water and ensure it’s completely clean before drying it. Similarly, clean the drain opening and surrounding area with a suitable cleaning solution, taking care to remove any soap scum or residual build-up. Rinse thoroughly with warm water. A clean grate and drain opening look better, prevent potential clogs, and ensure a higher water drainage efficiency.
By systematically cleaning and inspecting the drain and grate, you contribute to the overall hygiene and maintenance of your bathroom, ensuring smooth functionality and extending the lifespan of your plumbing infrastructure.
Replacing or Maintaining the Grate
A. Checking the Condition of the Grate for Any Damage
Before reattaching the grate or deciding on a replacement, it’s crucial to check its condition thoroughly. Examine the grate for any signs of damage, such as cracks, significant rust, or bending that could impair its functionality or safety.
If the grate has removable parts, ensure they are all intact and in good condition. A damaged grate might not sit properly in its place, leading to potential hazards or inefficiency in water drainage.
B. Replacing Any Damaged or Worn Grates as Needed
If, upon inspection, the grate is found to be damaged or excessively worn, it is advisable to replace it. Ensure that the replacement grate is the correct size and design for your shower to guarantee a perfect fit and seamless operation. It’s also an opportunity to upgrade to a model made from more durable or aesthetically pleasing materials, enhancing the overall look and functionality of the shower area.
C. Installing the New Grate or Reattaching the Existing Grate
Whether installing a new grate or reattaching the existing one, the process should be approached with care to ensure a secure fit without damaging the grate or the drain.
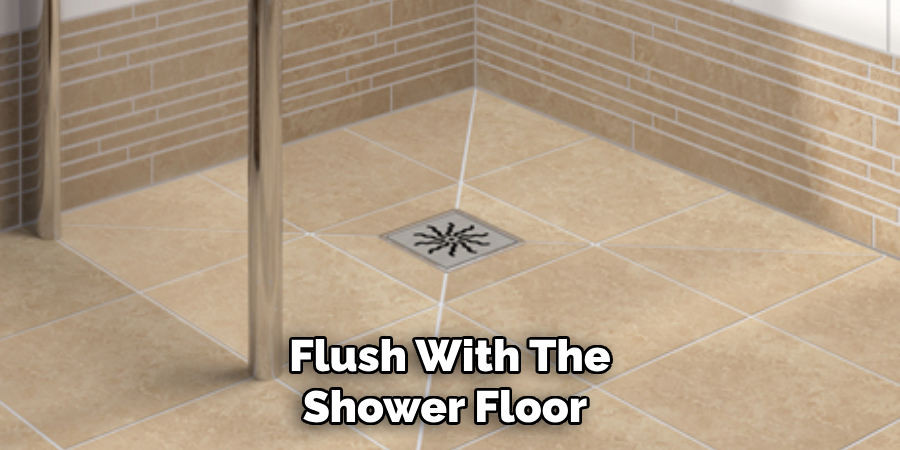
- For a New Grate: Align it carefully over the drain opening, making sure it sits flush with the shower floor. If the grate includes fastening mechanisms such as screws or clips, attach these securely, following the manufacturer’s instructions to avoid overtightening and damaging the grate or the shower floor.
- For Reattaching the Existing Grate: Before placing the grate back, ensure any attaching mechanisms are clean and in good working order. Position the grate carefully over the drain, pressing it firmly into place. If the grate requires securing, reattach any screws or clips, being mindful not to strip them by applying excessive force.
After installing or reattaching the grate, give it a gentle but firm tug to make sure it’s securely affixed and won’t dislodge easily.
This final check ensures that the grate is properly installed, marking the completion of its maintenance or replacement. Proper installation reinforces the safety and functionality of the shower, contributing to an uninterrupted water flow and preventing debris from entering the drainage system.
Post-Removal Care
After completing the maintenance or replacement of the shower grate, the next critical steps involve ensuring the area remains in optimal condition to prevent future issues. This stage focuses on verifying the adequacy of water flow, securing the grate’s perimeter if necessary, and establishing a routine maintenance schedule.
A. Checking for Proper Drainage and Flow
Immediately after the grate is securely installed, conduct a water flow test to ensure there are no obstructions and that water drains smoothly and quickly. This can be done by pouring a moderate amount of water directly into the drain and observing its flow.
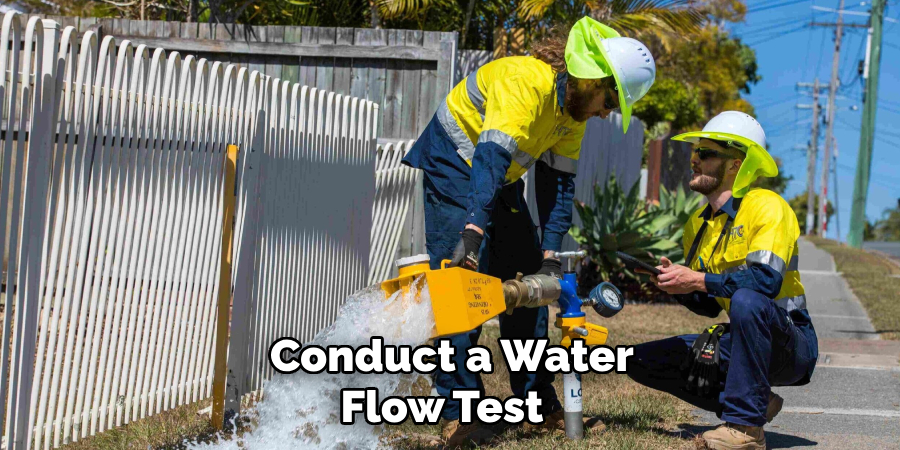
Look for any signs of slow drainage or backflow, which could indicate a blockage or improper grate installation. If issues are detected, it may be necessary to reassess the grate’s placement or investigate further into the drainage system for unresolved clogs.
B. Sealing or Caulking Around the Grate (if necessary)
In some cases, particularly if the grate does not sit perfectly flush with the shower floor or if there are gaps, applying a waterproof sealant or caulk around the edges of the grate can prevent water from seeping underneath it.
Select a sealant suitable for use in wet areas and compatible with both the grate and shower floor materials. Apply as directed, ensuring a tight, waterproof barrier is formed. Allow it to dry completely before exposing the area to water again.
C. Performing Regular Maintenance to Prevent Build-Up and Blockages
To maintain optimal drainage and prolong the life of the drainage system, establish a routine for regularly cleaning the grate and the drain.
This includes removing the grate every few months to clear away debris and build-up, inspecting for any signs of damage, and cleaning the drain opening with appropriate tools and solutions.
Additionally, minimize the potential for clogs by using drain covers, avoiding the disposal of large particles down the drain, and regularly pouring hot water down the drain to dissolve soap scum and grease build-up.
Adhering to these post-removal care steps ensures the longevity and efficiency of your shower’s drainage system, mitigating common issues and maintaining a clean, functional bathroom.
Safety Considerations
Ensuring safety during the maintenance or replacement of shower grates is paramount to avoid accidents and prevent damage to your bathroom fixtures. Below are key safety considerations to keep in mind:
A. Using Caution When Handling Tools and Equipment
When working with tools and equipment, it’s critical to use caution and follow the manufacturers’ guidelines for use.
This involves selecting the right tool for the job, ensuring tools are in good working condition, and using them to prevent injury. For instance, when unscrewing fasteners, use the screwdriver that correctly fits the screw head to avoid slipping and potential injury.
B. Avoiding Excessive Force to Prevent Damage to Surfaces
Applying excessive force, especially when removing or installing the grate, can cause damage to the shower floor and the grate itself. Use a gentle yet firm approach, being mindful of the materials you’re working with.
Porcelain or acrylic surfaces, particularly, are prone to cracks if subjected to high pressure or impact. Therefore, proceed with caution and patience to ensure the integrity of your shower’s surfaces.
C. Wearing Protective Gloves and Eyewear as Needed
Maintenance may involve handling sharp objects or chemicals that can cause injuries or irritation. Wearing protective gloves can safeguard your hands from cuts, abrasions, or exposure to harsh cleaning agents.
Additionally, protective eyewear is recommended to prevent eye injuries if the task involves any risk of particles or debris flying into the air. Using protective gear not only ensures your safety but also makes the maintenance process more comfortable and efficient.
By adhering to these safety considerations, you can effectively and safely maintain or replace your shower grate, ensuring your well-being and the preservation of your bathroom’s aesthetics and functionality.
Conclusion
Maintaining a home involves various small yet significant tasks, among which the removal and upkeep of shower drain grates play a crucial role. This comprehensive guide aims to equip homeowners with the knowledge needed to tackle these tasks confidently, ensuring the functionality and longevity of their bathroom fixtures.
We began by detailing the steps on how to remove a shower drain grate, emphasizing the importance of preparation, the correct use of tools, and the methodical approach to removing the grate without causing damage to surrounding surfaces. This process is foundational to performing effective maintenance or replacement of shower grates.
Regular maintenance of the shower drain cannot be overstated. It prevents the buildup of debris that can lead to blockages, ensures a clean and hygienic bathroom environment, and prolongs the life of bathroom fixtures. By adopting a routine cleaning schedule, homeowners can avoid common plumbing issues that often require professional and costly intervention.
Understanding how to remove a shower drain grate, conduct necessary maintenance, and reinstall the grate are key skills for any homeowner. Remember to always prioritize safety by wearing appropriate protective gear and using the right tools for the job.
Regularly assess the condition of your shower drain and act promptly if you notice slow drainage or damage. By following these practices, you can maintain an efficient, functional shower drainage system, contributing to the overall upkeep of your bathroom.

