Do you dread having to fix a clogged-up bathroom sink? Are you nervous about removing the stopper? Don’t let your fears get the best of you and stop you from tackling this home improvement project! In this blog post, we’ll walk through exactly what needs to be done in order to successfully remove a stopper from a bathroom sink.
We will cover things such as what type of tools are necessary, tips for successful removal, and preventative tips that can help avoid future plumbing problems. We hope that after reading this post about how to remove a stopper from a bathroom sink, you will feel more informed and confident when it comes time to tackle any similar projects in your own home. Read on to learn how easily a clogged-up drain can be fixed with just some simple know-how!
Importance of Removing a Stopper for Maintenance or Repair Purposes
Removing a stopper from a bathroom sink can be an important part of regular maintenance, or for repairs on your plumbing system. The stopper prevents items such as hair and dirt from entering the drain, so it needs to be cleaned out regularly.
Additionally, if you need to perform any repairs on the drain itself – such as clearing a clog or replacing a part – then having quick access to the area is essential. For these reasons, it’s important to know how to remove the stopper quickly and easily when needed. With just a few easy steps you’ll have your stopper off in no time!
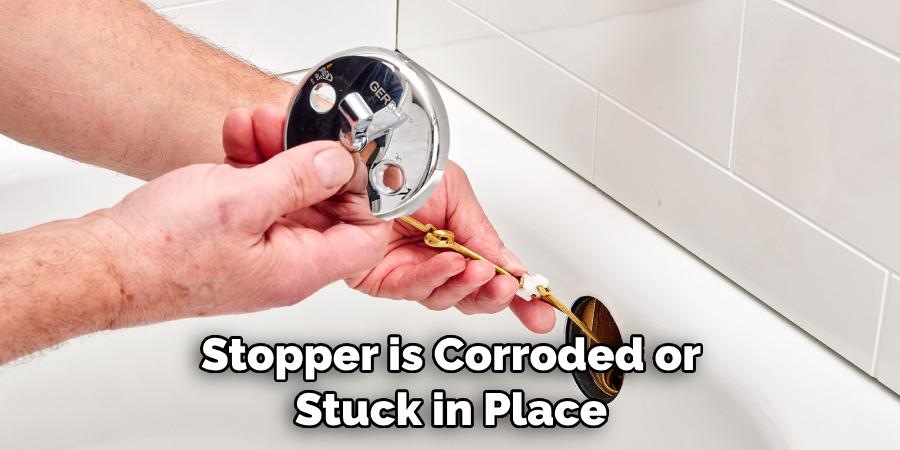
Another reason why removing a stopper may be necessary is if it becomes stuck in place due to age or corrosion. Over time, the rubber seal on the stopper can become brittle or worn out, making it difficult to move.
If this is the case for your stopper, then you’ll need to remove it in order to replace the seal and ensure that your drainage system stays in optimal condition.
Finally, when removing a stopper from a bathroom sink, make sure that you do so safely. If the stopper is corroded or stuck in place, use caution when attempting to move it. Additionally, keep an eye out for any parts that may come off of the stopper as you move it – these can be hazardous if they fall into the drain and cause a clog.
Common Reasons for Removing a Stopper from a Bathroom Sink
There are several reasons why you may need to remove a stopper from your bathroom sink. Some of the most common include: replacing an older or broken stopper, cleaning out any debris that has become lodged in the drain, and adjusting the tension on the linkage between the stopper and lever arm.
Additionally, some models use a lift-and-turn style stopper which requires periodic removal for maintenance. Whatever your reason for removing a stopper, it is important to follow safety precautions as well as take proper steps to ensure successful removal.
Once you determine why you want to remove the stopper, it is important to prepare yourself with all necessary tools and supplies before getting started. This includes gathering a flathead screwdriver and a pair of pliers.
Make sure you also have access to any replacement parts you may need for the job, as well as cleaning supplies like a rag or sponge and some warm soapy water. Finally, make sure that the sink is empty and dry before beginning.
Now that you are prepared with all the necessary tools and supplies, it’s time to remove your stopper. Depending on the type of stopper installed in your bathroom sink, there are several different methods for removal.
Differentiating Between Various Types of Sink Stoppers
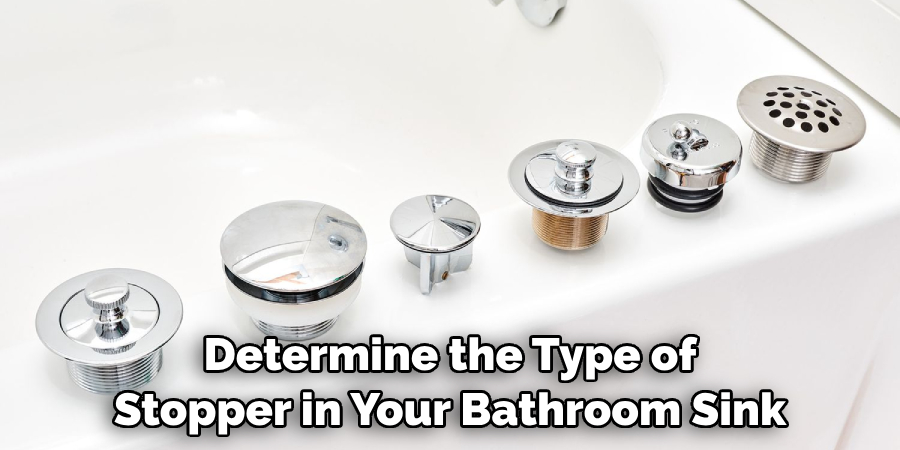
When it comes to removing a stopper from a bathroom sink, the process will vary depending on the type of stopper you have. The most common types of sink stoppers are lift-and-turn, push and pull, toe touch, plunger, flip-it, and drop stoppers. Understanding what kind you have is essential when it comes to removing them correctly.
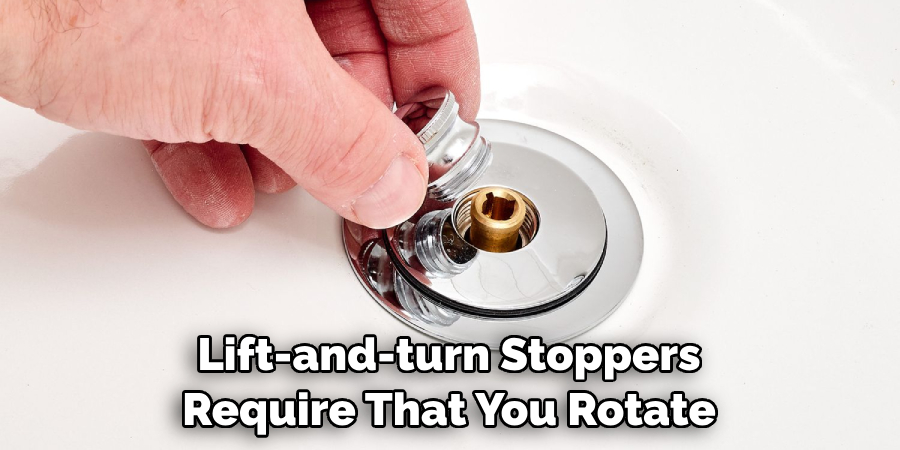
Lift-and-turn stoppers require that you rotate the knob counterclockwise until it lifts up out of its socket in order to remove them. Push and pull models have an actuator rod directly below the handle which needs to be pushed down in order to remove the stopper. Toe touch stoppers feature a lever at the edge of the sink that needs to be pressed down in order to remove.
Plunger stoppers require a bit more effort and must be unscrewed from its socket before removal. Flip-it stoppers are similar to lift-and-turn models, however, they need to be flipped open first before being lifted out. Lastly, drop stoppers feature a lever at the edge of the sink which when pulled raises the stopper up for easy removal.
It’s important to note that some sinks may have different types of stoppers or combination of several types which can make it difficult even for an experienced plumber or handyman to identify them and remove correctly. Therefore, if you’re uncertain what type you have, it’s best advised to consult a professional.
Once you’ve identified the type of stopper, the next step is to prepare for removal. This involves gathering the necessary tools such as a flat-head screwdriver or an adjustable wrench and wearing protective gear like gloves and goggles. It’s also important to ensure your sink is empty before beginning removal.
10 Steps How to Remove a Stopper from a Bathroom Sink
Step 1: Gather the Necessary Tools and Materials
Before starting, gather the tools and materials you’ll need, including pliers, an adjustable wrench, a screwdriver (if applicable), a towel or cloth, and a bucket or container to catch any water.
Step 2: Identify the Type of Stopper
Determine the type of stopper in your bathroom sink. Common types include a pop-up stopper, a lift-and-turn stopper, and a push-and-pull stopper. This will determine the specific method for removal.
Step 3: Clear the Area
Clear any items or debris from the sink to create a clean and safe workspace. Place a towel or cloth on the countertop or floor beneath the sink to catch any water or small parts that may fall during the removal process.
Step 4: Pop-Up Stopper Removal
For a pop-up stopper, locate the horizontal rod that connects the stopper to the pivot rod. Unscrew the retaining nut securing the horizontal rod to the pivot rod using pliers or an adjustable wrench. Slide the horizontal rod out, allowing the stopper to come free.
Step 5: Lift-and-Turn Stopper Removal
To remove a lift-and-turn stopper, locate the setscrew on the side of the stopper knob. Loosen the setscrew using a screwdriver, and then unscrew the stopper knob counterclockwise. Lift the stopper straight out of the drain.
Step 6: Push-and-Pull Stopper Removal
For a push-and-pull stopper, look for the setscrew on the knob or on the plate beneath the knob. Loosen the setscrew using a screwdriver, and then unscrew the knob counterclockwise. Pull the stopper out of the drain.
Step 7: Clean and Inspect the Stopper
Once the stopper is removed, thoroughly clean it to remove any buildup or debris. Inspect the stopper for any damage or wear that may require replacement.
Step 8: Clean the Drain and Stopper Housing
Take the opportunity to clean the drain and the housing where the stopper was located. Use a brush or a mixture of vinegar and baking soda to remove any residue or clogs.
Step 9: Reassemble or Replace the Stopper (if desired)
If the stopper is in good condition and you wish to reassemble it, follow the reverse steps of the removal process for your specific type of stopper. If the stopper is damaged or you want to replace it, take note of its size and type, and purchase a suitable replacement.
Step 10: Test and Check for Proper Functionality
After reassembling or replacing the stopper, test its functionality by operating the mechanism. Ensure it moves smoothly and effectively stops or allows water to drain as intended. Make any adjustments if necessary.
Things to Consider When Removing a Stopper from a Bathroom Sink
When it comes to removing a stopper from a bathroom sink, there are a few key things to consider.
1. Safety:
Before attempting to remove a stopper, be sure the sink is unplugged and that any excess water has been removed. It’s also a good idea to wear safety glasses and gloves, as the removal process can be difficult and potentially dangerous.
2. Materials:
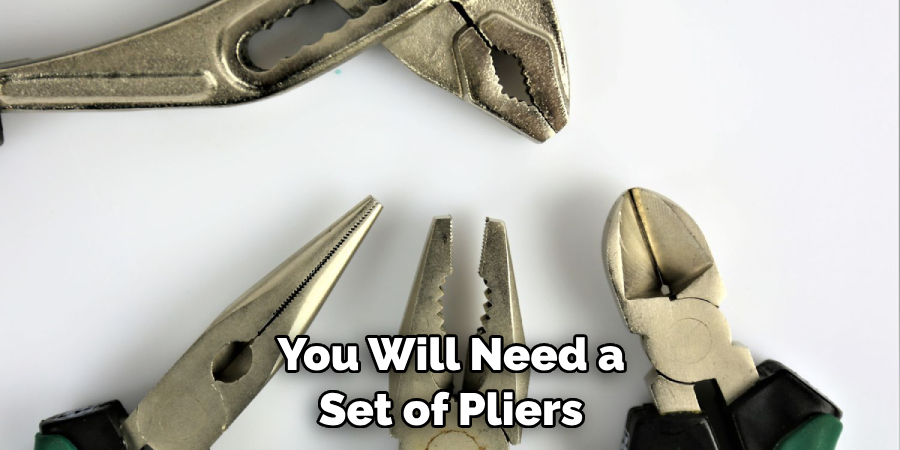
You will need a set of pliers or a wrench in order to remove the stopper. If your sink has an overflow drain, you’ll also need to make sure it is properly plugged before attempting to remove the stopper.
3. Process:
The process of removing a stopper from a bathroom sink typically involves loosening the nut underneath the sink that holds the stopper in place. This may require some force, so be sure to take your time and use caution when loosening and tightening this nut. Once it is removed, you should be able to pull out the stopper.
Conclusion
Don’t let a stuck stopper stand between you and a functioning bathroom sink. With the tips provided, it should be easy to learn how to remove a stopper from a bathroom sink. First, check if the stopper will move by turning the rod underneath the sink or tugging on the knob from above.
If it still won’t budge with simple manipulation, try using a lubricant or tapping with a hammer and cloth covered object to loosen the stopper before finally using pliers if necessary. Afterwards, consider upgrading any old parts with modern replacements such as tail pieces or plumbing fittings which are sure to make your bathroom look more modern while also providing improved functionality.

