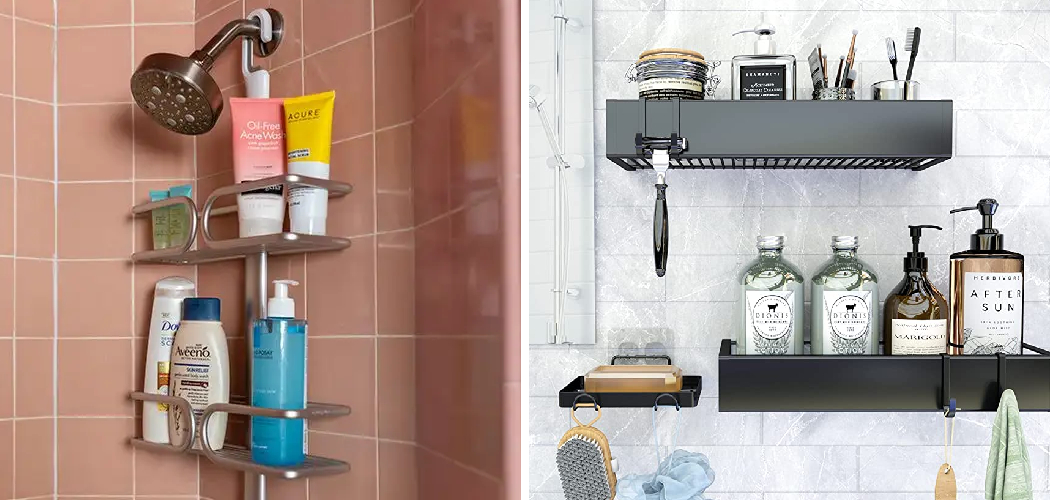
Are you tired of having an adhesive shower caddy stuck onto your shower tiles? Removing it might seem daunting, but it’s a lot easier than you think. In this blog post, we will be sharing with you simple yet effective ways how to remove adhesive shower caddy without damaging your shower tiles.
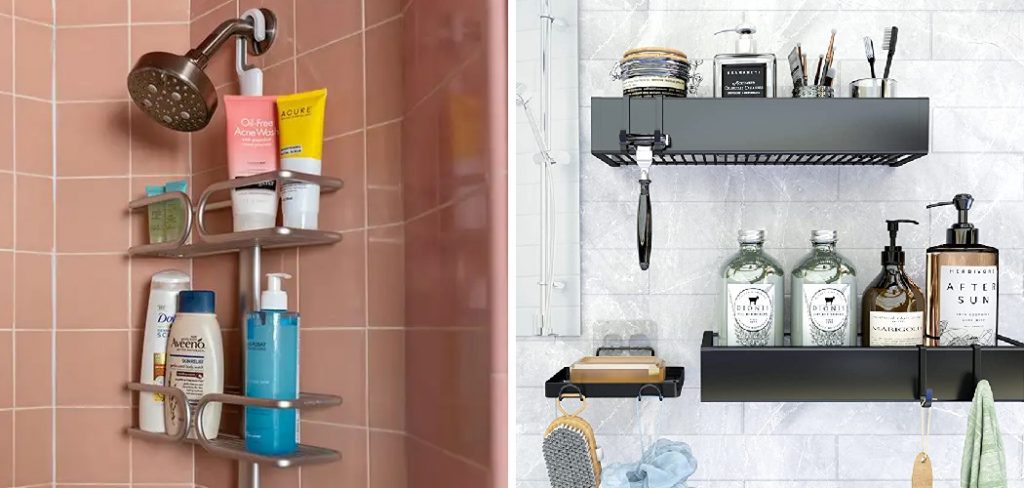
By following these easy steps, you can have a clean and refreshing shower experience without the sight of a shower caddy stuck to your shower tiles.
Can You Remove the Adhesive Shower Caddy?
Many of us have probably used adhesive shower caddies to organize our shampoos, soaps, and other bath essentials. However, sometimes we may need to remove them – and that’s when things can get tricky. While it may seem tempting to simply yank them off the wall, doing so can damage the surface, leaving unsightly holes or scratches.
Fortunately, there are several tried-and-true methods for safely removing these caddies, including using a hairdryer to loosen the adhesive or using a mixture of warm water and vinegar to dissolve it. With a little patience and elbow grease, you can regain your pristine bathroom walls without causing any harm.
Why Should You Remove Adhesive Shower Caddy?
Removing adhesive shower caddies may seem like a tedious task, but there are several important reasons why it should be done. The first reason is that adhesive shower caddies can damage the surface they are attached to, leaving unsightly marks and residue.
Additionally, the longer the caddy is left in place, the harder it will be to remove, which can further increase the risk of damage. Another reason why removing adhesive shower caddies is essential is that they can harbor harmful bacteria and mold that could cause health issues. Removing them can eliminate this risk and ensure a cleaner, healthier shower environment.
Finally, removing adhesive shower caddies is a simple and quick task that can instantly improve the overall appearance of your bathroom. So don’t hesitate to take the necessary steps to remove any unwanted caddies and enjoy a fresher, cleaner, and safer shower experience.
7 Ways to Follow on How to Remove Adhesive Shower Caddy
1. Use a Hairdryer
Heat up the adhesive with the help of a hairdryer. Turn on the hairdryer and point it on high heat toward the adhesive. Move it in a back-and-forth motion for approximately 2 to 3 minutes. The heat helps to soften the adhesive and makes removing it much easier.
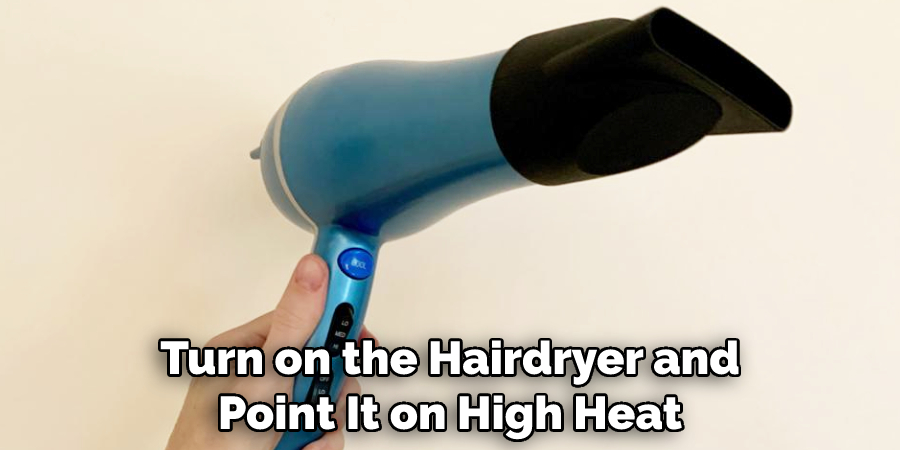
Once soft, gently pull the caddy away from the tiles with your fingers. Be careful not to apply too much force to avoid damaging the shower tiles.
2. Apply Oil
Oil is a great way to remove adhesive without damaging the shower tiles. First, apply a thin layer of oil onto the adhesive. You can use any oil you have in your house, such as vegetable oil, olive oil, or baby oil. Leave it on for 5 to 10 minutes to allow the adhesive to soften.
Once it is soft, gently peel it away from the tiles using your fingers. If there is still some adhesive remaining, use a scraper tool to remove it.
3. Use Alcohol
Alcohol is another option that can help you remove adhesive shower caddy from your shower tiles. Dip a cotton ball in rubbing alcohol and rub it around the adhesive. Let it sit for 5 to 10 minutes, then gently peel the adhesive away from the tiles with your fingers. Make sure not to scrape the tiles, as this can remove the tile glaze.
4. Try Baking Soda and Water
Mix baking soda and water until it forms a thick paste. Apply the paste onto the adhesive and let it sit for approximately 10 to 15 minutes. Once the adhesive has softened, use a scraper tool to remove it. The baking soda helps to loosen any stubborn adhesive and also helps to clean the tiles.
5. Use a Commercial Adhesive Remover
A commercial adhesive remover is another option that you can use to remove the adhesive shower caddy without damaging your shower tiles. Make sure to choose a remover that is safe to use on your shower tiles. Follow the instructions on the label and apply it to the adhesive. Let it sit for the recommended time. Once the recommended time has passed, gently peel away the adhesive.
6. Use a Razor Blade
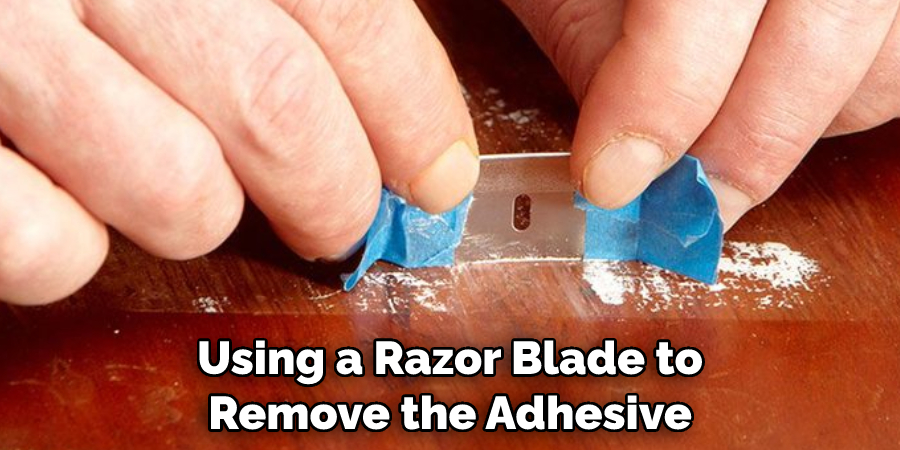
If the other methods fail, you can try using a razor blade to remove the adhesive shower caddy. Put on protective gloves and gently use a razor blade to scrape away at the adhesive. Move in an upward motion, and be careful not to touch or scratch the tiles. Once all of the adhesives have been removed, use a damp cloth to wipe away any residue.
7. Contact a Professional
If you are unable to remove the adhesive shower caddy on your own, it may be best to contact a professional for help. A professional will have the proper tools and techniques to remove the adhesive without damaging your shower tiles. They can also advise you on the best way to prevent future adhesive build-up. With their help, you can ensure your shower looks as good as new.
That’s it! You’ve now learned how to remove adhesive shower caddy without damaging your tiles. Follow these steps, and you’ll be able to keep your shower clean and tidy in no time. Good luck!
5 Considerations Things When You Need to Remove Adhesive Shower Caddy
1. The Type of Adhesive
The first thing you need to consider when removing an adhesive shower caddy is the adhesive used to attach it to the wall. A variety of adhesives can be used for this purpose, and each one will require a different removal method.
If you’re unsure what type of adhesive was used, you can try removing the caddy with a putty knife or another sharp object. If this doesn’t work, you may need to use a chemical solvent.
2. The Size of The Caddy
The next thing you need to consider is the size of the caddy. If the caddy is small, you may be able to remove it without causing too much damage to the surrounding area. However, if the caddy is large, you may need a putty knife or another tool to pry it off the wall. This could damage the wall, so be sure to repair any damage after removing the caddy.
3. The Material of The Caddy
The material of the caddy will also play a role in how easy it is to remove. If the caddy is made of plastic, it will be much easier to remove than if it is made of metal. However, both materials can be removed with the right tools and techniques.
4. The Condition of The Wall
Another thing you need to consider is the condition of the wall where the caddy is attached. If the wall is in good condition, you should have no problem removing the caddy without damaging it. However, if the wall is in poor condition, you may need to be careful when removing the caddy so as not to cause further damage.
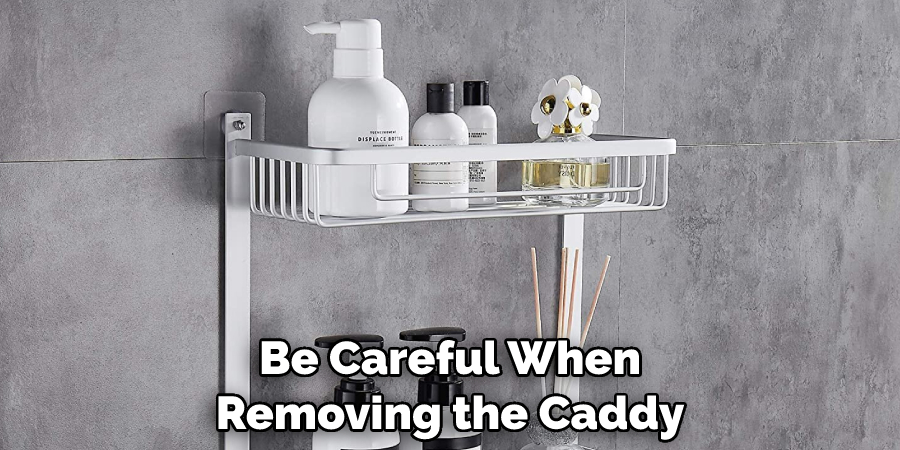
5. Your Own Strength
Finally, you need to consider your own strength when removing an adhesive shower caddy. If you’re not very strong, you may need to enlist the help of someone else in order to remove the caddy safely and without causing any damage. Alternatively, you may need to use a tool such as a putty knife in order to make the process easier.
Removing an adhesive shower caddy can be difficult, but it doesn’t have to be. By considering the type of adhesive used, the size and material of the caddy, the condition of the wall, and your strength, you can ensure that the job is done safely and efficiently. Good luck!
Benefits of Remove Adhesive Shower Caddy
Say goodbye to the clutter in your shower with a removed adhesive shower caddy. This ingenious invention is designed to organize your shower essentials and keep them within reach without taking up any valuable space. The best part? It’s easy to install and can be removed without leaving any residue.
With a remove adhesive shower caddy, you can say goodbye to the frustration of trying to find your shampoo or soap in a cluttered shower and hello to a more efficient and enjoyable showering experience.
Plus, you won’t have to worry about your caddy falling off the wall mid-shower since it’s securely attached with strong adhesive strips. Upgrade your shower routine today and experience the benefits of a removed adhesive shower caddy.
Some Common Mistakes People Make When Trying to Remove Adhesive Shower Caddy
Removing an adhesive shower caddy can be a frustrating experience, especially when mistakes are made. One common mistake people make is not reading the instructions on the adhesive package before attempting to remove the caddy. Improper removal techniques can lead to damage to the wall and even injury.
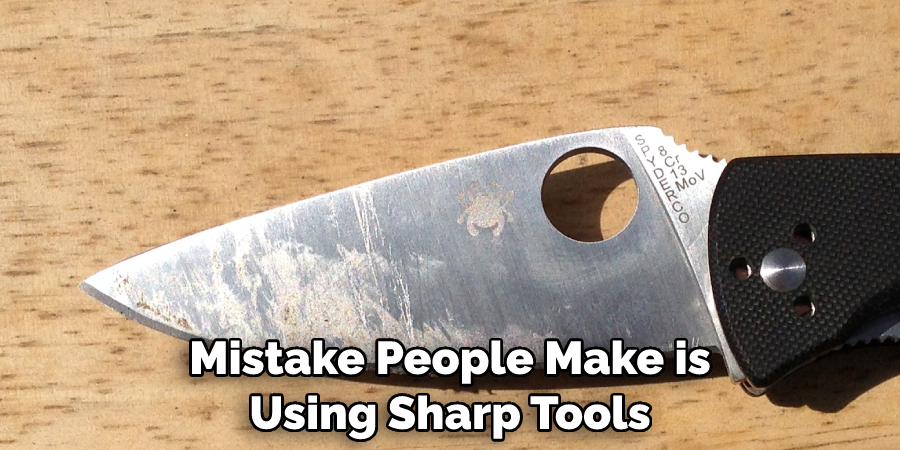
Another mistake people make is using sharp tools or harsh chemicals when trying to remove the caddy, which can cause irreparable damage to the wall surface. It’s important to take the proper steps and be patient when removing an adhesive shower caddy to avoid these mistakes and make the process as easy and stress-free as possible.
Conclusion
Removing adhesive shower caddy from your shower tiles can be done easily and without damaging the tiles. Whether you use a hairdryer, oil, alcohol, baking soda, and water, or a commercial adhesive remover, the most important thing is to be gentle and not apply too much force when removing the adhesive.
With these easy steps, you can have a clean and refreshing shower experience without any pesky shower caddy stuck to your shower tiles. Thanks for reading our post about how to remove adhesive shower caddy.

