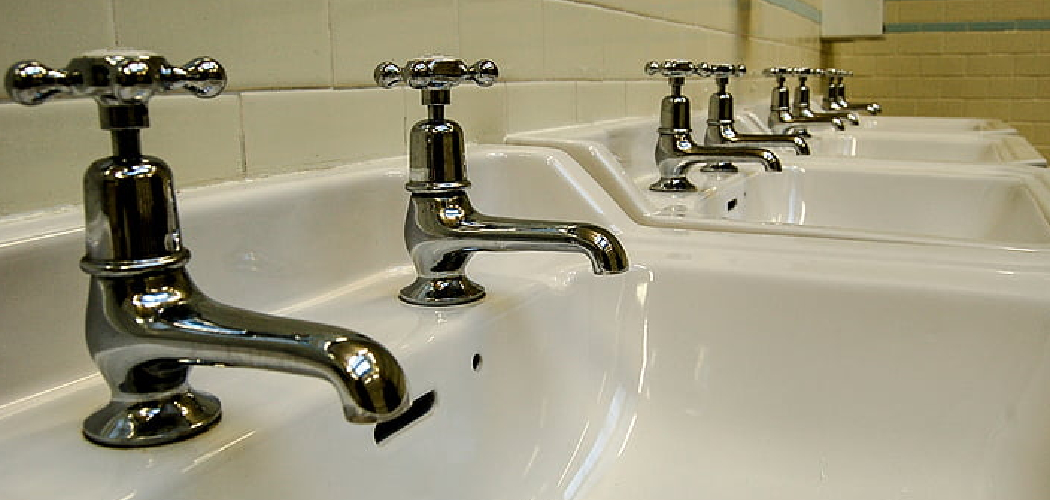
Replacing an old bath tap can seem like a daunting task, but with the right tools and guidance, it is a manageable DIY project. Whether you’re updating your bathroom’s look or addressing a leak, removing an old tap is the first step. This guide will walk you through how to remove an old bath tap, ensuring the process is as smooth as possible.
Why Remove an Old Bath Tap?
There are several reasons why you might need to remove an old bath tap. Over time, taps can become worn out, resulting in leaks or reduced efficiency. A leaking tap not only wastes water but can also increase your utility bills. Additionally, old taps can collect buildup from limescale or rust, which can be unhygienic and affect water flow. Removing an old tap is often necessary if you’re renovating your bathroom or upgrading to a more modern and stylish fixture.
By replacing the tap, you can improve the overall look and functionality of your bathroom while potentially preventing future plumbing issues.
Tools and Materials Needed
Before you begin removing your old bath tap, it’s essential to gather all the necessary tools and materials to make the process efficient and hassle-free. Here’s a list of what you’ll need:
- Adjustable wrench – To loosen and remove the nuts securing the tap.
- Basin wrench – Ideal for reaching tight spaces under the bath.
- Screwdriver – Depending on the tap, you may need this for trim pieces or securing parts.
- Plumber’s tape (Teflon tape) – To create a watertight seal for the new tap installation.
- Penetrating oil – Useful for loosening corroded or stuck fittings.
- Bucket or bowl – To catch any residual water when the pipes are disconnected.
- Towels or rags – To wipe away any spills and protect your surfaces.
- Pipe cutter (if necessary) – For adjusting pipes during the process.
- Work gloves – To protect your hands from sharp edges or abrasive materials.
- New tap – Ensure the new tap is compatible with your bath and pipe fittings.
Having these items ready will help streamline the job and minimize interruptions once you start removing the old bath tap.
10 Methods How to Remove an Old Bath Tap
1. Turn Off the Water Supply
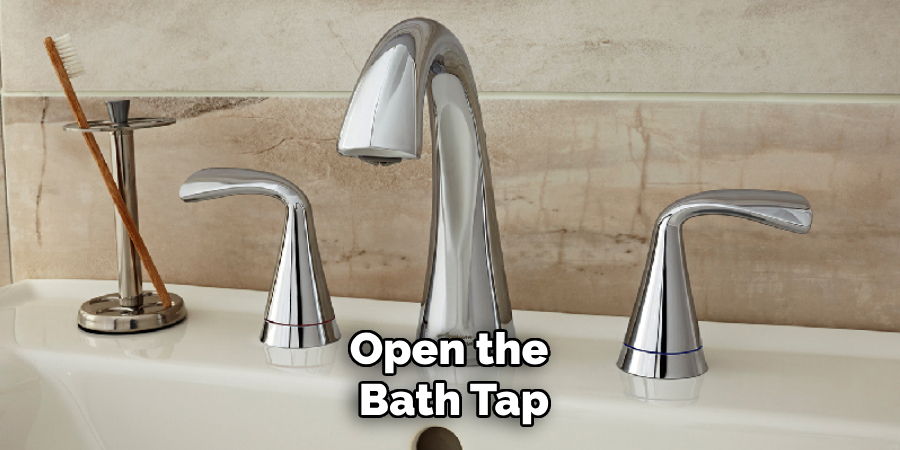
Before starting any work, turn off the water supply to your bathroom. Locate the isolation valves under the bath or the main water shut-off valve for the house, and ensure they are tightly closed. Open the bath tap to release any remaining water and relieve pressure in the pipes. This step is critical to avoid water spillage and ensure a safe working environment.
2. Prepare Your Tools and Workspace
Gather all the necessary tools before you begin, including an adjustable wrench, spanner, screwdriver, plumber’s tape, penetrating oil, a bucket, and towels. Clear the area around the bathtub to ensure you have ample space to work. Cover the bath surface with an old towel or protective mat to prevent scratches or damage from dropped tools.
3. Loosen Stubborn Fittings with Penetrating Oil
If the tap fittings are old, they might be corroded or stuck due to mineral deposits. Apply penetrating oil to the joints, nuts, and screws to help loosen them. Allow the oil to sit for 10–15 minutes to break down rust or debris. This will make unscrewing the components easier and prevent damaging the plumbing fixtures during removal.
4. Disconnect the Tap from the Water Pipes
Using an adjustable wrench or spanner, carefully loosen the nuts connecting the water pipes to the tap. Place a bucket underneath to catch any residual water that may drip out. Be gentle while handling the pipes to avoid bending or damaging them, as this could lead to leaks when installing the new tap.
5. Remove Decorative Covers and Handles
Many bath taps have decorative covers or handles that conceal screws or bolts. Use a flathead screwdriver to carefully pry off these covers. Check for screws securing the handles in place and unscrew them. Gently wiggle the handles to remove them without forcing, as excessive pressure may break or damage the fittings.
6. Unscrew the Tap Fixing Nuts
Underneath the bath, you’ll find large fixing nuts that secure the tap to the bathtub. Use a basin wrench or an adjustable spanner to loosen these nuts. If they’re difficult to turn, apply more penetrating oil and try again after a few minutes. Removing these nuts frees the tap from the bathtub surface.
7. Detach the Tap from the Bath
Once the fixing nuts are removed, lift the tap from its position. If it’s stuck, it might be sealed with silicone or adhesive. Use a utility knife to carefully cut around the base of the tap to break the seal. Be patient during this process to avoid scratching the bathtub or damaging the tap hole.
8. Inspect and Clean the Tap Area
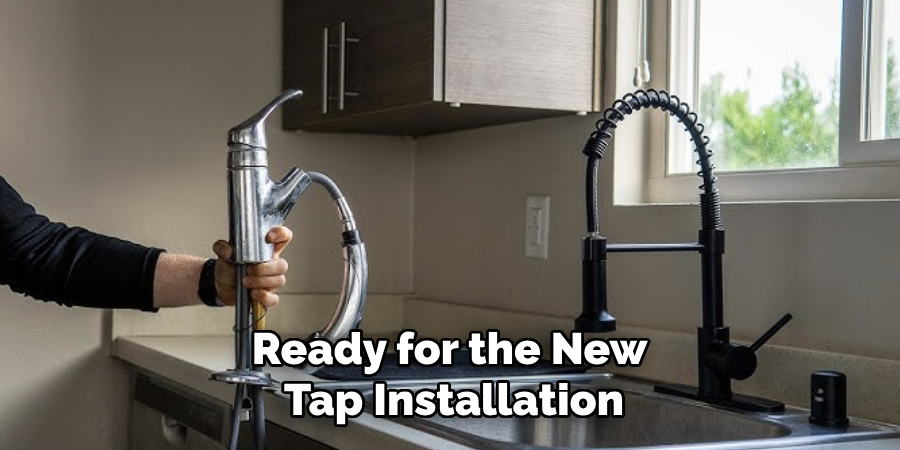
After removing the old tap, inspect the area around the tap holes. Remove any remaining silicone, adhesive, or debris using a scraper or putty knife. Clean the surface with soapy water and a sponge to ensure it’s smooth and ready for the new tap installation. This step ensures a proper seal and prevents future leaks.
9. Check the Plumbing Connections
Before proceeding, examine the condition of the plumbing connections. Look for signs of wear, corrosion, or leaks in the pipes and fittings. Replace any damaged parts to avoid issues when installing the new tap. Wrap the threads of the connections with plumber’s tape to create a watertight seal.
10. Dispose of the Old Tap Properly
Dispose of the old tap responsibly. If it’s made of recyclable materials such as brass or stainless steel, consider taking it to a recycling center. Alternatively, you could repurpose it for a DIY project. Proper disposal not only benefits the environment but also keeps your workspace tidy.
Maintenance and Upkeep
Proper maintenance of your new bath tap is essential to ensure its longevity and optimal performance. Here are some tips to keep your fixture in excellent condition:
- Regular Cleaning
Clean the tap regularly with a soft cloth and mild soap solution to remove mineral deposits, soap scum, and water spots. Avoid using abrasive cleaners or scrubbers, as they can damage the finish.
- Check for Leaks
Periodically inspect the tap for leaks or drips. A leaking tap not only wastes water but can also indicate worn-out washers or other internal components that may need replacement.
- Descale the Tap
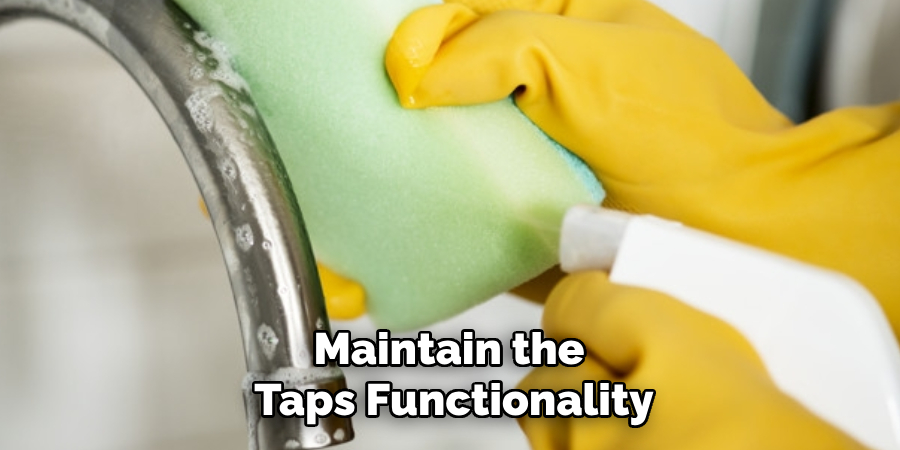
If you live in an area with hard water, limescale buildup can occur over time. Use a mixture of white vinegar and water or a commercial descaling solution to remove limescale and maintain the tap’s functionality and appearance.
- Tighten Loose Fittings
Over time, the fittings may become loose due to regular use. Check the tap handles and connectors and tighten them as needed to prevent leaks and maintain stability.
- Replace Worn Parts
Components such as washers or O-rings can wear out after prolonged use. Replace these parts promptly to prevent issues like dripping or reduced water pressure.
By following these maintenance tips, you can prolong the life of your bath tap and ensure it continues to work well while retaining its aesthetic appeal.
Things to Consider When Choosing a New Bath Tap
When replacing your bath tap, there are several factors to consider to ensure you select the best option for your bathroom’s functionality and aesthetic. Here are some important points to keep in mind:
- Compatibility with Existing Plumbing
Ensure the new tap is compatible with your current plumbing system. Check the size and type of fittings required and verify that your pipe connections match the new tap specifications.
- Design and Style
The tap design should complement the overall aesthetic of your bathroom. Choose a style and finish that aligns with your preferences, such as chrome, brushed nickel, or matte black, to enhance the room’s visual appeal.
- Functionality
Consider the tap features that best suit your needs. Options such as single-handle mixers, separate hot and cold controls, or thermostatic taps can provide varying levels of control and convenience.
- Material Quality
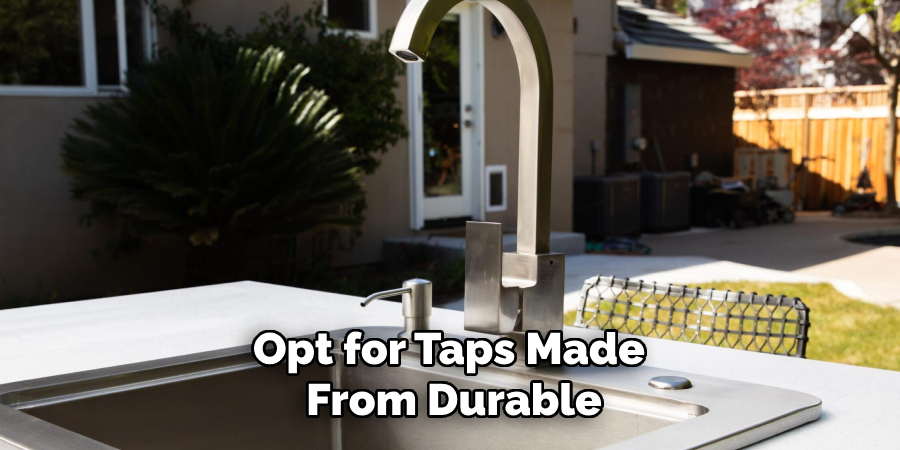
Opt for taps made from durable, high-quality materials like brass or stainless steel, as they are resistant to corrosion and wear, ensuring long-term performance.
- Ease of Installation
Some taps are easier to install than others, depending on their design and configuration. If you’re undertaking the installation yourself, pick a model that is straightforward and has clear instructions.
- Budget
Set a budget for the new tap and explore options within that range. While affordability is important, balance it with the quality and durability of the product.
Conclusion
Removing an old bath tap requires careful preparation, patience, and the right tools. By following these ten methods, you can safely and effectively remove the tap without causing damage to your bathtub or plumbing system. Follow these simple instructions outlined in this blog post about how to remove an old bath tap, and you’ll be able to get the job done with ease.

