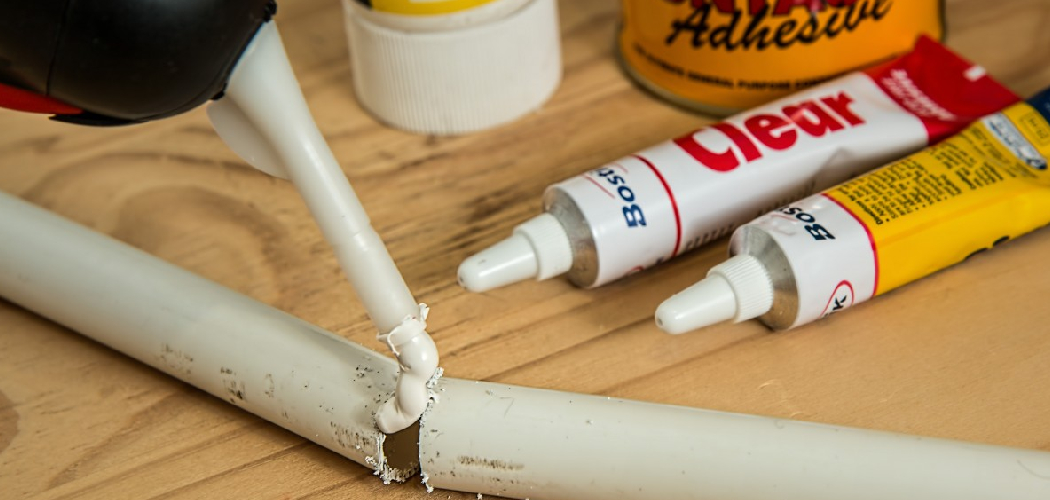
Removing bathroom adhesive can seem like a daunting task, but with the right approach and tools, it can be done efficiently and safely. Whether you’re replacing tiles, removing an old fixture, or refreshing the space, getting rid of stubborn adhesive is an essential step. This guide will provide you with simple and effective techniques for how to remove bathroom adhesive while minimizing damage to surfaces.
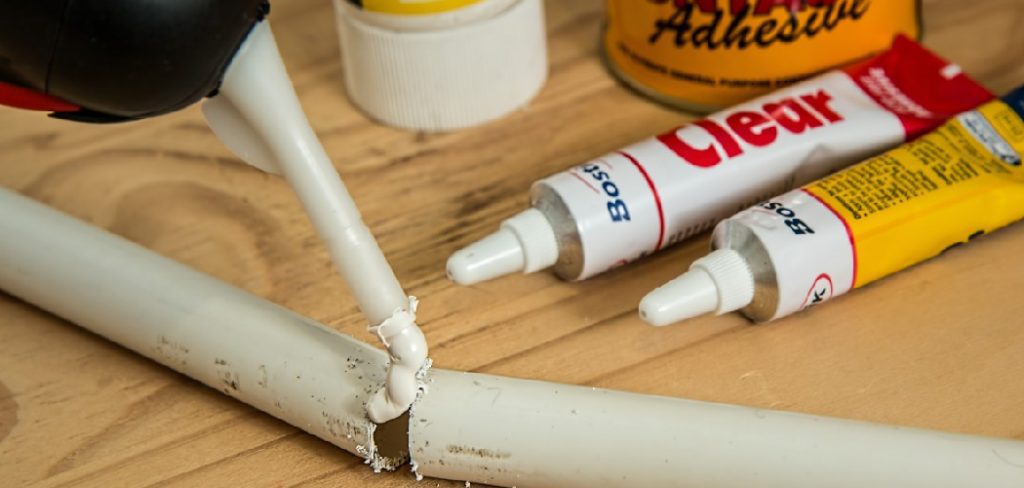
Common Types of Bathroom Adhesive
Before beginning the removal process, it’s important to understand the different types of bathroom adhesive you might encounter. Each type has unique characteristics and may require specific techniques for effective removal:
- Silicone Sealant: Commonly used to seal gaps around bathtubs, sinks, and showers, silicone is flexible and waterproof, making it an ideal choice for moisture-prone areas. However, it can be stubborn to remove once cured.
- Construction Adhesive: This strong, multi-purpose adhesive is often used to secure fixtures or panels. Its durability makes it effective but challenging to remove without proper tools.
- Tile Adhesive (Mastic or Thinset Mortar): Tile adhesive, such as mastic glue or cement-based thinset, is used to bond tiles to walls or floors. Depending on the type, it can either be water-soluble or require mechanical effort for removal.
- Epoxy Adhesive: Epoxy is a heavy-duty adhesive used in areas requiring high strength and chemical resistance. Its hard, durable finish can complicate the removal process.
Understanding which adhesive you are dealing with will help you choose the most appropriate tools and methods for removal.
Safety Precautions Before You Begin
Before starting the adhesive removal process, it’s essential to prioritize safety to prevent injuries and minimize health risks. Here are some key precautions to follow:
- Wear Protective Gear: Always wear safety goggles to protect your eyes from dust or debris and gloves to shield your hands from sharp tools or chemical irritants. A dust mask is also recommended if working with materials that may release fine particles.
- Ensure Adequate Ventilation: If using chemical adhesive removers, work in a well-ventilated area to avoid inhalation of toxic fumes. Open windows and use fans to improve airflow.
- Secure the Workspace: Remove any tripping hazards and make sure the floor is clean and dry to prevent slips or falls. Keep the area well-lit, especially when working with sharp tools.
- Handle Tools Properly: Inspect all tools for damage before use and ensure proper handling to avoid accidents. Keep cutting tools sharp and away from non-working surfaces to maintain control.
- Understand Product Instructions: If using chemical removers, carefully read and follow the manufacturer’s guidelines for application and disposal. Improper use can be dangerous.
- Prepare for Emergencies: Keep a first aid kit nearby and be aware of emergency procedures, especially if handling chemicals or using power tools.
Taking these precautions will help create a safer environment and reduce the risk of incidents during adhesive removal.
10 Methods How to Remove Bathroom Adhesive
1. Use a Hair Dryer to Soften the Adhesive
One of the simplest and most effective ways to begin removing bathroom adhesive is by using heat to soften the bond. A regular hair dryer, set on high, can do wonders for breaking down the sticky grip of adhesives on tiles, mirrors, or fixtures. Aim the heat at the adhesive area for a minute or two, moving the dryer slowly across the surface to avoid overheating any one spot.
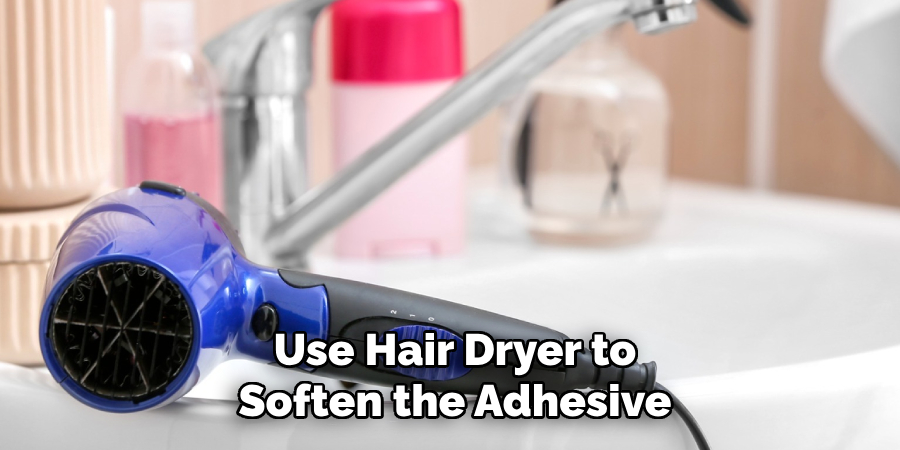
As the adhesive warms, it becomes more pliable, allowing you to gently scrape it away using a plastic scraper or an old credit card. This technique is particularly helpful for removing sticker residue, wall hooks, or leftover caulking strips without damaging the underlying surface.
2. Apply White Vinegar for Natural Dissolving Power
White vinegar is a gentle yet surprisingly powerful agent when it comes to dissolving adhesives, particularly those used in bathroom wall tiles or mirrors. Soak a cloth or paper towel in warm vinegar and press it over the adhesive for 10 to 15 minutes. The acidic nature of vinegar helps to break down the glue’s composition, making it easier to peel or wipe away. After soaking, use a soft cloth or scraper to gently lift the softened residue. This method is not only effective but also non-toxic and safe for homes with children or pets.
3. Try Commercial Adhesive Removers
For tougher adhesive jobs—like dried caulk or old glue beneath towel racks—commercial adhesive removers can be a game-changer. Brands like Goo Gone, WD-40, or specialty tile and grout removers are specifically formulated to tackle the stubborn stickiness of adhesives. Apply the product according to the instructions, letting it sit for a few minutes. These cleaners break the chemical bond in adhesives, making them easy to scrape off with a plastic putty knife or sponge. Always test the product in a small, inconspicuous area first to ensure it won’t harm the surface you’re cleaning.
4. Use Rubbing Alcohol to Cut Through Adhesive
Rubbing alcohol, or isopropyl alcohol, is a versatile household solution that works wonders on a variety of sticky situations. Dab a cotton ball or soft cloth in the alcohol and gently rub the adhesive area. The alcohol acts as a solvent, softening the glue and making it easier to remove. It’s especially effective on non-porous surfaces like glass, tile, and plastic.
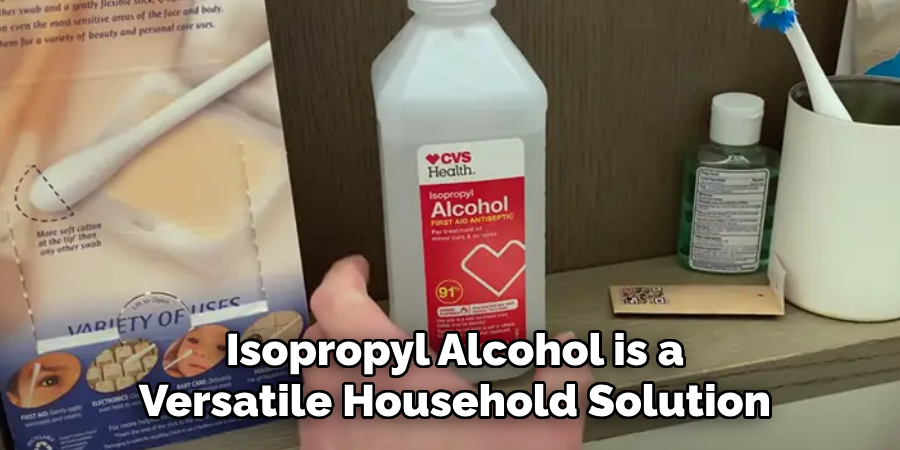
Since alcohol evaporates quickly, it won’t leave moisture behind that could damage grout or fixtures. For persistent spots, multiple applications may be needed, but this method offers a low-odor and safe approach to adhesive removal.
5. Scrape Gently with a Plastic Tool
Sometimes, all that’s needed is a bit of manual effort. Using a plastic putty knife, scraper, or an old credit card allows you to physically remove adhesive without scratching tiles or damaging surfaces. This method works best after using heat or solvents to loosen the adhesive. Angle the tool under the edge of the glue and apply slow, even pressure to peel it away. Avoid using metal tools unless absolutely necessary, as they can easily scratch or chip ceramic or fiberglass surfaces. A bit of patience can go a long way with this straightforward technique.
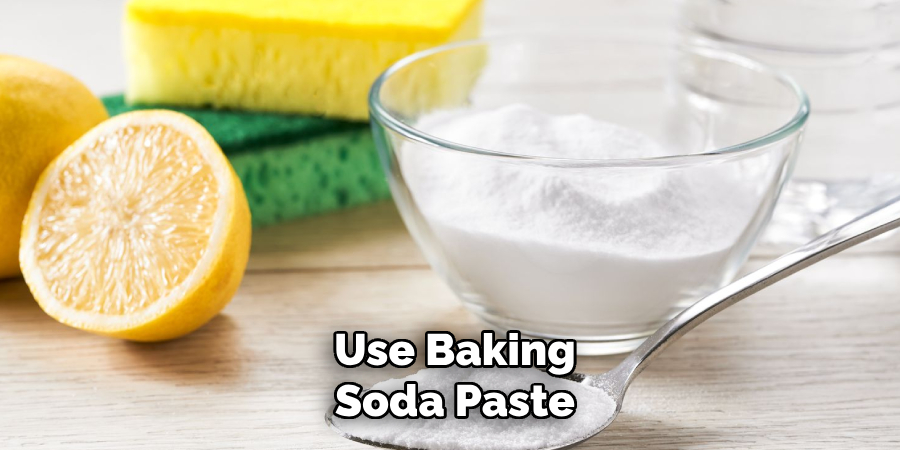
6. Use Baking Soda Paste for Mild Abrasion
A gentle abrasive method involves creating a paste from baking soda and water. This non-toxic mixture can be applied directly to adhesive residue, particularly on ceramic tiles or countertops. Let the paste sit for 5–10 minutes, then scrub using a soft sponge or cloth in circular motions. Baking soda’s mild abrasiveness helps lift the adhesive without scratching the surface. Once the residue is gone, rinse with warm water and wipe dry. This is an ideal method for those seeking a natural, environmentally friendly solution to adhesive cleanup.
7. Deploy a Razor Blade for Precision (with Caution)
When dealing with flat glass or porcelain surfaces, a razor blade can be an effective last resort for removing hardened adhesive. Hold the blade at a 45-degree angle and gently scrape the glue away in small sections.
This method should be used with extreme care to prevent scratches or injury. It is most effective when used after softening the adhesive with heat or a solvent. Always wear gloves and work slowly, using light pressure to control the blade’s movement. Keep the surface damp to minimize friction during the scraping process.
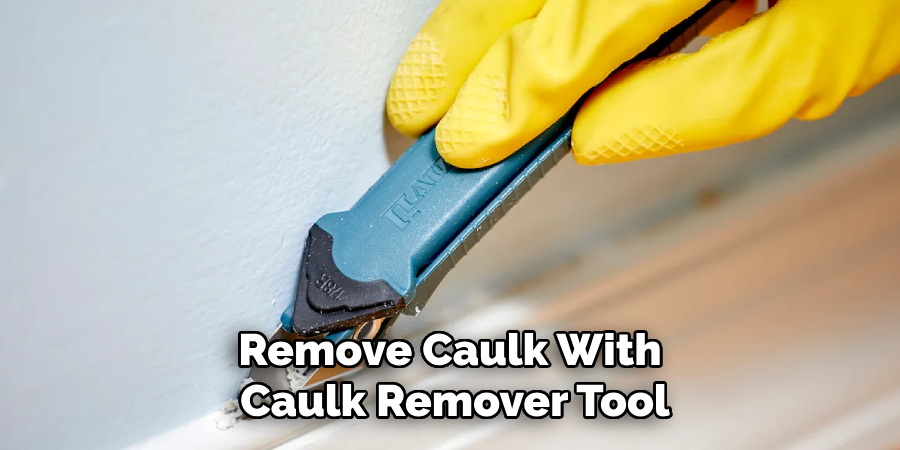
8. Remove Caulk with a Caulk Remover Tool
In bathrooms, many adhesives come in the form of caulk used around tubs, sinks, and tiles. For this task, a dedicated caulk remover tool can provide precision and ease. These tools are designed with angled blades or plastic edges that conform to the shape of grout lines and crevices. Score along the edges of the old caulk, then use the tool to peel it out in strips. If remnants remain, soften them with a caulk-dissolving solution before attempting a second pass. This method is essential for restoring clean lines and preparing the area for reapplication.
9. Apply Acetone for Stubborn Glue
For more industrial adhesives like epoxy or heavy-duty bonding agents, acetone (often found in nail polish remover) can be an effective solvent. Dampen a cloth with acetone and dab it onto the adhesive, allowing it to soak for several minutes. The acetone works by breaking down the chemical bonds, making the glue soft enough to be wiped or scraped away. While effective, acetone should be used sparingly and in a well-ventilated area, as it can be harsh on the skin and some surfaces. Always test in an out-of-sight area and avoid contact with plastic parts that may be damaged by the solvent.
10. Finish with a Thorough Clean and Polish
After all adhesive residue is removed, finish the job with a full cleaning of the treated area. Use a mild soap and water solution or a general bathroom cleaner to remove any leftover chemicals or particles. Wipe the area with a clean, damp cloth and then dry it completely. If the surface allows, polish with a dry microfiber cloth for a streak-free finish. Not only does this enhance the look of your bathroom, but it also ensures that all traces of adhesive and cleaning agents are gone, leaving your surfaces smooth and ready for use.
Conclusion
Bathroom adhesive can be unsightly and difficult to remove, but with the right approach, it’s entirely manageable. Whether using natural remedies like vinegar and baking soda, or turning to commercial solutions and tools, each method above offers a unique strategy suited to different surfaces and adhesive types. By combining heat, solvents, gentle abrasion, and patience, you can successfully restore your bathroom’s clean appearance. So, there you have it – a quick and easy guide on how to remove bathroom adhesive.

