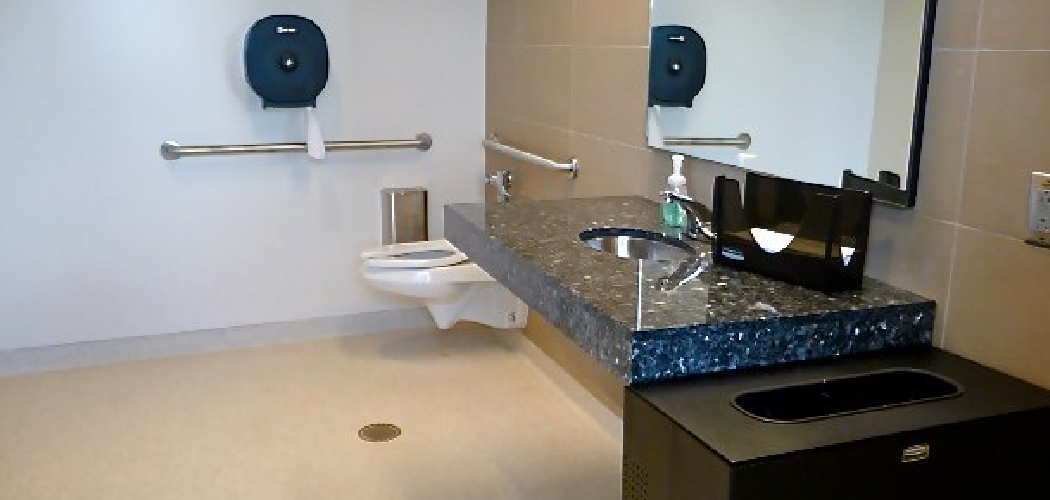
Are you tired of looking at the old, discolored caulk in your bathroom? Or do you need to replace a damaged section of caulk? Whatever the reason, removing bathroom caulking is a task that can easily be done on your own with just a few tools and some patience.
How to remove bathroom caulking is an essential step in maintaining a clean and watertight space. Over time, caulking can degrade, becoming discolored, cracked, or moldy, undermining its ability to create a proper seal. Whether you need to replace caulking around your bathtub, sink, or shower, the process requires patience and the right tools to ensure the job is done effectively.
This guide will walk you through the steps needed to safely and efficiently remove bathroom caulking, preparing the surface for a fresh application and restoring the functionality and appearance of your bathroom.
What Are the Causes of Deteriorating Caulking?
Several factors can contribute to the deterioration of bathroom caulking over time.
- Moisture: The most common culprit for deteriorating caulking is prolonged exposure to moisture. Bathrooms are high-moisture areas, and if the caulk is not applied correctly or regularly maintained, it can lead to mold growth and water damage.
- Age: Over time, caulking can dry out and crack, especially in areas with extreme temperature changes. As the caulk loses its elasticity, it becomes more prone to damage from movement or other stressors.
- Poor Application: If the caulk was initially applied incorrectly or inadequately, it may not adhere properly to the surface, making it easier for water and moisture to seep in and cause damage.
- Cleaning Products: Some cleaning products can be harsh and may cause damage to caulk, especially if they contain bleach or chemicals that break down the sealant.
- Type of Caulk: Various types of caulk are available on the market, each with its own lifespan and recommended usage. Using the wrong caulk for a specific area or surface can lead to premature failure and water damage.
- Excessive Movement: If an area experiences frequent movement, such as doors or windows constantly opening and closing, it can strain the caulk and cause it to deteriorate more quickly.
- Environmental Factors: Exposure to extreme temperatures, sunlight, and moisture can all contribute to the breakdown of caulk. Choosing a caulk suitable for the specific environment it will be used in is important.
What Will You Need?
To properly caulk a surface, you will need the following tools and supplies:
- Caulking Gun: This is used to apply the caulk evenly and with precision.
- Utility Knife or Razor Blade: This will be used to cut the caulk tube’s tip at an angle for easier application.
- Pliers: These may be needed to puncture the inner seal of the caulk tube before use.
- Masking Tape: Created straight edges and prevented excess caulk from smudging onto surrounding surfaces.
- Mineral Spirits or Rubbing Alcohol: These can clean up any excess or mistakes while working with caulk.
- Damp Cloth or Paper Towels: Handy for wiping off any excess caulk that may get on hands or surfaces.
- Caulk Tool: This tool can help create a smooth and even finish when applying caulk.
- Rubber Gloves: Optional but helpful in keeping hands clean and protected from the chemicals in some caulk types.
8 Easy Steps on How to Remove Bathroom Caulking
Step 1: Prepare the Area
Before starting the removal process, ensure the work area is clean and clutter-free. Remove any items near the caulking, such as soap dishes, shower caddies, or toothbrush holders, to give yourself ample space to work. It’s also a good idea to place a drop cloth or old towels over nearby surfaces to catch any debris or old caulk that may come loose.
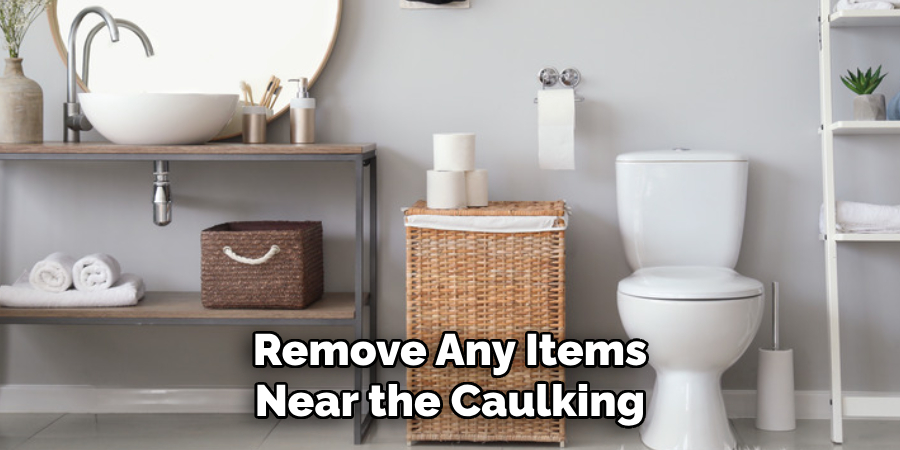
Ventilate the bathroom by opening a window or turning on the exhaust fan to minimize any odors or fumes from chemicals you might use during the process. This preparation makes the job easier and helps protect your bathroom surfaces from accidental damage.
Step 2: Remove the Old Caulk
Begin by carefully removing the old caulk from the seams or joints. Use a caulk remover tool, utility knife, or razor scraper to cut and scrape away the existing caulk. Be cautious not to damage the surfaces around the caulk, such as tiles or fixtures. If the caulk is stubborn or difficult to remove, consider applying a caulk softener or remover product to loosen it, following the manufacturer’s instructions.
Once the old caulk is entirely removed, wipe down the area with a damp cloth to remove any remaining residue or dust. Ensure the surface is clean and completely dry before moving on to the next step.
Step 3: Apply Painter’s Tape
To ensure clean and straight lines, use painter’s tape to mask off the areas around where the new caulk will be applied. Place the tape slightly above and below the seam or joint to create a guide for the caulk. This step helps prevent excess caulk from spreading onto unwanted surfaces and results in a neat, professional finish. Ensure the tape is firmly pressed to avoid any caulk seeping underneath it.
Step 4: Apply the Caulk
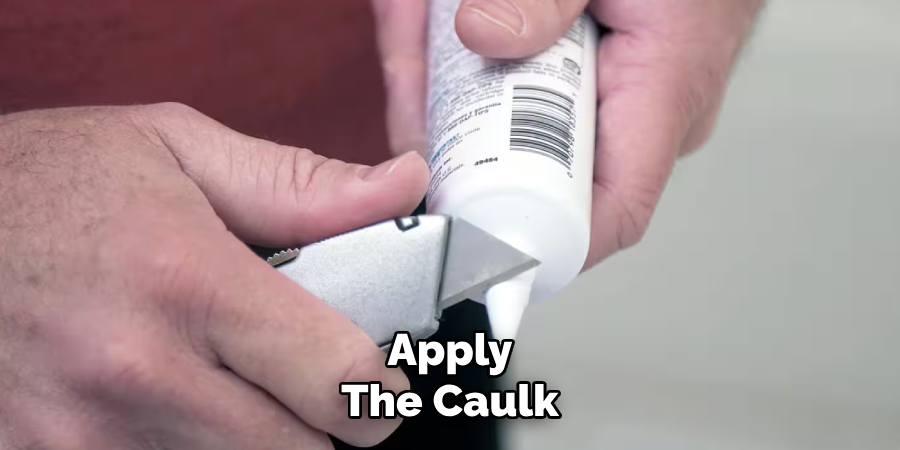
Cut the caulk tube’s tip at a 45-degree angle to match the width of the seam or joint you are filling. Insert the tube into a caulk gun and apply even pressure as you squeeze the trigger, steadily moving along the seam. Make sure to fill the gap without leaving any voids. Use a consistent motion to achieve a smooth application. For best results, work in small sections to maintain control and precision.
Step 5: Smooth the Caulk
After applying the caulk, it’s essential to smooth it out to ensure a clean, professional finish and proper sealing. Using a caulk smoothing tool or your finger dipped in water, gently press along the bead of caulk, spreading it evenly and creating a seamless seal. This step helps to remove any air bubbles and ensures the caulk adheres properly to the surfaces on either side of the joint.
Be sure to wipe away any excess caulk with a damp cloth before it dries, as this will prevent messy edges and make cleanup easier. Take your time to inspect the seams and make adjustments as needed to achieve a uniform, polished look. Proper smoothing also enhances the durability and aesthetic of the finished work.
Step 6: Allow the Caulk to Cure
Once the caulk has been applied and smoothed, giving it adequate time to cure is essential. Check the manufacturer’s instructions for the recommended curing time, which can vary depending on the type of caulk used. Avoid disturbing or exposing the caulk to moisture during this period, as this could compromise the seal and reduce its effectiveness. Proper curing ensures a strong, long-lasting bond and produces a professional finish.
Step 7: Clean Up and Inspect the Work
After the caulk has fully cured, carefully remove any painter’s tape used during the application process. Clean up any remaining residue or excess caulk with a damp cloth or recommended cleaning product. Inspect the caulked area to ensure a smooth seal with no gaps or imperfections. If needed, apply touch-ups to address any minor issues. A thorough cleanup and inspection help guarantee a polished and professional result.
Step 8: Maintain the Caulked Area
Proper maintenance of the caulked area is essential to ensure its longevity and effectiveness. Regularly inspect the seal for signs of wear, cracking, or gaps that may develop over time, especially in areas exposed to moisture, temperature fluctuations, or movement. Clean the surface periodically to prevent the buildup of dirt, mold, or mildew, which can compromise the integrity of the caulking.
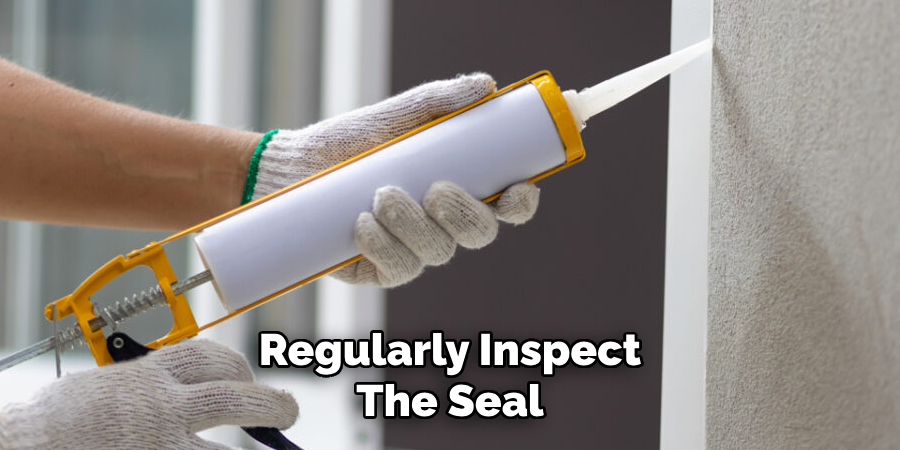
Use a mild cleaning solution and avoid abrasive tools that could damage the seal. If you notice any defects or deterioration, address them promptly by removing the affected caulk and reapplying fresh sealant. Staying proactive with maintenance will help preserve the functionality and appearance of the caulked area, providing lasting protection and a clean finish.
By following these simple tips, you can ensure that your caulked areas remain in top condition and continue to seal and protect your home effectively.
5 Things You Should Avoid
- Using the Wrong Tools
Avoid using improper tools like kitchen knives or metal objects that can damage the surrounding surfaces. Always use tools designed explicitly for caulk removal, such as a caulk removal tool or plastic scraper, to ensure safe and effective removal.
- Skipping Surface Preparation
Do not neglect cleaning the area before removing the caulk. Ensure the surface is dry and debris-free to make the removal process easier and avoid contaminating the new caulk application later.
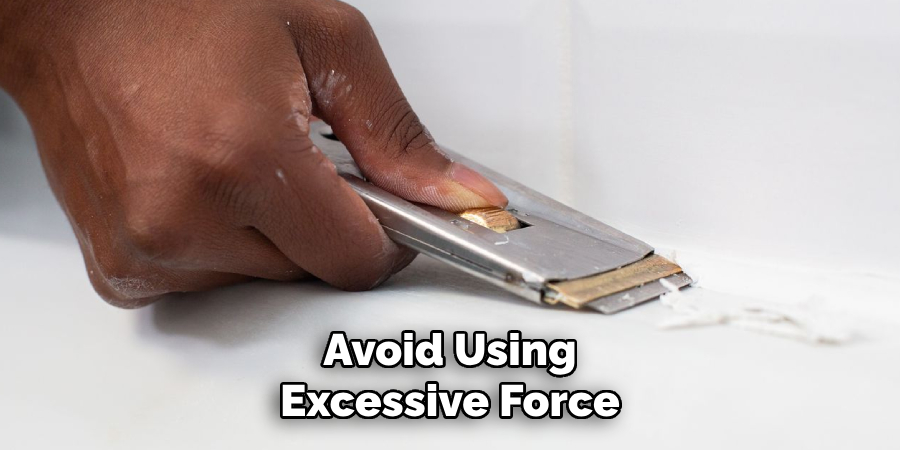
- Forcing the Removal
Avoid using excessive force when scraping off the old caulk, as it can cause damage to tiles, fixtures, or walls. Patience and the proper technique will help remove caulk without harming the underlying surfaces.
- Not Softening the Caulk
Do not attempt to remove hardened caulk without softening it first. Use a caulk softener or an appropriate solvent to make the material easier to work with and to minimize the risk of damaging the surrounding areas.
- Skipping Proper Ventilation
Avoid using chemicals or caulk softeners in an enclosed, unventilated space. Ensure good airflow by opening windows or turning on a fan to prevent inhaling strong fumes, keeping the environment safe.
Conclusion
How to remove bathroom caulking may seem challenging, but by following the correct steps and taking proper precautions, the process can be straightforward and efficient.
Always gather the right tools and materials, such as a utility knife, caulk remover, and protective gear. Work methodically to soften the old caulk, ensure proper ventilation, and carefully remove it without damaging surrounding surfaces.
Finally, clean the area thoroughly to prepare it for new caulking. You can achieve a clean and professional result with patience and attention to detail.

