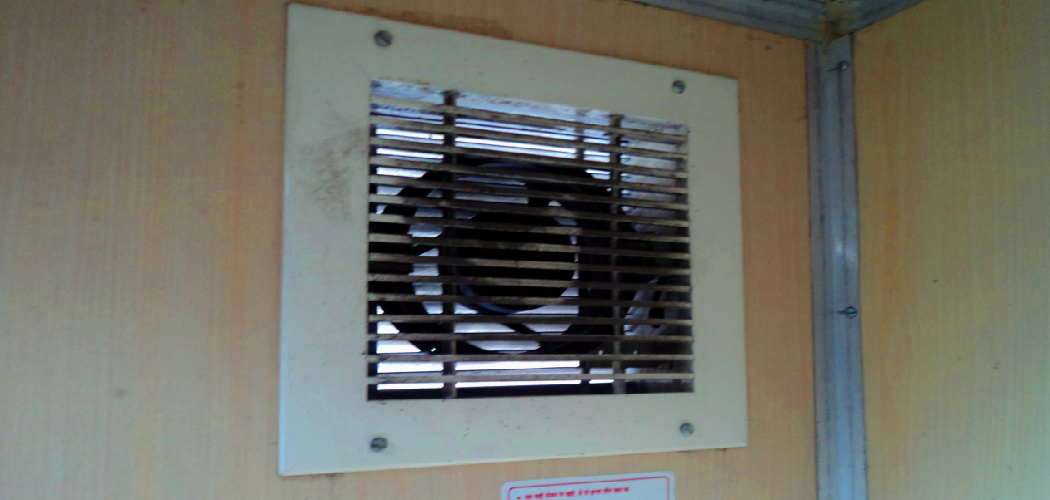
Are you tired of your noisy bathroom fan or is it simply not working as well as it used to? Removing and replacing a bathroom fan can be done quickly with a few simple steps. Just follow this guide to learn how.
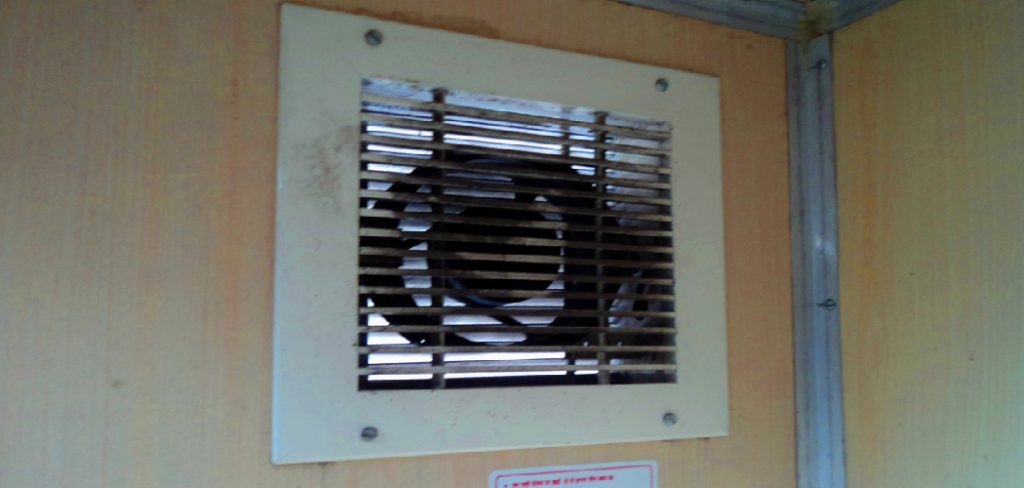
How to remove bathroom fan might seem like a challenging task, but with the right tools and guidance, it can be done efficiently and safely. Over time, bathroom fans can become noisy, inefficient, or clogged with dust, requiring replacement or maintenance. Whether you’re upgrading to a more efficient model or simply repairing the existing fan, understanding the steps involved in the removal process is essential.
This guide will walk you through the process, ensuring you have the knowledge needed to complete the task successfully. Let’s get started!
What Will You Need?
Before you begin, ensure you have all the necessary tools and materials. These will include:
- Screwdriver (typically Phillips’s head)
- Ladder
- Replacement fan (if applicable)
- Electrical tape (if applicable)
- Safety glasses
It’s important to ensure a replacement fan is ready before removing the old one. This will prevent any delays in installation and keep your bathroom functional. Also, be sure to turn off the power supply to the bathroom fan before beginning any work.
10 Easy Steps on How to Remove Bathroom Fan
Step 1: Remove the Cover
The first step in removing your bathroom fan is removing the cover. To do this, gently pull down on the cover until you see that it hangs slightly away from the ceiling. You’ll notice that most bathroom fan covers are held in place by metal clips or screws.
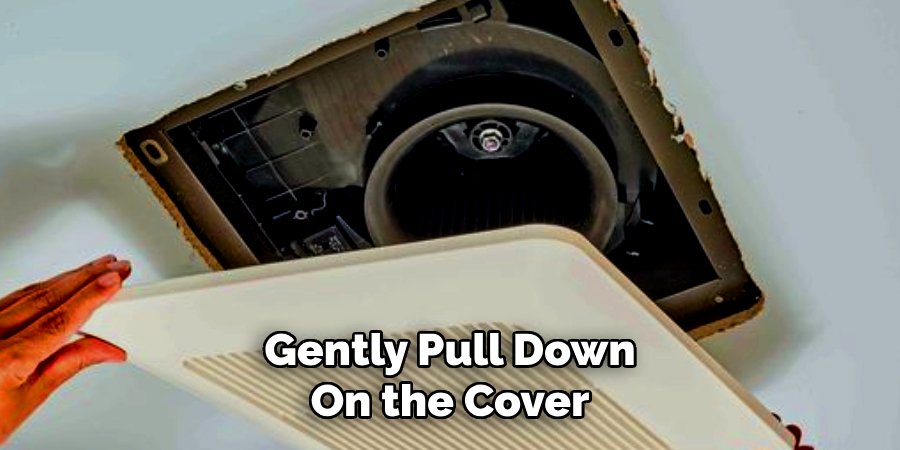
If clips hold the cover, simply squeeze the clips together and carefully remove the cover. For covers secured with screws, use a Phillips head screwdriver to loosen and remove them gently. Once the cover is detached, set it aside in a safe place. Use this opportunity to clean the cover if it’s dusty or stained, making it easier to reinstall later. Removing the cover will expose the fan unit and provide access to the internal components for the next steps.
Step 2: Disconnect the Fan Wiring
Before proceeding, ensure the power to the bathroom fan is turned off at the circuit breaker to avoid any electrical hazards. Once confirmed, locate the wiring connected to the fan unit. Typically, the wires are housed in a small electrical box attached to the fan. Open the box by removing its cover, which is usually secured by a screw.
Carefully disconnect the wires by unscrewing the wire nuts that join the connections. Be sure to note which wires connect for easy reinstallation later. It’s a good idea to take a photo of the wiring setup for reference. Once the wiring is completely disconnected, close the electrical box to prevent damage while continuing with the next steps.
Step 3: Remove the Fan Unit
With the wiring disconnected, removing the fan unit from its housing is the next step. Most bathroom fans are secured in place with screws or mounting brackets. Use a screwdriver to unscrew these fasteners or release the fan unit brackets carefully. Once the screws or brackets are removed, gently pull the fan unit down from the ceiling.
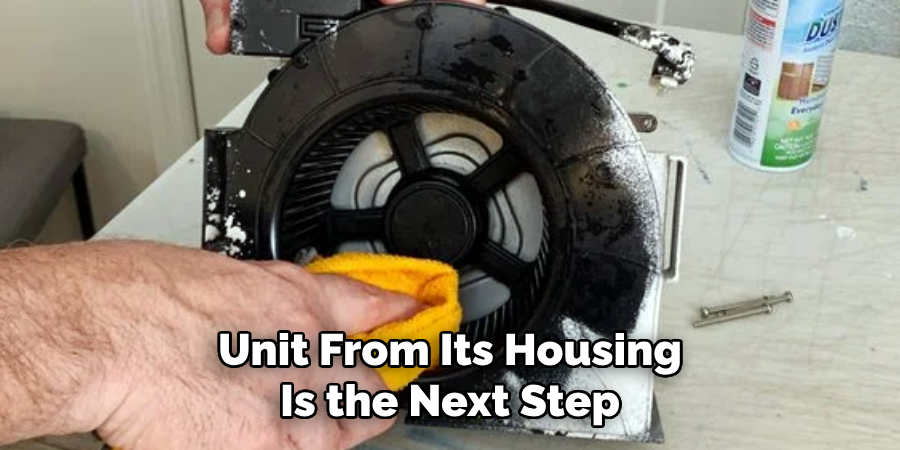
Take care not to damage the surrounding housing or the ceiling during this process. Place the fan unit on a flat surface for inspection or replacement, depending on the purpose of your maintenance.
Step 4: Clean the Fan Housing
Before installing a new fan unit or reassembling the existing one, it’s essential to clean the fan housing. Use a vacuum cleaner with a brush attachment to remove dust, debris, and possible cobwebs from inside the housing. For stubborn grime or residue, a cloth dampened with mild soap and water can be used to wipe the surface. Ensure the area is thoroughly clean and dry before proceeding to avoid hindering airflow or causing potential mechanical issues. Cleaning the housing helps maintain the fan’s efficiency and ensures proper functioning. As a safety precaution, wear gloves and safety glasses during this step.
Step 5: Inspect and Replace Parts
While the fan housing is clean and accessible, inspect all components for signs of wear or damage. Check the wiring for frayed or exposed areas, ensure that the motor and blades are in good condition, and confirm that all screws or brackets are intact. If any parts appear damaged or worn, replace them with compatible components to ensure the fan operates safely and effectively. Refer to the manufacturer’s guide for part specifications and installation instructions. Conducting a thorough inspection at this stage minimizes the risk of future malfunctions. If you’re simply cleaning and maintaining the existing fan, skip this step and proceed to reassembly.
Step 6: Reassemble the Fan
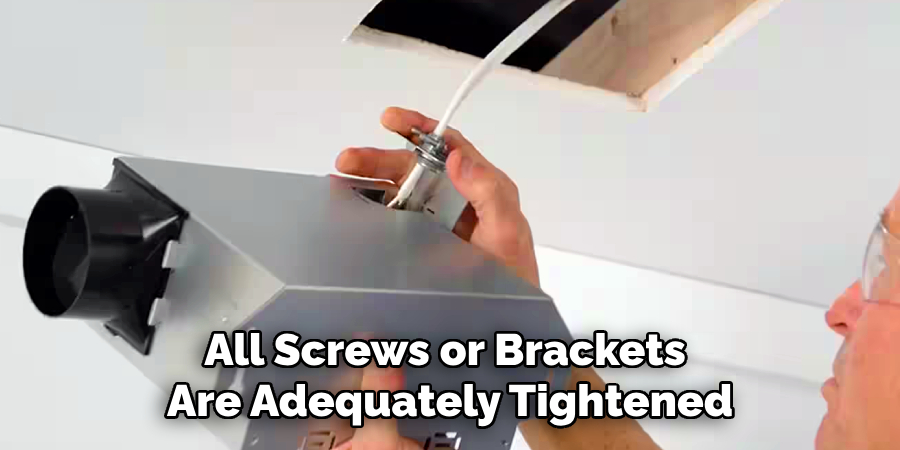
Once the components have been inspected and any necessary replacements have been completed, the fan will be reassembled. Start by securely attaching the motor and blades to the housing, ensuring that all screws or brackets are adequately tightened. Reconnect any wiring, following the manufacturer’s instructions to ensure proper alignment and safety. After all parts are in place, carefully reattach the fan cover or grille. Double-check that everything is secure and that no parts are loose before proceeding. Proper reassembly is crucial for safe and efficient fan operation.
Step 7: Test the Fan
After reassembling the fan, plug it in or reconnect it to its power source. Turn the fan on to test its functionality. Start at a low speed and gradually increase to ensure all settings work correctly. Listen for any unusual noises that could indicate loose components or alignment issues. Observe the fan’s performance, checking for smooth and stable operation without wobbling. If any problems are detected, disconnect the fan and revisit the previous steps to identify and correct the issue. Proper testing ensures the fan operates safely and efficiently after maintenance or repair.
Step 8: Perform Regular Maintenance
Establish a routine maintenance schedule to keep your fan functioning optimally and extend its lifespan. Regularly clean the fan blades, motor housing, and vents to prevent dust buildup, which can hinder performance and efficiency. Inspect the fan periodically for signs of wear and tear, such as frayed wires or loose screws, and address any issues promptly. Lubricate moving parts as required, following the manufacturer’s guidelines, to reduce friction and ensure smooth operation. Consistent maintenance enhances performance and promotes safety and reliability over time.
Step 9: Replace Worn or Damaged Parts
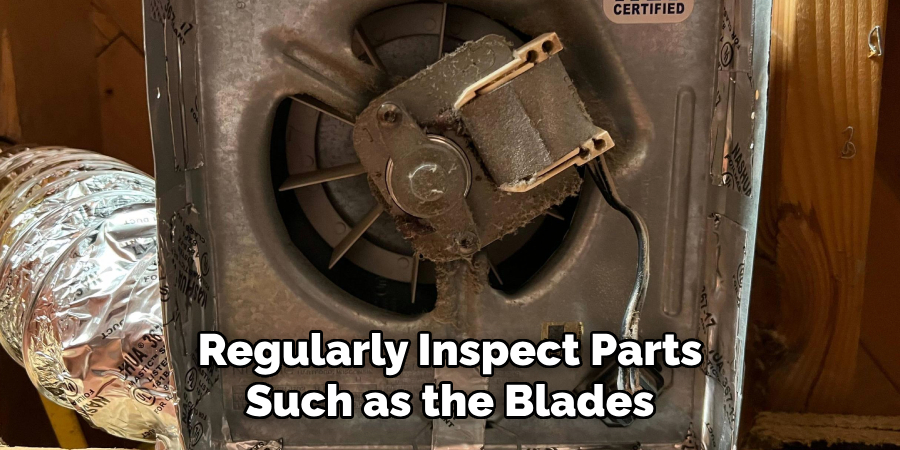
Over time, fan components may wear out or become damaged, affecting their performance and safety. Regularly inspect parts such as the blades, motor, wiring, and switches for any deterioration. If you notice cracked blades, frayed wires, or a motor that struggles to operate, replace these components with appropriate replacements recommended by the manufacturer. Using compatible parts ensures the fan operates efficiently and prevents potential hazards. Always switch off and unplug the fan before attempting any replacements to avoid injury. Taking proactive steps to replace faulty parts will help maintain your fan’s durability and functionality.
Step 10: Ensure Proper Ventilation
Aside from maintaining and repairing the fan unit, ensuring proper ventilation in your bathroom is crucial. Consider installing additional vents or windows to improve airflow and prevent excess moisture buildup, which can lead to mold growth and damage to walls and ceilings. Monitor humidity levels in the bathroom regularly, using a hygrometer and a dehumidifier to maintain optimal levels. Proper ventilation not only improves the performance of your fan but also promotes a healthy and comfortable environment in your bathroom.
By following these steps, you can effectively maintain and repair your bathroom fan, ensuring it operates safely and efficiently.
5 Things You Should Avoid
- Skipping the Power Shutoff: Never remove a bathroom fan without turning off the power supply at the circuit breaker. Working with live electrical wiring can lead to serious injuries or accidents.
- Pulling the Fan Without Inspecting Wiring: Avoid yanking on the fan without first checking how it’s connected to the electrical wiring. Carelessly pulling can damage wires or leave you struggling with unnecessary repairs.
- Ignoring Protective Gear: Failing to wear proper safety equipment, such as gloves and goggles, can expose you to dust, debris, or sharp components during the removal process.
- Skipping Manufacturer Instructions: Each bathroom fan model may have specific instructions for removal. Not consulting the manual or guides can lead to confusion or potential damage to the fan or surrounding structures.
- Forgetting to Inspect Ventilation Ducts: Once the fan is removed, skipping an inspection of the ducts can lead to missed issues, such as blockages or damage, which may affect the performance of the replacement unit. Take the time to ensure proper ventilation flow.
By avoiding these common mistakes, you can successfully maintain and repair your bathroom fan without any unnecessary setbacks or risks.
Conclusion
How to remove bathroom fan can be a straightforward process if approached with care and preparation.
By following safety precautions, referring to manufacturer instructions, and inspecting both the wiring and ventilation ducts, you can ensure a smooth removal without causing damage. Remember to turn off the power supply before starting, use appropriate tools, and remain patient to avoid mistakes.
Taking these steps will make the process easier and help you prepare the space effectively for installing a new unit.

