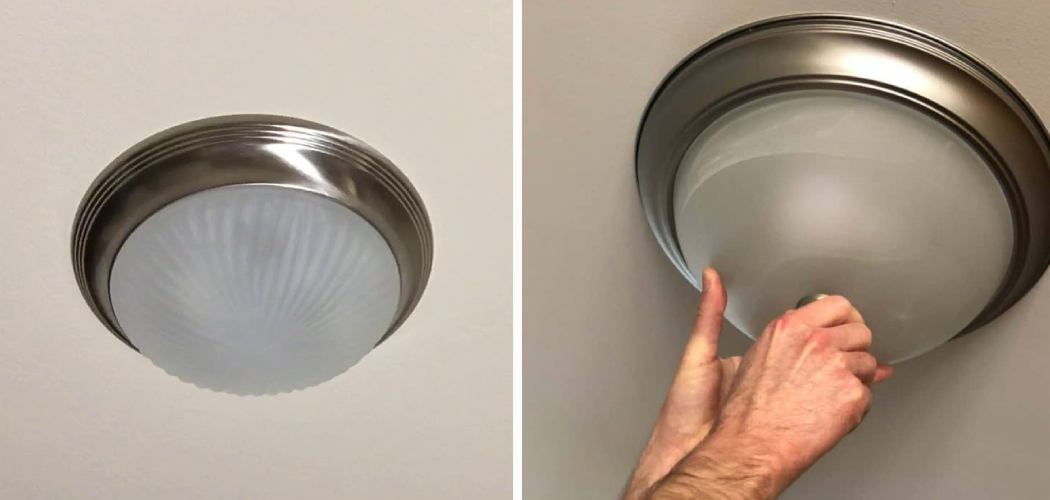
We all want our bathrooms to look their best, and lighting is a key factor in creating the right atmosphere. Unfortunately, there can be times when you need to remove bathroom light covers and replace them with new ones – either because they are broken, or because it’s time for a style update.
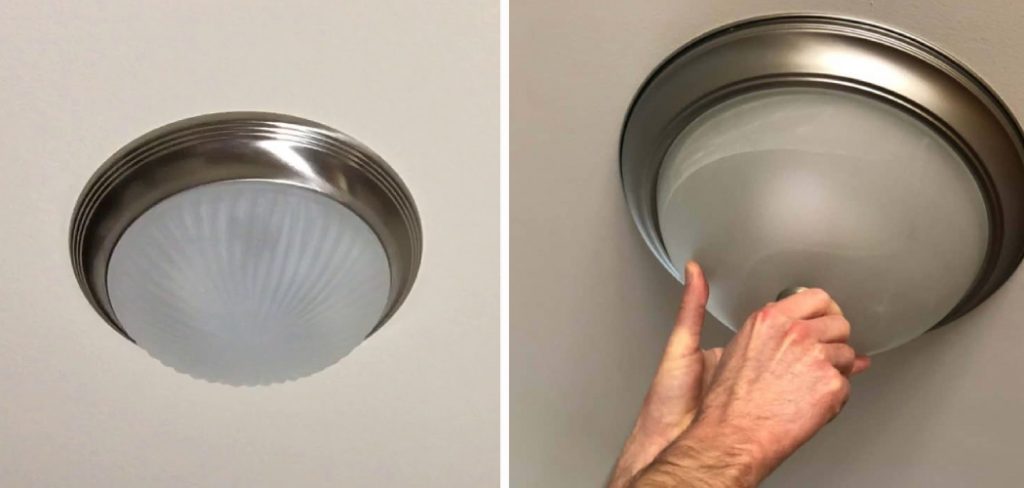
If you’ve ever found yourself wondering how exactly to go about replacing one of these covers, then this blog post is just what you need! Here we’ll talk through some simple steps that will guide you through how to remove bathroom light cover and installing a brand-new one easily. So let’s get started!
Is It Safe to Remove the Plastic Ceiling Light Cover?
When attempting to remove a bathroom light cover, safety should always be a top priority. If the light is still connected to the main power source, it’s important to turn off the circuit breaker before attempting any kind of maintenance. Additionally, plastic bathroom ceiling light covers are often held in place with clips or screws, so it’s important to use caution when removing them.
Depending on the type of cover you have, there could be sharp edges that could cause injury if handled improperly. It is also important to make sure that all pieces of hardware, such as nuts or bolts, remain with the fixture; otherwise, they can easily become lost and difficult to replace.
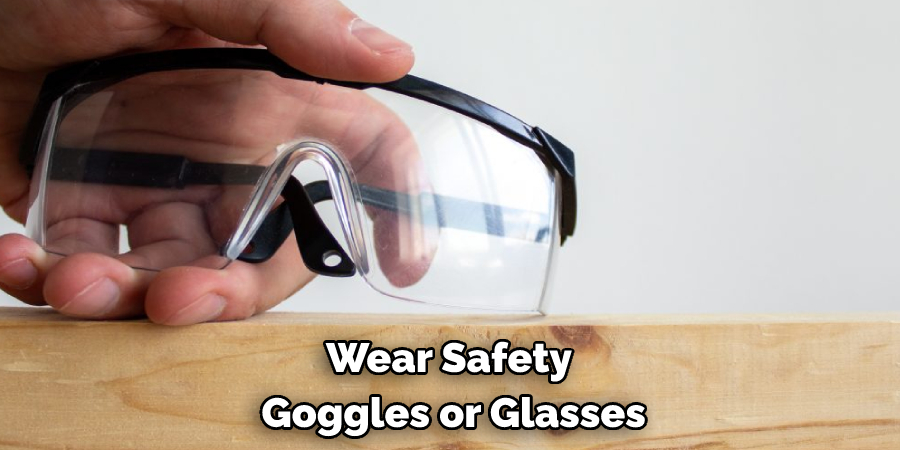
Finally, it’s best to wear safety goggles or glasses while handling any electrical components during maintenance. Following these guidelines will help prevent any accidents or injuries that could occur during the removal procedure.
Taking care to follow safety protocols will make removing a plastic bathroom ceiling light cover a much safer and easier experience. Once the old cover is removed, it’s time to begin replacing it with a new one.
Be sure to read up on how to properly install the new light fixture before beginning – this can help avoid any potential disasters! With proper preparation and caution, you’ll be able to quickly and safely remove your old light cover without any trouble.
10 Methods How to Remove Bathroom Light Cover
1. Unscrew the Light Cover
The first step is to unscrew the light cover from the base. You may need a screwdriver for this. Be careful not to drop the screws, as they may be difficult to find if they fall into the sink or toilet. If you do drop them, use a flashlight and be patient to find them.
To make sure you don’t drop the screws, it is best to unscrew them one at a time. Although it may be tempting to unscrew them all at once, this could result in the screws getting lost. However, if you do drop them, don’t worry; it is possible to find replacements that are the same size and shape as the original screws.
2. Remove the Bulb
Once the cover is off, you can remove the bulb by grasping it firmly and twisting it counterclockwise. If the bulb is burned out, you can simply dispose of it. If it is still good, you can set it aside to use later.
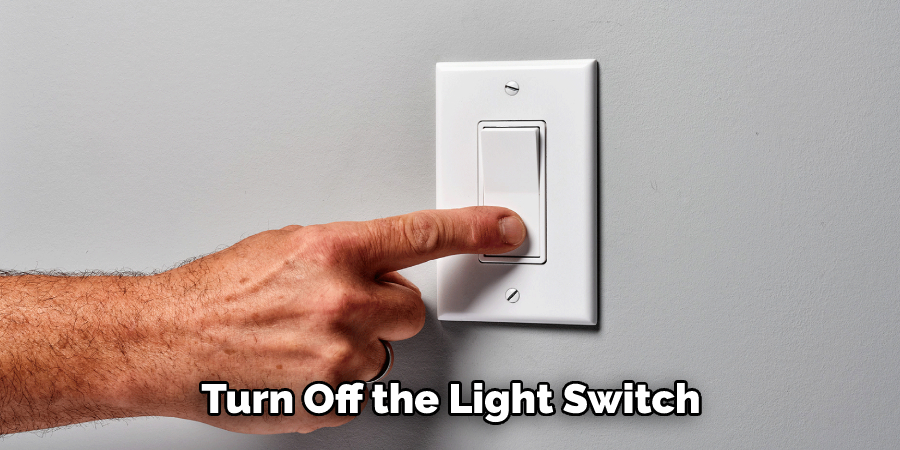
Be careful when handling the bulb, as it may be hot. However, if it is too hot to touch safely, turn off the light switch and wait for the bulb to cool before attempting to remove it. If the bulb is in a recessed light fixture, you will need to use an appropriate tool such as needle-nose pliers to reach into the fixture and unscrew the bulb.
Although these bulbs are generally long-lasting, you should replace them every few years to ensure optimal lighting and energy efficiency.
3. Clean the Light Cover
With the bulb removed, you can now clean the light cover. You can use a mild soap and water for this, or you can use a vinegar solution (1 part vinegar to 3 parts water). Be sure to rinse the cover well so that there is no soap residue left behind. If there are any deeply embedded dirt particles, use a toothbrush to scrub them away.
Wipe the light cover with a clean cloth after you have finished. To avoid scratching the light cover, you should use a soft cloth or one made of microfiber. While you have the light cover off, be sure to dust around the area before putting it back.
4. Dry the Light Cover
Once you have cleaned the light cover, you will need to dry it thoroughly before proceeding. A lint-free cloth or paper towel can be used for this. Make sure the light cover is completely dry before proceeding.
If the light cover is not completely dry, it may not fit back onto the fixture properly. Though it should not take long to dry, take your time and make sure the light cover is completely dry. To be safe, you can also wait a few minutes after drying to make sure no moisture has been left behind.
5. Replace the Bulb
Now you are ready to replace the bulb. Simply insert it into the socket and twist it clockwise until it is tight. Be careful not to touch the glass of the bulb with your bare hands, as this can cause it to break.
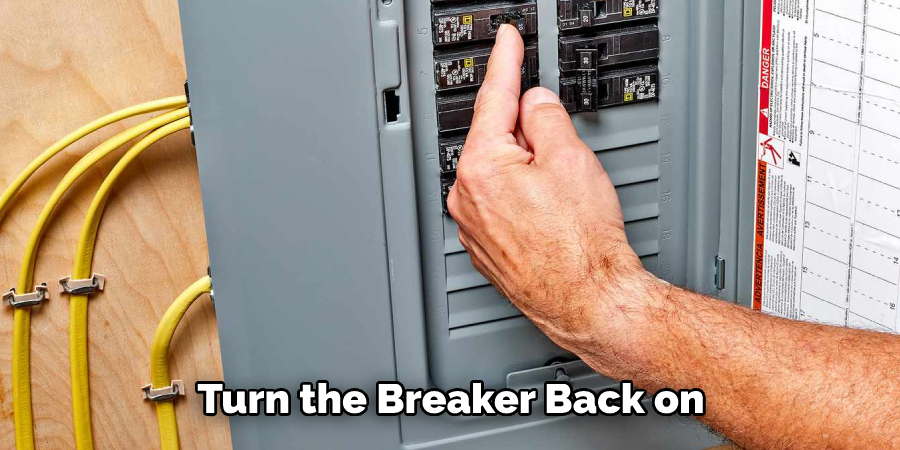
If you do touch the glass, be sure to wipe it off with a damp cloth before inserting it into the socket. Once the bulb is in place, you can turn the breaker back on and test the light to make sure it is working properly. If all is well, then you have successfully removed and replaced the light cover in your bathroom.
6. Reattach the Light Cover
Now you can reattach the light cover by screwing it back into place. Be sure that all of the screws are tight so that the cover will not come loose. If there are any parts that have rusted or deteriorated, replace them before reassembling the light cover. Finally, turn on the electricity supply and test the light to make sure that it is working properly.
If everything looks good, you can now enjoy your freshly cleaned bathroom lighting! While this may seem like a daunting task, it is actually quite simple if you follow the instructions provided. Taking the time to clean and maintain your bathroom lighting will keep it looking great and shining brightly for many years to come.
7. Turn on the Power Switch
Once everything is back in place, you can turn on the power switch to test your work. The light should come on when you do this. If not, check all of your connections to make sure that they are secure. If the light still does not turn on, you may need to replace a fuse or contact an electrician for further help.
If everything is working correctly, you have successfully removed your bathroom light cover! Additionally, if you need to make any adjustments or repairs in the future, you can feel confident doing so yourself. With a few simple steps, you have saved yourself both time and money.
8. Enjoy Your New Light Cover
Once everything is working correctly, you can enjoy your newly replaced light cover. With this simple guide, you’ll be able to replace a light bathroom cover with ease and ensure your bathroom looks sleek. Remember to always turn off the power before attempting DIY electrical work as it is not only important for safety but also to prevent damage to the light cover and other parts of your bathroom.
9. Replace the Cover with a New One
Now that you’ve removed your old bathroom light cover, you may want to replace it with a new one. If so, make sure to measure the area in which you need to install the new cover and purchase one of the appropriate size.
Check for any wiring or nail holes in the wall and make sure the mounting screws fit snugly. When hanging your new cover, be mindful of its weight and make sure it’s securely attached to the wall before flipping on the switch.
10. Install the New Light Cover
Before installing the new light cover, it is important to read all of the installation instructions that come with it. The instructions will vary depending on the type of cover you purchase. Generally, though, these instructions involve fitting the cover onto the light fixture and securing it with screws or bolts.
Make sure the cover is properly secured before installing any bulbs and turning on the power. Once installed, your new bathroom light cover should look great and provide you with improved lighting in your bathroom.
Conclusion
Removing a bathroom light cover does not have to be a daunting task. With the right supplies, steps, and care, you can easily remove or change out your light cover and prevent costly repairs. Remember to always consult a certified electrician if you are ever unsure or if you come across a problem that is beyond your current skill level.
And when it comes time to replace your bathroom light cover, follow these simple steps on “How to Remove Bathroom Light Cover” for safe and efficient completion!

