Are you tired of your bathroom sink’s constant clogging and slow draining? The most common culprit for this issue is a dirty or faulty drain stopper. Removing and cleaning your bathroom sink drain stopper can help improve water flow and prevent future clogs. Follow these simple steps to remove your bathroom sink drain stopper.
Removing a bathroom sink drain stopper can seem daunting, especially if you’ve never tackled it. Whether it’s clogged with debris, damaged, or you simply need to replace it, understanding how to remove the stopper properly can save you time and money.
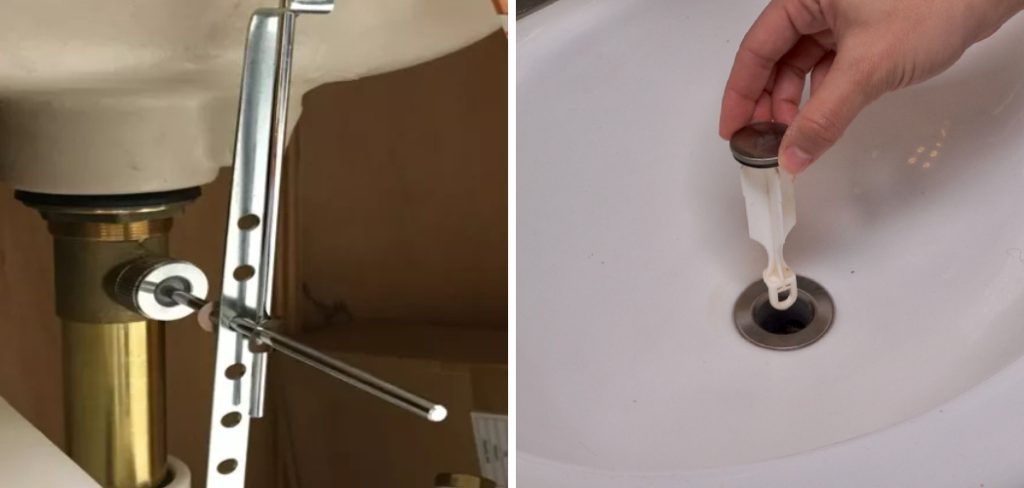
This guide will walk you through the necessary steps on how to remove bathroom sink drain stopper, ensuring that your sink is back in optimal working condition in no time.
What Will You Need?
Before removing the drain stopper, gathering all the necessary tools and materials is important. Here are some items you may need for this task:
- A pair of pliers
- Screwdriver (flathead or Phillips)
- Cleaning brush or toothbrush
- Old rag or towel
- White vinegar or baking soda (optional)
Remove the bathroom sink drain stopper once you have all the necessary tools.
10 Easy Steps on How to Remove Bathroom Sink Drain Stopper
Step 1: Locate the Drain Stopper
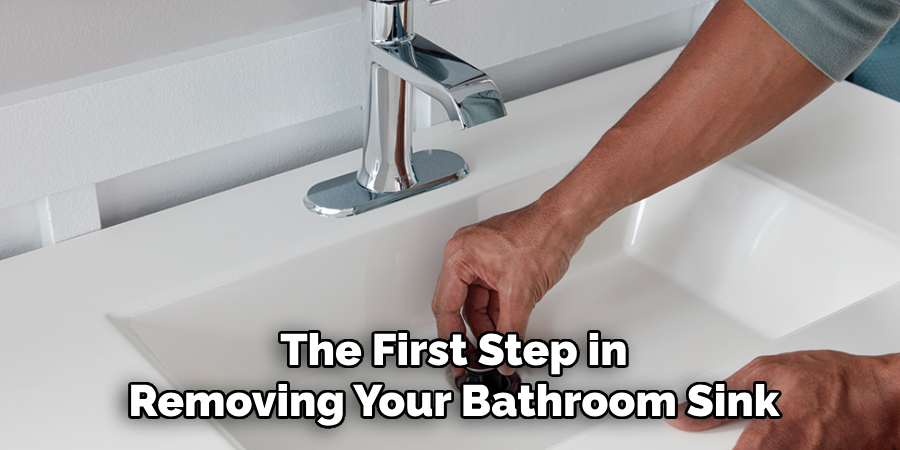
The first step in removing your bathroom sink drain stopper is to locate it. Drain stoppers are typically located in the sink basin and are often either a push-and-pull, lift-and-turn or a toe-touch mechanism. Carefully examine your sink to determine the type of stopper you have. Once identified, you must access the stopper mechanism, which usually involves looking underneath the sink.
Step 2: Clear the Area Under the Sink
Before you begin working, it’s essential to clear out the space beneath the sink. This will provide you with sufficient room to navigate and work comfortably. Remove cleaning supplies, bins, or other items stored under the sink. Place an old rag or towel on the floor to catch any water drips or debris that may fall.
Step 3: Identify the Stopper Mechanism
Underneath the sink, locate the horizontal pivot rod connected to the drainpipe. This rod is usually secured to the drainpipe with a retaining nut. Depending on your sink’s design, the pivot rod may be visible or concealed within the pedestal or vanity cabinet. The horizontal pivot rod is crucial for controlling the movement of the drain stopper mechanism.
Step 4: Unscrew the Pivot Rod Retaining Nut
Using a pair of pliers, carefully unscrew the pivot rod retaining nut. Turn the nut counterclockwise until it loosens. Be cautious while unscrewing to prevent damaging any parts. Once the nut is loose enough, you may be able to unscrew it fully by hand. Keep the retaining nut and washer safe, as these will need to be reattached later.
Step 5: Disconnect the Pivot Rod from the Stopper
Once the retaining nut is removed, gently pull the horizontal pivot rod away from the drainpipe to disconnect it from the stopper. You may need to wiggle it slightly to release it from the stopper mechanism. Take note of how the pivot rod connects to the stopper, as you will need to reassemble it correctly later on.
Step 6: Lift Out the Drain Stopper
With the pivot rod disconnected, you can now lift the drain stopper out of the sink basin. If the stopper does not come out quickly, it may be slightly stuck due to accumulated debris or grime. In such cases, gently wiggle the stopper back and forth to loosen it. Once the stopper is free, remove it and place it on an old rag or towel to avoid making a mess.
Step 7: Clean the Stopper and Drain
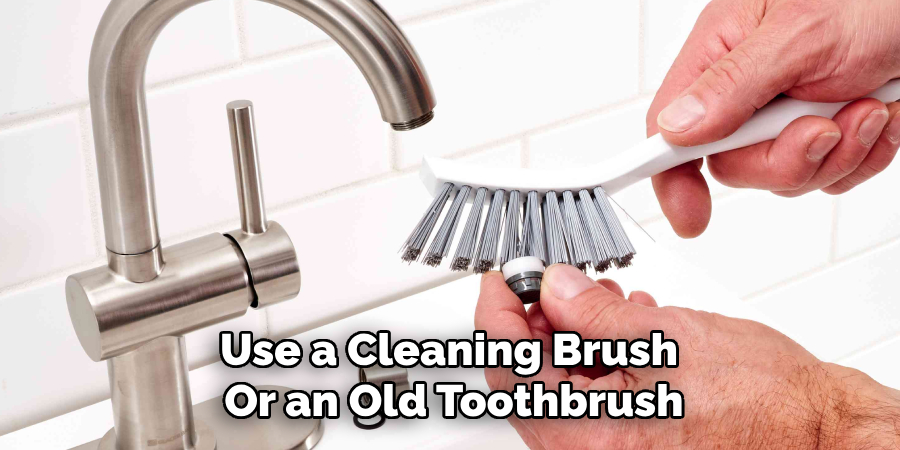
Now that the stopper has been removed, it’s time to clean it thoroughly. Use a cleaning brush or an old toothbrush to remove any built-up grime, hair, or gunk from the stopper. If there is significant buildup, you can soak the stopper in a mixture of white vinegar and water or use baking soda to help break down the debris. Clean the drain opening as well to ensure there is no residual buildup that could hinder water flow.
Step 8: Reattach the Drain Stopper
Once the stopper and drain are clean, it’s time to reassemble them. Place the cleaned stopper back into the sink basin, ensuring it is correctly aligned with the opening. Then, carefully thread the horizontal pivot rod back through the hole in the bottom of the stopper and reconnect it to the drainpipe.
Step 9: Secure the Retaining Nut
After aligning the horizontal pivot rod with the stopper, it’s time to secure it in place using the retaining nut. First, hand-tighten the retaining nut to position the pivot rod correctly. This step is crucial to prevent cross-threading and potentially damaging the threaded parts. Once the retaining nut is hand-tightened, use your pliers to finish tightening it, turning it clockwise. Ensure it is snug, but be cautious not to over-tighten, as this can strip the threads or crack the drainpipe. Properly securing the retaining nut will allow the stopper to move smoothly and efficiently when engaged or disengaged.
Step 10: Test the Drain Stopper
With the assembly reattached and the retaining nut securely fastened, it’s essential to test the functionality of the drain stopper. Pull up on the lift rod or engage the stopper mechanism to check if the stopper raises and lowers correctly. Run water into the sink and observe the drainage. If the stopper successfully seals the sink and then allows water to flow out when disengaged, you’ve completed the task successfully! If you encounter any issues, such as leaks or improper movement, recheck the steps to ensure everything is correctly assembled and secured.
By following these ten easy steps, you can easily remove your bathroom sink drain stopper and keep it functioning properly.

5 Additional Tips and Tricks
- Use a Plumber’s Wrench: If the stopper mechanism is stuck, a plumber’s wrench can provide the leverage needed to loosen it. This tool is specifically designed to grip and turn pipes and fittings that may be difficult to move by hand.
- Apply Penetrating Oil: For older sinks where the stopper assembly may be corroded or rusted, apply a penetrating oil such as WD-40. Allow it to sit for a few minutes to help break down rust and debris before attempting to remove the stopper.
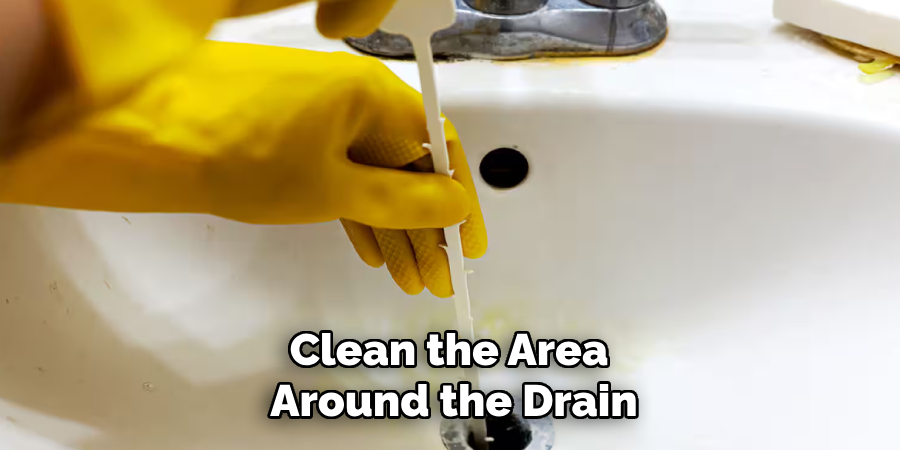
- Clean the Area First: Before attempting to remove the stopper, clean the area around the drain. This prevents debris from falling into the drain and potentially causing a clog. A clean workspace also makes it easier to see and manipulate components.
- Check for Hidden Screws: Some sink stoppers are held in place by hidden screws that may not be immediately visible. Check both the underside of the sink and around the stopper itself for any screws that may need to be removed.
- Consult the Manufacturer’s Manual: Different sink models have different stopper mechanisms. Consulting the manufacturer’s manual can provide specific instructions tailored to your sink model, making the removal process quicker and more efficient.
With these additional tips and tricks, you should now be equipped to handle any stubborn sink stopper.
5 Things You Should Avoid
- Using Excessive Force: Applying too much force can damage the sink, pipes, or the stopper mechanism itself. Be patient and try using lubricants or appropriate tools rather than brute strength.
- Ignoring Safety Precautions: Always use protective gloves and eyewear to prevent injuries from sharp edges or chemical splashes. Neglecting safety measures can lead to accidents or harm.
- Skipping the Instruction Manual: Each sink and stopper can have unique features. Failing to read the manufacturer’s instructions can result in improper removal techniques, potentially damaging the sink or its components.
- Neglecting to Turn Off the Water Supply: Although you might not be working directly with water lines, accidents can happen. Turning off the water supply ensures there’s no risk of unexpected leaks or water damage during the process.
- Using Incorrect Tools: Utilizing the wrong tools can lead to ineffective results or even damage the stopper and sink. Ensure you have the appropriate tools for the job, such as a plumber’s wrench, screwdriver, or penetrating oil as needed.
By avoiding these common mistakes, you can ensure a smooth and successful sink stopper removal process.
Conclusion
How to remove bathroom sink drain stopper may initially seem like a daunting task, but with the right tools and a bit of patience, it can be accomplished without much hassle.
By following the step-by-step techniques outlined in this guide, you can effectively dismantle and extract even the most stubborn stoppers. Remember to gather the necessary tools, like a plumber’s wrench and penetrating oil, and consult the manufacturer’s manual for specific instructions tailored to your sink model. Take care to avoid common mistakes such as using excessive force or neglecting safety precautions.
With careful attention to detail and the implementation of our additional tips and tricks, you’ll navigate the process smoothly and restore full functionality to your sink in no time.