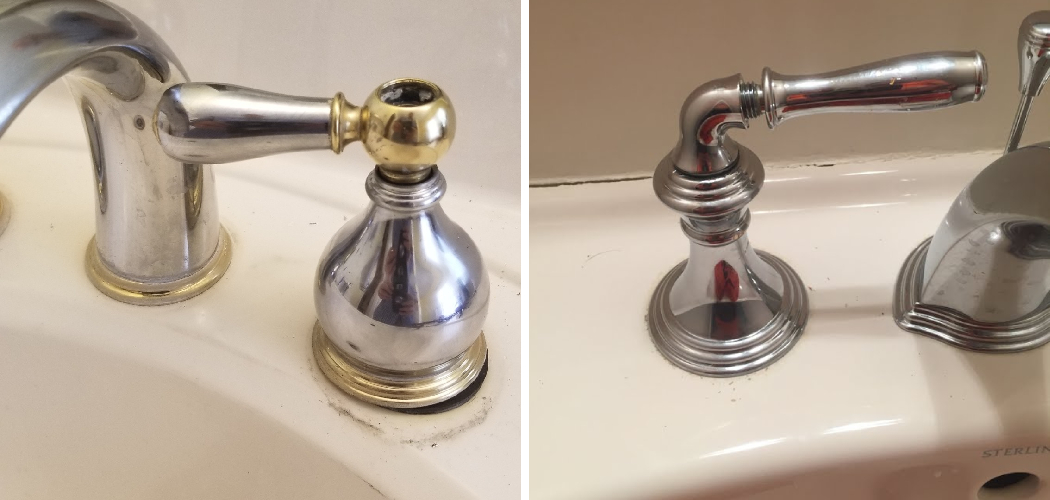
Removing a bathroom sink faucet handle without screws can seem like a daunting task, especially if you’re unfamiliar with the inner workings of plumbing fixtures. However, with the right techniques and tools, it’s entirely possible to dismantle the handle and access the underlying components for maintenance or replacement.
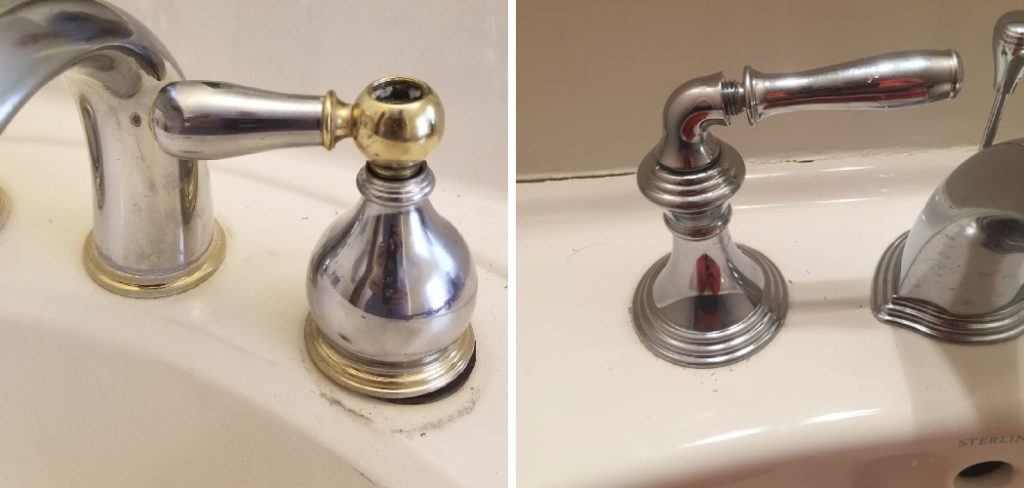
Whether you’re dealing with a handle that has hidden set screws or a handle design that doesn’t utilize screws at all, understanding how to safely and effectively remove it is essential. In this article, we’ll explore a range of methods and tips for how to remove bathroom sink faucet handle without screws, offering step-by-step instructions and insights to help you navigate this common plumbing challenge.
Whether you’re a DIY enthusiast tackling a home improvement project or a homeowner faced with a malfunctioning faucet handle, join us as we delve into the art of handle removal and unlock the secrets to successfully disassembling your bathroom sink faucet.
The Common Issue of Removing a Bathroom Sink Faucet Handle
One of the most common issues homeowners encounter when attempting to remove a bathroom sink faucet handle without screws is identifying the type of faucet handle they are dealing with. Many assume that all faucet handles are attached via visible screws, but this is not always the case.
Faucet handles can be affixed in a variety of ways, including hidden screws covered by decorative caps, set screws located on the side of the handle, or mechanisms that utilize a snap or pressure fitting. This diversity in design can lead to confusion and frustration for those unfamiliar with these different types.
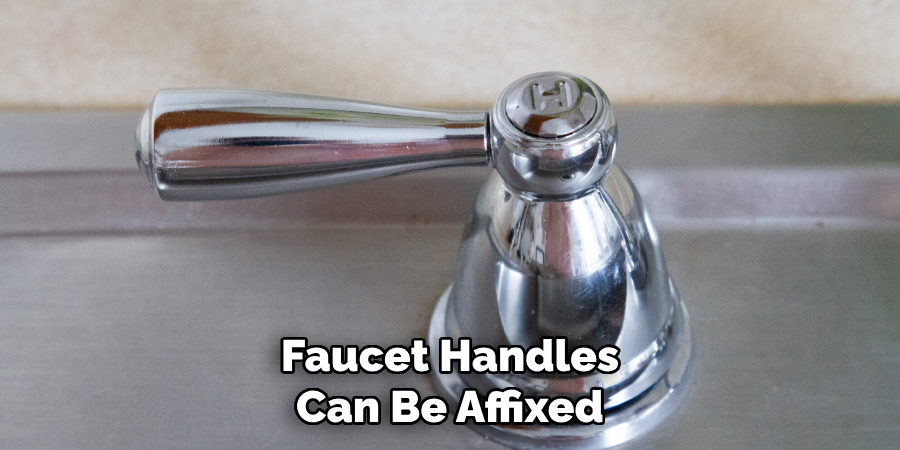
Furthermore, the lack of visible screws might make it seem as though the handle is permanently attached, causing unnecessary force to be used during the removal process. Understanding the specific attachment method of your faucet handle is crucial to removing it without causing damage to the fixture or injuring yourself.
Understanding Bathroom Sink Faucet Handle Designs
Before attempting to remove a bathroom sink faucet handle, it’s essential to familiarize yourself with the various designs and attachment methods. Recognizing these can greatly simplify the removal process and prevent potential damage. Bathroom sink faucets primarily come in three designs:
- Knob Handles: These are one of the most common types and often feature a set screw beneath a decorative cap. The cap can usually be pried off gently to reveal the screw, which can be turned to loosen the handle.
- Lever Handles: Lever handles are sleek and operate with an up-and-down motion. They typically have a set screw located on the side or under a small cap at the base, requiring an Allen wrench or a similar tool for removal.
- Cross Handles: Characterized by their cross-shaped design, these handles might also conceal a set screw under a decorative cap or at the base. Due to their unique shape, close inspection is necessary to locate the screw.
Additionally, some modern faucets employ a quick-connect system that doesn’t use screws at all. Instead, these handles are attached through a snap-fit mechanism or by aligning and locking tabs, which can be disengaged by applying pressure in the correct areas or using a special tool provided by the manufacturer.
Understanding these designs is the first step towards successfully removing your bathroom sink faucet handle. Each type requires a slightly different approach, so identifying your faucet’s design will allow you to choose the appropriate tools and technique for the task.
Traditional Screw-On Handles
For those with traditional screw-on handles in their bathroom sink, the process of removal might seem straightforward but requires attention to detail to avoid damaging the fixtures. Traditional screw-on handles are typically held in place by visible screws, which can be removed using a screwdriver that matches the screw head – usually a Phillips or flat-head.
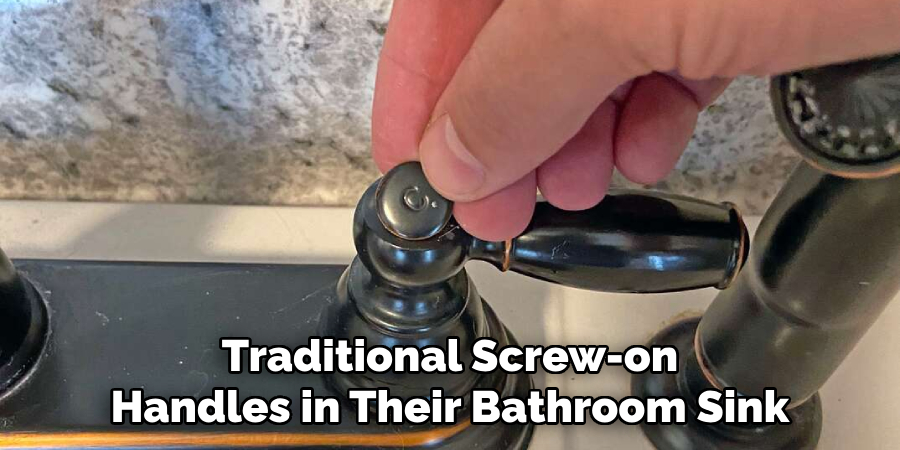
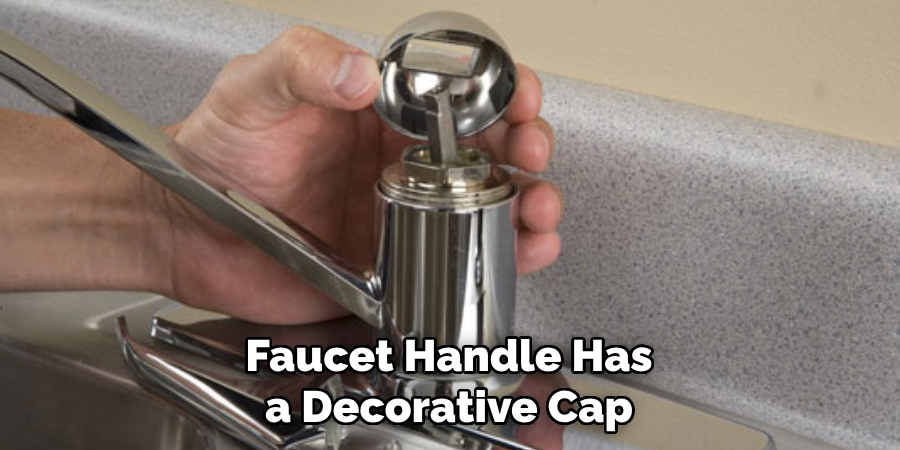
However, in many cases, the screw may be concealed under a decorative cap located at the top or side of the handle. This cap can often be gently pried off with a flat tool or even your fingernail, revealing the hidden screw beneath.
Once the screw is exposed, carefully unscrew it while holding the handle in place to prevent it from falling or causing damage to the sink. If the screw is tight or seems corroded, applying a penetrating oil can help loosen it by breaking down rust and buildup. Allow the oil to sit for several minutes before attempting removal again. After successfully unscrewing, gently pull the handle away from the faucet’s stem, being mindful of any washers or components that may be attached.
It’s essential during this process to keep all parts organized and to take note of their order and orientation for a smoother reassembly. If you encounter resistance when removing the handle after the screw is out, it may be due to mineral buildup. A gentle wiggle or use of a handle puller tool can aid in removal without causing damage.
Handle Designs Without Visible Screws
When dealing with handle designs that lack visible screws, the removal process can initially seem perplexing. However, these handles are typically secured through one of several ingeniously concealed methods, designed to offer a sleek look while ensuring the handle remains firmly attached. Understanding how to approach these mechanisms is key to a successful removal without damage:
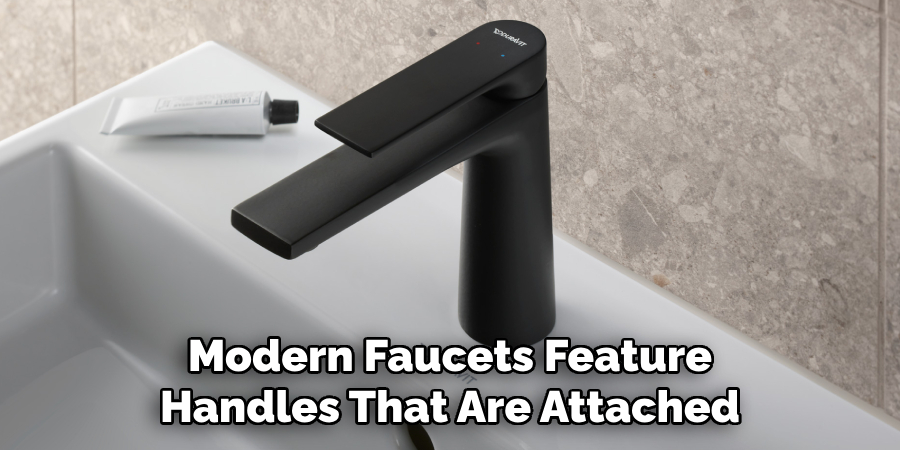
- Snap-Fit Handles: Many modern faucets feature handles that are attached using a snap-fit mechanism. To remove these, gently pry at the base or the point of connection to the faucet with a flat tool. This should release the handle from its snap-fit connection, allowing you to lift it off. It’s crucial to apply gentle, even pressure to avoid damaging the faucet or handle.
- Pressure-Fit Handles: Similar to snap-fit designs, pressure-fit handles rely on an internal mechanism that grips the faucet’s stem through pressure. Removal typically involves wrapping the handle with a protective cloth (to prevent scratching) and applying a twisting motion. In some instances, using a handle puller specifically designed for this purpose can provide the necessary force without causing damage.
- Hidden Set Screw: For handles that seem to lack visible screws but are not snap- or pressure-fit, a hidden set screw is usually involved. These are often discreetly located under a decorative cap or at the base of the handle. Look for a subtle indentation or slot where a cap might be pried off, revealing a set screw beneath. An Allen wrench or a similar tool is often required to loosen and remove the set screw, freeing the handle.
- Threaded Ring: In some designs, the handle is secured by a threaded ring beneath the decorative portion of the handle. Turning this ring counter-clockwise (often with the help of strap wrenches or similar tools that provide grip without causing damage) will loosen the ring and allow you to remove the handle.
Navigating the removal of handles without visible screws demands a careful and informed approach. Always start by inspecting the handle closely for any signs of a concealed mechanism and proceed with gentle methods before resorting to force.
Protecting the finish of both the handle and faucet is paramount, so using soft cloths and the appropriate tools will prevent scratches and damage during the process. By understanding these different designs and their removal techniques, you can tackle the challenge with confidence and preserve the integrity of your bathroom’s aesthetics.
Variations in Handle Attachment Mechanisms
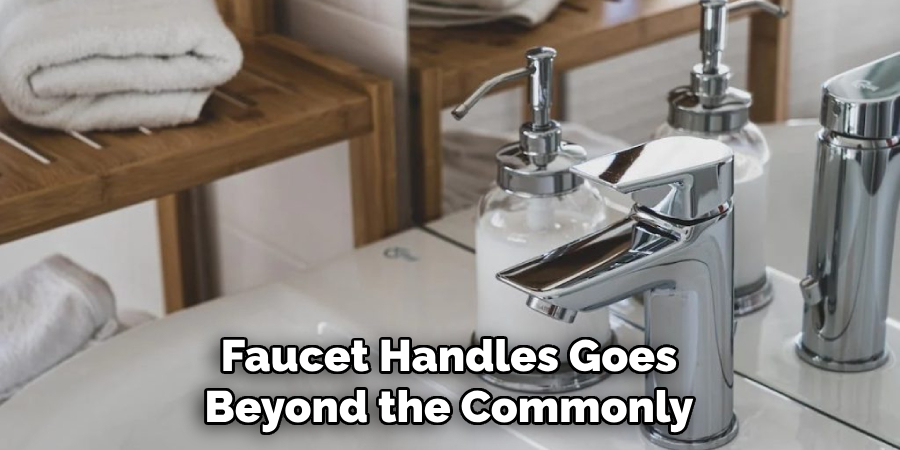
The world of faucet handles goes beyond the commonly known designs, with manufacturers continually innovating on attachment mechanisms for both aesthetic appeal and functional benefits. A notable variation is the Magnetic Docking system, used mainly in pull-down kitchen faucets, where the handle or sprayer is held in place by magnets. This system ensures a secure fit when not in use, while also allowing for easy removal and replacement.
Another ingenious method is the Twist-Lock mechanism, often found in outdoor faucets or industrial settings, where handles need to be secured against unintentional operation or tampering. In this design, the handle requires a simple twist-and-lock action to engage or disengage, combining ease of use with enhanced security.
For historical or specialty faucets, the Bayonet Mount system presents a unique approach, where the handle is attached by aligning it with slots or grooves and then pushing and twisting to lock into place. This method, borrowing from early firearm attachment systems, offers a quick yet secure method of installation and removal, ideal for applications where rapid maintenance is necessary.
Lastly, the introduction of Touchless Faucet Technology represents a departure from traditional handle attachments altogether. These systems utilize motion sensors or touch-sensitive surfaces to control water flow, aiming to provide convenience and reduce the spread of germs. While not involving physical handles, the underlying technology indicates a future where manual attachments may become the exception rather than the norm.
Each variation in handle attachment mechanisms showcases the industry’s response to diverse user needs, ranging from convenience and hygiene to security and aesthetic preference. Understanding these mechanisms not only aids in proper maintenance but also informs selection for those in the process of choosing new fixtures for their home or business.
Reasons for Removing Faucet Handles Without Screws
There are several reasons why someone might need to remove a faucet handle that does not have visible screws, reflecting both routine maintenance and more specific repair tasks. Common motivations include:
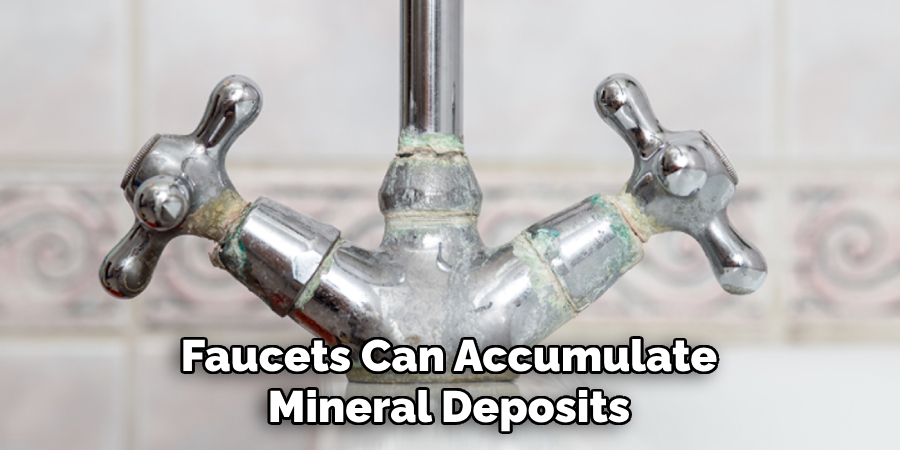
- Cleaning and Maintenance: Over time, faucets can accumulate mineral deposits and grime, particularly in areas with hard water. Removing the handle allows for thorough cleaning of both the handle and the underlying parts, restoring appearance and smooth operation.
- Leak Repairs: A primary reason for removing a faucet handle is to address leaks. Whether the leak is from the faucet spout or handle, access to the valve cartridge or rubber seals is typically required for replacement or adjustment, necessitating handle removal.
- Upgrades or Replacement: Upgrading bathroom or kitchen fixtures can dramatically change the look of the space. Removing the faucet handles is the initial step in replacing older faucets with newer models that offer improved functionality and aesthetics.
- Internal Component Repair: Inside the faucet, components such as O-rings, cartridges, and washers can wear out or break, leading to drips or poor water flow. Removing the handle is essential to access these parts for repairs or replacements.
- Troubleshooting: Sometimes, the reason for removing the handle is exploratory; for instance, to identify the cause of unusual noises or erratic water flow. This can reveal issues like sediment buildup or damaged internal parts that need attention.
Understanding these reasons emphasizes the importance of being able to remove faucet handles safely and correctly, even when screws are not visible. This knowledge empowers homeowners to perform essential maintenance and repairs, ensuring their plumbing fixtures remain in good working order.
10 Methods How to Remove Bathroom Sink Faucet Handle without Screws
1. Levering off a Cap or Cover:
If your faucet handle has a decorative cap or cover, it may conceal hidden screws underneath. Use a flathead screwdriver or utility knife to gently pry off the cap, revealing the screws beneath. Once exposed, unscrew the screws to detach the handle from the faucet.
2. Loosening a Set Screw:
Some faucet handles are secured with a set screw located under a small cover or plug. Use an Allen wrench or hex key to loosen the set screw by turning it counterclockwise. Once the screw is loosened, the handle should easily lift off the faucet. If the handle is stuck, try gently tapping it with a rubber mallet to loosen and remove it.
Now that you have successfully removed the faucet handle using a set screw, you may be wondering what purpose the set screw serves. The set screw is used to secure the handle in place and prevent it from becoming loose or falling off over time. It also allows for easy removal of the handle when necessary for repairs or replacements.
3. Removing a Handle with a Threaded Shank:
Faucet handles attached to threaded shanks can be removed by unscrewing the handle counterclockwise. Use adjustable pliers or a wrench to grip the handle base firmly while turning it in a counterclockwise direction. Once loose, the handle should lift off the faucet.
4. Applying Heat to Loosen Adhesive:
If the faucet handle is secured with adhesive or caulk, applying heat can help soften the adhesive and make it easier to remove. Use a hairdryer or heat gun to heat the handle base for a few minutes, then attempt to gently pry or twist the handle off the faucet. If necessary, continue heating and trying to remove the handle until it comes off easily. Remember to use caution when using heat and always wear protective gloves.
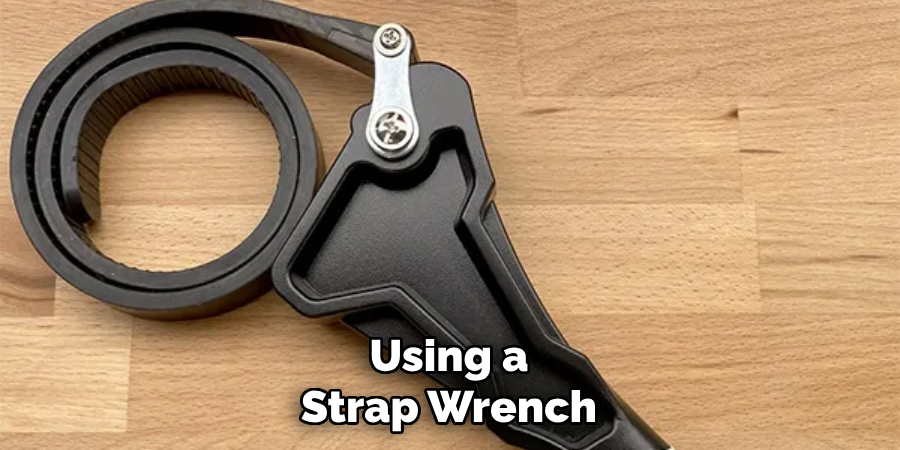
5. Using a Strap Wrench or Pliers:
Stubborn faucet handles can be removed using a strap wrench or adjustable pliers. Wrap the strap wrench around the handle base or grip it with the pliers, then apply gentle pressure while turning the handle counterclockwise. This method helps break loose tight fittings for easy removal. Strap wrenches are particularly useful for removing stuck or rusted handles, as they provide more leverage and grip than traditional pliers.
6. Employing Lubricants for Stuck Handles:
Apply penetrating oils or lubricating sprays to the handle base to loosen stuck handles. Spray the lubricant around the base of the handle and allow it to penetrate for several minutes. Then, attempt to twist or pry the handle off the faucet using a suitable tool.
7. Tapping the Handle with a Mallet:
For handles that are stuck due to corrosion or tight fittings, tapping the handle base with a rubber mallet can help break them loose. Hold the mallet firmly and tap the handle base lightly but firmly in various directions to dislodge it from the faucet.
8. Using a Handle Puller Tool:
Handle puller tools are designed specifically for removing stuck or stubborn faucet handles. Insert the jaws of the handle puller behind the handle base and tighten the screw to grip the handle securely. Then, use the handle puller to exert pressure and pull the handle off the faucet.
9. Applying Rust Dissolving Solutions:
If corrosion is causing the handle to stick, applying rust dissolving solutions can help loosen it. Apply a rust dissolving solution to the handle base and allow it to penetrate for several hours or overnight. Then, attempt to remove the handle using one of the previously mentioned methods.
10. Seeking Professional Assistance:
If all else fails or if you’re uncomfortable attempting the removal yourself, consider seeking professional assistance from a plumber or faucet repair specialist. They have the expertise and tools needed to safely remove stubborn faucet handles without causing damage to the fixture.
Conclusion
In conclusion, removing a bathroom sink faucet handle without screws may initially seem like a daunting task, but with the right knowledge and techniques, it can be easily accomplished. By following the methods and tips outlined in this article, you’ve gained valuable insights into safely disassembling faucet handles that lack visible screws.
Whether you’re dealing with a handle that utilizes hidden set screws, a push-button mechanism, or a design that simply snaps into place, understanding the proper steps for removal is essential. Thanks for reading, and we hope this has given you some inspiration on how to remove bathroom sink faucet handle without screws!

