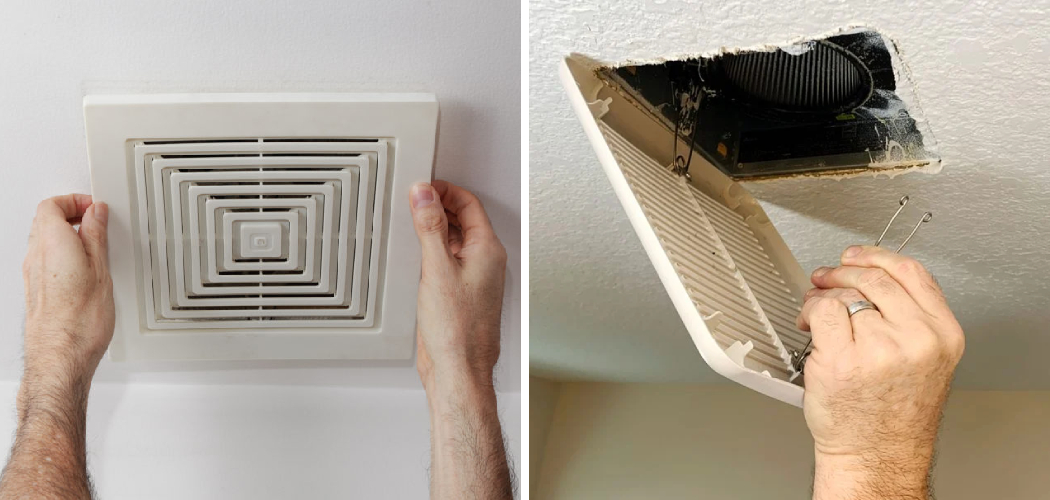
Removing a bathroom vent cover might seem like a daunting task, but with the right approach, it can be done easily and efficiently. Whether you’re planning to clean or replace the vent, understanding how to properly remove the cover is an essential skill that can help maintain air quality and ensure your ventilation system works effectively.
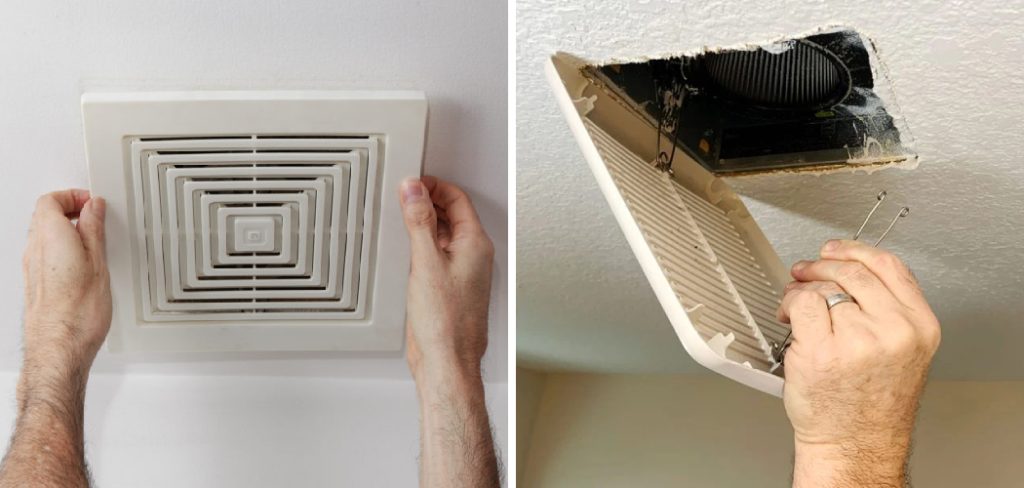
This guide on how to remove bathroom vent cover will walk you through the steps needed to safely take off a bathroom vent cover, offering you tips and tricks to ensure the process is smooth and hassle-free.
Why Remove a Bathroom Vent Cover?
Before we jump into the steps on how to remove bathroom vent cover, let’s first understand why it’s necessary. Over time, debris and dust can accumulate in the vents, reducing their efficiency and potentially leading to poor air quality in your home. Removing the vent cover allows for proper cleaning and maintenance of the ventilation system, ensuring optimal performance.
Moreover, if you’re planning to replace your bathroom fan or upgrade to a more efficient model, removing the vent cover is a crucial step in the process. It allows for easy access to the fan housing and wiring, making installation much simpler.
Necessary Precautions
Before you begin, it’s essential to take some necessary precautions to ensure your safety while removing the bathroom vent cover. Make sure the power to the fan is turned off at the circuit breaker or fuse box to avoid any electrical accidents. Additionally, use a sturdy ladder or step stool and wear protective gear such as gloves and safety glasses to prevent any injuries.
8 Steps on How to Remove Bathroom Vent Cover
Step 1: Locate the Screws
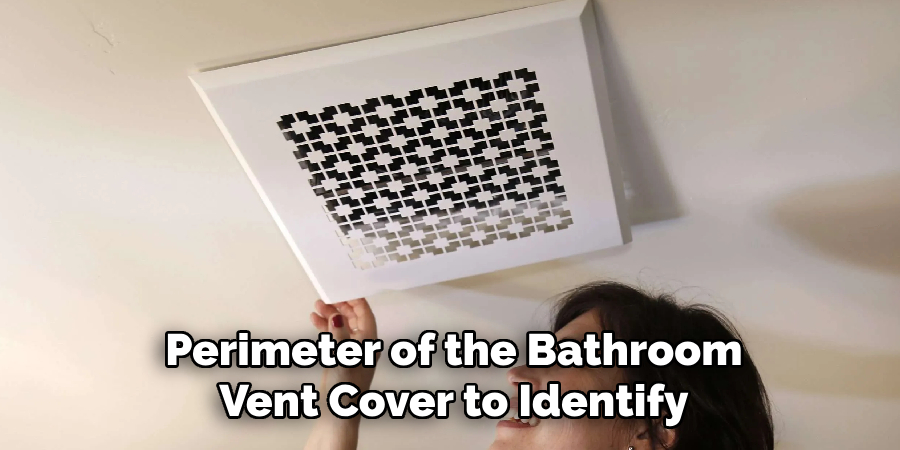
To begin, examine the perimeter of the bathroom vent cover to identify any visible screws. These screws are often located at the corners or along the edges of the cover and secure to the ceiling or wall. In some cases, the screws may be partially concealed under a layer of paint or caulk, so it may be helpful to gently run your fingers along the edges to feel for them.
Once located, ensure you have the appropriate screwdriver on hand, typically a Phillips or flathead, to proceed with loosening and removing the screws efficiently.
Step 2: Remove the Screws
With the screws identified, use your screwdriver to carefully loosen and remove each one. Hold the vent cover in place as you do this to prevent it from falling once the final screw is removed. If the screws are stuck due to paint or rust, gently use a small putty knife or a similar tool to free them.
Keep the screws in a safe place for later reattachment if you plan to reinstall the same vent cover. Once all screws are removed, the vent cover should come off easily, revealing the inside of the ventilation duct. Be cautious of any dust or debris that may fall during this process.
Step 3: Clean the Vent Cover
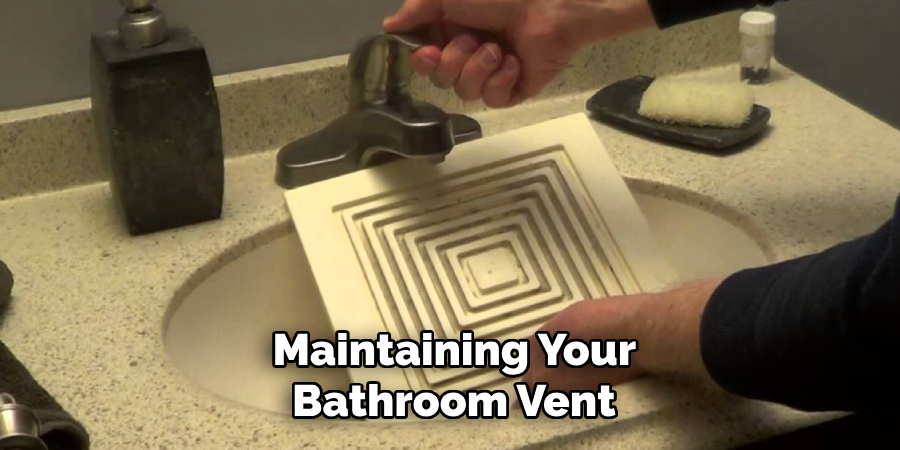
With the vent cover removed, take this opportunity to give it a thorough cleaning. Use a mild detergent and warm water to wash off any built-up dust, dirt, or grime.
You can also use a vacuum cleaner with a brush attachment to remove any loose debris from the inside of the cover. Once cleaned, ensure the cover is completely dry before reinstalling.
Step 4: Inspect for Damage
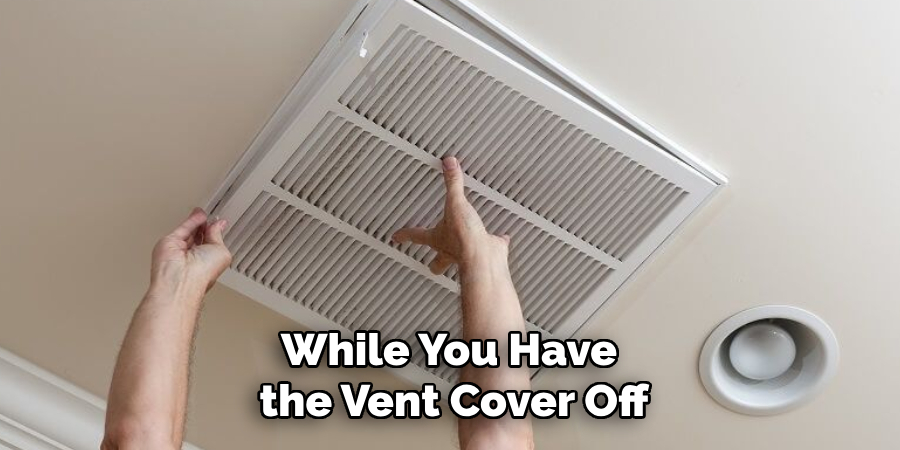
While you have the vent cover off, inspect it for any signs of damage or wear and tear. Cracks or breaks in the cover may indicate that it needs to be replaced. Similarly, if the screws are difficult to remove or if the cover is loose, it may be a sign that the vent housing needs to be repaired or replaced. If you’re unsure about any potential issues, it’s best to consult a professional for further inspection.
It’s also a good idea to inspect the fan and ductwork for any damage or obstructions that may be impacting its performance. If you notice any issues, it’s best to address them before reinstalling the vent cover.
Step 5: Reattach the Vent Cover
Once the cover is cleaned and inspected, it’s time to reattach it. Place the vent cover back in its original position and line up the screw holes. Use your screwdriver to firmly tighten each screw, ensuring the cover is securely attached.
The screws should be tight enough to hold the cover in place but not so tight that they strip or damage the vent cover. If you plan on painting or caulking around the edges of the vent cover, it’s best to do so after it has been reattached.
Step 6: Turn on Power
After ensuring the vent cover is firmly attached and secure, go ahead and turn on the power to your bathroom fan at the circuit breaker or fuse box. Test the fan to ensure it’s working correctly before proceeding further.
But remember, do not touch the fan blades or attempt to clean or maintain it while it’s running. Wait until the fan is turned off and unplugged before performing any maintenance.
Step 7: Consider Upgrading
As you work on maintaining your bathroom vent, it’s also a great time to consider whether an upgrade is necessary. Modern vent fans come with improved efficiency, quieter operation, and additional features such as integrated lighting or humidity sensors, which can significantly enhance the functionality of your bathroom. Evaluate the current performance of your existing fan—if it struggles to ventilate the space effectively or has been causing noise issues, an upgrade could greatly improve both efficiency and comfort.
When selecting a new model, consider factors like airflow capacity (measured in CFM), energy consumption, and noise level (measured in sones) to ensure it meets your bathroom’s needs. If installation seems daunting or you’d prefer professional assistance, consult with a qualified electrician or HVAC technician to handle the upgrade safely and efficiently.
Step 8: Reinstalling the Vent Cover
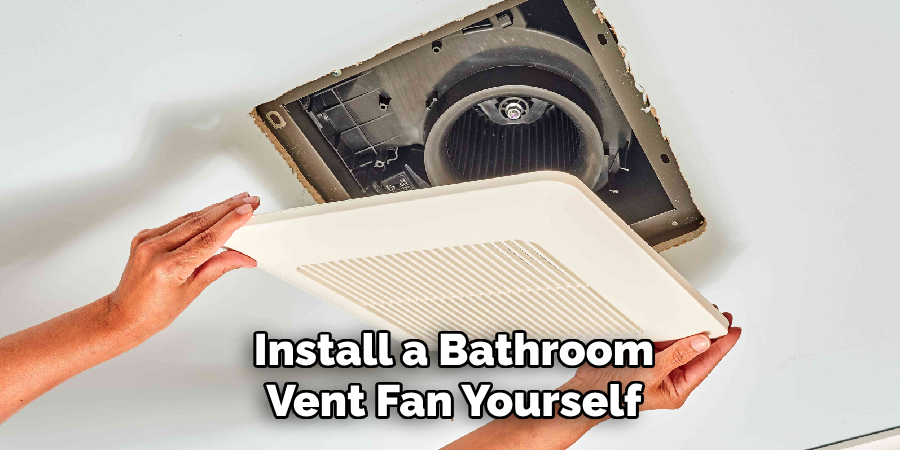
If you’ve decided to upgrade your bathroom vent fan, follow the manufacturer’s instructions for installation and wiring before reinstalling the vent cover. Once everything is in place and functioning correctly, reattach the vent cover using the same steps outlined above.
Following these eight steps on how to remove bathroom vent cover will help you safely and efficiently remove your bathroom vent cover. Remember to always prioritize safety and consult a professional if you’re unsure or encounter any issues during the process. Proper maintenance of your bathroom vent fan can greatly improve its performance and longevity, ensuring proper ventilation and air quality in your home.
Frequently Asked Questions
Q: How Often Should I Clean My Bathroom Vent Cover?
A: It’s recommended to clean your bathroom vent cover at least twice a year to prevent any buildup of dust and debris. The frequency may vary depending on the usage and ventilation needs of your bathroom.
Q: Can I Use Harsh Chemicals to Clean My Vent Cover?
A: No, it’s best to avoid using harsh chemicals or abrasive cleaners on your vent cover as it can damage the surface. Stick to mild detergents and warm water for cleaning.
Q: Is It Necessary to Turn off the Power Before Removing the Vent Cover?
A: Yes, it’s essential to turn off power at the circuit breaker or fuse box before removing the vent cover to ensure safety.
Q: How Do I Know If My Bathroom Vent Fan Needs an Upgrade?
A: If your current fan is struggling to effectively ventilate the bathroom or has been causing noise issues, it may be time to consider an upgrade. Additionally, if your fan is old and outdated, upgrading to a modern model can improve energy efficiency and functionality. Always consult a professional if you’re unsure about whether an upgrade is necessary for your specific situation.
Q: Can I Install a Bathroom Vent Fan Myself?
A: While it’s possible to install a bathroom vent fan yourself, it’s recommended to seek professional assistance to ensure proper installation and wiring. This will also help avoid any potential safety hazards or damage to your home’s electrical system. It’s best to consult with a qualified electrician or HVAC technician for proper installation.
Conclusion
Maintaining your bathroom vent fan is an essential aspect of ensuring a healthy and comfortable environment in your home. By regularly cleaning and inspecting the vent cover, you can prevent dust buildup and potential issues that may impair the fan’s performance. Taking the time to evaluate whether your current system needs an upgrade can result in improved efficiency and reduced noise. Remember, safety is paramount; turn off power at the source before beginning any maintenance or replacement work.
Should you encounter any uncertainty during the process, consulting a professional can offer peace of mind and ensure the job is completed correctly. By following these guidelines on how to remove bathroom vent cover, you can extend the life of your bathroom vent fan and maintain optimal air quality in your living space.

