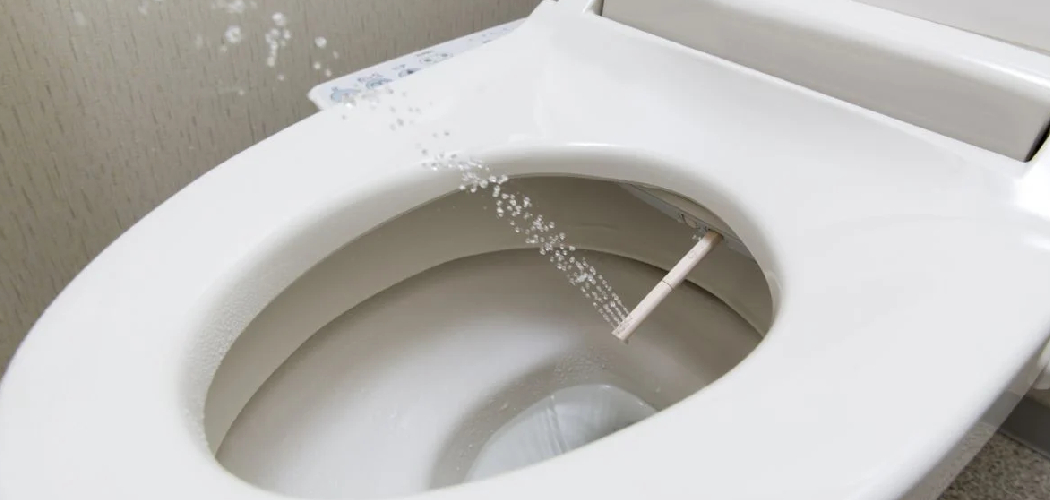
Removing a bidet seat might seem like a daunting task, but with the right steps and tools, it can be a straightforward process. Whether you’re replacing an old bidet seat or simply need to clean and maintain your bathroom fixtures, understanding how to remove it properly is essential.
This guide on how to remove bidet seat will walk you through the process to ensure a hassle-free experience while avoiding any potential damage to your toilet or the bidet seat itself.
Tools and Materials Needed
Screwdriver:
A screwdriver is a necessary tool for removing most bidet seats. Make sure to use the appropriate size and type of screwdriver for your specific seat.
Adjustable Wrench:
An adjustable wrench may also be needed depending on the type of mounting hardware used for your bidet seat. This will help loosen any nuts or bolts that are holding the seat in place.
Plumber’s Tape:
Plumber’s tape, also known as Teflon tape, can be helpful when reinstalling the bidet seat. It provides a waterproof seal between connections and prevents leaks.
Cleaning Supplies:
Having cleaning supplies such as disinfectant wipes, all-purpose cleaner, and paper towels handy can make the installation process smoother. These supplies will be helpful for cleaning the toilet and surrounding area before and after installing the bidet seat.
Power Drill:
Some bidet seats may require a power drill for installation, especially if you need to drill holes in the wall or tile for mounting brackets. Make sure to have a charged battery or extra drill bits on hand just in case.
8 Step-by-Step Guidelines on How to Remove Bidet Seat
Step 1: Disconnect the Water Supply
Before removing the bidet seat, locate the water supply valve, typically found near the base of the toilet. Turn the valve clockwise to shut off the water flow completely. Flush the toilet to drain any remaining water from the tank and bowl.
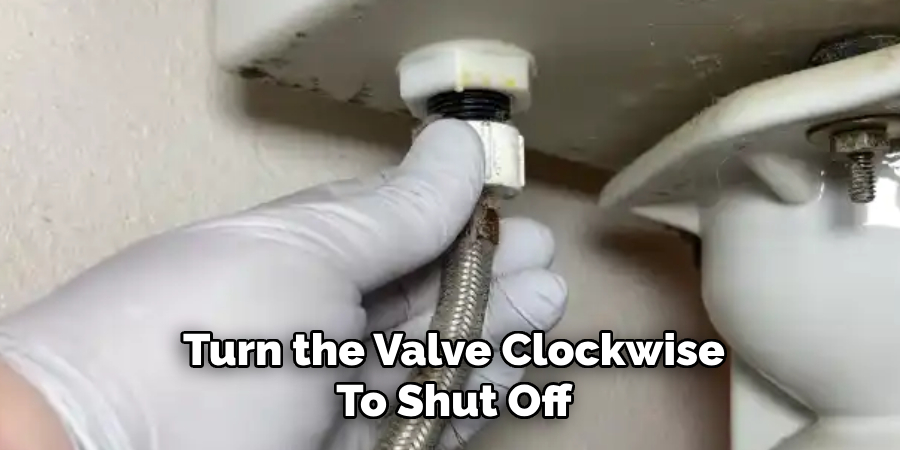
Place a small bucket or towel under the connection point to catch any residual water when disconnecting the hose. Carefully unscrew the hose connected to the bidet seat and the toilet tank. Make sure the area is dry and free from leaks before proceeding to the next step.
Step 2: Remove Any Accessories or Attachments
Before proceeding, ensure the toilet and bidet seat are clear of any accessories or attachments that may obstruct the removal process. This includes items like decorative seat covers, attachments for cleaning tools, or additional fixtures connected to the bidet.
Gently remove these items and set them aside in a safe location. Inspect the area to make sure nothing is hindering access to the mounting bracket or other key components of the bidet seat.
Step 3: Unscrew and Remove the Bidet Seat
Locate the screws or fasteners securing the bidet seat to the toilet. These are typically found at the back of the seat, near the mounting bracket. Using an appropriate tool, such as a screwdriver, carefully loosen and remove the screws. Be sure to keep the screws and any accompanying washers or small components in a safe place for future use.
Once the screws have been removed, gently lift the bidet seat off the toilet, taking care not to force it if it feels stuck. If necessary, check for any hidden fasteners or attachments that may still be in place. After removal, set the bidet seat aside on a soft surface to avoid any scratches or damage.
Step 4: Clean and Disinfect
With the bidet seat removed, take the opportunity to thoroughly clean and disinfect the toilet base and surrounding area. Use a mild cleaning solution or disinfectant suitable for bathroom surfaces to eliminate any buildup, stains, or germs.
Pay special attention to hard-to-reach areas and ensure all surfaces are wiped clean. A soft cloth or sponge can be used to prevent scratches. Allow the cleaned areas to dry completely before proceeding to the next step, ensuring a hygienic and prepared surface for reinstallation or further tasks.
Step 5: Install the New Bidet Seat
Begin by carefully aligning the mounting plate of the bidet seat with the holes on the toilet. Secure the plate in place using the provided bolts, ensuring they are tightened evenly for stability. Once the mounting plate is firmly attached, slide the bidet seat onto the plate until you hear it click into position. Double-check that the seat is securely locked before proceeding.
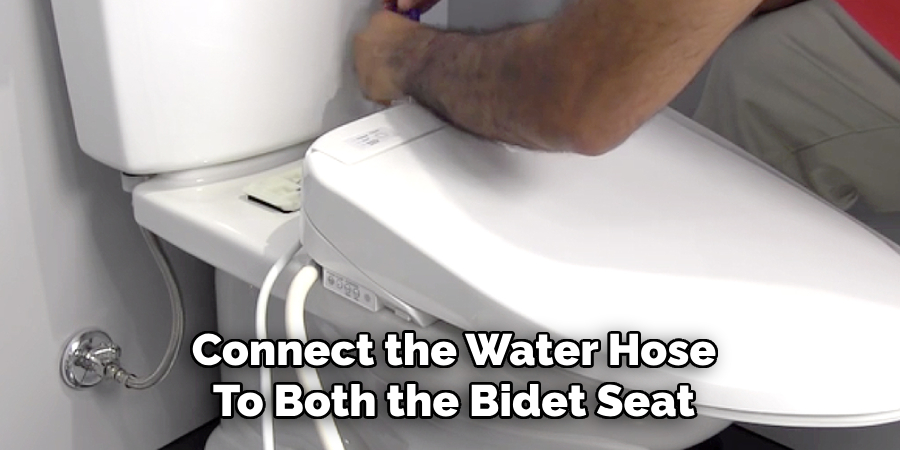
Follow the manufacturer’s instructions to connect the water hose to both the bidet seat and the water supply. Ensure all connections are tight to avoid leaks. Once installation is complete, turn on the water supply and test the functionality of the bidet seat to confirm that it is working as intended. Adjust settings as needed for comfort and ensure everything is securely in place.
Step 6: Attach Water Supply
Carefully attach the T-valve provided in the bidet kit to the toilet’s water supply line. Disconnect the existing water supply hose from the toilet tank and connect it to the lower end of the T-valve. Next, connect the bidet hose to the open outlet on the T-valve and attach the other end of the bidet hose to the water inlet on the bidet seat.
Ensure all connections are tightened securely to prevent leaks. Once everything is firmly connected, turn on the water supply and check for any leaks. If no leaks are detected, proceed to test the bidet seat’s water functions to ensure proper installation.
Step 7: Turn on the Water Supply
Slowly turn the water supply valve counterclockwise to open it and allow water to flow back into the system. Once the valve is fully open, carefully inspect all connections, including the T-valve, bidet hose, and water inlet, for any signs of leakage.
If you notice any leaks, turn off the water supply and tighten the connections as needed. After confirming that there are no leaks, proceed to test the bidet seat’s features to ensure everything is functioning properly.
Step 8: Test Out Your New Bidet Seat
Congratulations! Your new bidet seat has been installed! Take some time to test out its features and adjust the settings according to your preferences. Keep in mind that it may take some time to get used to using a bidet, so be patient and give yourself time to adjust.
Following these steps on how to remove bidet seat and install a new one will ensure a successful installation process. Remember to always read the manufacturer’s instructions carefully before beginning any installation, and if you encounter any difficulties, don’t hesitate to seek professional help.
Now that your bidet seat is installed and tested, enjoy the benefits of improved hygiene and comfort in your bathroom. You may also want to consider sharing this guide with friends and family who are interested in switching to a bidet seat. Happy bideting!
Tips and Troubleshooting
Here are some helpful tips and troubleshooting suggestions to ensure your bidet seat functions flawlessly:
Regular Cleaning:
Keep your bidet seat clean by wiping it down with a soft, damp cloth and avoid using harsh chemicals that could damage the surface or components.
Check Water Pressure:
If the spray seems weak or uneven, check your home’s water pressure settings or ensure the bidet’s valve is fully open.
Ensure Proper Alignment:
If you notice leaks or improper spray positioning, double-check that the bidet seat is correctly aligned on the toilet.
Test Electrical Connections:
For an electronic bidet seat, ensure the power cord is securely plugged into a grounded outlet and there are no loose connections.
Clog Prevention:
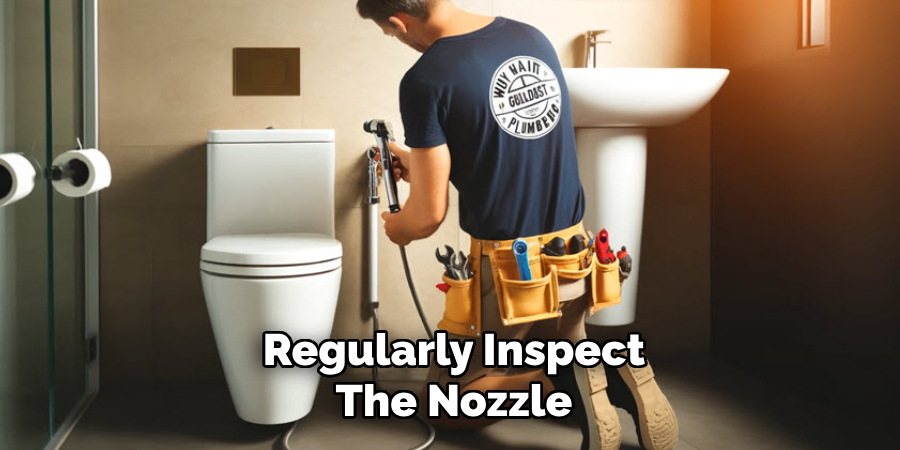
Regularly inspect the nozzle to ensure it’s free from debris or mineral buildup. Many bidet seats have a nozzle-cleaning feature to make this easier.
When to Seek Help?
If you encounter persistent issues that cannot be resolved through regular maintenance or troubleshooting, it may be time to consult a professional. Signs that indicate you should seek help include water leaks that worsen over time, electrical problems such as tripped breakers or flickering power to the bidet, or malfunctioning components like the nozzle or control panel.
Additionally, if you’re uncertain about installation or repairs, reaching out to a qualified technician can prevent potential damage or safety hazards. Always refer to the manufacturer’s customer support for guidance or authorized service recommendations.
Frequently Asked Questions
Q: Can a Bidet Be Installed in Any Bathroom?
A: In most cases, yes. Bidets come in different sizes and styles, so it’s important to measure your bathroom space and choose one that fits comfortably. Keep in mind that you may also need access to an electrical outlet if your bidet has electronic features.
Q: How Do I Use a Bidet for the First Time?
A: Using a bidet may seem intimidating at first, but it’s actually very simple. First, make sure the water temperature is adjusted to your liking. Then, sit on the seat facing the controls and turn on the water flow using the appropriate button or lever. Adjust the water pressure as needed using the corresponding control.
Q: What Do I Do After Using the Bidet?
A: Once you are finished using the bidet, turn off the water flow and pat yourself dry with toilet paper or a clean towel. Some bidets also have a built-in dryer feature for added convenience. If not, make sure to properly dispose of any used paper products in a waste bin nearby.
Conclusion
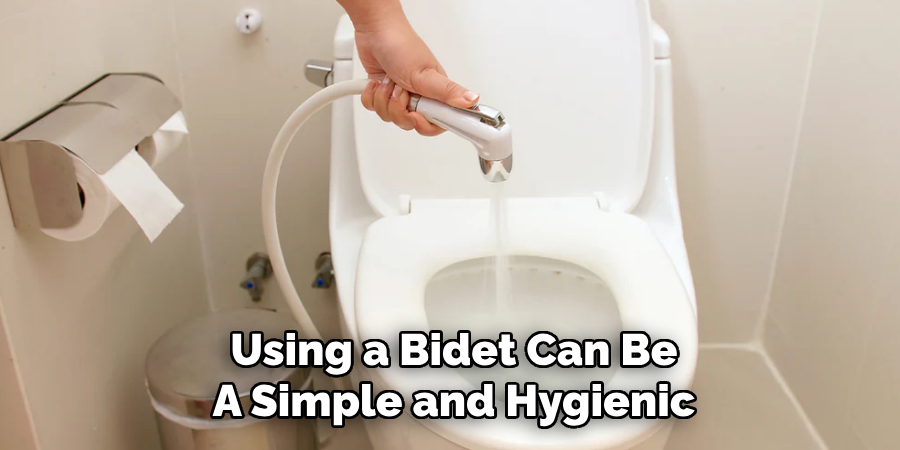
Using a bidet can be a simple and hygienic addition to your daily routine. With a bit of practice, operating a bidet becomes second nature and can offer a more eco-friendly and comfortable alternative to traditional toilet paper use.
Remember to adjust the settings to your liking, clean the unit regularly, and enjoy the added convenience and cleanliness that a bidet provides. Thanks for reading this article on how to remove bidet seat.

