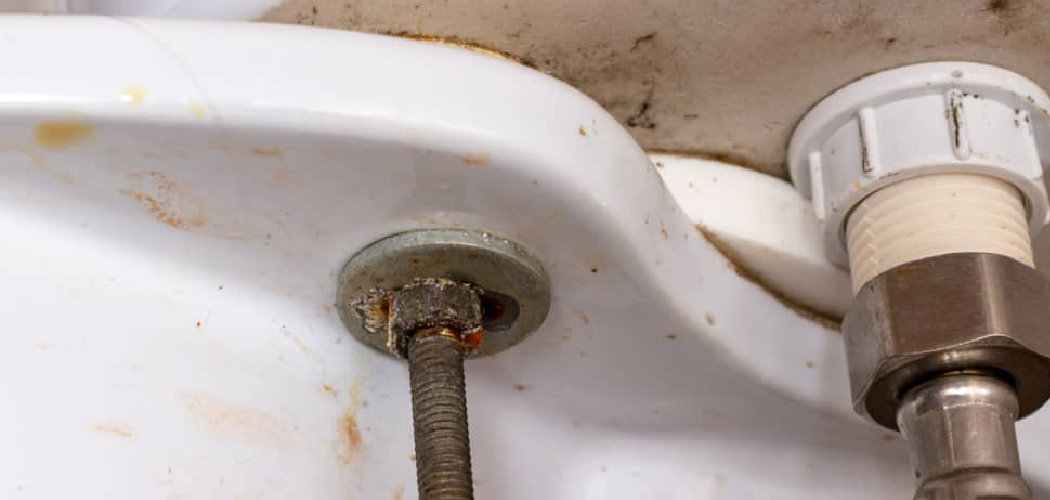
Have you ever tried to remove a bolt from the toilet tank, and every time, it seemed like your efforts fell short? Don’t worry; you are not alone! As tricky as it may seem, removing bolts from the toilet tank is an easy job that anyone can do with just a few simple tools.
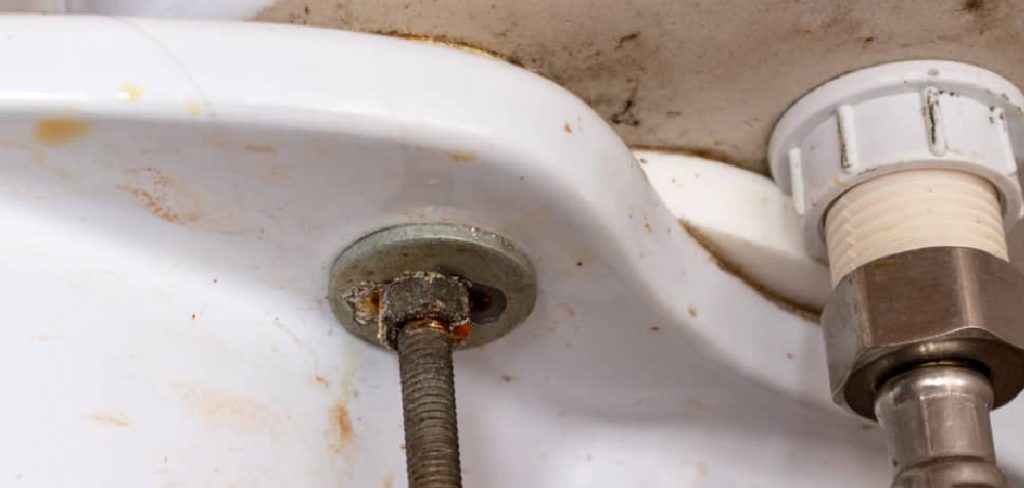
In this blog post, you will learn all the steps needed to successfully remove those stubborn bolts so you can handle any minor repairs that require taking apart your toilet tank. No need to call in help – by following this guide on how to remove bolts from toilet tank, you’ll be ready to make quick work of that errant bolt in no time!
How Do You Remove Hard Bolts from Toilet Tanks?
Removing hard bolts from a toilet tank can be a difficult task. In order to get the job done properly, you’ll need some special tools and knowledge. Start by gathering all of the necessary supplies: safety gloves, goggles, adjustable wrenches, penetrating oil, and replacement bolts if needed.
Once you have all your supplies together, it’s time to start removing the bolts. Start by wearing your safety gear and spraying down the bolt with penetrating oil. This will help to break up any rust or corrosion that may be preventing the bolt from loosening easily. Allow the oil to sit for several minutes before trying to remove the bolt again.
You can then use an adjustable wrench to turn the bolt counterclockwise. If the wrench isn’t able to turn it, try a pair of pliers or vice-grips. Keep applying pressure and going in different directions until the bolt comes loose.
If the bolt still doesn’t loosen, no matter how much force you apply, it may be stuck due to corrosion or rusting. In this case, you can use a hacksaw to cut off the head of the bolt and then use a hammer and chisel to remove any remaining pieces. If your bolts are severely rusted over, you may need to replace them entirely with new ones.
No matter what method you use for removing hard bolts from toilet tanks, make sure that all safety precautions are taken before attempting to do any work. With the right tools and patience, it’s possible to get your tank bolts removed without too much trouble.
9 Methods on How to Remove Bolts from Toilet Tank
1. Use a Wrench to Remove the Bolts.
The most common way to remove the bolts is by using a wrench. Depending on the type of toilet tank you have, the size of the bolts may vary. Generally, a 7/16-inch or 1/2-inch wrench will work for most tanks.
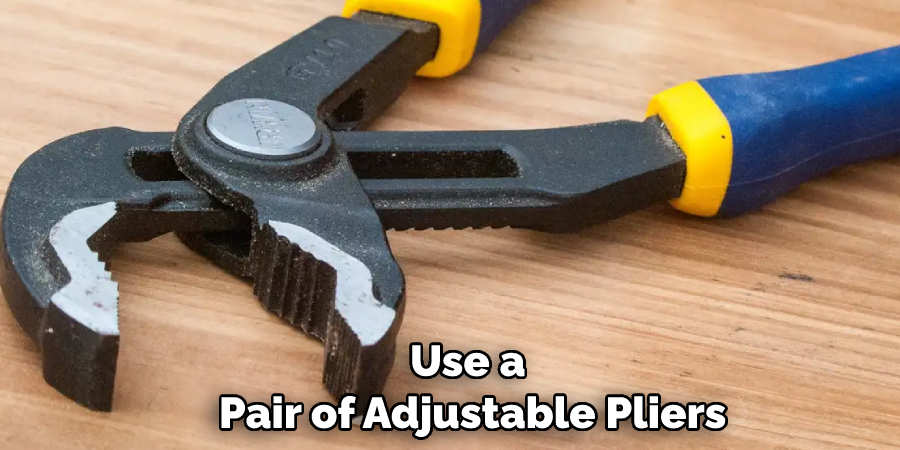
Place the open end of the wrench around the bolt head and turn it counterclockwise until it is loosened. However, you may need to use a pair of adjustable pliers if the bolts are too tight. Though, remember to be careful, so you don’t damage the porcelain.
2. Use a Screwdriver to Remove the Bolts.
Once you have located the bolts, it is time to remove them. Use a screwdriver to turn counterclockwise on each bolt until they come off completely. If the bolts are tight or rusted, try lubricating them with some WD-40. This should help loosen up the bolts and make them easier to unscrew.
Be sure to use a screwdriver that is the correct size for the bolt heads. If you use a screwdriver that is too large or too small, it could strip out the bolt head. Once all of the bolts have been removed, you can lift off the entire toilet tank cover and set it aside. Now you are ready to proceed with your repair or replacement.
3. Use a Hammer to Remove the Bolts.
If the nuts are already in pieces, then a hammer can be used to break them off. It is important not to hit too hard as this could damage the tank or other parts of the toilet. Place the head of the hammer against the edges of each nut and strike it firmly but gently several times until it breaks off. Be sure to wear safety goggles and gloves when using a hammer to break off bolts.

To prevent pieces of the bolt from entering the toilet, place a towel or cloth over the tank before striking it with a hammer. Additionally, you can also use a nut splitter tool to break off the nuts. This is especially useful if they are too difficult to remove using other methods.
4. Use a Chisel to Remove the Bolts.
If the bolts are extremely corroded, you may need to use a chisel and hammer to get them off. Place the chisel on the bolt and hit it with a hammer until it penetrates. This will help break down the corrosion so that you can unscrew it by hand.
Be sure to wear safety glasses when using a chisel to avoid eye injuries. Once the chisel has made a groove, you should be able to unscrew the bolts by hand. If not, use a screwdriver or adjustable wrench to loosen them.
In some cases, especially if the bolts are old or extremely corroded, they may break off when you apply pressure with the chisel and hammer. If this happens, you will need to buy new bolts and use a rubber gasket in order to secure them.
5. Use a Saw to Remove the Bolts.
If the bolts are too rusted and corroded, they may be impossible to take off with conventional wrenches. In this case, you will need to use a saw to cut through them. Be sure to wear protective gear and work in a well-ventilated area before attempting this step. Use a hacksaw or reciprocating saw for best results.
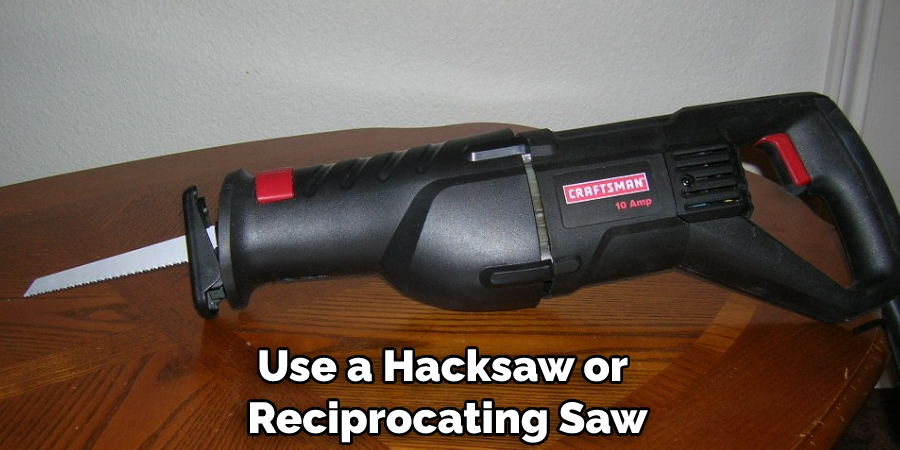
Don’t forget to apply lubricant and let it sit for a few minutes before starting the saw. Be sure to cut evenly on both sides to avoid damaging the toilet tank. Once you’ve cut through the bolts, remove any remaining pieces with pliers or other tools. These steps should be enough to successfully remove bolts from your toilet tank without too much difficulty.
6. Use a File to Remove the Bolts.
If the bolts are corroded, use a flat file to wear away the gunk and rust. As you do this, hold onto the head of the bolt with pliers or a wrench. This will prevent it from turning as you use the file. Once enough corrosion has been removed, try unscrewing them with a wrench again.
With patience, you should be able to work away the corrosion and eventually remove the bolts. However, if the bolts are still stuck, proceed to the next step.
7. Use a Drill to Remove the Bolts.
If the bolt heads are too corroded to be unscrewed by hand, you may need to use a drill and bit. Select a bit that is slightly smaller than the bolt head and carefully drill into it. Once there is enough room, you should be able to unscrew the bolts with ease. Make sure not to drill too deeply; otherwise, it can cause damage to the tank.
Once all the bolts have been removed, you can uninstall the tank from the bowl. Be sure to use caution when lifting the tank, as it can be heavy. After the tank is removed, replace any broken seals or gaskets before installing the new tank.
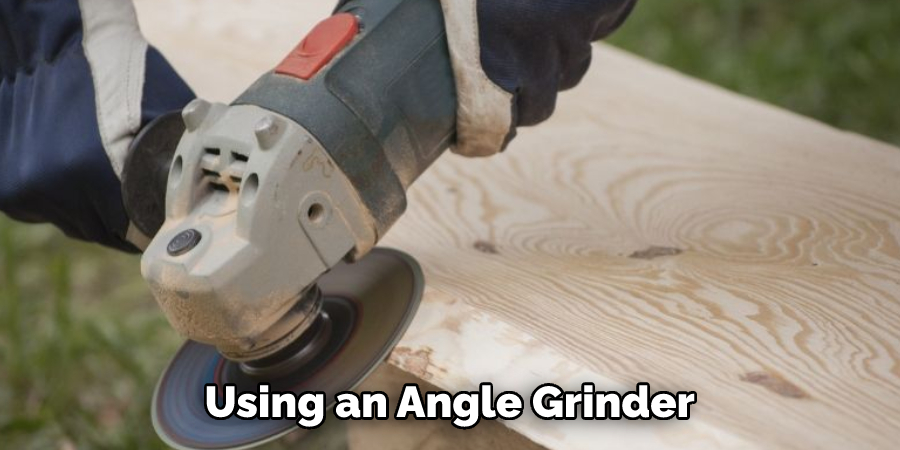
8. Use a Grinder to Remove the Bolts.
If the bolts are too difficult to remove with a wrench, try using an angle grinder. Make sure to wear safety gear while operating the grinder, including gloves and a dust mask. Cut the bolts off at the base of the tank with the grinder. Be sure to clean up all of the metal shavings produced by the grinder before attempting any further steps. Once you have removed both bolts, your toilet tank should be freed from its base.
9. Use an Impact Driver to Remove the Bolts.
An impact driver is a specialized tool designed to provide extra turning power. This can be used to loosen stubborn bolts that may have become stuck due to rust or corrosion. To use an impact driver, attach the appropriate bit to the tool and place it on top of the bolt head. Pull the trigger to provide a powerful burst of rotational energy that could help break difficult loose bolts.
Make sure you are wearing safety goggles when using an impact driver, as pieces of metal can fly off under its force. Once the bolt is loosened, you can finish unscrewing it with a wrench or socket. Repeat this process for each of the bolts to remove them completely.
Conclusion
Learning how to remove bolts from toilet tanks is an important part of home maintenance and should be done on occasion. If you ever find yourself in a situation where you need to know how to do this job again, refer back to this article for further instructions.
Now put your smarts into motion and get those bolts off! Who knows? Perhaps tinkering with plumbing might even become one of your hobbies!

