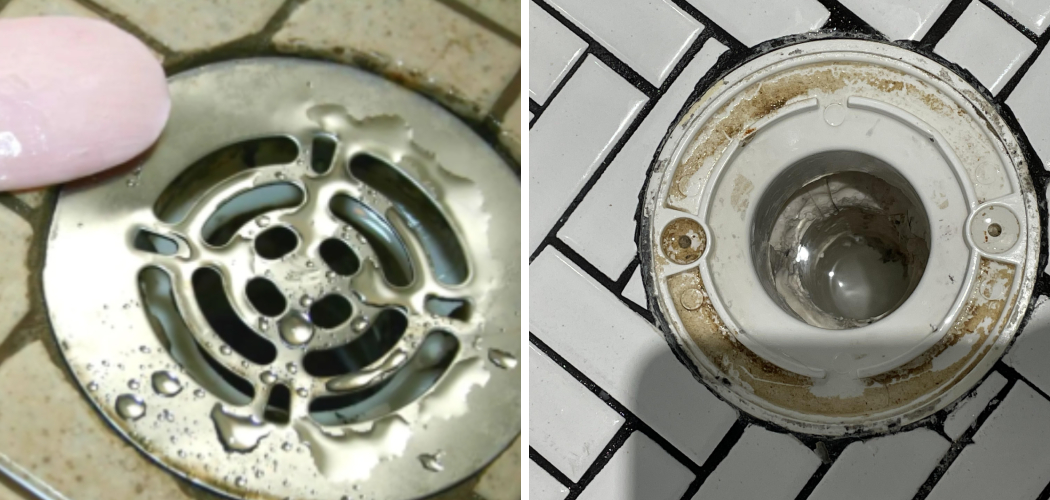
Calcium buildup in shower drains is a prevalent issue many homeowners face, often leading to slow drainage, unpleasant odors, and potential blockages. This problem is primarily caused by hard water, which contains elevated levels of calcium and magnesium. As water flows down the drain, these minerals precipitate out and crystallize, causing the buildup that impedes water flow.
Understanding how to remove calcium buildup in shower drain systems is crucial to maintaining a functioning and hygienic bathroom environment. In this article, we will explore various methods and techniques to effectively eliminate calcium buildup, ensuring that your shower drain remains clear and functional. From household remedies to commercial solutions, we will provide a comprehensive overview of steps you can take to tackle this common yet frustrating household problem.
Identifying Calcium Buildup in the Shower Drain
Signs of Calcium Buildup
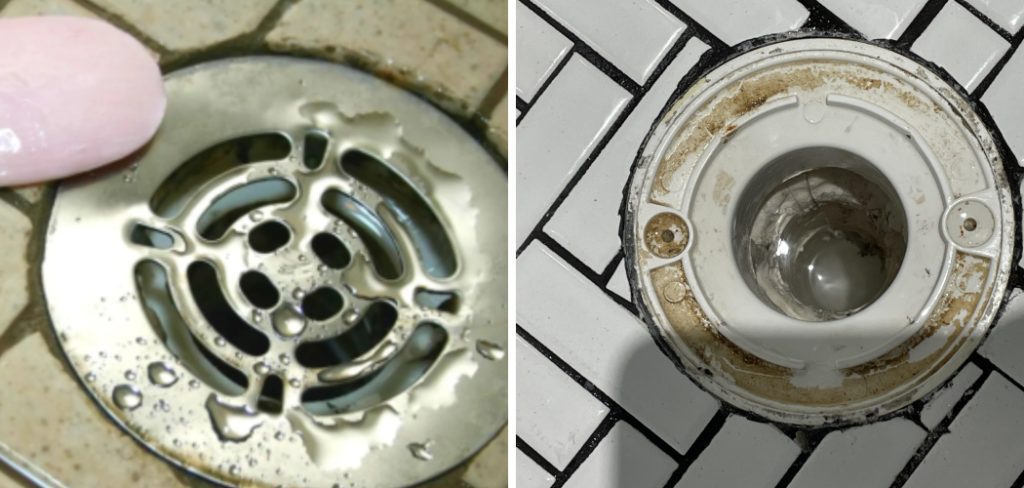
Identifying calcium buildup in your shower drain is essential for early intervention. Common signs include white or chalky deposits around the drain opening, indicating mineral accumulation. Additionally, you may notice slow-draining water as the buildup obstructs the flow, and recurring clogs may occur despite regular cleaning efforts. Attention to these warning signs can help you tackle the problem before it worsens.
Why It’s Important to Address
Addressing calcium buildup promptly is crucial to preventing more severe plumbing issues. If left untreated, the buildup can lead to full blockages, restricting water flow and causing overflow situations. Furthermore, excessive calcium deposits can contribute to pipe corrosion and damage over time, resulting in costly repairs. Maintaining a clear and functional shower drain is beneficial for hygiene and vital for the longevity of your plumbing system.
Tools and Materials Needed
You’ll need a few essential tools and materials to effectively remove calcium buildup from your shower drain.
Basic Tools
To remove the drain cover, you will need a screwdriver, ensuring you can access the buildup easily. Additionally, gloves are important to protect your hands from debris and cleaning agents. A drain snake or a brush will also be useful for manual cleaning, allowing you to physically dislodge and remove accumulated calcium deposits from the drain.
Cleaning Agents
For effective cleaning, consider using white vinegar, a natural acidic agent that can help dissolve mineral deposits. Baking soda is another excellent choice; when combined with vinegar, it creates a fizzy reaction that aids in breaking down tough buildup. Alternatively, a commercial calcium remover can be employed for more stubborn deposits, as these products are specifically formulated to tackle calcium and limescale effectively, ensuring a thorough clean.
Preparing the Shower Drain for Cleaning
Remove the Drain Cover
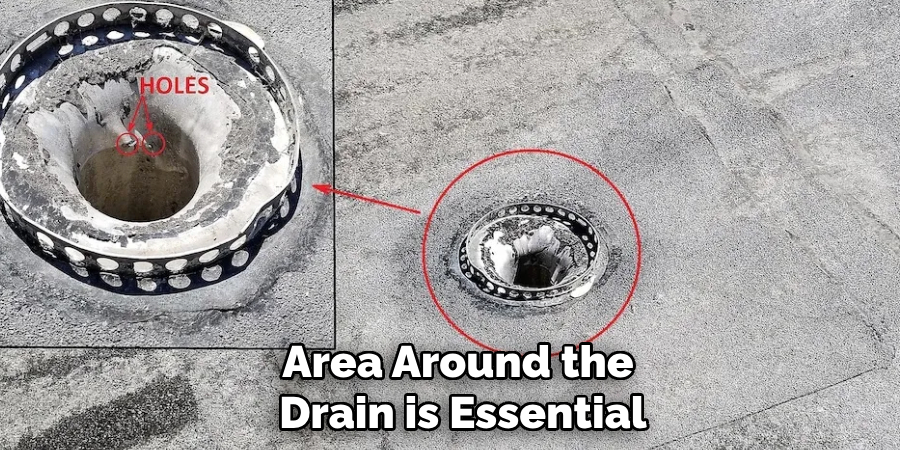
To begin cleaning your shower drain, you’ll need to safely remove the drain cover. Use a screwdriver to unscrew the cover gently to avoid damaging the surrounding area. Clearing the area around the drain is essential; ensure that you eliminate any hair, soap scum, or other debris that might inadvertently be pushed further into the pipe during the cleaning process. This initial step will set a solid foundation for effective maintenance and allow you to access the buildup directly.
Inspect the Drain
Once the drain cover is off, inspect the drain for visible signs of calcium buildup or blockages. Using a flashlight can help illuminate hidden areas and provide a better view of the extent of the buildup. Look for white or chalky deposits and note any areas that appear particularly obstructed. Assessing the severity of the buildup will guide you in selecting the most effective cleaning method for your situation.
How to Remove Calcium Buildup in Shower Drain: Manual Removal of Calcium Deposits
Step 1: Use a Drain Snake or Brush
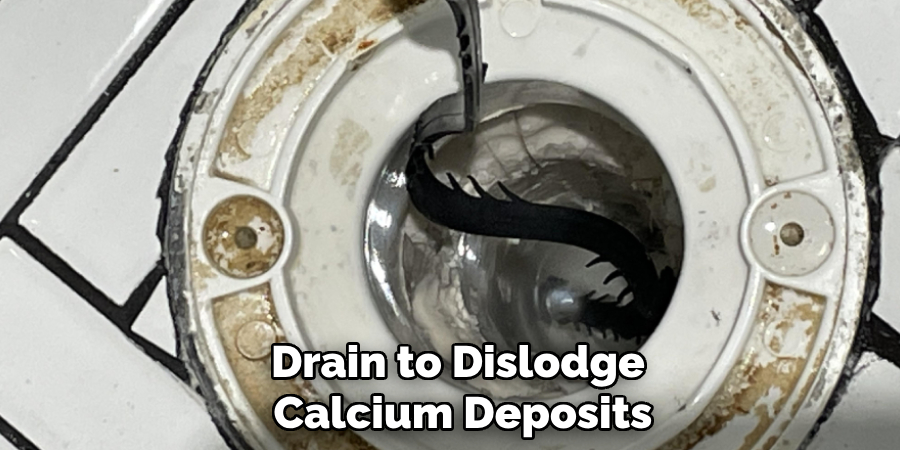
To begin the manual removal process, take your drain snake or brush and gently insert it into the drain. Start at the top and work your way down, using a twisting motion to scrape the sides of the drain to dislodge calcium deposits. It’s essential to be gentle during this process to avoid scratching or damaging the pipes, which can lead to further complications down the line. Take your time as you move around the perimeter of the drain, gradually pulling out any loosened debris. This method effectively loosens the buildup, making tackling the more stubborn deposits easier.
Step 2: Clean with a Wire Brush
Once you’ve used the drain snake or brush to remove the initial buildup layer, it’s time to focus on more stubborn deposits using a small wire brush. Carefully scrub the areas where the calcium buildup is most concentrated, particularly around the drain opening and within the first few inches of the pipe. Use short, back-and-forth motions to effectively break apart the remaining deposits. Ensure that you maintain a gentle touch to avoid damaging the plumbing fixtures. Continuously remove debris as you go to keep the area clean and make the process more effective.
Step 3: Rinse Thoroughly
After scrubbing away the calcium deposits, it’s crucial to rinse the drain thoroughly with hot water. Run hot water directly down the drain for several minutes to remove loosened deposits and debris. This step not only helps to clear out any remaining traces of calcium but also ensures that the hot water can dissolve any residual buildup that may have been missed during manual cleaning. A thorough rinse is critical for maintaining a clear drain and preventing future buildup from accumulating in the same areas.
How to Remove Calcium Buildup in Shower Drain: Chemical Cleaning Method
Step 1: Use Vinegar and Baking Soda
Pour about half a cup of baking soda directly into the drain for a natural approach to dissolving calcium buildup. Let it settle down into the buildup accumulation for maximum effectiveness. Next, take a cup of white vinegar and slowly pour it into the drain over the baking soda. This combination will create a fizzy reaction that helps break down the calcium deposits. Allow the mixture to work for about 15 to 30 minutes; during this time, the acid in the vinegar will react with the alkaline baking soda, effectively loosening the buildup. After this period, flush the drain with hot water for several minutes to wash away the dissolved deposits and any remaining residue.
Step 2: Apply Commercial Calcium Remover
If the natural method does not yield satisfactory results, consider using a commercial calcium remover or descaler specifically designed for plumbing systems. Before using these products, ensure you are wearing protective gloves and that the area is well-ventilated, as some chemicals can produce strong fumes.
Carefully read the instructions provided on the product label for the correct application method. Generally, you will pour an appropriate amount of the remover into the drain, allowing it to sit for the time recommended on the packaging—often around 15 to 30 minutes. After this period, thoroughly rinse the drain with hot water to ensure that the chemical solution and dissolved calcium are completely cleared out.

Step 3: Repeat if Necessary
In cases where the calcium buildup is particularly stubborn, or the initial cleaning was insufficient, you may need to repeat the chemical cleaning process. Monitor the performance of your drain; if you still notice slow drainage or hear gurgling sounds, it’s a sign that further action is needed.
For the best results, keep track of how many treatments you attempt. If the drain is significantly clogged, multiple applications may be required. After each treatment, observe the changes in water flow and check for any lingering deposits visible on inspection. Once the drain is clear and water flows freely, you can be confident that the cleaning process was successful. Regular maintenance and occasional cleaning will help prevent future buildup and keep your plumbing system in good condition.
Preventing Future Calcium Buildup
Install a Water Softener
Installing a water softener is an effective long-term solution to reduce the levels of calcium and magnesium in your water supply, which are the primary culprits behind calcium buildup. By using a water softener, you can significantly decrease the hardness of your water, preventing the accumulation of scale in your shower drain and throughout your plumbing system. This proactive measure protects your drains and extends the lifespan of your appliances and fixtures by reducing the strain from mineral deposits.
Regular Maintenance Tips
In addition to installing a water softener, a routine cleaning schedule can help keep your drains free from calcium deposits. Consider conducting monthly treatments with a mixture of vinegar and baking soda, which effectively breaks down any emerging buildup. Regular inspection and maintenance of your drains will ensure any potential issues are addressed early, promoting optimal drainage and prolonging the overall health of your plumbing system.

Conclusion
In summary, effectively learning how to remove calcium buildup in shower drain involves a combination of manual and chemical cleaning methods. Start by using a drain snake or a wire brush to manually remove surface buildup, followed by a thorough rinse with hot water. If stubborn deposits persist, apply a mixture of vinegar and baking soda or a commercial calcium remover, ensuring to follow instructions carefully.
Additionally, implementing preventative measures is crucial; installing a water softener and adhering to a regular maintenance schedule can significantly reduce the likelihood of future buildup. By proactively addressing calcium deposits and consistently monitoring your plumbing, you can ensure smooth water flow in your shower and prevent more significant plumbing issues. Don’t delay tackling calcium buildup—taking action now will save you time and money.

