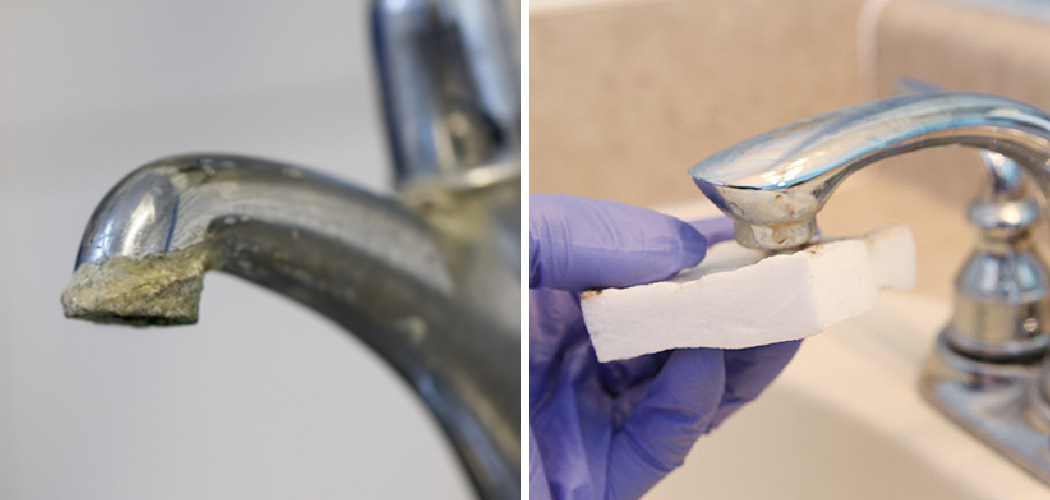
Calcium deposits can form on brushed nickel faucets over time, leaving them looking dull and tarnished. These unsightly white or chalky buildups occur due to hard water, which is rich in minerals like calcium and magnesium. Removing these deposits effectively requires the right techniques and materials to maintain the faucet’s finish without causing damage.
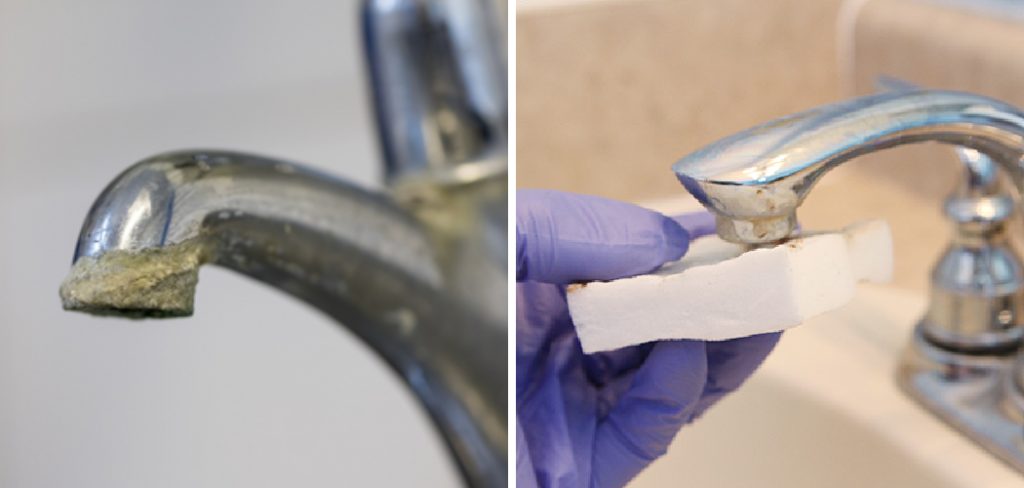
This guide on how to remove calcium deposits from brushed nickel faucet will walk you through safe and efficient methods to restore your faucet’s shine and keep it looking like new.
Why Are Calcium Deposits a Problem for Brushed Nickel Faucets?
Calcium deposits aren’t just unsightly; they can also cause functional problems with your brushed nickel faucet. The buildup of minerals can clog up the aerator, reducing water flow and pressure. It can also lead to corrosion and damage to the faucet’s finish, making it more susceptible to scratches and other forms of wear and tear.
In addition, hard water stains left by calcium deposits can be challenging to remove, leaving your brushed nickel faucet looking dull and aged. With regular maintenance and proper removal techniques, you can prevent these issues and keep your faucet looking clean and shiny.
Tools Needed
To effectively remove calcium deposits from a brushed nickel faucet, you’ll need the following tools:
White Vinegar:
White vinegar is a natural and inexpensive cleaning agent that is highly effective in
dissolving calcium deposits. Its acidic properties make it an excellent choice for removing mineral buildup without causing damage to the faucet’s finish.
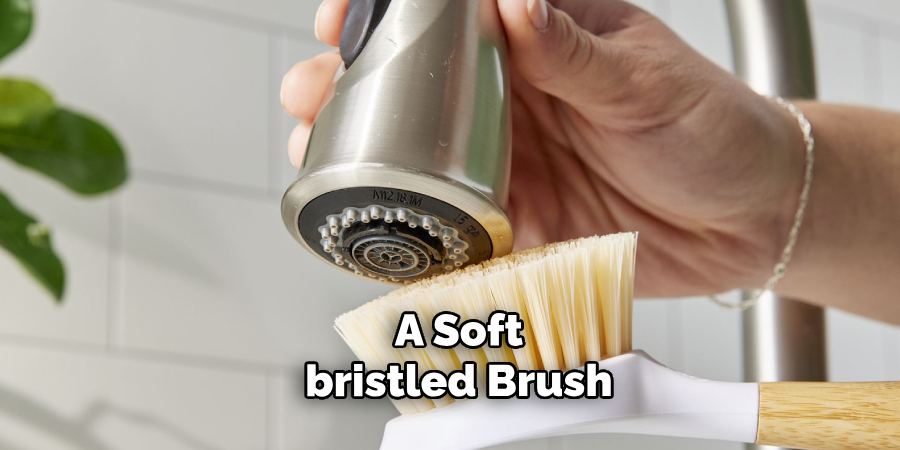
Soft-bristled Brush:
A soft-bristled brush, such as a toothbrush or scrub brush, is essential for gently scrubbing away the calcium deposits from the faucet. Avoid using abrasive materials like steel wool, which can scratch and damage the brushed nickel surface.
Microfiber Cloth:
After applying the cleaning solution, use a microfiber cloth to wipe away the loosened calcium deposits gently. The soft fibers of a microfiber cloth will prevent any scratching or damage to the faucet while effectively removing the buildup.
8 Step-by-step Guides on How to Remove Calcium Deposits From Brushed Nickel Faucet
Step 1: Prepare a Vinegar Solution
Start by creating a vinegar solution to tackle the calcium deposits. Mix equal parts of white vinegar and warm water in a small bowl or container. This dilution ensures the solution is strong enough to break down mineral buildup without being too harsh on the brushed nickel finish.
Once prepared, transfer the mixture to a spray bottle for easier application, or keep it ready for soaking cloths or brushes during the cleaning process.
Step 2: Turn Off the Water Supply
Before cleaning the faucet, ensure that the water supply is turned off to avoid any accidental water flow during the process. Locate the shutoff valves beneath the sink and turn them clockwise until they are fully closed.
This step is crucial to prevent water from interfering with the cleaning solution or splashing during scrubbing. Additionally, it allows you to work on the faucet more safely and efficiently. Once the water supply is off, open the faucet to release any remaining water in the pipes.
Step 3: Soak the Faucet with Vinegar Solution
Use a spray bottle to apply the vinegar solution generously all over the faucet, focusing on areas with visible calcium buildup. If you don’t have a spray bottle, soak a cloth or brush in the solution and place it directly on the affected areas. Allow the solution to sit for about 10-15 minutes, giving it time to break down and dissolve the mineral deposits.

It’s essential to avoid using harsh chemicals or abrasives on brushed nickel faucets, as they can strip the finish and cause damage. Using a vinegar solution is a gentle and natural alternative that effectively removes calcium deposits without causing harm.
Step 4: Scrub Away the Deposits
After the vinegar solution has had time to loosen the calcium deposits, take a soft-bristled brush and gently scrub the affected areas. Focus on spots with heavy buildup, using small circular motions to break apart the deposits without scratching the brushed nickel surface.
If necessary, dip the brush back into the vinegar solution to help dissolve stubborn calcium deposits. Be patient and avoid using excessive force, as this can damage the faucet’s finish. Once you’ve scrubbed all visible buildup, proceed to the next step for thorough cleaning and rinsing.
Step 5: Clean the Aerator
If your faucet has a removable aerator, take this opportunity to clean it as well. The aerator is responsible for regulating water flow and can accumulate mineral deposits over time, affecting its function. Soak it in the vinegar solution and scrub away any buildup with a brush or toothpick. Rinse thoroughly before reattaching it to the faucet.
You can purchase a new aerator if the buildup is too stubborn to remove or if it’s damaged by the deposits.
Step 6: Rinse Thoroughly
Once you’ve removed all visible calcium deposits from the faucet, rinse it thoroughly with warm water. Use a microfiber cloth to wipe away any remaining residue and ensure that all traces of vinegar are gone.
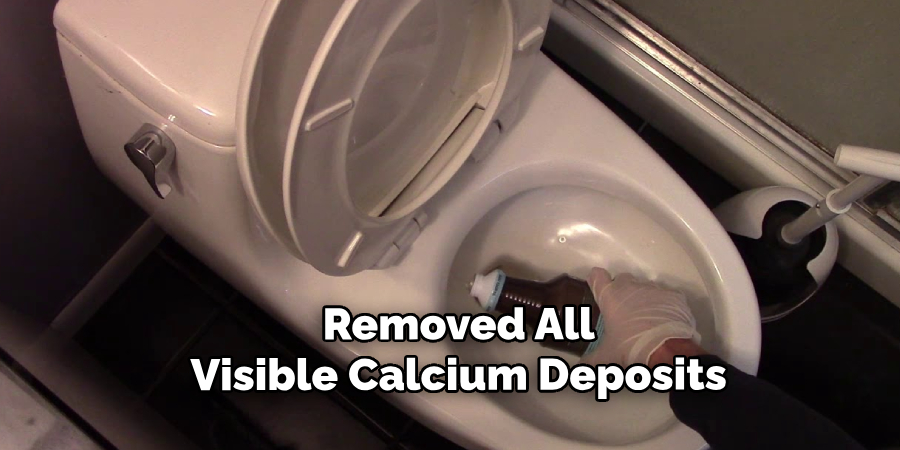
Rinsing is crucial to remove any leftover cleaning solution, as it can cause damage if left on the faucet’s surface for an extended period.
Step 7: Dry and Buff
After rinsing, use a dry microfiber cloth to clean and buff the faucet until it shines like new. This step is essential to remove any water spots or streaks that may have formed during the cleaning process.
To prevent future mineral buildup and maintain the brushed nickel finish, consider using a protective sealant or wax specifically designed for faucets. These products create a barrier against hard water deposits and make it easier to clean and polish your faucet regularly.
Step 8: Turn On Water Supply
Finally, turn on the water supply by opening the shutoff valves beneath the sink. Allow water to run through the faucet for a few minutes to flush out any remaining vinegar solution from the pipes.
You can also turn on hot and cold water separately to ensure that both sides of the faucet are functioning correctly.
Following these simple steps on how to remove calcium deposits from brushed nickel faucet will effectively remove calcium deposits from your brushed nickel faucet without causing any damage. Regular cleaning and maintenance can prevent mineral buildup and keep your faucet looking shiny and new for years to come.
Additional Tips and Tricks
- If the vinegar solution isn’t strong enough to dissolve stubborn calcium deposits, you can try using a commercial cleaning product specifically designed for faucets or hard water stains.
- For heavy buildup, you may need to soak the faucet in the vinegar solution overnight.
- To prevent mineral deposits from forming in the first place, consider installing a water softener system in your home.
- It’s essential to regularly clean and dry your brushed nickel faucet after each use to prevent mineral buildup and maintain its shine.
- Avoid using harsh chemicals or abrasive materials on brushed nickel surfaces as they can cause damage and discoloration. Stick to gentle cleaning solutions like vinegar or mild soap and water.
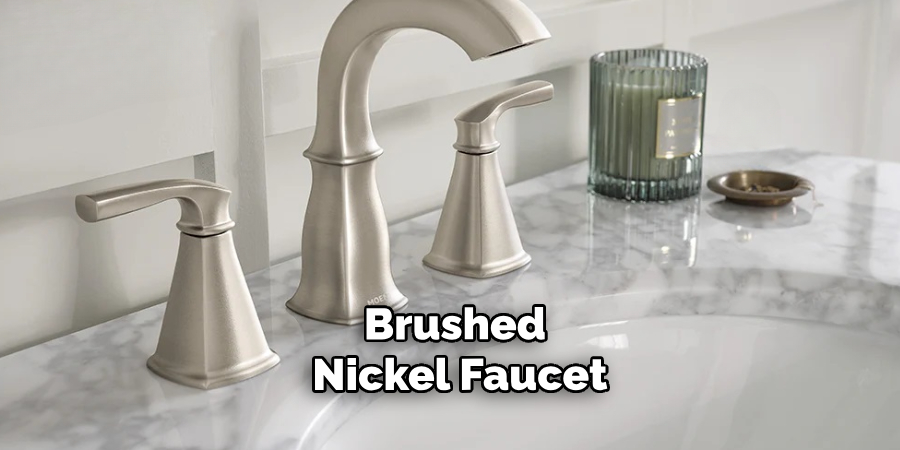
By following these tips and tricks on how to remove calcium deposits from brushed nickel faucet, you can keep your brushed nickel faucet looking shiny and new while effectively removing calcium deposits. With proper maintenance, you can ensure that your faucet maintains its functionality and longevity for years to come.
Frequently Asked Questions
Q1: Can I Use Lemon Juice Instead of Vinegar to Clean My Faucet?
A1: Yes, lemon juice works similarly to vinegar and can effectively remove calcium deposits. Mix equal parts of water and lemon juice in a spray bottle or soak a cloth with the solution and apply it to the affected areas. Let it sit for 10-15 minutes before scrubbing and rinsing as usual.
Q2: Will Cleaning My Faucet with Vinegar Damage the Finish?
A2: No, using a vinegar solution is a safe and gentle method to remove calcium deposits from brushed nickel faucets without causing any damage. It’s important to avoid using harsh chemicals or abrasives on brushed nickel surfaces, as they can strip the finish and cause damage.
Q3: How Often Should I Clean My Brushed Nickel Faucet?
A3: It’s recommended to clean your faucet regularly, at least once a week, to prevent mineral buildup and maintain its shine. However, if you notice heavy buildup, it’s best to clean your faucet as needed to prevent damage and keep it looking like new.
Conclusion
Removing calcium deposits from a brushed nickel faucet may seem challenging, but with the right tools and techniques, it can be an easy and effective process. Regular maintenance and proper cleaning methods on how to remove calcium deposits from brushed nickel faucet will keep your faucet looking clean and shiny without causing any damage.
Remember to use gentle materials and avoid harsh chemicals to preserve the brushed nickel finish and prevent future mineral buildup. So, try out these steps today and say goodbye to dull, aged.

