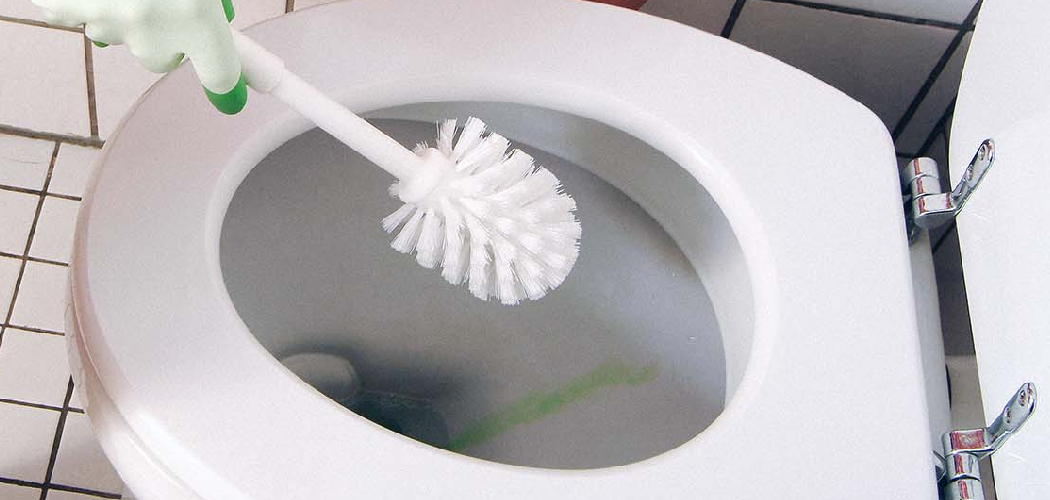
Calcium deposits, often referred to as limescale, can be a common nuisance in toilets, resulting from hard water mineral buildup over time. These unsightly stains not only detract from the overall appearance of your bathroom but can also lead to plumbing issues if not addressed. Fortunately, there are effective and straightforward methods to remove these deposits, restoring your toilet’s cleanliness and functionality. In this guide, we will explore various techniques for how to remove calcium deposits from toilet.
Importance of Removing Calcium Deposits
Removing calcium deposits from your toilet is essential for several reasons. Firstly, these deposits can harbour bacteria and germs, posing hygiene risks in a space that’s often used for personal care. Secondly, limescale buildup can affect your toilet’s performance, leading to diminished flushing efficiency and potentially costly repairs in the long run.
Regularly addressing this issue not only enhances the aesthetic appeal of your bathroom but also ensures the longevity of your plumbing fixtures. Moreover, maintaining a clean and well-functioning toilet contributes to the overall comfort and health of your household. By prioritising the removal of calcium deposits, you invest in better bathroom hygiene and infrastructure.
Understanding Calcium Deposits
Calcium deposits, commonly known as limescale, form as a result of hard water, which contains high levels of minerals, particularly calcium and magnesium. When hard water evaporates, these minerals are left behind, gradually accumulating on various surfaces, including the inside of toilets. The formation of these deposits can be further accelerated by high water temperatures and prolonged water stagnation.

Over time, the limescale can create stubborn stains that are not only unattractive but also difficult to clean. Understanding the nature of calcium deposits is crucial in choosing the right methods and products to effectively remove and prevent their recurrence, ultimately helping to maintain a clean and functional bathroom environment.
10 Methods How to Remove Calcium Deposits from Toilet
1. Understand the Cause of Calcium Deposits
Before you start the removal process, it’s important to understand what causes calcium deposits in toilets. Hard water contains high levels of minerals such as calcium and magnesium, which can leave behind chalky residue when the water evaporates. This is why you often see limescale deposits around the waterline, in the bowl, and under the rim of the toilet. Identifying the source of the problem helps you choose the most effective solution. Once you understand the nature of the deposits, you can tailor your cleaning efforts to address them more effectively.
2. Use White Vinegar for a Gentle Yet Effective Clean
White vinegar is one of the most popular and effective natural remedies for removing calcium deposits. Its acidic nature helps break down mineral buildup without damaging the toilet’s surface. To use white vinegar, pour a generous amount into the toilet bowl, ensuring it covers the areas with visible deposits. Let it sit for several hours or overnight to allow the vinegar to penetrate and dissolve the limescale. For stubborn deposits, you can scrub the area with a toilet brush or a non-abrasive pad after soaking. Repeat this process as needed until the deposits are completely removed.
3. Baking Soda and Vinegar for Stubborn Stains
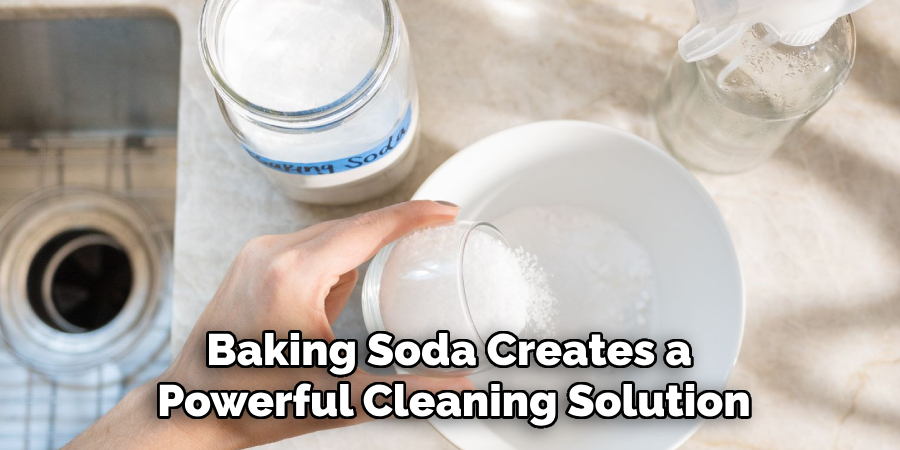
When white vinegar alone isn’t enough, combining it with baking soda creates a powerful cleaning solution. Baking soda acts as a mild abrasive, helping to scrub away the calcium deposits, while vinegar breaks down the minerals chemically. To use this method, pour about one cup of baking soda into the toilet bowl, followed by two cups of vinegar. You’ll notice a fizzy reaction, which is normal and helps lift the deposits. Allow the mixture to sit for 15-30 minutes, then scrub the affected areas with a toilet brush. This method is particularly effective for heavier buildup and stains.
4. Use Lemon Juice for Smaller Deposits
Lemon juice is another natural acid that can effectively dissolve calcium deposits, especially for lighter stains. The citric acid in lemons works similarly to vinegar but leaves behind a pleasant scent. For best results, use freshly squeezed lemon juice. Pour it directly onto the areas with calcium buildup, particularly under the toilet rim or around the waterline. Allow the juice to sit for an hour or two before scrubbing with a brush. For thicker deposits, you may need to apply the lemon juice several times and use it in combination with other methods.
5. Commercial Calcium Removers for Heavy Build-Up
For tough calcium deposits that refuse to budge with natural methods, you can use commercial calcium removers specifically designed for toilets. These products contain stronger acids that dissolve hard water stains more quickly and efficiently. Follow the manufacturer’s instructions carefully to ensure safe usage. Typically, you’ll pour the cleaner directly onto the affected areas and let it sit for the recommended time before scrubbing. Be sure to wear gloves and ensure proper ventilation when using stronger chemical cleaners, as they can emit fumes and be harsh on the skin.
6. Pumice Stone for Physical Scrubbing
A pumice stone is a fantastic tool for scrubbing away calcium deposits, especially in areas where buildup is particularly thick or stubborn. Pumice is a natural, abrasive material that can effectively scrub hard surfaces without causing damage when used properly. Wet both the stone and the toilet surface before gently scrubbing the areas with calcium deposits. Be sure to move the stone in a circular motion, applying even pressure. Although pumice stones are safe for most toilets, it’s a good idea to test a small area first to ensure no scratches are left behind.
7. Coca-Cola: An Unconventional but Effective Cleaner
It may sound surprising, but Coca-Cola can be used to remove calcium deposits due to its acidity. The phosphoric acid in the soda can dissolve mineral buildup without damaging the toilet’s surface. To use this method, pour a full can or bottle of Coca-Cola into the toilet bowl, focusing on areas with visible limescale. Let the soda sit for several hours or overnight to allow the acid to work. Afterward, scrub the bowl with a toilet brush and flush to remove the residue. This method works best for mild to moderate deposits and can be an inexpensive and easy fix.
8. Hydrochloric Acid for Severe Build-Up
For extremely severe calcium deposits, hydrochloric acid (HCl) can be used, but with extreme caution. Hydrochloric acid is a very strong and corrosive chemical that can quickly dissolve hard water stains. Many commercial toilet cleaners contain a diluted form of HCl, but it’s crucial to follow all safety precautions. When using this method, ensure proper ventilation, wear gloves and protective eyewear, and avoid inhaling the fumes. Pour the acid-based cleaner directly onto the deposits, let it sit for a few minutes (as per the product instructions), then scrub and flush thoroughly.

9. Prevent Future Build-Up with a Water Softener
Once you’ve removed the calcium deposits, it’s important to take steps to prevent them from returning. One effective method is to install a water softener in your home. A water softener works by removing the calcium and magnesium from your water supply, thus reducing the amount of limescale that can form in your toilet and other plumbing fixtures. While this solution requires an upfront investment, it can save you time and effort in the long run by preventing the need for frequent deep cleanings.
10. Regular Maintenance to Keep Deposits at Bay
Finally, the best way to keep calcium deposits from becoming a recurring problem is to maintain a regular cleaning schedule. Frequently cleaning your toilet with mild, natural cleaners like vinegar or lemon juice can prevent hard water stains from becoming severe. Additionally, using a toilet brush to scrub under the rim and around the waterline every few days will help keep calcium deposits from forming. Keeping the toilet clean and wiping down any visible buildup as soon as you notice it can save you from more intensive cleaning efforts down the road.
Common Mistakes to Avoid
When tackling calcium deposits in your toilet, there are several common mistakes that can hinder your cleaning efforts or even cause damage. One frequent error is using abrasive cleaners or scrubbers, such as steel wool, which can scratch the porcelain surface of the toilet, leading to further staining and deterioration. Additionally, neglecting to allow cleaning solutions enough time to work can result in inadequate cleaning; always follow recommended dwell times for maximum efficacy.
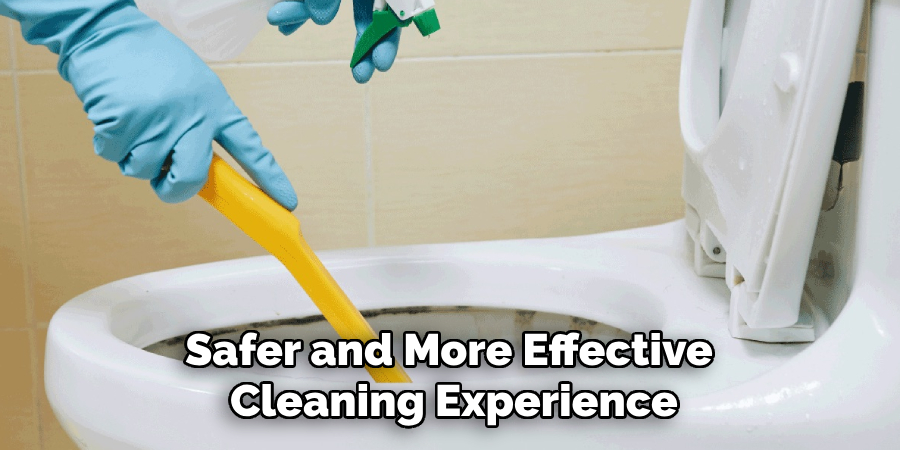
Another mistake is mixing different cleaning products, especially those containing bleach and acid; this can create toxic fumes and pose serious health risks. Lastly, forgetting to wear appropriate protective gear like gloves and masks can lead to skin irritation or respiratory issues. By avoiding these pitfalls, you can ensure a safer and more effective cleaning experience.
Conclusion
Maintaining a clean toilet free from calcium deposits is essential for both hygiene and aesthetics. By employing a variety of methods—from natural solutions like vinegar and lemon juice to commercial cleaners and preventive measures like water softeners—you can effectively combat and prevent hard water stains. Regular maintenance and careful cleaning practices not only prolong the life of your toilet but also enhance its appearance. Thanks for reading, and we hope this has given you some inspiration on how to remove calcium deposits from toilet!

