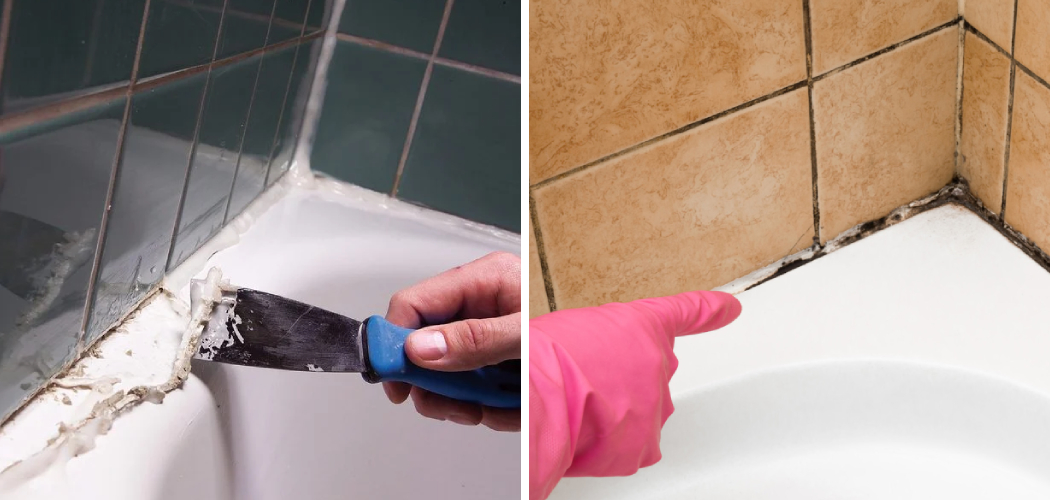
Are you tired of looking at that ugly caulk around your bathtub? Removing old and worn-out caulk can make a huge difference in the appearance of your bathroom. Here’s a step-by-step guide on how to remove caulk from around bathtub.
Old caulk around your bathtub can become discolored, cracked, or moldy over time, compromising both the aesthetic and functionality of your bathroom. Removing and replacing old caulk is essential for maintaining a clean and watertight seal, preventing potential water damage and mold growth. This guide will walk you through the necessary steps and provide tips on how to efficiently and effectively remove caulk from around your bathtub, ensuring a smooth surface for the new caulk to adhere to.
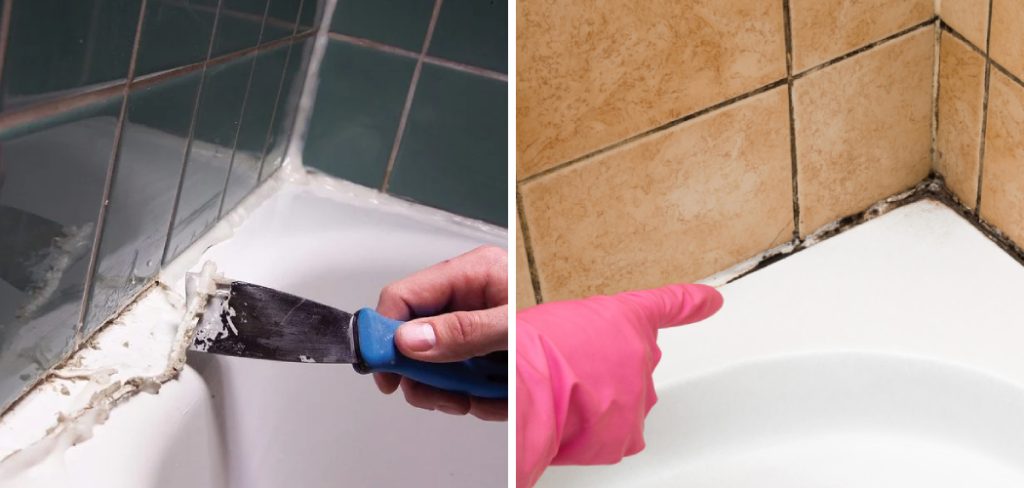
With the right tools and techniques, you can renew the look of your bathtub and prolong its lifespan.
What Will You Need?
Before you begin, make sure you have the following items on hand:
- A caulk removal tool or razor blade
- Rubbing alcohol
- A clean rag or towel
- Caulk softener (optional)
Once you have these tools and materials, you can start removing the old caulk.
10 Easy Steps on How to Remove Caulk From Around Bathtub
Step 1: Prepare the Area
Start by preparing the area around your bathtub. Remove any loose debris and wipe down the surface with a damp cloth to ensure that it is clean and dry. This will help the new caulk adhere better.
For added effectiveness, you can use a caulk softener to loosen up old and stubborn caulk before removing it. Simply apply the product according to its instructions and wait for the recommended amount of time before proceeding with the next step.
Step 2: Protect Yourself
Before you start removing the caulk, it is essential to protect yourself, as the process can involve sharp tools and potentially harmful substances. Wear durable gloves to prevent cuts from razor blades or caulk removal tools. Safety goggles are also recommended to protect your eyes from debris that might fly off during removal. Additionally, consider wearing a mask to avoid inhaling dust or mold spores that could be released as you work. Proper ventilation is crucial, so make sure to open windows or use an exhaust fan in your bathroom to keep the air circulating. By taking these precautions, you can ensure that you perform the task safely and efficiently.

Step 3: Score the Old Caulk
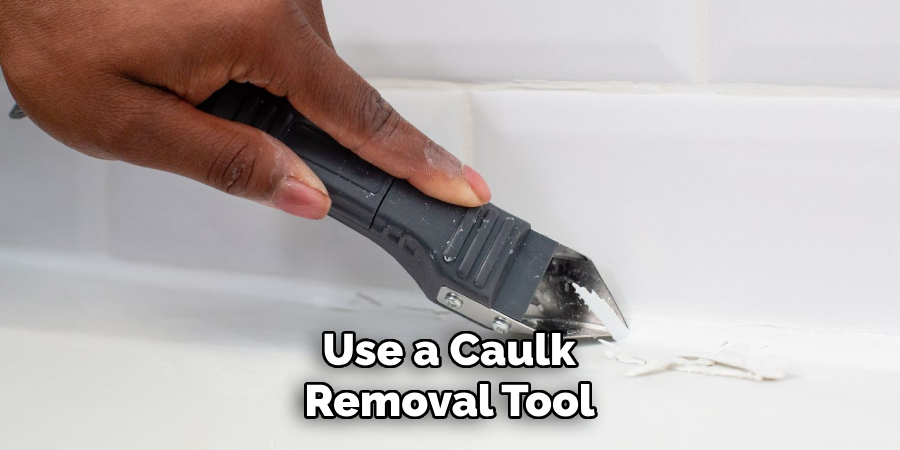
Using a caulk removal tool or a razor blade, begin by scoring the length of the old caulk. This means making a shallow cut along both sides of the bead of caulk. Be careful not to cut too deep, as you don’t want to damage the bathtub or the tiles. Lightly scoring the caulk helps break its seal and makes removing it easier in the following steps. Take your time with this process to ensure you create a clear line where the caulk meets the surface.
Step 4: Peel Away the Caulk
Once you have scored the old caulk, use a caulk removal tool or a sharp razor blade to peel it away. Start at one end and gently pull the caulk strip away from the bathtub surface. If the caulk does not come away easily, you may need to use the tool to assist in lifting it from the edges. Peel slowly to avoid breaking the caulk into many small pieces, which can prolong the removal process. Persistence and patience are key here, as older caulk may be particularly stubborn.
Step 5: Clean the Surface
After you have removed the bulk of the old caulk, some residue will likely be left behind. Use rubbing alcohol and a clean rag to wipe down the area, removing any remaining bits of caulk and other debris. This step is crucial for creating a clean and smooth surface for the new caulk to adhere to. Ensure that you thoroughly clean all the nooks and crannies where the old caulk was located. Allow the surface to dry completely before moving on to the application of new caulk.
Step 6: Inspect for Mold or Mildew
With the old caulk removed, now is an excellent time to inspect the area for mold or mildew. Mold can often grow behind old caulk in a bathroom environment. If you find any mold, clean it with a suitable cleaner and allow it to dry completely. This step is vital to prevent future mold growth, which can compromise the integrity of the new caulk. Addressing any mold issues now will help ensure the longevity and effectiveness of your new caulk.
Step 7: Apply Caulk Softener (if necessary)
If there are still some stubborn bits of caulk left after cleaning, you should use a caulk softener. Apply the caulk softener according to the manufacturer’s instructions and let it sit for the recommended time. This will help to break down any remaining hard caulk, making it easier to scrape off. Once softened, use your caulk removal tool or razor blade to scrape off the softened caulk, and then clean the area again with rubbing alcohol and a clean rag to ensure a spotless surface for the new caulk.
Step 8: Allow the Area to Dry
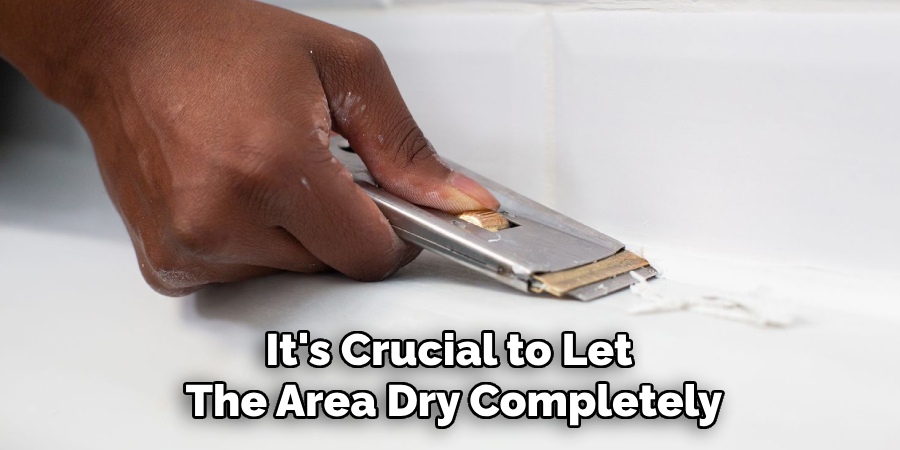
Before applying new caulk, it’s crucial to let the area dry completely. Moisture can prevent the new caulk from adhering properly, leading to leaks and mold growth over time. Ideally, leave the area to dry for at least 24 hours to ensure there’s no remaining moisture. If you’re in a hurry, you can use a fan or a hairdryer to speed up the drying process—just ensure no moisture remains before you proceed.
Step 9: Apply Painter’s Tape (optional)
Consider applying painter’s tape along both sides of the caulking area for a cleaner and more professional-looking finish. This will help you to create straight, even lines when you apply the new caulk. Simply place the tape about 1/8 inch from where the caulk will go, ensuring that the tape runs parallel along the seams. This step is optional but highly recommended for achieving sleek and precise caulking lines.
Step 10: Apply New Caulk
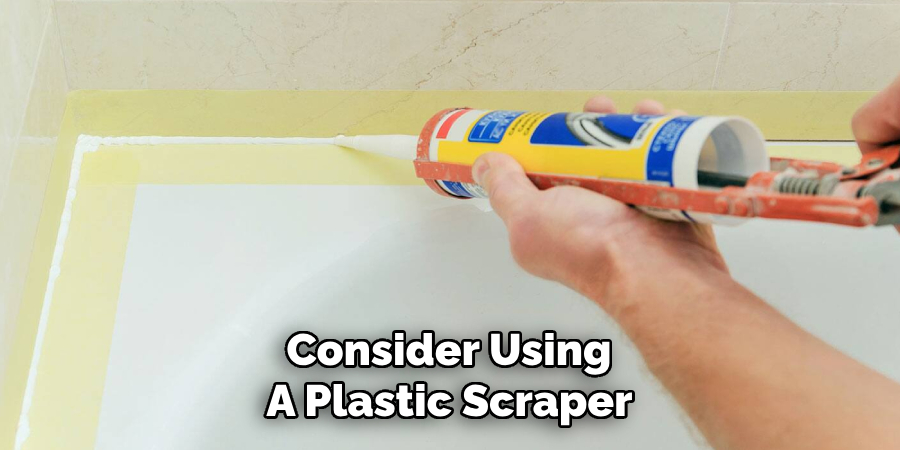
Finally, you’re ready to apply the new caulk. Cut the caulk tube’s tip at a 45-degree angle, creating an opening the size of the bead you want to apply. Use a caulk gun to apply a steady, continuous bead of caulk along the joint. Hold the caulk gun at a consistent angle and move steadily to avoid gaps or uneven spots. After applying the caulk, use a caulking tool or your finger (dipped in water for a smoother application) to smooth out the bead, pressing it firmly into the seam.
Remove any excess caulk and promptly remove the painter’s tape before the caulk begins to set. Allow the caulk to dry according to the manufacturer’s instructions, typically 24-48 hours before using the bathtub.
Following these steps, you can efficiently remove old caulk and replace it with a fresh new bead.
5 Additional Tips and Tricks
- Use a Plastic Scraper for Delicate Surfaces: Consider using a plastic scraper if you’re concerned about scratching your tiles or bathtub with a metal tool. These can be just as effective at removing old caulk without the risk of damaging delicate surfaces.
- Heat the Caulk: Warming up the caulk with a hairdryer can make it more pliable and more accessible to remove. Hold the hairdryer a few inches from the caulk and heat it for a few minutes before attempting to remove it.
- Try Vinegar: If you don’t have rubbing alcohol on hand, white vinegar can also clean the surface after removing old caulk. Simply mix equal parts of white vinegar and water in a spray bottle and use it to wipe down the area.
- Use Caulk Softener Before Removing Old Caulk: If you have a particularly stubborn or old caulk, consider using a caulk softener before attempting to remove it. This will help break down the caulk and make it easier to scrape off.
- Invest in a Good Quality Caulking Gun: A high-quality caulking gun can make all the difference when applying new caulk. Look for one with an adjustable control flow and a comfortable grip to ensure a smooth
With these additional tips and tricks, you can make removing old caulk from around your bathtub easier and more efficient.
Conclusion
How to remove caulk from around bathtub may seem like a daunting task, but with the right tools and a methodical approach, it doesn’t have to be. Start by gathering the necessary tools, such as a caulk removal tool, a utility knife, and rubbing alcohol.
Carefully cut and peel away the old caulk while avoiding damaging your bathtub’s surface. Cleaning and allowing the area to dry completely will ensure the new caulk adheres well and lasts longer.
By following these steps and incorporating additional tips such as using painter’s tape for a professional finish, you can achieve a clean and well-sealed bathtub perimeter. Whether you’re addressing mold, mildew, or just wear and tear, proper caulk removal and reapplication will greatly enhance the longevity and appearance of your bathroom.

