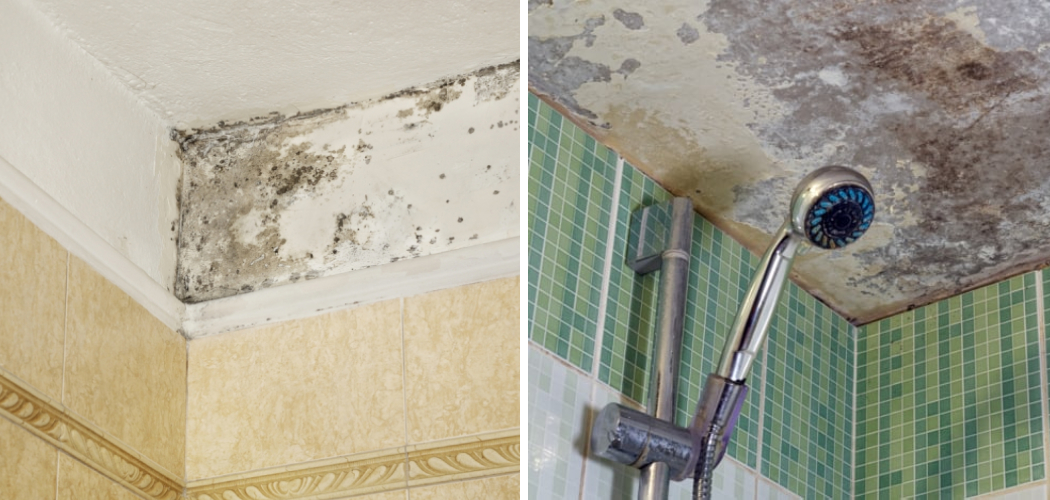
Mold in bathrooms can cause serious problems. It is unsightly and unpleasant and can also create odors and lead to health issues. The bathroom is also where mold growth finds lots of moisture and humidity, making it an ideal location for these pesky fungi.
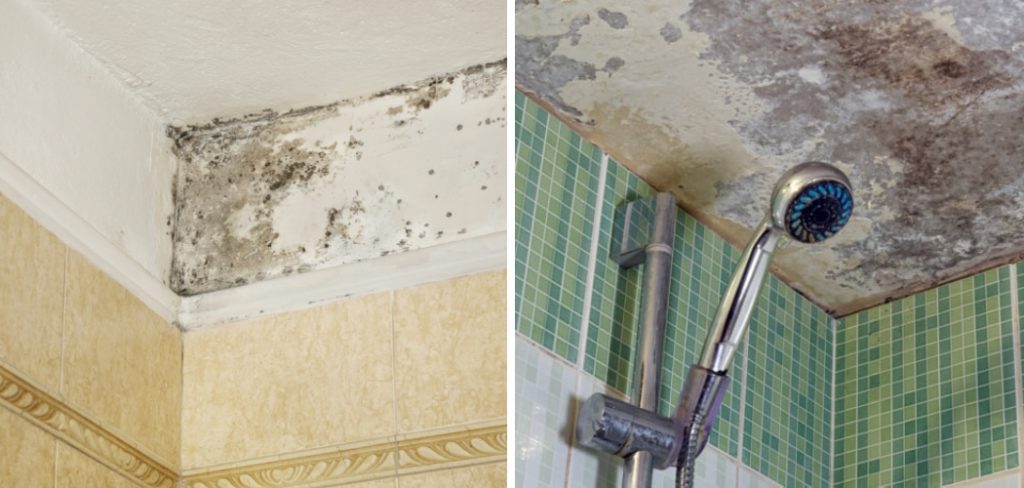
Removing the ceiling mold in your bathroom should be a priority not only for aesthetic reasons but also to reduce the potential health risks associated with it.
There are several advantages to removing ceiling mold in the bathroom. Firstly, it will make your bathroom more hygienic and help reduce the potential for allergies and other health concerns that can arise from mold exposure.
Secondly, it will improve the appearance of your bathroom as any discoloration or staining caused by mold will be eliminated. You can find step-by-step instructions on how to remove ceiling mold in bathroom in this blog article.
Step-by-step Instructions for How to Remove Ceiling Mold in Bathroom
Step 1: Inspect the Area
Before you begin, take a look around and locate all of the affected areas with mold. If you have not addressed any underlying causes of moisture or ventilation problems in your bathroom, then chances are the mold will keep coming back.
Step 2: Wear Protective Gear
Before beginning the cleaning process, wear protective clothing such as a long-sleeved shirt, pants, gloves, and a respirator mask. This will help protect you from mold spores as they become airborne during the cleaning process.
Step 3: Prepare the Cleaning Solution
Use a commercial cleaner specifically designed for killing mold or create your solution of one part bleach to three parts water in a spray bottle. Make sure not to mix any other chemicals with the bleach, as it can create a toxic gas.
Step 4: Spray the Affected Area
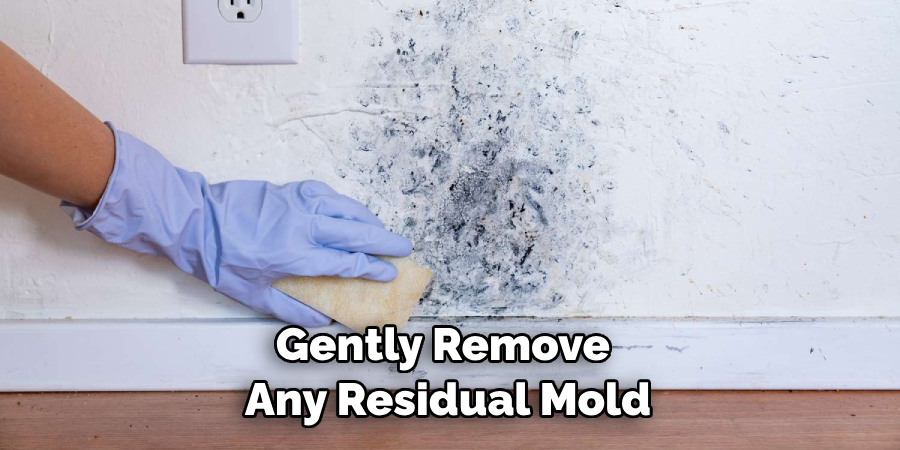
Liberally spray the area with your cleaning solution and let it sit for 10 minutes. This allows the solution to penetrate the mold and loosen its hold on the surface. Using a scrub brush, gently remove any residual mold from the affected area. You can also use a sponge or cloth to scrub away smaller mold patches.
Step 5: Clean the Area Thoroughly
After scrubbing the remaining residue, clean the area with warm water and mild soap. This will help ensure that all traces of mold are removed from the surface. Once you have finished cleaning, make sure to dry the area completely. This can be done with a fan or other drying equipment.
Step 6: Spray Area with Disinfectant
To help ensure that all mold spores are killed, spray the area with a disinfectant solution and allow it to sit for 10 minutes. Once you have cleaned, dried, and disinfected the area, use a sealant or paint that is designed specifically to prevent mold growth. This will help stop future infestations of mold in your bathroom.
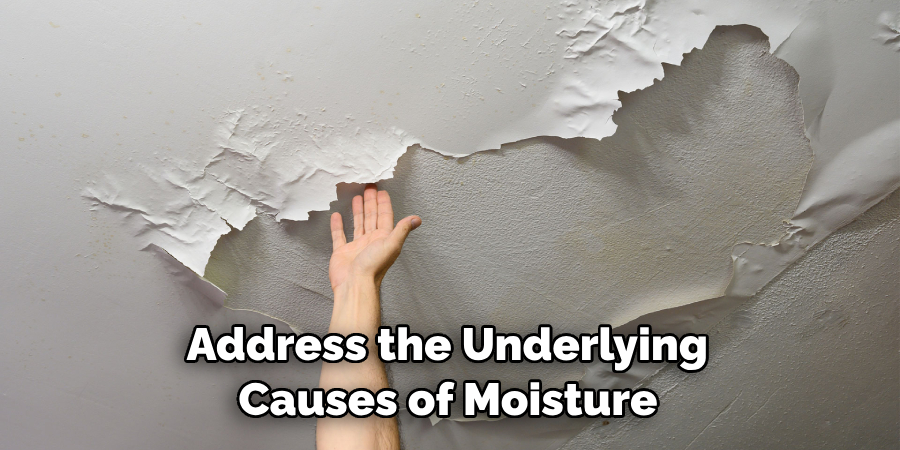
Step 7: Address the Underlying Causes of Moisture and Ventilation
To avoid future mold infestations in your bathroom, it is important to address the underlying causes of moisture and poor ventilation. Adjusting the exhaust fan settings, using a dehumidifier, or improving insulation can all help reduce moisture levels in the bathroom and stop future mold growth.
Following these steps will help you safely and effectively remove ceiling mold from your bathroom and prevent it from returning.
Safety Tips for How to Remove Ceiling Mold in Bathroom
- Wear a face mask and gloves when removing the mold from the ceiling to protect yourself from airborne spores.
- Open windows or run an exhaust fan while cleaning to keep the air circulating properly.
- Wipe down the area with a damp cloth to remove surface dust before scrubbing with bleach, water, and soap or detergent.
- Avoid using brushes that may agitate the mold spores, as this can cause them to spread throughout the room and potentially create a bigger problem.
- Ventilate the area by regularly opening windows or running the air conditioning while cleaning and drying the ceiling.
- Ensure all surface moisture is removed before painting or sealing the area.
- If the mold is severe, consider hiring a professional to remove it and ensure proper remediation of the problem safely.
By following these simple safety tips, you can effectively and safely remove ceiling mold in your bathroom. With quick action and regular maintenance, you can prevent this issue from becoming more serious.
Is There a Way to Prevent Mold Growth From Happening Again in the Future?
Once you have successfully removed the mold from your bathroom ceiling, there are steps you can take to help prevent it from coming back. One of the best ways to keep mold away is to reduce humidity levels in the room.
Using an exhaust fan when showering or bathing, as well as opening windows and using dehumidifiers, will all help to keep moisture levels low.
Additionally, keep your bathroom surfaces clean and dry. Cleaning with a bleach solution or another cleaner designed to kill mold spores will also help prevent mold growth in the future.

Finally, ensure there are no leaks in your plumbing or roof that could allow water to drip into the ceiling or walls and cause condensation buildup; these need to be addressed as soon as possible to prevent future mold growth. With the right precautions, you can keep your bathroom ceiling free of mold for years.
Are There Any Health Risks Associated With Mold Growth on Bathroom Ceilings?
Mold growth on the ceilings and walls of bathrooms can present many health risks. It is important to take steps to remove mold as soon as possible. Mold spores are easily inhaled, which can cause allergic reactions or worsen existing allergies.
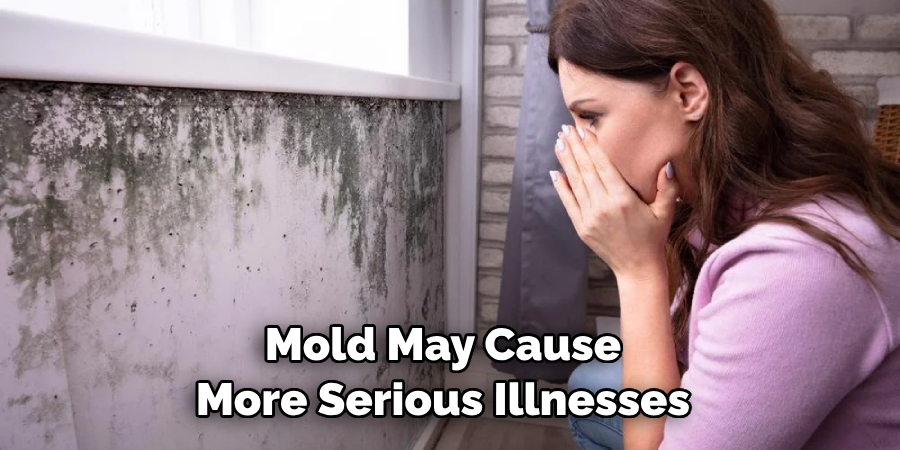
They may also lead to respiratory irritation and other symptoms such as sneezing, coughing, and wheezing. In some cases, mold may cause more serious illnesses such as asthma and other breathing problems.
Mold can also cause damage to the structure of the ceiling and walls in your bathroom. If left untreated, it could lead to structural damage or weaken the ceiling’s ability to support its weight.
This could result in a collapse if not addressed immediately. Removing the mold from your bathroom ceiling should be done safely. Professional remediation is the best option for removing large areas of mold growth.
Is It Safe to Use DIY Solutions to Remove Ceiling Mold, or Do You Need Professional Help?
Ceiling mold can be a serious problem in the home, especially in areas with high humidity levels, such as bathrooms and basements. Mold is not only unsightly, but it can also cause health problems for those living in the home.
Professional remediation may be necessary if the mold has taken hold of large sections of the ceiling or walls. Still, for smaller areas, such as around windows and in corners, DIY solutions can be effective. DIY Solutions to Remove Ceiling Mold:
- Start by using a vacuum cleaner with an extended hose attachment to remove any dust and debris from the ceiling mold area.
- Next, ensure the area is well-ventilated so the room stays dry.
- Mix a solution of baking soda and water and scrub the area to remove any remaining mold spores.
- Use a fan to help circulate air in the room and allow it to dry completely before replastering or painting over the affected area.
How Often Should You Inspect Your Bathroom Ceiling for Signs of Mold Growth?
If you notice any signs of mold growth on your bathroom ceiling, it’s important to immediately take action. However, to prevent further damage and health issues, you should also inspect your bathroom ceiling regularly.
For mold prevention, an annual inspection is recommended. During the inspection, check for musty odors as this could be a sign of mold growth. You should also check for discoloration, water spots, or other signs of material deterioration. Finally, look in all corners and crevices, as this is where mold can be more difficult to spot.
If you find any signs of mold during the inspection, it’s important to immediately remove the ceiling mold. This will help prevent further damage to the ceiling material and your health. The best way to remove ceiling mold is to start by cleaning off any dirt or debris that may be on the surface of the affected area.
Then, use a bleach solution prepared with one part bleach to three parts water and apply it directly to the affected area using a sponge or scrub brush. Once you have scrubbed away the mold, rinse the area thoroughly with fresh water and dry it completely.
Conclusion
In conclusion, removing ceiling mold in a bathroom can be a challenging but rewarding. It requires careful analysis of the affected area to determine the best action and a thorough cleaning process using appropriate tools.
Safety should always come first when dealing with a hazardous situation, so make sure you take proper precautions while performing your work. I hope this article has been beneficial for learning how to remove ceiling mold in bathroom. Make Sure the preventive measures are followed chronologically.

