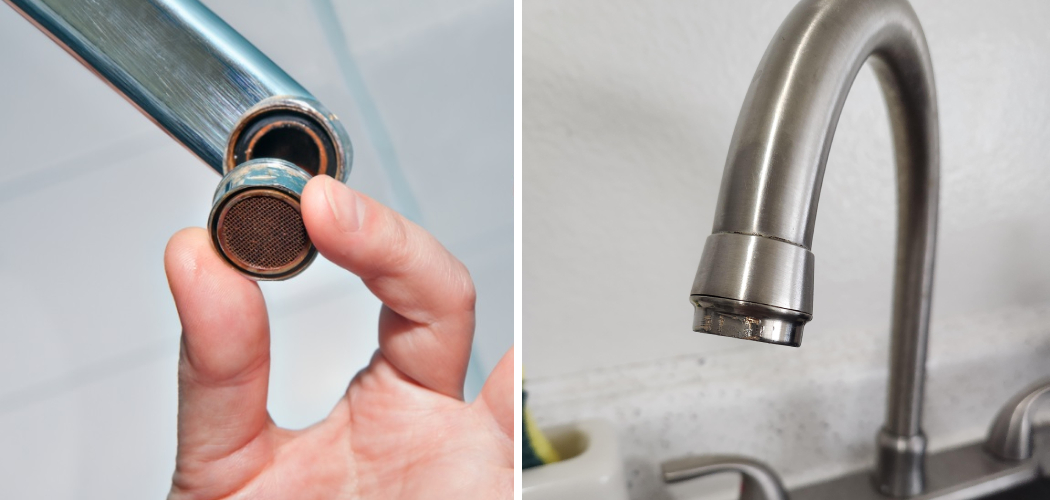
Are you struggling with a stuck faucet aerator? It can be incredibly frustrating to deal with one that refuses to come off. You want to get it out so that you can clean or replace it, but many times the aerator just won’t budge. Don’t despair – there are some tricks and techniques that will help make this process easier!
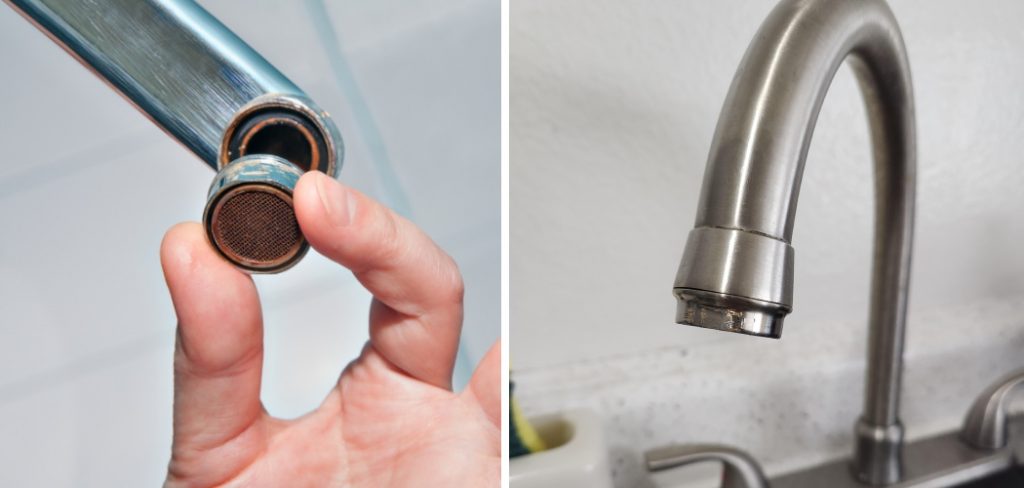
In this blog post, we’ll explain exactly how to remove faucet aerator that is stuck in place as well as offer up tips for successfully avoiding future sticking incidents. Reading on will save you time and effort: no more banging at your kitchen sink trying desperately to get the pieces apart!
Tools and Materials You Will Need to Remove Faucet Aerator That is Stuck
- Soft cloth or towel
- WD40 lubricant
- Pliers
- Flathead screwdriver
- Adjustable wrench
- Rubber mallet or hammer
- Vaseline
- Toothbrush (for scrubbing)
Step-by-Step Guidelines on How to Remove Faucet Aerator That is Stuck
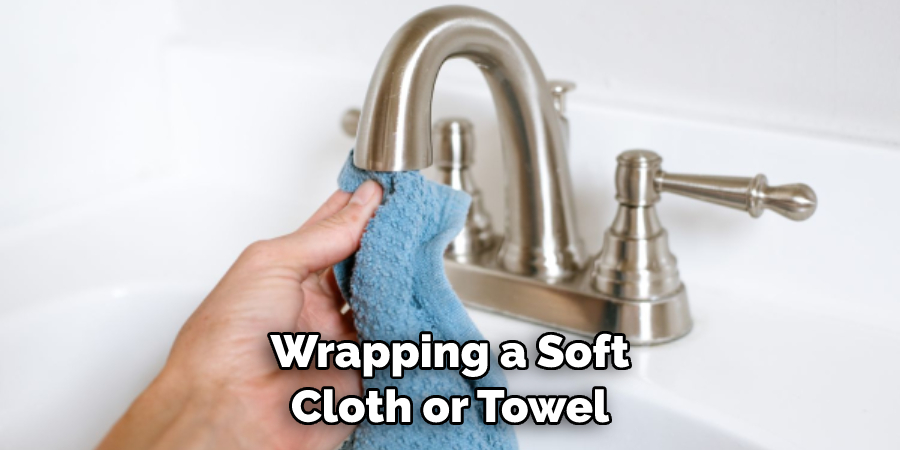
Step 1: Start with the Soft Cloth
Begin by wrapping a soft cloth or towel around the faucet aerator and then trying to unscrew it by hand. The extra grip of the fabric will give you better traction, making it more likely that you’ll be able to loosen the part without any extra tools. This is a great place to start, as it can save you time and effort from having to use more advanced removal techniques.
Step 2: Use WD40 Lubricant
If the cloth technique didn’t work, then your next step should be to spray some WD40 lubricant onto the aerator and let it sit for five minutes. The lubricant can help to loosen the stuck part and make it easier to unscrew. After five minutes, try the cloth trick again – you might find that this time it worked!
Step 3: Try Pliers or a Screwdriver
If the WD40 doesn’t do the trick, then you’ll need to use pliers or a flathead screwdriver to get some leverage. Use the pliers or screwdriver to grip onto the aerator and twist it while you use your other hand to pull at the same time. Be careful not to damage other parts of the faucet when using this technique – make sure that only the aerator is being manipulated.
Step 4: Get Out Your Wrench
If the previous steps don’t work, then it’s time to break out your adjustable wrench. Place the wrench over the aerator and try to unscrew it – you may need to use some significant force here, so be careful not to damage any other parts of the faucet as you do this. If you are afraid of damaging the faucet, then use a rubber mallet or hammer to gently tap on the wrench while you’re unscrewing – this can help loosen the aerator.
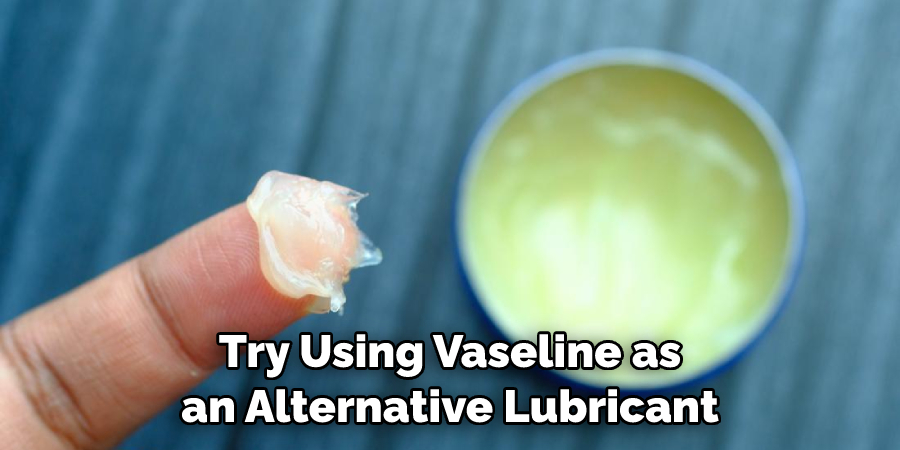
Step 5: Try Vaseline
If you still haven’t been able to remove your faucet aerator, then try using Vaseline as an alternative lubricant. Squeeze a small amount of Vaseline onto the aerator and let it sit for five minutes before attempting to unscrew it again. You can also use a toothbrush to gently scrub off any stubborn bits that might be causing the sticking.
Following these steps should allow you to successfully remove a stuck faucet aerator. It may take some patience and several tries, but eventually, you’ll be able to get the part off and then either clean or replace it. Good luck!
Additional Tips and Tricks to Remove Fauct Aerator That is Stuck
- Firstly, you can try using a pair of pliers and adjust them appropriately so that they will fit the aerator head properly. Then apply gentle pressure and see if it helps in loosening the aerator head.
- If that doesn’t work, then you can try using a soft cloth to wrap around the aerator head before trying with the pliers. This will help in preventing any kind of damage to the faucet or aerator head due to excessive force.
- If all else fails, you can also use a lubricant like WD-40 spray to help in loosening the aerator head. Do note that you should use this method as a last resort as it may damage the finish of your faucet or worsen the stuck condition of the aerator head.
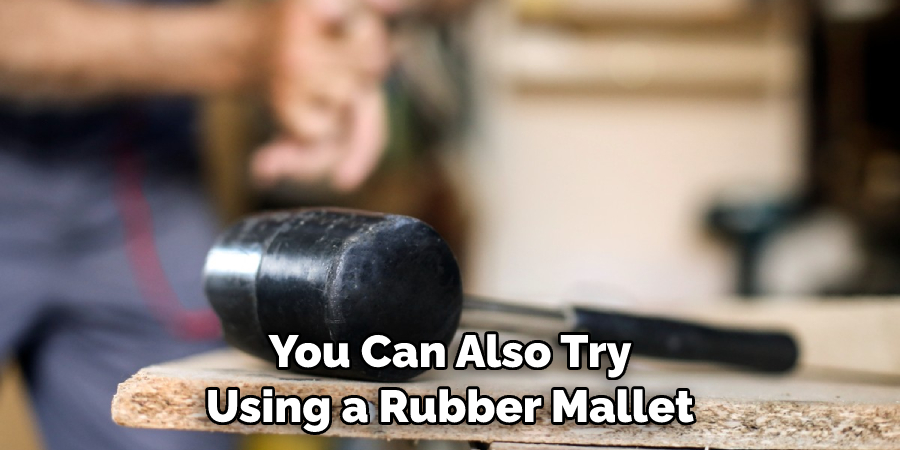
- You can also try using a rubber mallet and gently tap on the aerator head to loosen it up. This method is particularly helpful if your aerator head is made of plastic or other softer materials.
- Finally, you can also opt for professional help if all else fails and the aerator head still won’t come off. A professional plumber should be able to safely remove the stuck aerator head without causing any damage to both the faucet and the aerator head.
Following these tips should help you successfully remove the stuck aerator head from your faucet. Do note that you should take extra caution and use necessary protective measures while attempting to remove a stuck aerator head.
Prevention of Faucet Aerator Getting Stuck
- To avoid a stuck aerator head in the future, it is best that you regularly check and clean your faucets. This will help in ensuring that there is no build-up of dirt or debris on the aerator head which can cause it to get stuck over time.
- You should also be mindful of the materials used in making the aerator head. Brass or metal-based aerators are more prone to rusting and getting stuck due to the accumulation of minerals in their inner parts. Hence, it is best that you opt for plastic-based aerators instead as they are relatively easier to clean and maintain.
- Make sure to also check the water pressure of your faucet regularly. High water pressure can cause an aerator to become stuck due to the constant force applied to it over time. You can adjust the water pressure using a regulator or valve installed in your plumbing system.
- Finally, make sure to use appropriate protective gear while cleaning or working around your faucet. This will help in avoiding any accidental injury or damage due to improper handling of the faucet or aerator head.
With proper maintenance and preventive measures, you should be able to ensure that your aerator head stays firmly attached to your faucet for a long time. With these tips, removing a stuck aerator head should no longer be an issue.
Things You Should Consider to Remove Faucet Aerator That is Stuck
- Firstly, decide what kind of tool you will be using to try and loosen the aerator head from your faucet. Pliers, mallets, lubricants, and soft cloths are all viable options depending on the materials used in making the aerator head as well as its size and shape.
- Always remember to use adequate protective gear while attempting to remove the aerator head. This will help in avoiding accidental injuries or damage due to improper handling of the faucet or aerator head.
- If you are using a tool like pliers to remove the stuck aerator, be sure to adjust it properly so that it won’t cause any further damage to the faucet.
- If all else fails, you can always contact a professional plumber to help you with removing the stuck aerator head safely and efficiently.
Following these considerations will help you avoid any complications while attempting to remove a stuck faucet aerator from your faucet. With enough patience and caution, it should be possible for anyone to successfully remove a stuck aerator head without any issue.
Precautions Need to Follow for Removing Faucet Aerator That is Stuck
- Before attempting to remove a faucet aerator that is stuck, make sure to turn off the water supply at the shutoff valve.
- To avoid damaging your sink or faucet fixtures, use a rubber-jawed wrench or a pair of pliers wrapped in cloth or tape as it will help protect surfaces from scratches and other damage.
- You can also try to loosen the aerator by pulling it off with both hands, but be gentle and exercise caution as you may break the faucet if too much force is applied.
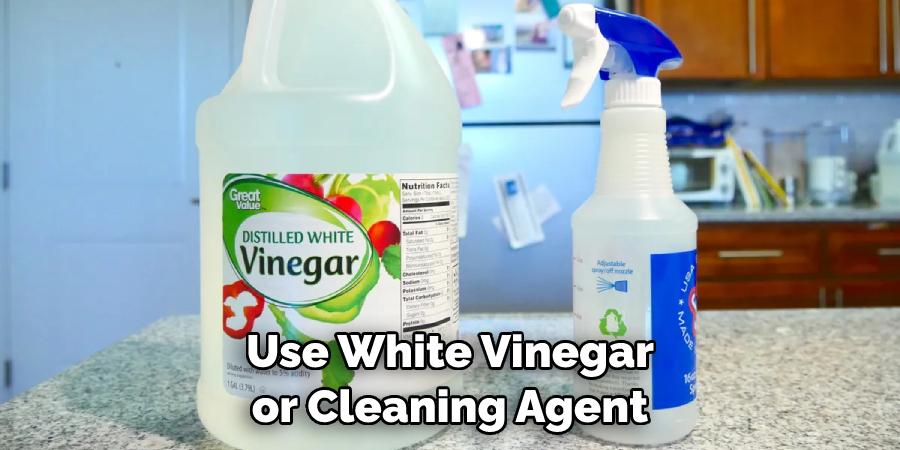
- If the aerator is still stuck, use white vinegar or a commercial cleaning agent specifically designed to remove mineral deposits from sink fixtures.
- Soak the aerator in white vinegar or the cleaning agent overnight and then remove it with pliers.
- If you encounter any stuck components that cannot be removed easily, contact a professional for assistance to avoid damaging your sink fixtures.
- Once the faucet aerator is removed, clean the parts in soapy water and reinstall them following the manufacturer’s instructions.
Following these precautions will ensure that you can safely and efficiently remove a stuck faucet aerator. Doing so on your own is much cheaper than calling a plumber or replacing the entire sink fixture. With the right tools and know-how, you can successfully complete this task in no time!
Frequently Asked Questions
What Do I Do if the Aerator is Stuck?
If you find that your aerator has become stuck, there are a few tricks you can try to remove it. First, shut off the water supply to the faucet. Then, use a pair of pliers or an adjustable wrench to grip and twist the aerator counterclockwise. If that doesn’t work, use a rubber band to secure the pliers or wrench to the faucet and then twist again.
If you still can’t remove it, you can try using penetrating oil on the threads of the aerator and letting it sit for several hours before trying to twist it off again. Finally, if all else fails, you can purchase a special aerator removal tool from your local hardware store. If you use this tool properly, it should easily remove the stuck aerator.
How Do I Clean a Clogged Aerator?
If your aerator is clogged with mineral deposits or hard water buildup, it can be difficult to remove. The most effective way to clean it is to soak the aerator in a 50/50 vinegar and water mixture overnight. This will dissolve any buildup on the aerator and make it easier for you to remove or reinstall. If this doesn’t do the trick, it may be time to replace your aerator with a new one.
How Do I Install My New Aerator?
Installing a new aerator is fairly simple. Start by unscrewing the old aerator from the faucet and wiping down the threads with a cloth to remove any debris or mineral buildup. Then, lubricate the threads of your new aerator with a light coat of petroleum jelly. Finally, hand-screw it into place on your faucet and turn the water back on. Your new aerator should be up and running in no time!
Conclusion
With the above outlined you can easily understand how to remove faucet aerator that is stuck as well as how to clean and install a new one. As always, when working with plumbing it’s important to use caution and follow all safety precautions.
If you have any questions or concerns about working on your faucet, make sure to contact a professional plumber for assistance. With the right knowledge and tools, it’s easy to keep your plumbing system running smoothly.

