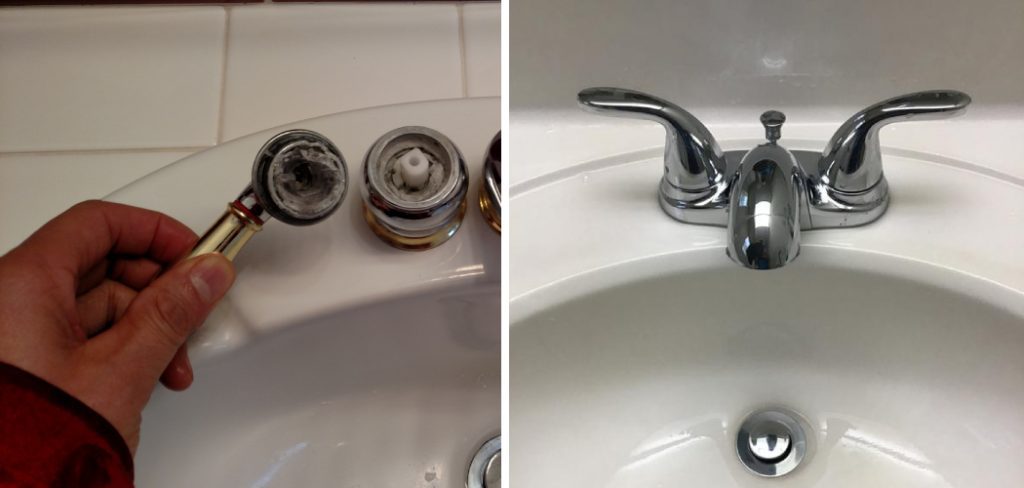
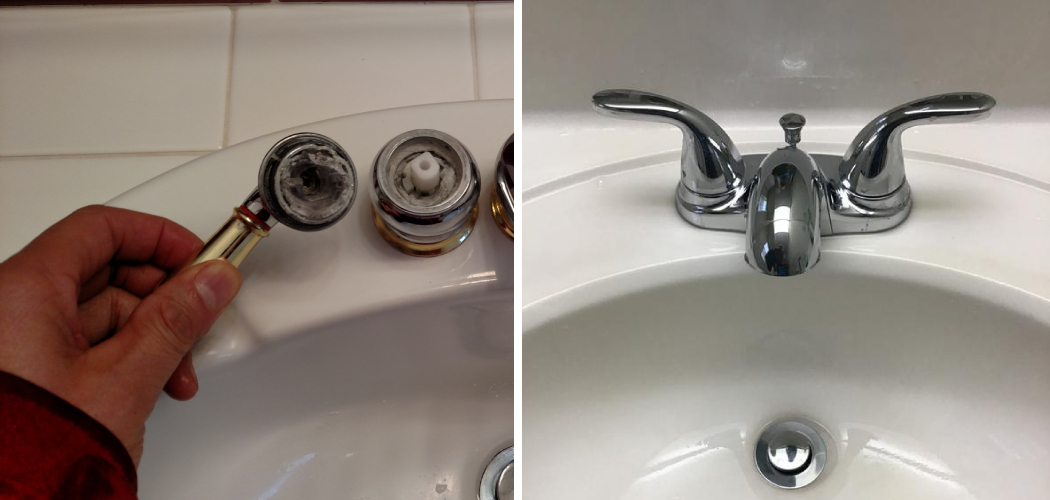
If you’re looking to do some DIY plumbing work around the house, then changing a faucet handle is a great place to start. It doesn’t take much for an old or loose faucet handle to break off, making it difficult and often dangerous to turn on the water. Luckily, replacing a faucet handle is actually quite easy if you’ve got the right tools and knowledge!

In this blog post, we’ll show you how to remove faucet handle in four easy steps so that your bathroom (or kitchen) sink can once again be functional and safe without any technical plumbing expertise needed!
Supplies You Will Need to Remove Faucet Handle
- Flathead screwdriver
- Phillips head screwdriver
- Adjustable or open-end wrench
- Pliers
Step-by-Step Guidelines on How to Remove Faucet Handle
Step 1: Prepare the Handle
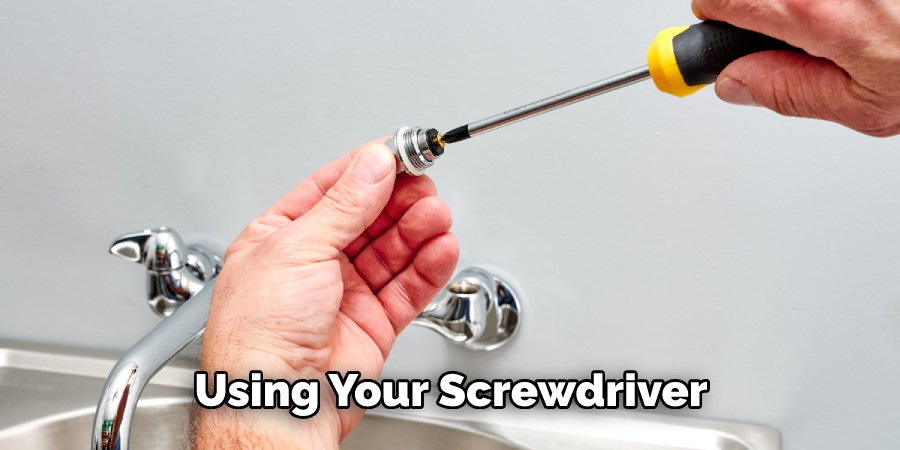
First, you’ll need to get your old handle ready for removal. Start by using a flathead screwdriver to unscrew any caps or decorative pieces that cover up the screws at the base of your existing faucet handle. You may also need a Phillips head screwdriver if the cap or decorative piece is made of plastic.
Once all the pieces have been removed, you should be able to see two screws holding the handle in place at the base.
Step 2: Unscrew the Screws
Using your screwdriver, unscrew the two screws holding the handle in place. Make sure to keep track of where each screw goes so you don’t mix them up when it’s time to reinstall the new handle. While you’re unscrewing the screws, it’s best to use a small adjustable or open-end wrench to keep the handle from spinning.

Step 3: Remove the Handle
Once the screws have been removed, you’ll be able to pull off the handle. Use a pair of pliers if it’s stuck and you can’t pull it off by hand. Be sure to keep track of any washers or gaskets that may come out when removing the old handle. You will need these to install your new handle.
Step 4: Install the New Handle
Now that you’ve removed the old handle, it’s time to install the new one. Begin by inserting any washers or gaskets that were on your existing handle into the base of your faucet. Then, slide the new handle onto the faucet and use the screws you removed from the old handle to secure it in place.
Finally, replace any caps or decorative pieces that originally covered up the screws at the base of your faucet. You’re now ready to turn on the water and check your work!
That’s all there is to it – replacing a faucet handle is quite simple once you know how. Get yourself the right tools and follow the steps above, and you should have your new faucet handle installed in no time!
Additional Tips and Tricks to Remove Faucet Handle
- If the handle won’t budge, you might need to use a pair of pliers. Make sure to wrap them in a cloth first so as not to damage the surface of your faucet.
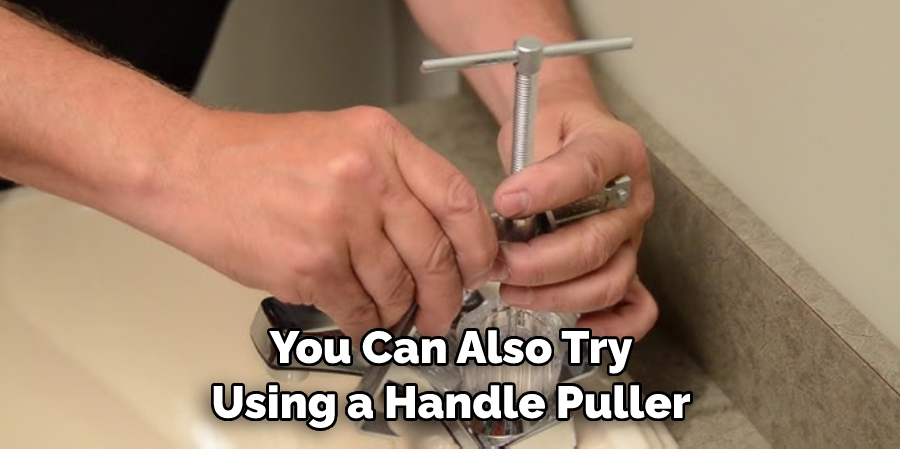
- You can also try using a handle puller if you have one available. Place it over the handle and gently twist it counterclockwise until it comes off.
- If you don’t have a handle puller, try inserting an Allen key into the small hole at the base of the handle. This should also help loosen the handle and make it easier to remove.
- Remember to turn off the water before attempting to remove your faucet handle. This will prevent any sudden bursts of water that could damage your faucet or lead to a flood!
- Once the handle is removed, you can check for any signs of wear and tear. If everything looks okay, you can reattach it with a few screws.
- Don’t forget to lubricate the O-rings before replacing them in order to ensure the best possible seal and prevent leaks.
- Make sure you double-check the faucet handle to make sure it’s securely attached before using the sink again.
- Finally, keep in mind that this is a delicate process and should only be done if absolutely necessary. If you’re not comfortable with the steps outlined above, it would be best to call a professional plumber for assistance. That way, you’ll ensure your faucet is properly taken care of and functioning as it should.

Following these tips and tricks will help you remove your faucet handle safely and easily. Taking the time to properly remove and replace your faucet handle yourself can end up saving you money in the long run! So don’t be afraid to give it a try. Good luck, and happy plumbing!
Troubleshooting Faucet Handle Issues
- If your faucet handle is loose, tightening the screw or screws at the base of the handle will usually do the trick.
- If you have a leaky faucet, it might be due to a worn-out O-ring or washer. Replacing them can help solve this issue and prevent further damage.
- If the faucet handle is difficult to turn, it might be due to mineral deposits from hard water buildup. You can use a small brush or an old toothbrush with some vinegar solution to clean the buildup and make it easier for the handle to move.
- If your newly-installed faucet is leaking, check if you’ve properly tightened all the connections. Tightening them should help seal any leaks.
- If your faucet handle is stuck and won’t move, don’t try to force it as this could damage the handle or spout itself. Instead, use a pair of pliers covered with a cloth to carefully loosen it before attempting to remove it as described above.
By following these troubleshooting tips, you should be able to easily identify any issues with your faucet handle and take the appropriate steps to fix them. So don’t hesitate to give it a try if you’re experiencing any problems.
Precautions Need to Follow for Removing Faucet Handle
- Make sure you turn off the water supply before removing the faucet handle. This can be done by turning the shutoff valves under the sink or behind it.
- If you are replacing an old faucet handle with a new one, make sure you take note of the size and model number of the old faucet handle. This will be important when purchasing a replacement.
- Wearing protective gloves is also recommended to avoid any cuts or scratches while working with metal parts.
- Lastly, it is important to clear away any tools or debris that may interfere with your workspace.

By following these safety precautions, you can ensure a smooth and successful process when removing a faucet handle. Now that we have all the necessary precautionary measures in place, let’s look at how to actually remove the faucet handle itself.
Frequently Asked Questions
How Do I Know Which Type of Faucet Handle to Purchase?
Most faucet handles come in two different types, a single-handle or two-handle option. If your current faucet has a single handle, you can look for a replacement that is of the same size and model as your existing one.
For two-handle models, both handles should be replaced with a compatible set. Make sure to check the manufacturer’s specifications for compatibility when purchasing a new faucet handle.
Does Removing Faucet Handles Require Any Special Tools?
No, you should not need any special tools to remove your faucet handle. You may need a set of pliers or a screwdriver to loosen the screws and help extract the handle. Be sure to use caution when using any tools, as improper use may cause damage to your faucet handle.
What Should I Do If I Can Not Remove the Faucet Handle?
If you cannot remove the faucet handle despite following all the steps, it may be necessary to call a professional for help. A plumbing specialist should be able to diagnose and solve any faucet handle problems you might have.

How Often Should I Check My Faucet Handles?
It is advised to inspect your faucet handles every month or two. Look for changes in how the handle moves or if any parts appear to be loose. It is also important to make sure all the parts are securely fastened in place.
Conclusion
Hopefully, with the above outlined, you can easily understand how to remove faucet handle. Remember to always take the necessary safety precautions such as turning off the water supply and wearing protective gloves when dealing with metal parts.
If you are ever unsure about how to tackle a task, it is best to consult a plumbing specialist for additional help. You are now all set and ready to remove that pesky faucet handle!

