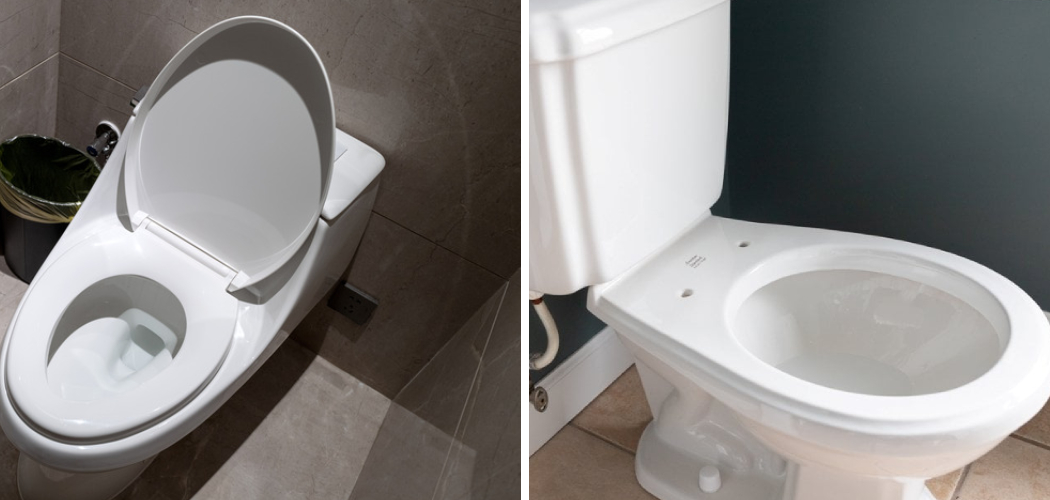
Knowing how to remove Glacier Bay toilet seat is an essential skill for homeowners, whether it’s for cleaning, replacing a damaged seat, or performing repairs. Over time, toilet seats can become worn, loose, or simply require a thorough cleaning, making it important to understand the removal process. Fortunately, this straightforward task can be completed with minimal tools and effort. Following a few simple steps, you can efficiently detach the old seat and clean or replace it as needed.
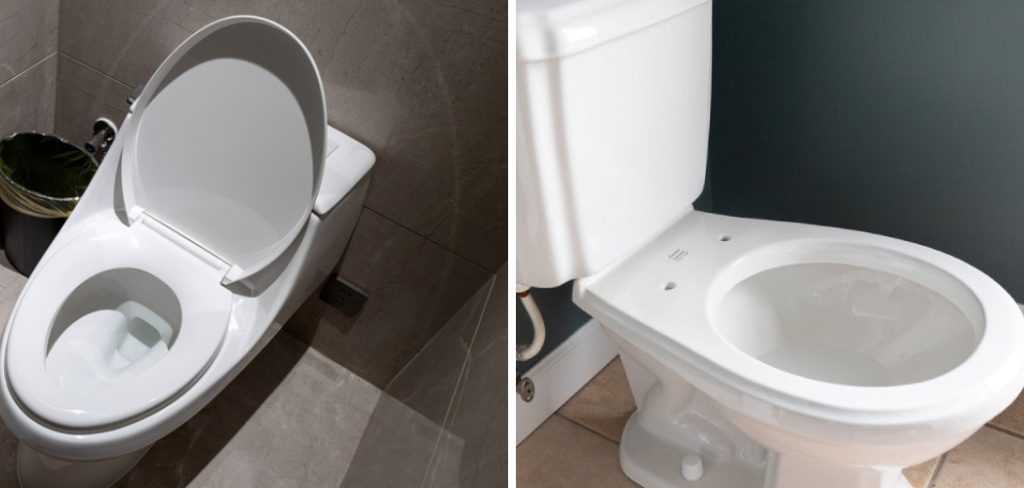
The process involves identifying the right mounting hardware, carefully removing the bolts, and lifting the seat off. You can ensure a smooth and damage-free removal with the right tools, like a wrench or screwdriver, and a little patience. This guide will walk you through each step with helpful tips and troubleshooting advice to make the process effortless and stress-free.
Understanding Glacier Bay Toilet Seat Designs
Types of Seats
Glacier Bay toilet seats come in a variety of designs to cater to different needs and preferences. Standard seats are the most common, offering a straightforward and reliable design. Soft-close seats, on the other hand, are designed to prevent slamming by gently lowering the seat and lid, enhancing durability and ensuring quieter operation. Quick-release seats are another popular choice, allowing users to detach the seat for thorough cleaning or convenient replacement easily. These innovative options make it easier for households to maintain hygiene and personalize their toilet to their needs.
Mounting Mechanisms
The mounting mechanism of a toilet seat determines how it is attached to the toilet bowl. Glacier Bay seats typically use one of three common mounting options. Top-mount screws are inserted from the top of the bowl, making them easier to access. Bottom-mount screws require access beneath the toilet, providing sturdy attachment but potentially more challenging installation. Quick-release buttons, available on some models, allow the seat to be securely attached but easily disengaged for cleaning or replacement, making them ideal for modern households.
Identifying Key Features
Glacier Bay seats include several essential components that facilitate secure attachment and functionality. Hinges connect the seat and lid, allowing smooth movement.
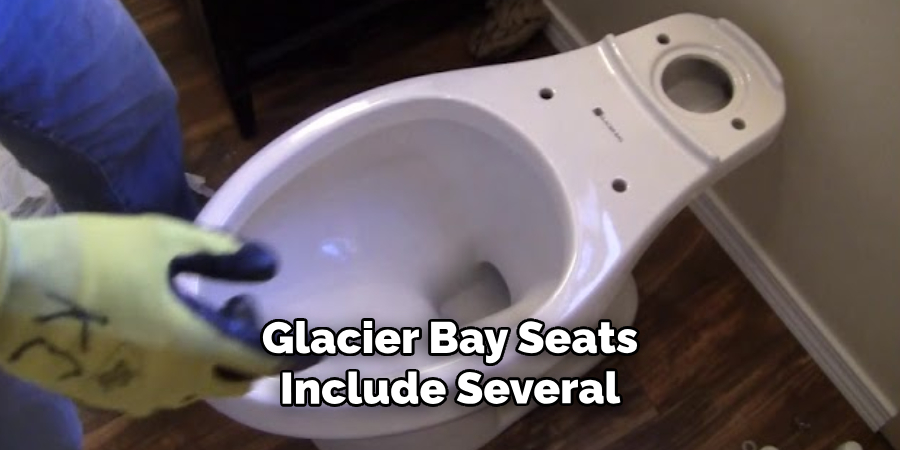
Caps usually cover the mounting hardware to provide a clean appearance, while bolts secure the seat to the toilet bowl. Identifying these features is critical for understanding the removal process and ensuring proper maintenance or replacement.
Tools and Supplies Needed
Gather the appropriate tools and supplies before removing or replacing a Glacier Bay toilet seat to ensure a smooth process.
Basic Tools
- Flathead Screwdriver: Essential for loosening or tightening screws, particularly for top-mount or quick-release seats.
- Adjustable Wrench: Provides a firm grip when dealing with stubborn or tightly fastened bolts.
- Pliers: Useful for gripping and turning small parts, especially in tight spaces.
Optional Supplies
- Cleaning Cloths: For wiping down the toilet and seat during or after removal.
- Mild Cleaner: Helpful for removing grime or residue around the mounting area.
- Lubricant: Ideal for loosening stuck or corroded bolts to prevent damage.
Safety Tips
- Wear Gloves: Protect your hands from dirt and potential contaminants.
- Ensure a Clean Work Area: Prevent accidents and maintain hygiene.
How to Remove Glacier Bay Toilet Seat: Step-By-Step Guide
Replacing or removing a Glacier Bay toilet seat is straightforward when equipped with the right tools and safety precautions. Follow these steps to ensure a smooth and efficient experience.
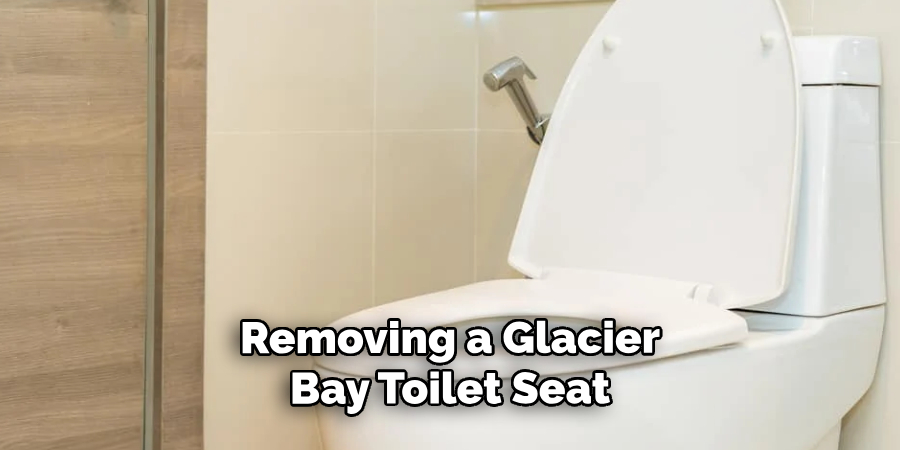
Step 1: Locate the Mounting Bolts
Begin by identifying the mounting bolts that secure the toilet seat to the bowl. These are typically located at the back of the seat, often concealed under small covers. Gently lift or pry open these covers using a flathead screwdriver.
Step 2: Loosen the Bolts
Once the bolts are exposed, use an adjustable wrench or pliers to loosen them. If the bolts are stuck due to corrosion, apply a small amount of lubricant and allow it to sit for a few minutes before turning them again.
Step 3: Remove and Clean the Area
After loosening and removing the bolts, lift the toilet seat off the bowl. Use cleaning cloths and a mild cleaner to clean the mounting area thoroughly, removing any dirt or residue.
Step 4: Attach the New Seat
Position the new toilet seat over the mounting holes and align it properly. Insert the bolts through the holes and fasten them securely with a screwdriver or adjustable wrench, ensuring the seat is stable and does not wobble.
Step 5: Final Check
Inspect your work by testing the seat’s stability and ensuring tight bolts. Replace any bolt covers to complete the process.
You can effectively replace a Glacier Bay toilet seat without hassle by following these steps and incorporating the suggested tools and safety measures.
Removing the Glacier Bay Toilet Seat
Unscrewing the Bolts
To remove the Glacier Bay toilet seat, locate the bolts securing the seat to the toilet bowl, typically found at the back underneath covers or caps. Use a screwdriver to loosen the bolt while holding the nut underneath with pliers or a wrench to prevent it from spinning.
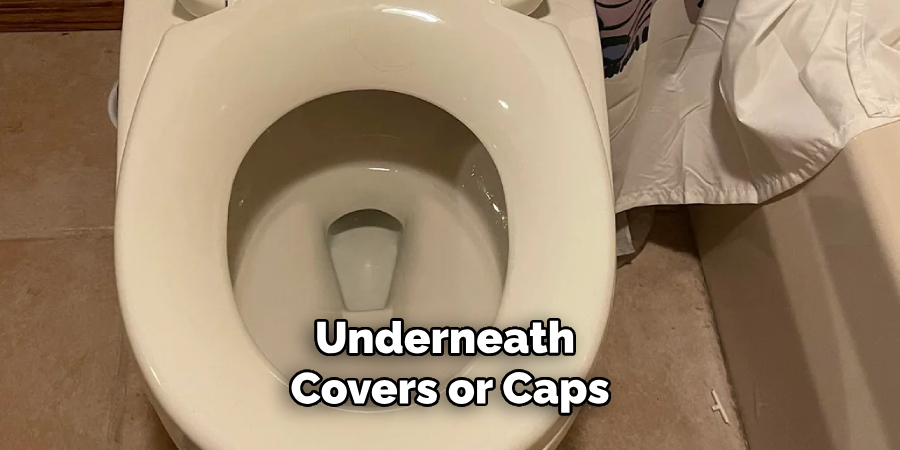
For particularly tight, corroded, or stuck bolts, apply a small amount of penetrating lubricant, like WD-40, directly to the bolt. Allow it to sit for several minutes to break down any rust or debris impeding movement. If the bolts remain unresponsive, consider using a hacksaw or bolt cutter to cut through them carefully. When cutting bolts, exercise extreme caution to avoid damaging the toilet bowl or surrounding areas.
Quick-Release Mechanism
Certain Glacier Bay toilet seat models may feature a convenient quick-release mechanism. If this applies to your seat, locate the quick-release buttons, generally positioned on the hinges at the back of the seat. Press and hold these buttons simultaneously, and gently pull the seat upwards to release it from the mounting hardware. Quick-release systems are designed to simplify maintenance and make seat removal far easier without requiring tools or force. Ensure you follow the specific instructions provided in the product manual for your model if quick-release features are present.
Removing the Seat
With the bolts fully loosened or the quick-release mechanism utilized, safely lift the toilet seat off the bowl. For standard mounting setups, pull the seat evenly to avoid bending or damaging any remaining hardware. If the seat shows any resistance, double-check that all bolts or fasteners have been fully detached before proceeding. Take care not to drop it, as some components might still be sharp or contain remnants of the hardware.
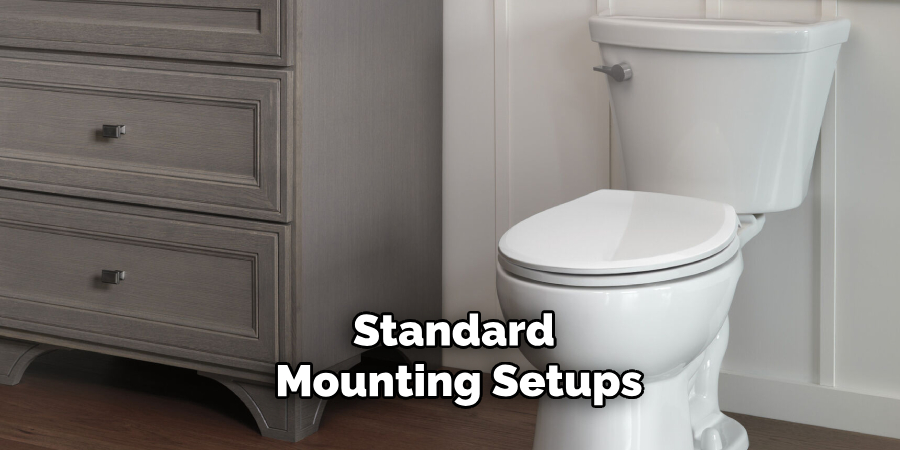
After removing the seat, inspect the area where the seat was mounted. Make note of any dirt, grime, or buildup that may have accumulated around the holes or on the surface of the toilet bowl. Proper cleaning of this area is essential before installing a new seat to ensure a secure and stable fit.
Cleaning and Preparing the Area
Cleaning Residue
Begin by cleaning the area where the seat was mounted to ensure a smooth and secure installation of the new seat. Use a mild cleaner and a soft cloth or sponge to remove dirt, rust, or debris from the bolt holes and surrounding surfaces. Avoid using abrasive cleaners or tools that could damage the finish of the toilet bowl. Pay special attention to the bolt holes, as even small amounts of residue can interfere with proper alignment and stability.
Inspecting the Bowl
After cleaning, thoroughly inspect the surface of the toilet bowl. Look for any signs of cracks, chips, or other structural issues that might compromise the integrity of the new seat’s installation. If you notice any damage, you must address these concerns before proceeding. A clean and undamaged surface is crucial for ensuring the new seat fits securely and functions properly.
Installing a Replacement Seat
Choosing the Right Seat
When selecting a replacement seat for your Glacier Bay toilet, it’s essential to ensure compatibility with your specific model. Measure the dimensions of your toilet bowl, including its width, length, and bolt spacing, to confirm the new seat will fit properly.
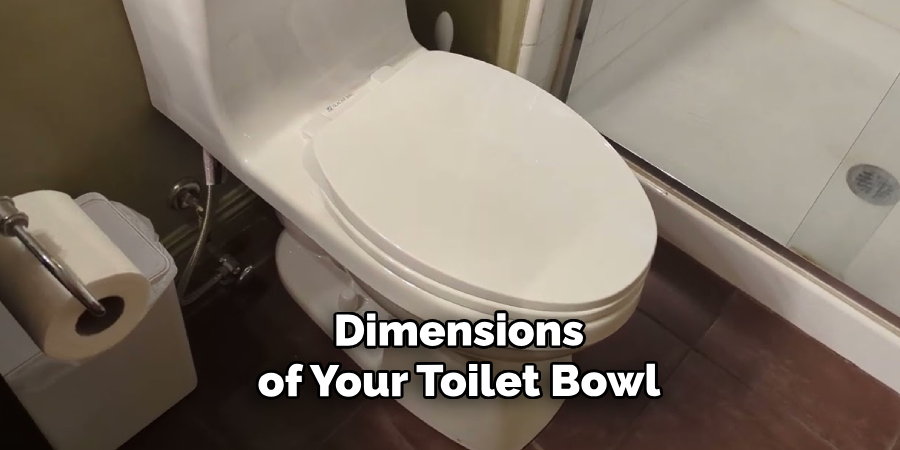
Look for a seat designed for your bowl shape, whether it is round or elongated, as using the wrong type can lead to poor alignment or discomfort. Additionally, consider features such as soft-close hinges, antimicrobial surfaces, and durable materials, depending on your preferences and needs.
Aligning the Seat
Once you’ve chosen the right replacement seat, place it on the toilet bowl, ensuring the bolt holes in the seat align perfectly with the mounting holes on the toilet. Check that the seat is centered and level before proceeding to secure it. Proper alignment is key to providing stability and preventing wobbling during use.
Securing the Bolts
Insert the provided bolts through the mounting holes and carefully hand-tighten the nuts underneath the bowl. Use an appropriate tool to tighten the bolts further, but avoid overtightening, as this could damage the seat or bowl. Ensure the seat is snug and securely attached while still allowing the hinges to function smoothly. Periodically check the tightness of the bolts over time to maintain stability.
Troubleshooting Common Issues
If you encounter stuck bolts, apply a penetrating oil to loosen the threads and use pliers or a wrench for better grip. Loosen the bolts slightly for misaligned seats, realign the seat, and retighten carefully. If the quick-release mechanism is broken, check for debris or damage and consider replacing the mechanism if necessary. Patience is crucial in these situations—forcing components can lead to further damage. Always use appropriate tools and follow manufacturer recommendations to prevent complications. Addressing these issues promptly ensures your toilet seat remains functional and secure over time.
Conclusion
Replacing a Glacier Bay toilet seat is a simple process that requires the right tools and techniques. To recap, start by gathering the necessary tools, carefully remove the old seat, and securely install the new one, ensuring proper alignment. If you’re wondering “how to remove Glacier Bay toilet seat,” the steps are straightforward—locate and loosen the bolts and follow manufacturer guidelines. Regularly check the seat’s stability and perform maintenance to prolong its lifespan. With patience and attention to detail, you can ensure your toilet seat remains functional and comfortable for years to come.

