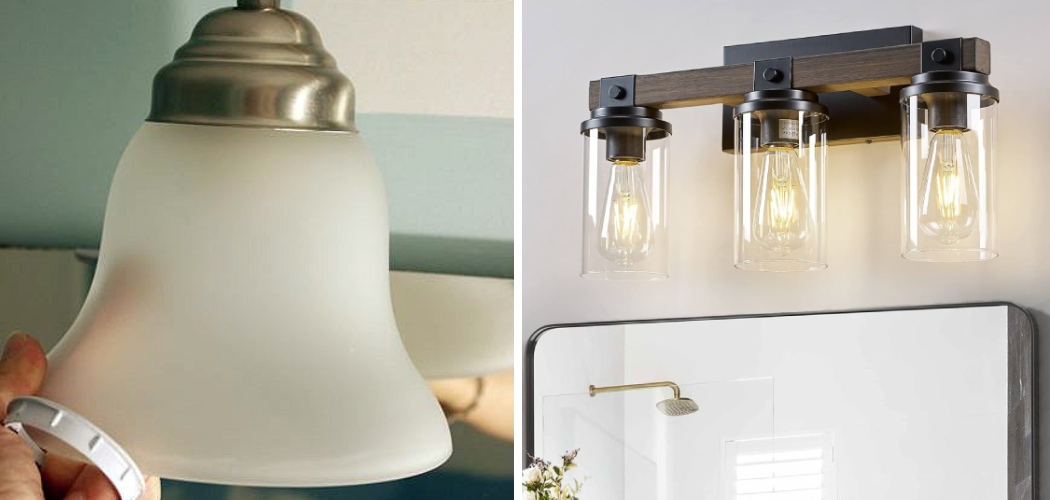
Changing the ambiance of your bathroom or simply replacing a damaged or outdated light fixture can greatly enhance the aesthetics of the space. When it comes to altering the lighting in your bathroom, removing a glass shade from a light fixture is a fundamental step. Whether you’re looking to clean, replace, or upgrade the shade, knowing how to remove it safely is crucial.
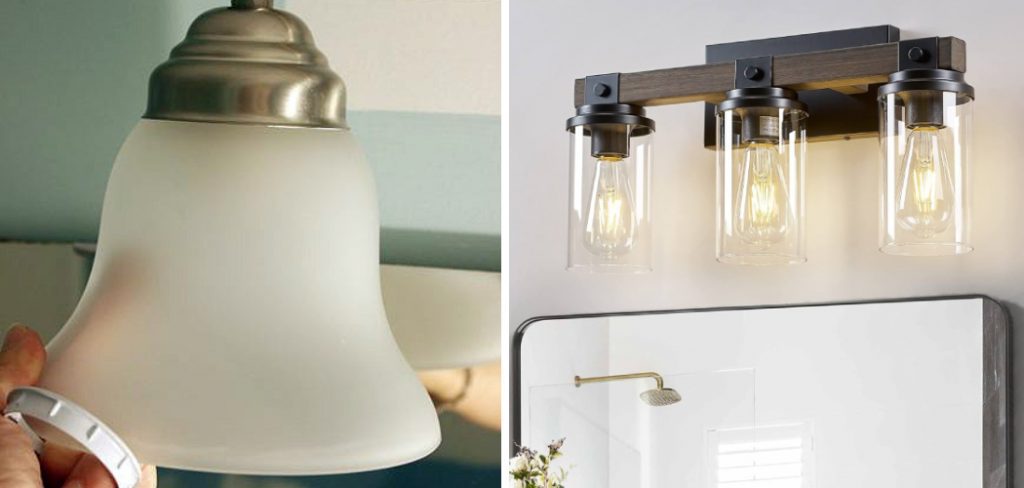
In this guide, we will walk you through the essential steps on how to remove glass shade from bathroom light fixture. From identifying the fixture type to executing the removal process without damaging the shade or the fixture, we’ll cover the necessary techniques to help you accomplish this task with confidence. Let’s embark on this enlightening journey to transform your bathroom lighting.
The Need to Remove a Glass Shade from a Bathroom Light Fixture
In order to properly maintain your bathroom lighting fixture, it may be necessary to remove the glass shade from time to time. This is especially true if you have an older fixture that has seen a lot of wear and tear over the years. Glass shades can become dulled, scratched or even broken due to age and regular use. Replacing it with a new one can make a big difference in the look and feel of your bathroom.
Removing glass shades can be tricky as they are usually held in place with clips or screws. Depending on the type of fixture, these may be inside the shade itself, hidden by other pieces, or they may be visible from the outside. Before attempting to take apart your light fixture, it is important to make sure that it is switched off and disconnected from the power source.
Once you have ensured your safety, carefully inspect the light fixture to identify how the shade is attached. If there are no obvious clips or screws, then look for a small hole in one of the sides which may indicate that there is a screw hidden within. Once all of these pieces have been identified, you can begin to carefully unscrew or unclip the parts.
Importance of Safety Precautions during the Process
It is important to remember that safety should always be the top priority when performing any kind of home improvement or repair task, such as removing a glass shade from a bathroom light fixture. Before beginning the process, wear protective eye gear and gloves to protect yourself from potential injury.
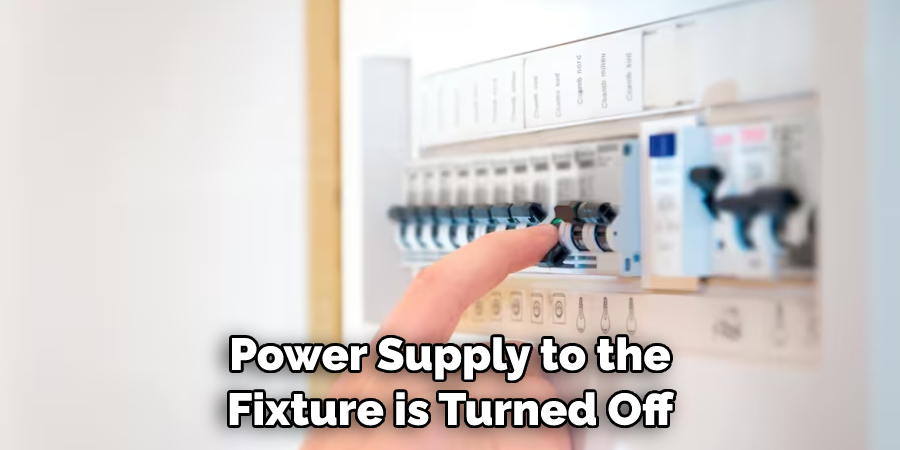
Additionally, make sure that the power supply to the fixture is turned off before starting work. This can be done by locating and turning off the lighting circuit breaker at the main electrical panel.
Furthermore, a stepladder may be required to reach the light fixture, so it is prudent to use one if available in order to minimize the risk of slipping or falling. However, if a stepladder is unavailable, it is important to use extreme caution when standing on a chair or other elevated surface. After taking these safety precautions, you are now ready to begin removing the glass shade from the bathroom light fixture.
10 Steps How to Remove Glass Shade from Bathroom Light Fixture
Step 1: Turn Off the Power
Safety should always be the top priority when working with electrical fixtures. Start by turning off the power to the bathroom light fixture at the circuit breaker or fuse box. Use a voltage tester to ensure that there is no electricity flowing to the fixture.
Step 2: Gather the Necessary Tools
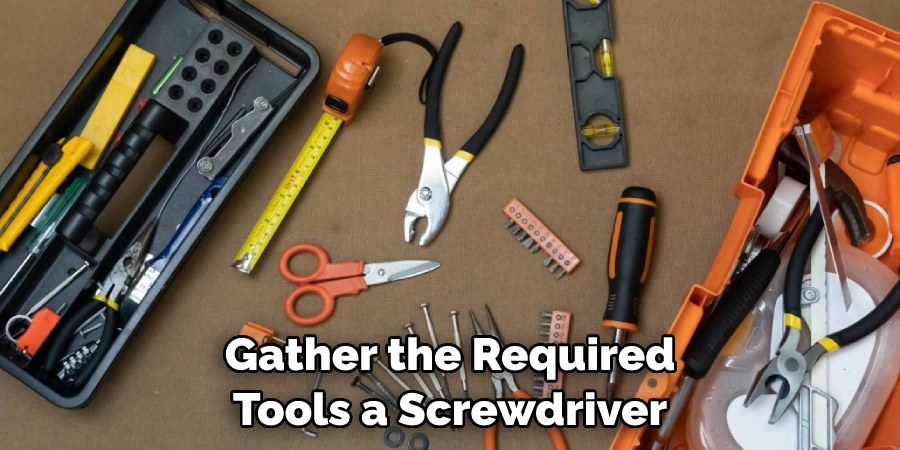
To remove the glass shade, gather the required tools: a screwdriver (usually a Phillips or flat-head screwdriver, depending on the type of screws used), protective gloves, and a sturdy ladder or step stool if the fixture is mounted high. Make sure the light switch is turned off and the area is free from any water or electricity sources.
Step 3: Identify the Mounting Screws
Examine the light fixture to identify the mounting screws that secure the glass shade. These screws are typically located at the base of the fixture or along the sides. Depending on the design, they might be visible or concealed behind decorative elements.
Once you have located the mounting screws, use a screwdriver to loosen them. This will allow you to lift off the glass shade from its mounting base. Be sure to keep track of the screws and set them aside for later.
Step 4: Loosen and Remove the Screws
Carefully use the appropriate screwdriver to loosen and remove the screws holding the glass shade in place. Turn the screws counterclockwise to release them. Take caution not to apply excessive force to prevent damaging the fixture or the glass shade. Once the screws have been unfastened, you can then take off the glass shade.
Step 5: Support the Glass Shade
As you loosen the screws, gently support the glass shade with one hand to prevent it from falling or swinging freely once the screws are completely removed. Hold the shade securely but avoid applying too much pressure. Though the glass is usually sturdy, it still susceptible to cracking if too much force is applied.
Step 6: Slide the Glass Shade Off
With the screws removed and the glass shade supported, carefully slide the shade off the fixture arm or mounting bracket. Be cautious and gentle to avoid any accidental bumps or hits that could break the glass.
Step 7: Clean and Inspect the Glass Shade
Once the glass shade is removed, set it aside on a soft, safe surface. Inspect the shade for any cracks, chips, or dirt. Clean it thoroughly using a glass cleaner to prepare it for reinstallation or replacement. Make sure it is completely dry before proceeding to the next step.
Step 8: Check the Fixture for Maintenance
While the glass shade is removed, take the opportunity to inspect the light fixture for any signs of wear, loose connections, or other maintenance needs. Address any issues before reinstalling the glass shade. If the light fixture is clean and free of any damage, you can proceed with replacing the glass shade.
Step 9: Reinstall the Glass Shade (Optional)
If you’re planning to reinstall the same glass shade or a replacement, carefully slide it back onto the fixture arm or mounting bracket. Align it properly and secure it by tightening the screws in a clockwise direction.
If the screws are hard to tighten, you can use a screwdriver or pliers. Be careful not to over-tighten the screws as this could cause damage to the glass shade. Once all of the screws have been tightened, check that the glass shade is secure and that it is properly aligned with the mounting bracket.
Step 10: Restore Power and Test the Light
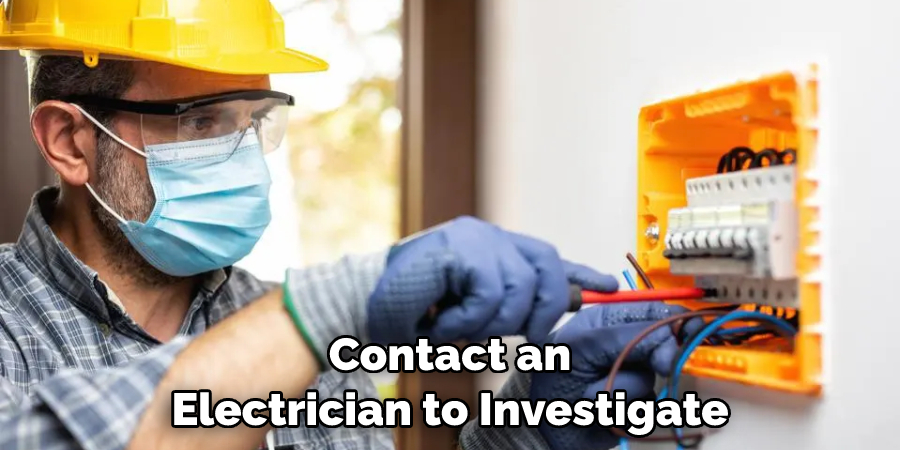
After securely reattaching the glass shade, restore power to the bathroom light fixture by turning on the circuit breaker or fuse. Test the light to ensure it functions correctly and that the glass shade is securely in place. If the light fixture is still not functioning correctly, contact an electrician to investigate further.
Depending on your light fixture type, you may also need to replace any decorative shades or trim pieces that you removed earlier in the process. Once everything is back in place and working properly, enjoy your freshly updated bathroom lighting!
Things to Consider When Removing Glass Shade from Bathroom Light Fixture
Before you begin your job, it is important to consider the following things:
- Safety – Make sure that you turn off the power supply to the bathroom light fixture before attempting any repairs or cleaning. It’s also a good idea to wear protective gloves while handling glass pieces.
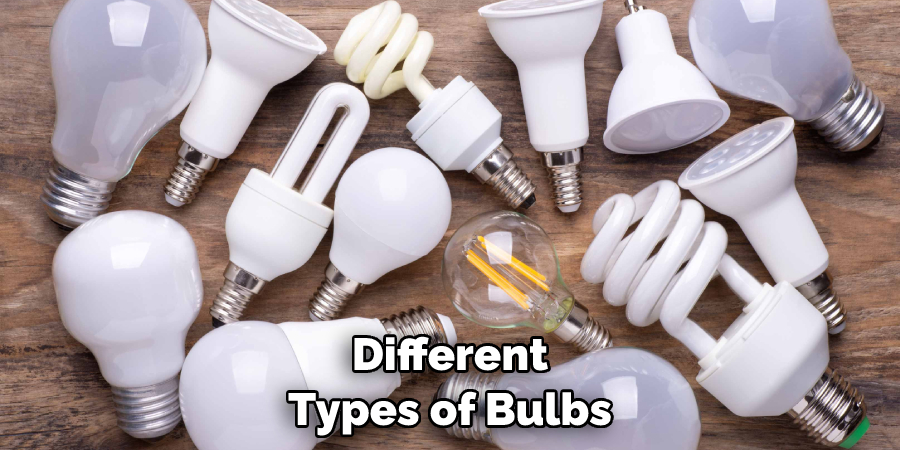
- Light Bulb Type – Different types of bulbs may require different techniques for removing the glass shade. For instance, if you have an incandescent bulb, it will usually be secured with a screw base and you can unscrew it to take off the glass.
- Tools – You will need some basic tools such as a flat-head screwdriver or a pair of pliers in order to remove the glass shade. It is also important to have a flashlight handy so that you can see what type of bulb is installed and how it is secured.
- Replacement Shade – If you are replacing the glass shade, make sure that you measure the diameter of the existing shade before purchasing a new one. This will ensure that your new shade fits properly in the light fixture.
- Cleaning – After taking off the glass shade, you should use a damp cloth to clean the surface of the light fixture as well as any remaining pieces of glass that may still be attached. You can also use a vacuum cleaner with an attachment for cleaning hard-to-reach areas.
Once you have all the necessary tools and safety precautions in place, you can begin to follow the steps for removing the glass shade from your bathroom light fixture.
Conclusion
Removing the glass shade from your bathroom light fixture can be a daunting task, but with the tips outlined in this article, you’ll be able to tackle it with ease! It’s important to plan ahead of time and make sure that you have all of the necessary tools on hand before beginning the process. Remember to work slowly and carefully, making sure that each step is properly secured before progressing to the next one.
With a confident hand and cautious eye, you can have your light fixture free from its glass shades in no time. If in doubt or if something doesn’t feel quite right, don’t hesitate to call in a professional for help. At the end of the day it’s always better to be safe than sorry when dealing with electricity-related tasks! Now that you know how to remove glass shade from bathroom light fixture, why not give it a go yourself? We wish you all the best of luck and hope that our advice has served you well.

