If you’ve ever tried to remove glued-on tiles from your shower walls, then you know it can often feel like an almost impossible task.
Over time, water splashes and sprays can wear away grout and eventually weaken the adhesives used to stick on tiles. Fortunately, with a few tools and some elbow grease, removing those stubbornly stuck tiles is actually surprisingly achievable!
In this blog post, we’ll take you through the entire process of how to remove glued on shower walls so that your bathroom can look as elegant as the day it was installed.
Importance of Proper Removal Techniques
Removing glued-on shower walls is not always an easy task, and it is important to take the proper steps in order to ensure that it is done correctly. The wrong removal methods can damage the underlying surface, leaving you with a costly repair job. Additionally, improper removal techniques can leave behind hazardous materials or even cause personal injury.
Therefore, understanding the importance of using the right tools and following specific steps will make sure that you end up with a safe, successful shower wall removal.
The first step in removing glued on shower walls is to use the proper tools. A utility knife or razor scraper can be used to carefully cut away any glue that may have been used during installation. Be aware that cutting too deep can result in damage, so take care to use a shallow setting. It is also important to wear safety goggles and gloves when working with sharp tools.
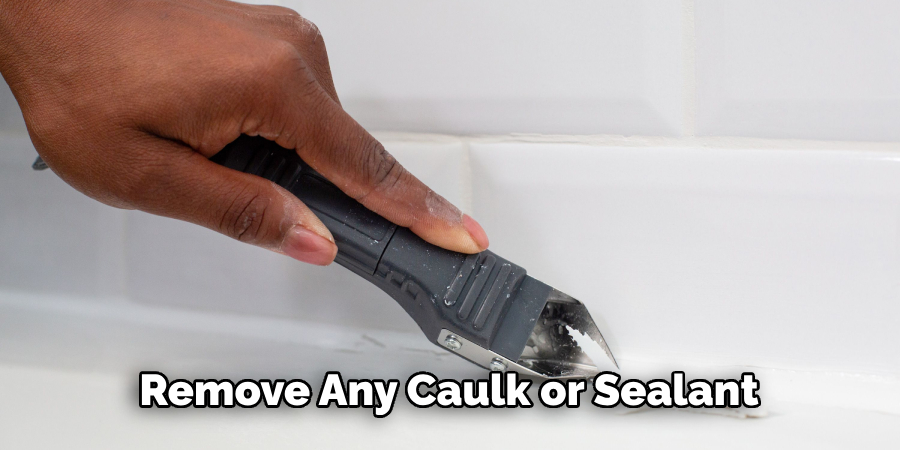
Next, remove any caulk or sealant from around the edges of the shower wall. This can be done using a putty knife or similar tool. Once all of the glue and caulk are removed, you can start to carefully pry the wall off of the surface. It is important to use a wide, flat tool such as a putty knife to avoid damaging the underlying wall.
Identifying the Type of Adhesive Used
Before you can begin removing glued on shower walls, it is important to identify the type of adhesive used. This will determine which methods are most effective for removing the glue.
Loctite Super Glue, Gorilla Glue, Liquid Nails and epoxy are all commonly used adhesives for installing shower wall panels. Each type of adhesive requires a different approach when it comes to removal.
If you can’t identify the type of adhesive used, use a small amount of acetone on an inconspicuous spot to test it. Acetone is a solvent that will dissolve many types of adhesives, including epoxy and Liquid Nails. If the acetone works on the adhesive, you can proceed with removing it using this method. If not, then you will need to use a different approach.
Once you have identified the type of adhesive used, you can move on to the next step: actually removing it from your shower walls. There are several methods for doing so, depending on what type of adhesive was used in the first place. We’ll go over each one in turn below.
Removing Loctite Super Glue is relatively easy. All you need to do is apply acetone to the glue and wait a few minutes for it to loosen. Then, you can simply scrape the glue away with a plastic putty knife or similar scraping tool.
10 Methods How to Remove Glued on Shower Walls
1. Prepare the Workspace:
Before attempting to remove the glued-on shower walls, it’s essential to prepare the workspace. Start by clearing the area of any personal items or bathroom fixtures that might obstruct your work.
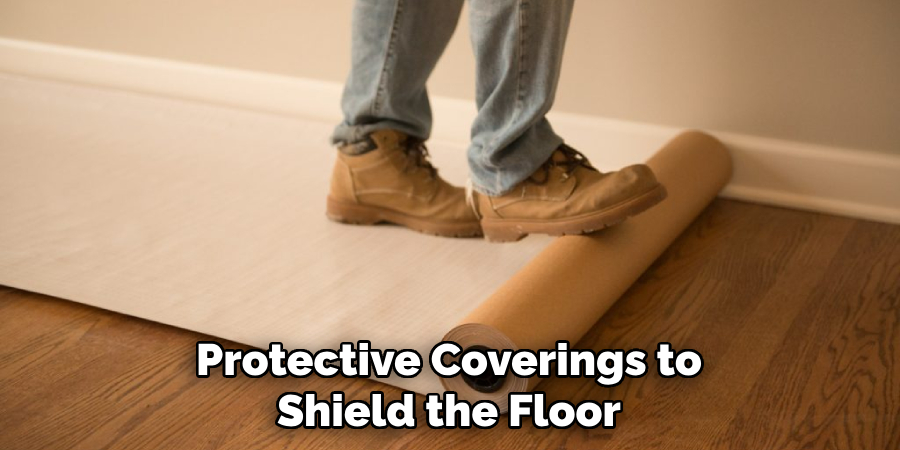
Use drop cloths or protective coverings to shield the floor and other surfaces from potential damage. Additionally, ensure you have all the necessary tools and safety equipment at hand.
2. Soften the Adhesive with Heat:
Applying heat to the adhesive can help soften it, making it easier to remove the shower walls. Start by heating the adhesive with a heat gun or hairdryer on a low heat setting. Hold the heat source several inches away from the surface and move it back and forth to evenly distribute the heat. Once the adhesive begins to soften, use a putty knife or scraper to gently pry off the shower walls.
3. Use a Solvent:
Certain adhesives can be dissolved or weakened using solvents. Choose a solvent suitable for the type of adhesive used on your shower walls, such as adhesive remover, acetone, or citrus-based solvents. Apply the solvent to the glued areas and allow it to penetrate for the recommended time.
Use a scraper or putty knife to carefully lift the shower walls, taking care not to damage the surface beneath.
4. Employ Mechanical Force:
In cases where the adhesive is particularly strong or stubborn, employing mechanical force can be effective. Use a rubber mallet or a hammer with a piece of scrap wood to gently tap the edges of the shower walls. This method helps loosen the adhesive bond, making it easier to pry off the walls.
Take care to apply force evenly and avoid excessive impact that could cause damage.
5. Utilize a Pry Bar or Putty Knife:
A pry bar or putty knife can be valuable tools for removing glued-on shower walls. Insert the edge of the pry bar or putty knife between the wall and the adhesive, applying gentle pressure to lift and separate the walls from the surface. Gradually work your way around the edges of the walls, loosening the adhesive as you go.
Be cautious not to apply excessive force to prevent damage to the underlying surface.
6. Cut the Adhesive:
If the adhesive bond is strong, cutting through it can facilitate the removal process. Use a utility knife or a reciprocating saw with a fine-toothed blade to carefully cut along the edges of the shower walls. Make shallow cuts, taking care not to damage the surface beneath. This method weakens the adhesive bond, allowing you to pry off the walls more easily.
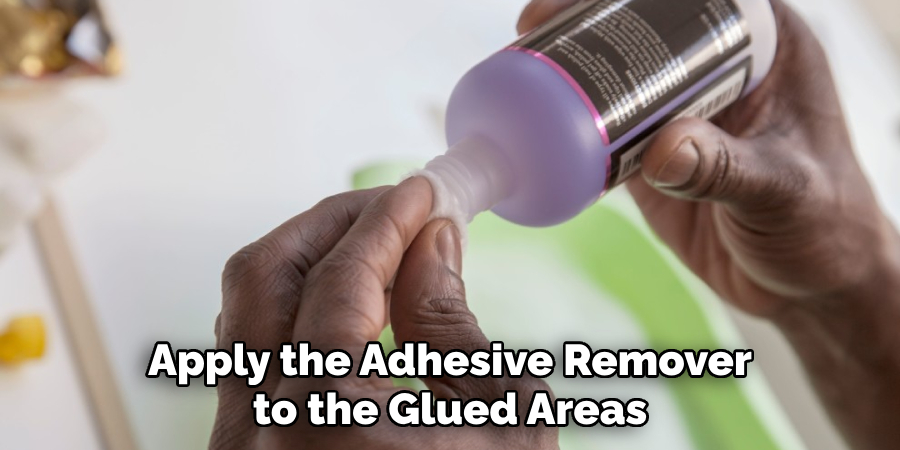
7. Apply a Wall Adhesive Remover:
Wall adhesive removers are specifically formulated to break down and dissolve adhesives. Apply the adhesive remover to the glued areas of the shower walls according to the manufacturer’s instructions.
Allow the product to work for the recommended duration, ensuring it has sufficient time to penetrate the adhesive. Use a scraper or putty knife to gently lift the walls, repeating the process as necessary.
8. Steam the Adhesive:
Using steam can effectively soften and loosen adhesive bonds. Rent or purchase a steam wallpaper stripper or a handheld steam cleaner.
Hold the steam nozzle close to the glued areas, allowing the steam to penetrate the adhesive. As the adhesive softens, use a putty knife or scraper to lift and remove the shower walls. Be cautious when working with steam and follow all safety precautions outlined by the equipment manufacturer.
9. Apply a Mixture of Warm Water and Dish Soap:
A mixture of warm water and dish soap can act as a gentle adhesive remover. Fill a bucket or spray bottle with warm water and add a few drops of dish soap. Thoroughly wet the glued areas of the shower walls with the solution and allow it to soak for a while. Use a scraper or putty knife to carefully lift the walls, applying gentle pressure to separate them from the surface.
10. Seek Professional Assistance:
If the above methods prove challenging or if you’re unsure about removing glued-on shower walls on your own, it’s advisable to seek professional assistance. Professional contractors or bathroom renovation specialists have the expertise, experience, and specialized tools to safely and efficiently remove glued-on shower walls.
They can assess the situation, recommend the most suitable approach, and ensure the removal process is carried out without causing damage to your bathroom.
Some Common Mistakes When Removing Glued on Shower Wall
1. Not Having the Right Tools:
If you don’t have the right tools, it can be extremely difficult to remove glued on shower walls. Make sure that you have a sharp utility knife and a pry bar before attempting to remove your shower wall.
2. Removing Too Much Material At Once:
It is tempting to try and get the job done quickly by removing large chunks of material at a time. However, it is important to take your time and remove small amounts of material gradually. Removing too much at once can cause damage to the wall or surrounding tiles.
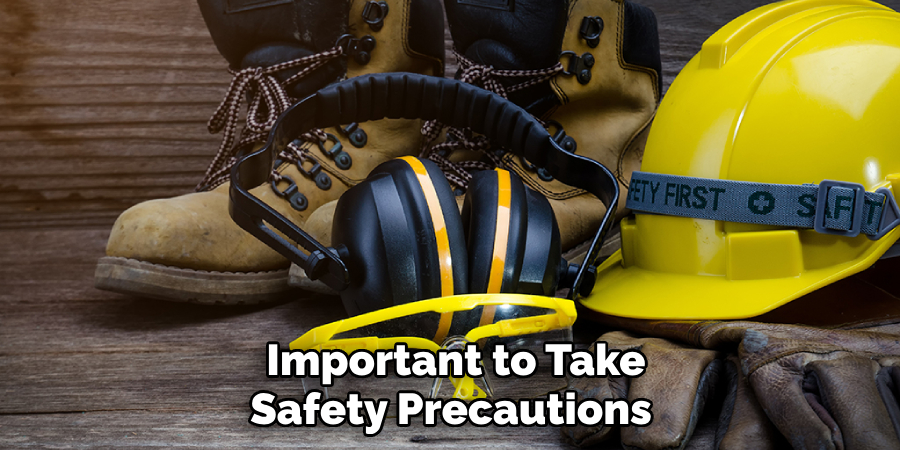
3. Not Taking Safety Precautions:
When you are working with sharp tools like a utility knife, it is important to take safety precautions. Wear protective eyewear, gloves, and clothing that covers as much skin as possible to avoid cuts and scrapes while you work.
Conclusion
There you have it, a comprehensive guide on how to remove glued on shower walls. It’s easy and simple, all you need is the right tools with patience and determination. You can also ask an expert to help if you don’t feel comfortable tackling the job yourself.
With these tips at your disposal, you now have all the knowledge necessary to take on this project without any fear or hesitation. So what are you waiting for? Get started now so that you can enjoy that perfectly glueless bathroom in no time!

