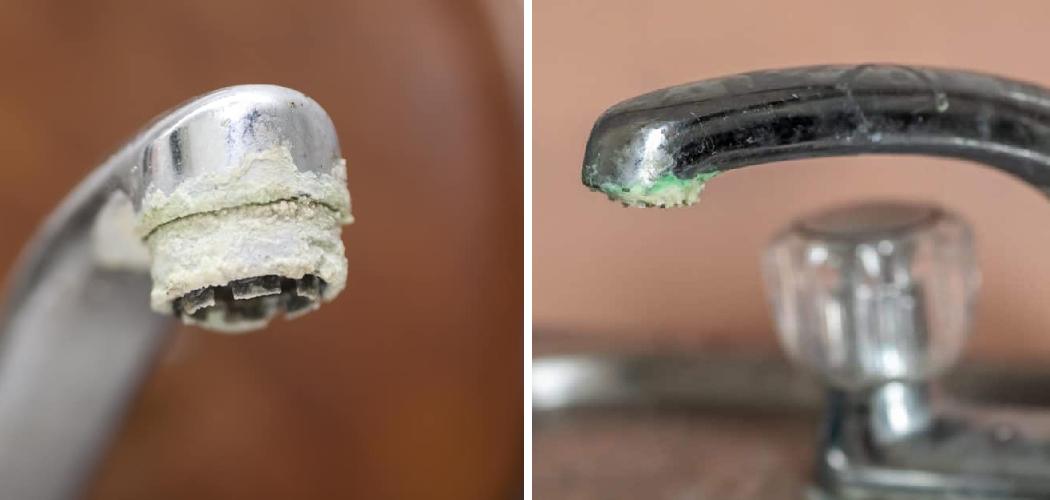
Are you tired of seeing a green discoloration on your faucet? The green buildup is often caused by high levels of copper in your water and is caused by the reaction between iron, oxygen, and chlorine. Fortunately, getting rid of it requires no special skills or harsh chemicals.
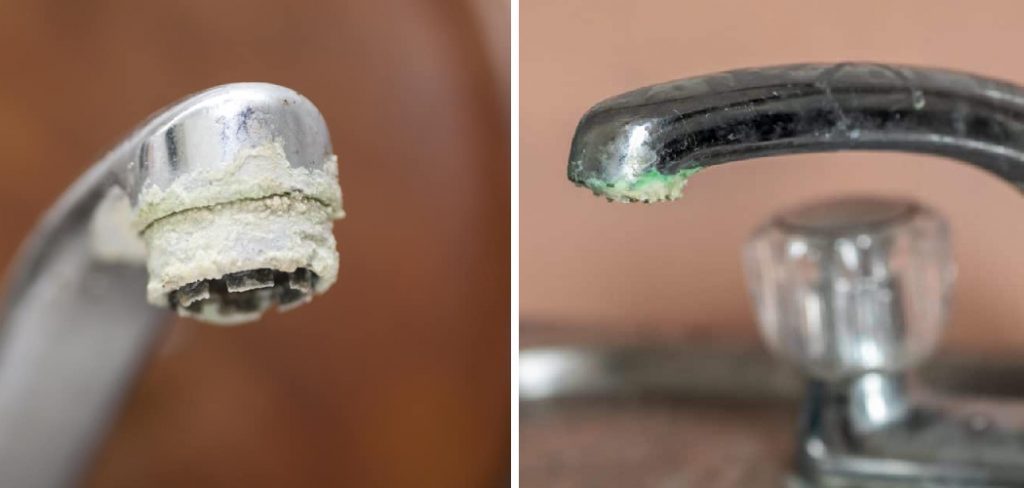
No one wants to see green buildup on their faucets, but it’s an issue many homeowners face. If you’re dealing with this problem and unsure how to remove the buildup, don’t worry – we’ve got you covered! In this blog post, we’ll walk you through the steps necessary to eliminate that pesky green buildup once and for all.
You’ll learn different ways to clean your fixtures and how regularly maintaining them will help keep them looking brand new.
Read on to find out more about how to remove green buildup on faucet!
What are the Caucses of Green Buildup on Faucets?
The most common cause of green buildup on faucets is high levels of copper in your water. This happens when iron, oxygen, and chlorine react with the copper in your pipes. Over time, this reaction will create a residue that builds up on your fixtures and can discolor them.
You may also notice green buildup if you have recently installed a new faucet. This is because the metal can be exposed to more water and air than usual, which can cause it to oxidize and create a residue.
What Will You Need?
To remove green buildup on your faucet, you’ll need a few basic supplies:
- White vinegar
- A soft cloth or sponge
- Baking soda
- A toothbrush (optional)
Once you have these items handy, you’re ready to start cleaning!
10 Easy Steps on How to Remove Green Buildup on Faucet
Fortunately, removing this type of discoloration is easy! All you need are some simple cleaning supplies and a few minutes of your time. The following steps will help get rid of those unsightly marks:
Step 1. Make a Mixture:
Combine equal parts white vinegar and baking soda in a cup or bowl. Be careful not to use too much of either ingredient, as this may cause the mixture to bubble up and overflow. As you stir, the ingredients will create a paste-like substance.
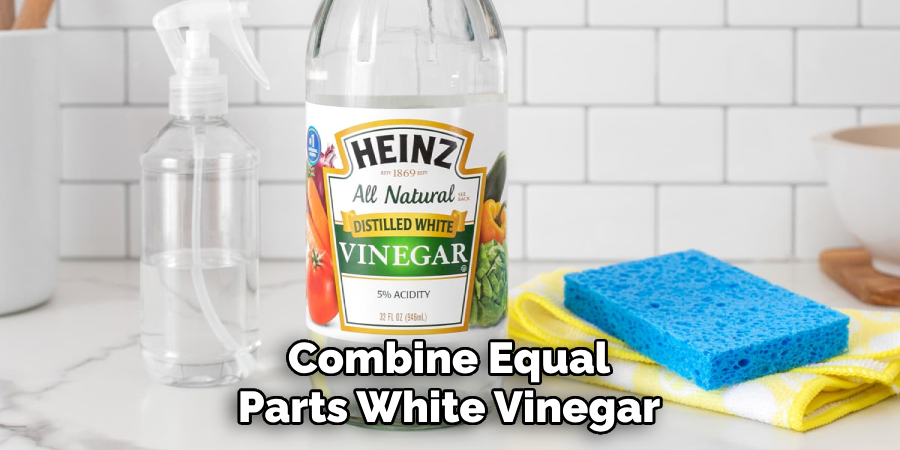
Step 2. Apply the Mixture:
Use a soft cloth or sponge to apply the mixture to the affected areas. Make sure to rub it in a circular motion and be careful not to use too much pressure, as this could scratch or damage your fixtures. Try to cover all the green-tinted areas with the mixture.
Step 3. Let It Sit:
Once you’ve applied the mixture, let it sit on the faucet for about 15 minutes. This will give it enough time to work its magic and help loosen any stubborn residue. Additionally, if you have an especially tough stain, let it sit for up to 30 minutes.
Step 4. Scrub Away:
Remove the buildup from an old toothbrush (or a soft cloth). Be sure to rinse off any excess paste as you go so that you don’t leave any streaks behind. After a few minutes of scrubbing, your fixture should look brand new!
Step 5. Rinse:
Rinse the faucet with warm water to remove any leftover residue. Ensure you’re thorough; any leftover paste can harden and create a mess. Be careful not to use too much pressure, as this can cause the mixture to seep into any crevices on your fixture.
Step 6. Dry:
Once you’ve rinsed off the mixture, it’s important to dry off your fixtures properly so that they don’t get damaged by moisture. Use a soft cloth and make sure to wipe away any excess water that may be lingering around the crevices of your faucet. Another great way to dry your fixtures is to use a hairdryer set to the cool setting.
Step 7. Polish:
If you want to give your fixtures an extra sparkle, try polishing them with a cloth or some wax-based furniture polish. This is a great way to add a bit of shine and make your faucets look brand new! Moreover, it will help keep them clean and free from buildup for a longer period of time.
Step 8. Prevent Future Buildup:
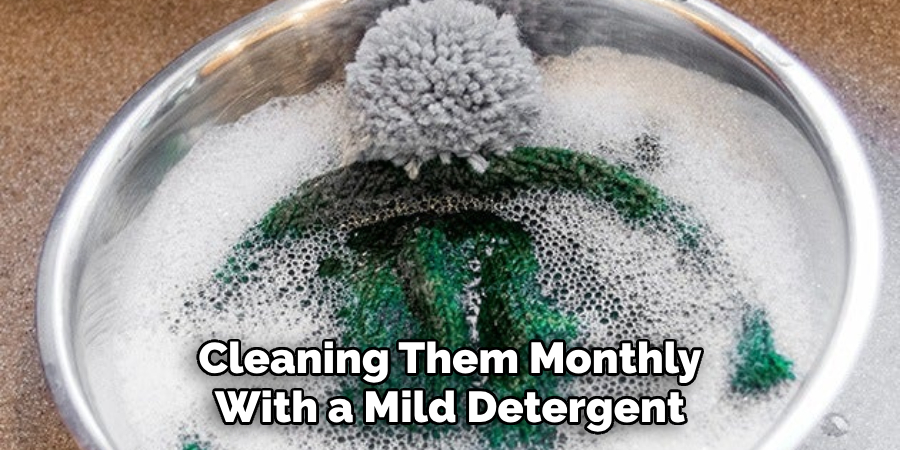
To prevent green buildup from occurring in the future, it’s important to maintain your fixtures regularly. This can be done by cleaning them monthly with a mild detergent and rinsing them off thoroughly after each use. Remember that this should be done regardless of whether you’re dealing with green buildup, as regular maintenance is key to keeping faucets looking their best.
Step 9. Test Your Water:
If you’re still seeing discoloration on your faucet despite regular cleaning, consider having your water tested for high levels of copper or other minerals that may be causing the issue. Testing your water is an easy and cost-effective way to identify any potential issues before they become more serious problems.
Step 10. Call a Professional:
If you cannot remove the green buildup from your faucet or are unsure of what is causing it, don’t hesitate to seek professional help. A plumber or other home repair expert can help diagnose the issue and recommend the best solution for getting rid of it. Remember, it’s always better to be safe than sorry when dealing with plumbing or other home repairs.
By following these easy steps, you should have no trouble getting rid of the green buildup on your faucet. Regular maintenance and quick action are key to keeping your fixtures looking their best. So, if you’re ready to tackle this problem head-on, put on your cleaning gloves and get to work!
5 Additional Tips and Tricks
1. Use a soft-bristled brush to scrub away the green buildup gently.
2. If necessary, you can also use a razor blade or putty knife to scrape off any stubborn deposits.
3. Make sure to rinse off all cleaning solutions and residue with warm water after you’re done scrubbing or scraping.
4. If the green buildup persists, try using white vinegar to boost cleaning power.
5. When finished, apply a thin layer of car wax around the faucet area as a protective coating to prevent further buildup from occurring in the future. This will help maintain your faucet’s shine while making it easier to clean next time!
Follow these tips and tricks for a quick and easy way to remove green buildup from your faucet. With the right supplies and some elbow grease, you can make your faucet sparkle like new!
5 Things You Should Avoid
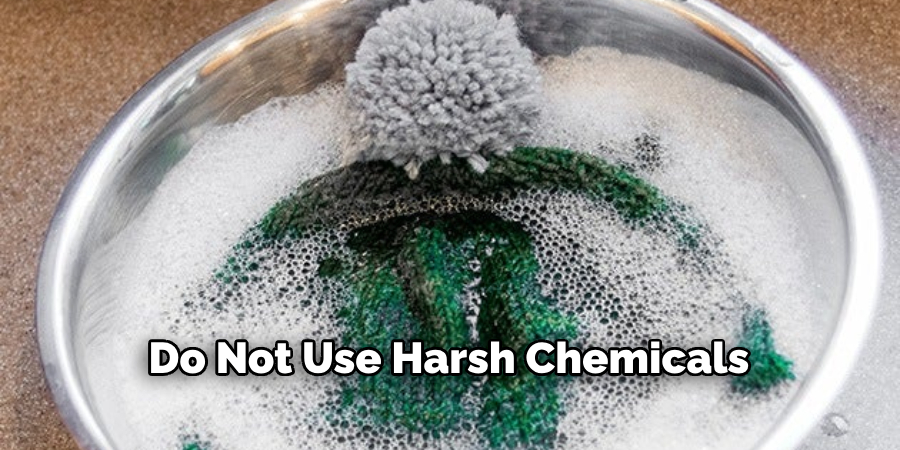
1. Do not use harsh chemicals on your faucet, as it can damage the finish.
2. Avoid using steel wool or abrasive scrubbing pads that could scratch or dull the metal.
3. Be sure not to use bleach, ammonia, or other caustic cleaning agents on your faucet. These substances may cause corrosion and discoloration over time.
4. Stay away from grout cleaners, tile cleaners, or bathroom cleaners; these products are designed for different surfaces and may not be suitable for your faucet’s needs.
5. Refrain from using boiling water to remove green buildup on your faucet – this could cause permanent damage to pipes and fixtures! Instead, opt for warm water and a mild detergent.
By following these tips and avoiding the pitfalls, you can remove green buildup from your faucet quickly and easily! Make sure to reapply car wax after each clean for a longer-lasting sparkle.
What is the Best Acid for Removing Green Buildup?
When removing green buildup from a faucet, the best acid to use is white vinegar. White vinegar is an effective and non-toxic cleaning agent that dissolves rust and mineral deposits. It can also act as an anti-bacterial and anti-fungal agent when used properly.
When using white vinegar on your fixtures, be sure to dilute it in water before applying it directly onto the surface of your faucet in order to avoid any potential damage. Leave the solution on for about 15 minutes before scrubbing away with a soft brush or cloth. With regular use, you should find that this method effectively removes green buildup with minimal effort!

Another great option for removing green buildup is lemon juice. Lemon juice contains a high concentration of citric acid, which works to dissolve mineral deposits and build up over time. Simply mix equal parts lemon juice and water in a spray bottle, then apply it directly onto the faucet surface.
Leave the solution on for about 10 minutes before scrubbing it away with a soft cloth or brush. Keep in mind that lemon juice needs to be reapplied every few weeks to maintain its effectiveness.
You should have no trouble removing any pesky green buildup on your fixtures by using either white vinegar or lemon juice! Both are safe and effective alternatives to harsh chemicals, so feel free to use whichever one suits your preferences best.
Conclusion
Now that you know how to tackle green buildup on faucets, it’s time to eliminate those unsightly marks. Whether you choose a vinegar and water solution or an abrasive cleaner like aluminum foil, the key is to tackle the task as soon as possible.
Additionally, be sure to focus on taking preventive measures to reduce the risk of green buildup or other mineral deposits forming in the first place. Wipe down your taps regularly and ensure you replenish them with fresh water now and again. Ultimately, by taking these steps, you can ensure that your faucets remain clean for years. Remember: prevention is always better than cure!
The article on how to remove green buildup on faucet has given you the guidance and knowledge to tackle this issue properly. Now get out there and start cleaning those faucets! Good luck!

