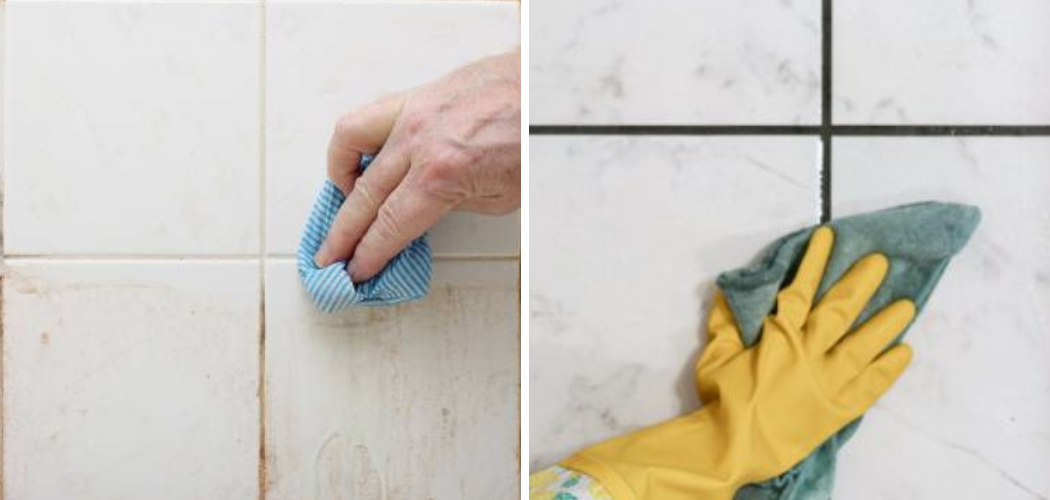
Mold growth in bathtub grout is a common issue faced by homeowners, often resulting from excess moisture and poor ventilation within the bathroom. Not only is mold unsightly, but it can also pose health risks and lead to unpleasant odors. To maintain a clean, healthy environment in your bathroom, it’s essential to understand the effective methods for removing mold from grout.
This guide on how to remove mold from bathtub grout will walk you through the necessary steps and provide helpful tips for tackling this common problem, ensuring your bathtub remains pristine and mold-free.
Why is Mold Growth Common in Bathtub Grout?
Mold thrives in warm, damp environments, making bathroom areas particularly susceptible. Bathtub grout, which is both porous and frequently exposed to water, provides an ideal breeding ground for mold spores. The grout’s textured surface traps moisture and offers organic materials that can feed mold, promoting growth. Insufficient ventilation is another factor contributing to mold proliferation, as it allows humidity levels to remain high, preventing areas from drying completely.
Regular exposure to soap residues and other bathroom products can also support mold development by supplying additional nutrients. Understanding these contributing factors is crucial for implementing effective preventative measures to keep mold at bay.
Tools and Supplies for Removing Mold From Bathtub Grout
Before beginning the mold removal process, gather the necessary tools and supplies to ensure a smooth and efficient operation. You’ll need:
Protective Gear:
Mold exposure can cause skin irritation and respiratory problems, so it’s essential to wear gloves, goggles, and a mask when handling mold.
Cleaning Solution:
Several commercial cleaning products are specifically designed for removing mold from grout, such as bleach-based cleaners or natural alternatives like vinegar and baking soda. Alternatively, you can create your own solution with equal parts water and hydrogen peroxide.
Scrub Brush:
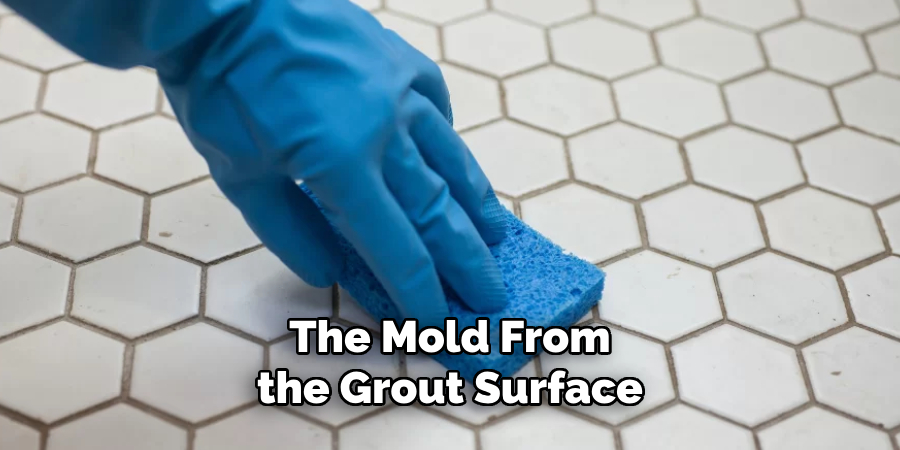
A stiff-bristled brush will help loosen and remove the mold from the grout surface effectively.
Grout Sealant:
To prevent future mold growth, consider applying a grout sealant once the area is clean and dry. This will create a protective barrier that makes it more challenging for mold spores to take hold again.
8 Steps on How to Remove Mold From Bathtub Grout
Step 1: Prepare the Area
Before you begin the mold removal process, it’s important to prepare the area to ensure safety and accessibility. Start by removing any items, such as shampoo bottles, soap dishes, or towels, from the bathtub area to prevent contamination or obstruction during cleaning. Open any windows or turn on the bathroom ventilation fan to help dissipate mold spores and reduce moisture levels.
Lay down old towels or a drop cloth on the bathroom floor to protect it from any cleaning solutions or mold debris. Lastly, put on your protective gear, including gloves, goggles, and a mask, to shield yourself from potential irritation and inhalation of mold particles. This preparation will create a safe and efficient working environment as you proceed with the remaining steps.
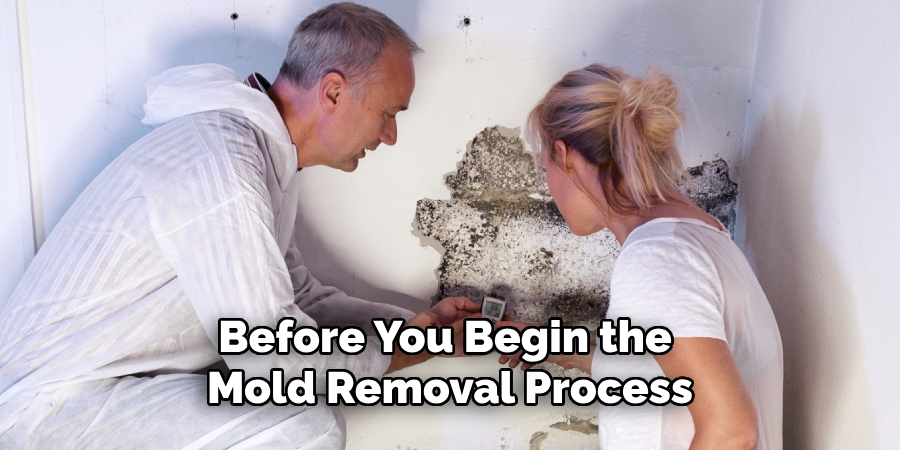
Step 2: Inspect the Grout for Mold Growth
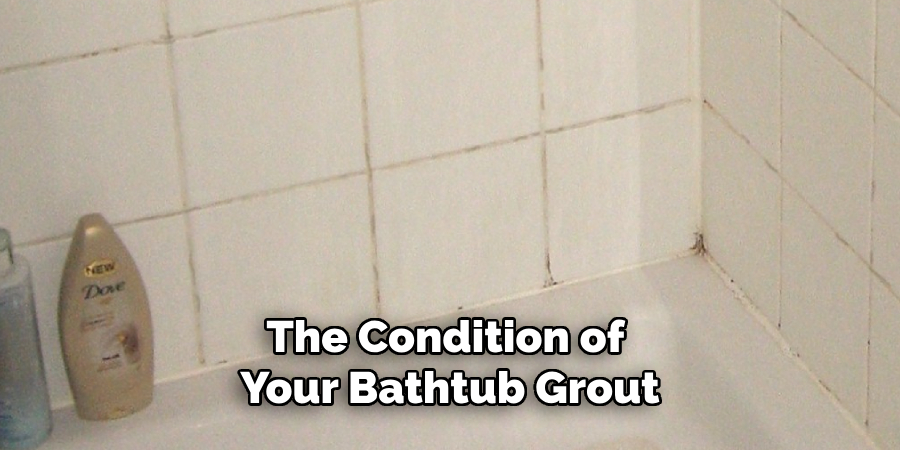
Carefully inspect the grout lines between tiles to identify any visible signs of mold, such as black or green discoloration. Keep in mind that mold can also grow on the underside of grout lines, so it’s crucial to check thoroughly. If you notice any visible mold growth, proceed with the cleaning process promptly.
The earlier you catch mold growth, the easier it will be to remove and prevent further spread.
Step 3: Create a Cleaning Solution
If you’re using a commercial cleaning product, follow the manufacturer’s instructions for dilution and application. If opting for natural alternatives, mix equal parts water and vinegar or create a paste with baking soda and water. For tougher mold stains, consider adding hydrogen peroxide to your solution.
The acidity of these solutions will help break down and remove the mold from grout surfaces.
Step 4: Apply the Cleaning Solution
Using a spray bottle or sponge, apply the cleaning solution to the affected areas. Make sure to saturate the grout lines thoroughly, ensuring full coverage of the mold growth. Allow the solution to sit for 10-15 minutes, giving it time to penetrate and loosen the mold.
Avoid using harsh scrubbing motions during this step, as it can spread mold spores and potentially damage your grout.
Step 5: Scrub Away Mold Growth
After allowing enough time for the cleaning solution to work its magic, grab your stiff-bristled brush and start scrubbing the mold away. Use circular motions and apply moderate pressure to loosen the mold from the grout surface.
For tougher stains, you may need to repeat this step or use a toothbrush for smaller, hard-to-reach areas.
Step 6: Rinse Thoroughly
Using clean water and a cloth or sponge, rinse away any remaining cleaning solution and loosen mold particles. Make sure to change out the water frequently to avoid reapplying mold debris back onto the grout lines.
Continue rinsing until all traces of mold have been removed from the area.
Step 7: Dry Completely
Once you’ve scrubbed and rinsed away all visible signs of mold, it’s crucial to dry the area completely. Use a clean towel or cloth to absorb excess moisture and allow the grout lines to air dry for at least 24 hours. Avoid using the bathtub during this time to prevent re-introducing moisture and prolonging the drying process.
It’s essential to ensure the grout is completely dry before applying a sealant to prevent future mold growth.
Step 8: Apply Grout Sealant
Once the area is thoroughly dry, consider applying a grout sealant to protect against future mold growth. Follow the manufacturer’s instructions for application and allow sufficient drying time before using the bathtub again.
Following these steps on how to remove mold from bathtub grout will help effectively remove mold from bathtub grout and prevent its return. Regular cleaning and maintenance of the grout, as well as controlling moisture levels in the bathroom, can also help prevent mold growth in the future. Remember to always wear protective gear and properly ventilate the area during the cleaning process to ensure your safety. So, be careful regarding this matter.
Additional Tips for Preventing Mold Growth
In addition to regular cleaning and maintenance, there are several other tips you can implement to prevent mold growth on bathtub grout.
- Keep a squeegee or towel handy near the shower or bathtub to wipe away excess moisture after use.
- Repair any leaks or water damage promptly to prevent moisture buildup in the bathroom.
- Use an exhaust fan or open windows when showering to reduce humidity levels in the bathroom.
- Avoid using caulk instead of grout in areas that are prone to moisture, as caulk can trap moisture and promote mold growth.
- Consider using a mold-resistant grout or sealant to prevent future mold growth.
By following these tips and regularly cleaning and maintaining your bathroom, you can help keep mold at bay and ensure a clean and healthy environment for yourself and your family. As a result, it is essential to take care of the condition of your bathtub grout constantly.
Frequently Asked Questions
Q: Can I Use Bleach to Clean Mold From Bathtub Grout?
A: While bleach may effectively remove mold, it can also damage grout and cause discoloration. It is not recommended for cleaning mold from grout. It is better to use natural alternatives or commercial products specifically designed for removing mold from grout.
Q: How Often Should I Clean My Bathtub Grout?
A: It is recommended to clean bathtub grout at least once a week to prevent mold growth. However, if you notice any signs of mold, it’s crucial to clean the affected areas immediately.
Q: Is Mold on Bathtub Grout Dangerous?
A: Yes, mold can be harmful and cause health issues such as respiratory problems and allergies. It’s important to address mold growth promptly and take preventive measures to avoid its return.
Q: Can I Use Steam Cleaning to Remove Mold From Bathtub Grout?
A: Yes, steam cleaning can be effective in removing mold from grout. However, it’s essential to follow the manufacturer’s instructions and use proper ventilation to avoid moisture buildup that can lead to further mold growth. So, make sure you take the necessary precautions when using this method.
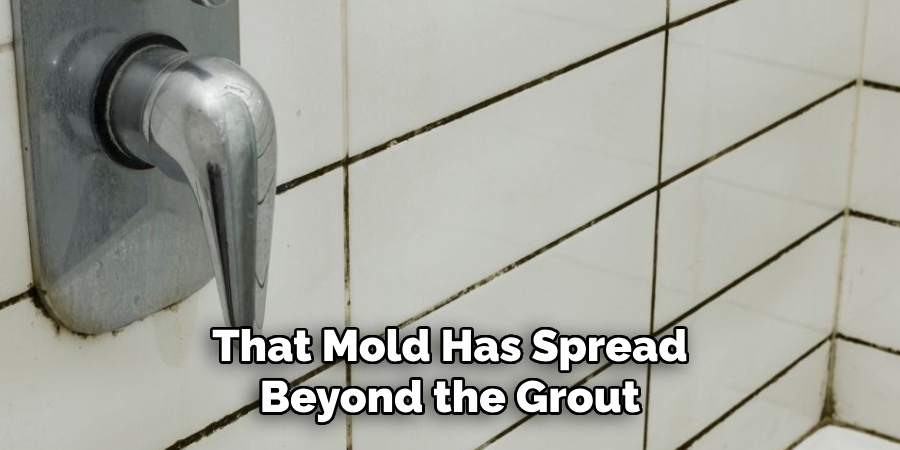
Q: How Can I Tell If Mold Has Spread Beyond the Grout Lines?
A: If you notice a musty or damp smell in your bathroom or see visible signs of mold on other surfaces such as walls or ceiling, it’s likely that mold has spread beyond the grout lines. In this case, it is best to consult a professional for proper removal and remediation. Remember to regularly inspect and clean all areas of your bathroom to catch mold growth early on.
Final Thoughts
Mold removal from bathtub grout may seem like a daunting task, but with these steps on how to remove mold from bathtub grout and proper preventative measures, you can keep your bathroom free of mold and maintain a safe and healthy living space. Remember to always prioritize safety by wearing protective gear and properly ventilating the area during the cleaning process.
Be sure to regularly inspect your grout for any signs of mold growth and address it promptly to prevent further spread. With proper care, you can keep your bathtub and bathroom looking clean and well-maintained for years to come.

