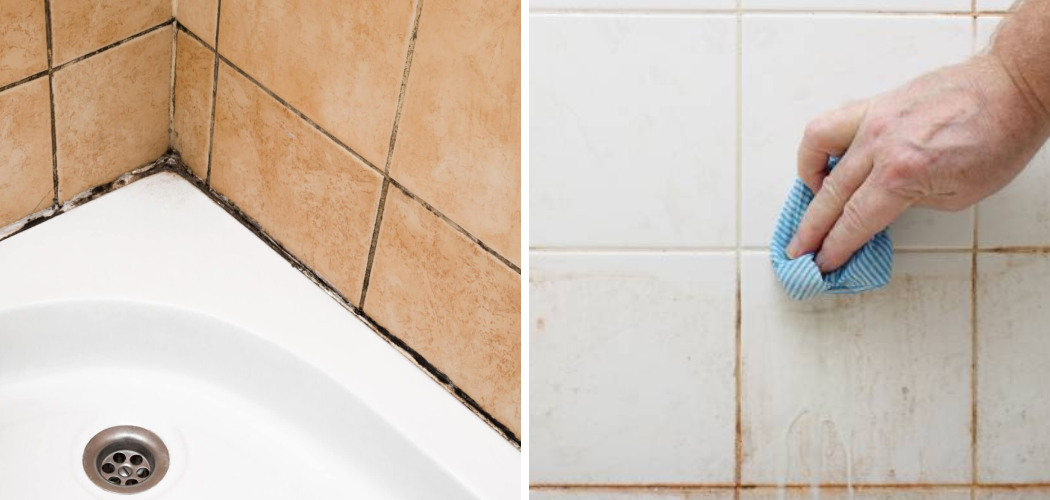
Are you tired of seeing black or brown spots on your bathroom grout? These unsightly spots are caused by mold, which thrives in damp and poorly ventilated areas. Not only is it unpleasant to look at, but mold can also cause health issues if left untreated.
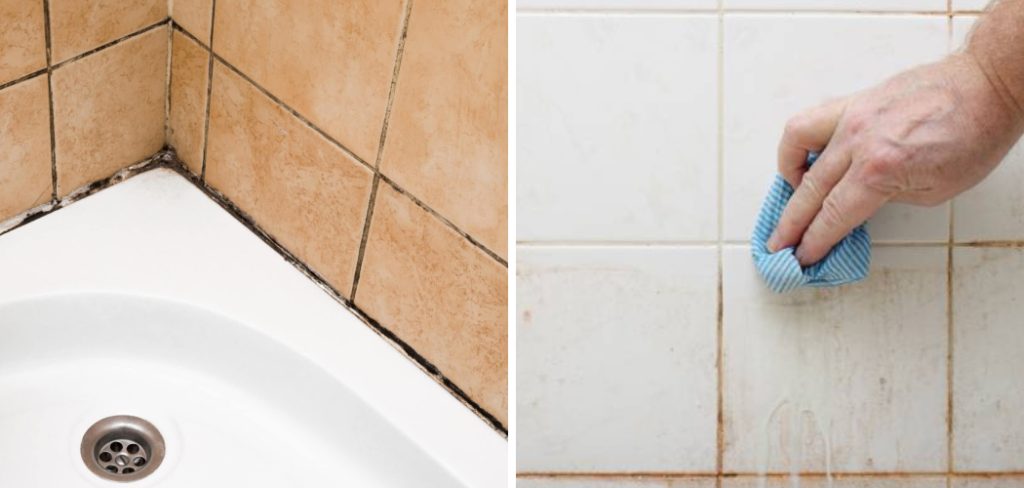
Mold can be a persistent and unsightly problem in bathrooms, particularly in the grout between tiles. It thrives in damp, humid environments, making your bathroom an ideal breeding ground.
Not only is mold unpleasant to look at, but it can also pose health risks, including respiratory problems and allergic reactions. Fortunately, removing mold from bathroom grout is a task that can be tackled with a few effective methods and the right materials.
In this guide on how to remove mould from bathroom grout, we will explore the step-by-step process to eliminate mould and restore your bathroom grout to its original clean and fresh condition.
What Are the Causes of Mold in Bathroom Grout?
Before we dive into the removal process, it’s important to understand what causes mold to grow in bathroom grout.
- Humidity: Bathrooms are often one of the most humid areas in a house due to hot showers and baths. The moisture in the air can easily get trapped between tiles, providing the perfect environment for mold growth.
- Poor Ventilation: Moist conditions linger longer without proper airflow, allowing mold to thrive.
- Leaks: Any leaks from fixtures or plumbing can create a damp environment for mold to grow.
- Lack of Cleaning: If you neglect regular cleaning and maintenance, mold can quickly take over your grout.
- Organic Materials: Mould feeds on organic materials like soap scum, which can build up in bathroom grout and provide a food source for mold to grow.
Now that we know the common causes of mould growth in bathroom grout, let’s discuss the steps for removing it.
What Will You Need?
Before you begin the process of removing mold from bathroom grout, make sure you have all the necessary materials. Some common items that you will need are:
- Rubber gloves
- Protective eyewear
- Respirator mask
- Bleach or hydrogen peroxide
- Baking soda and vinegar solution
- Scrub brush or toothbrush
- Old towel or cloth
- Bucket or spray bottle
To avoid inhaling mold spores, it is important to wear protective gear, such as gloves, eyewear, and a respirator mask. These items can easily be found at your local hardware store.
10 Easy Steps on How to Remove Mould From Bathroom Grout
Step 1. Prepare the Area
Start by preparing the area you will be working on. Remove any items such as shampoo bottles, soap dishes, or anything that might obstruct your access to the moldy grout. This will give you a clear workspace and ensure that the cleaning solutions are applied effectively to the targeted areas.

Step 2. Ventilate the Bathroom
Proper ventilation is essential when dealing with mold removal. Open any windows and doors to allow fresh air to circulate in the bathroom. This will help to dissipate any strong odors from the cleaning solutions and reduce the concentration of mold spores in the air. If you don’t have windows, consider using a fan to increase airflow during cleaning.
Step 3. Mix Your Cleaning Solution
Choose your preferred cleaning solution: either bleach or hydrogen peroxide. Both are effective in killing mold. You can opt for a baking soda and vinegar solution if you prefer a natural alternative.
For a Bleach Solution:
- In a well-ventilated area, take a bucket and mix one part bleach with ten parts water.
- Stir the solution well to ensure the bleach is adequately diluted.
For a Hydrogen Peroxide Solution:
- Fill a spray bottle with undiluted hydrogen peroxide.
- Optionally, you can add a few drops of an essential oil like tea tree oil to improve the scent and enhance its antifungal properties.
For a Baking Soda and Vinegar Solution:
- In a bucket, mix one cup of baking soda with one cup of water to form a paste.
- Separately, fill a spray bottle with white vinegar.
Ensure you mix these solutions carefully, especially if you are using bleach, to avoid harmful fumes. Never mix bleach with vinegar or any other acid, as this can produce toxic chlorine gas.
Step 4. Apply the Cleaning Solution
With your protective gear in place, it’s time to apply the cleaning solution to the moldy grout. Depending on the solution you have chosen, use the following methods:
For a Bleach Solution:
- Dip your scrub brush or toothbrush into the bleach solution.
- Apply the solution directly onto the moldy grout, ensuring thorough coverage.
- Allow it to sit for about 10–15 minutes to let the bleach work on killing the mold.

For a Hydrogen Peroxide Solution:
- Spray the hydrogen peroxide directly onto the moldy grout.
- Ensure that the grout is soaked adequately with the solution.
- Leave it on for at least 10 minutes to penetrate and kill the mold.
For a Baking Soda and Vinegar Solution:
- Use a brush to apply the baking soda paste onto the moldy grout.
- Once the grout is covered, spray the white vinegar over the baking soda paste.
- Allow the mixture to fizz and penetrate the grout for 10–15 minutes.
Applying the cleaning solutions properly ensures that the mold is effectively treated from its roots, making it easier to scrub away in the next steps.
Step 5. Scrub the Grout
After allowing the cleaning solution to sit and work on the mold, it’s time to scrub the grout. This step requires some elbow grease but is essential for effectively removing the mould.

- Using a scrub brush or an old toothbrush, vigorously scrub the grout lines where the cleaning solution was applied.
- Focus on the moldy areas, ensuring that you remove as much of the mold as possible.
- Periodically dip your brush in the cleaning solution to keep it effective while scrubbing.
- You might need to reapply the cleaning solution and repeat the scrubbing process for stubborn mold stains.
Scrubbing the grout thoroughly helps to dislodge and remove the mold remnants, restoring the grout to a cleaner state.
Step 6. Rinse the Area
Once you have thoroughly scrubbed the grout and removed the mold, it’s important to rinse the area to wash away any remaining cleaning solution and loosened mold particles.
- Use a clean towel or cloth soaked in warm water to wipe down the grout lines.
- Rinse the cloth or towel frequently to avoid spreading the mold or cleaning solution around.
- Alternatively, if you have a detachable showerhead, you can use it to rinse the grout lines directly with warm water.
- Ensure that you rinse all the applied cleaning solutions from the grout to prevent any residue buildup.
Rinsing the area well will help remove the last traces of mold and cleaning solution, ensuring your bathroom grout is clean and residue-free.
Step 7. Dry the Area
Properly drying the area after rinsing is crucial to prevent mold from returning. Mold thrives in damp environments, so ensuring the grout lines and surrounding areas are dry will help maintain a clean bathroom.
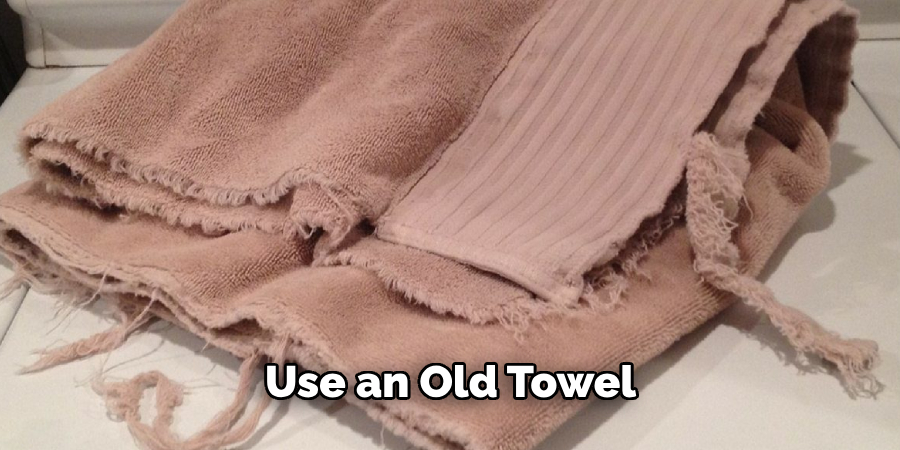
- Use an old towel or cloth to thoroughly dry the grout lines and any other surfaces that came into contact with the cleaning solution.
- Open windows or use a fan to increase air circulation and expedite drying.
- Consider using a dehumidifier in the bathroom to reduce moisture levels, especially if it is a high-humidity area.
- Ensure that all cracks and crevices are completely dry before using the bathroom again.
Ensuring the area is fully dry prevents mold from returning and keeps your bathroom environment safer and cleaner.
Step 8. Prevent Future Mould Growth
Preventing mold from returning is integral to maintaining a clean and healthy bathroom environment. Regular maintenance and proper preventative measures can effectively thwart mold growth.
- Clean Regularly: Make it a habit to clean your bathroom, especially grout lines, to prevent mold from settling in. Use a suitable cleaning solution at least once a week.
- Control Humidity: Monitor and maintain the humidity levels in your bathroom. Use dehumidifiers, ventilation fans, or open windows to keep the moisture levels in check.
- Fix Leaks Promptly: Ensure there are no leaks in the bathroom fixtures, such as sinks, showers, and toilets. Address any leaks immediately, as they can create a moist environment conducive to mold growth.
- Use Mould-Resistant Products: Use mould-resistant paint, caulk, and grout in the bathroom. These products have properties that help in preventing mold growth.
- Keep Surfaces Dry: After using the bathroom, wipe down wet surfaces such as walls, floors, and grout lines. This reduces the opportunity for mold to grow.
- Inspect Regularly: Regularly inspect the most likely areas for mold growth, including hard-to-see spots behind bathroom fixtures and inside cabinets.
By taking proactive steps to prevent mould, you can maintain a cleaner and healthier bathroom, reducing the frequency of extensive cleaning sessions.
Step 9. Dispose of Cleaning Supplies Safely
After completing the cleaning process, it’s crucial to manage and dispose of the cleaning supplies carefully to ensure that no mold spores spread to other areas.
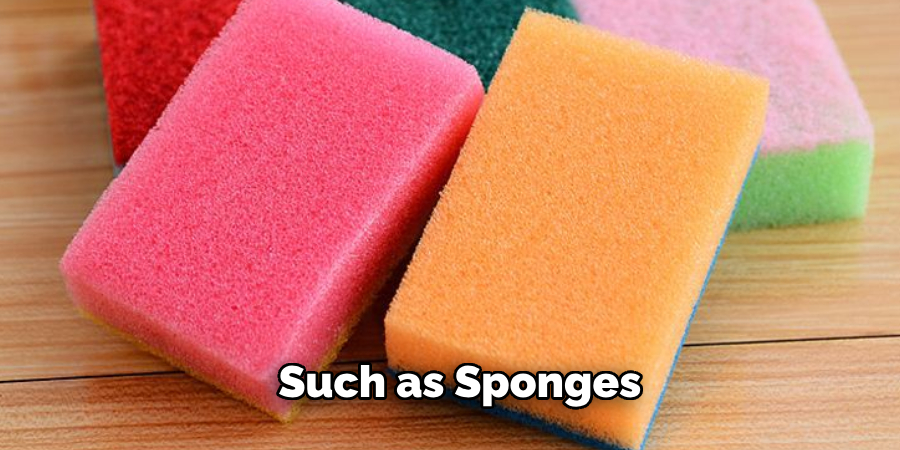
- Dispose of Single-Use Items: Place any single-use items, such as sponges, paper towels, or disposable gloves, that came into contact with the mould in a sealed plastic bag.
- Clean Reusable Tools: Thoroughly clean reusable items such as scrub brushes and buckets with hot water and a disinfectant solution. Allow them to dry completely before storing them away.
- Launder Cloths And Towels: Wash any towels or cloths used in the cleaning process in hot water with laundry detergent to kill any lingering mold spores. Dry them on a high heat setting.
- Handle Protective Gear: If you use reusable protective gear, clean it according to the manufacturer’s instructions to ensure it’s free from any mold spores.
- Wash Hands And Clothes: After handling mouldy items and cleaning solutions, wash your hands thoroughly with soap and water, and launder any clothes you wear during the cleaning process to prevent the spread of mold.
Proper disposal and cleaning of supplies ensure mold does not reappear and prevents it from contaminating other parts of your home.
Step 10. Monitor for Recurrence
Once the thorough cleaning and preventative steps are completed, monitoring the area regularly to catch any signs of mold recurrence early is essential.
- Inspect the Grout: Regularly examine the grout lines for any signs of mold reappearing, especially in areas that are frequently exposed to moisture.
- Check High-risk Areas: Pay extra attention to corners, crevices, and areas around bathroom fixtures, as these spots are prone to mold growth.
- Maintain Bathroom Cleanliness: Continue with regular bathroom cleanings, using mold-preventive cleaners to maintain a hygienic environment.
- Control Moisture: Follow humidity control measures, such as using a dehumidifier, ventilation fan, or opening windows after showers, to ensure the bathroom remains dry and well-ventilated.
- Act Quickly: If you notice any signs of mold, address it immediately following the previously outlined cleaning steps to prevent a larger infestation.
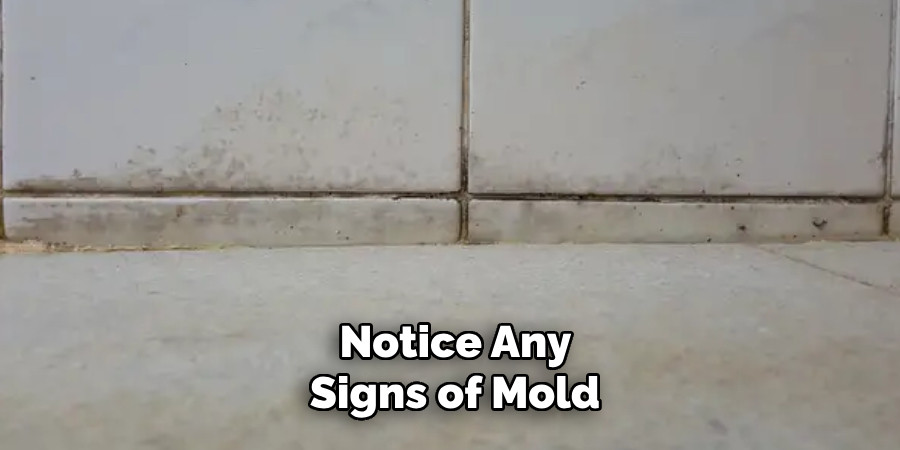
Regular monitoring and maintenance can help spot mold growth early, ensuring your bathroom remains clean and healthy.
By following these steps, you can effectively clean and prevent mold from reappearing in your bathroom.
5 Additional Tips and Tricks
- Use Baking Soda and Vinegar: Combine baking soda and water to create a paste and apply it to the grout. Spray vinegar over the paste and let it bubble for a few minutes before scrubbing and rinsing with warm water.
- Try Hydrogen Peroxide: Use a spray bottle to apply hydrogen peroxide directly to the moldy grout. Let it sit for ten minutes before scrubbing it with a brush to remove the mold.
- Utilize Tea Tree Oil: Mix a teaspoon of tea tree oil with a cup of water in a spray bottle. Spray the solution on the affected areas, let it sit for a few hours, and then wipe it clean.
- Opt for Chlorine Bleach: For tough mold stains, mix one part chlorine bleach with four parts water. Apply the mixture to the grout, wait for 15 minutes, and then scrub thoroughly before rinsing.
- Steam Cleaning: Renting or purchasing a steam cleaner can be a highly effective method. The high temperature and pressure of the steam can penetrate the porous grout, killing mold spores and removing dirt without harsh chemicals.
With these additional tips and tricks, you can keep your bathroom grout free from mold and maintain a clean, healthy environment.
5 Things You Should Avoid
- Avoid Mixing Bleach and Ammonia: Combining these two chemicals can produce toxic fumes that are extremely dangerous when inhaled. It’s essential to use one type of cleaner at a time and ensure the area is well-ventilated.
- Don’t Use Abrasive Tools: Scrub brushes with metal bristles or other abrasive tools can damage the grout, making it more susceptible to mold growth. Opt for nylon-bristled brushes instead to protect the grout’s integrity.
- Refrain from Excessive Water Usage: While water is necessary for cleaning, using too much can penetrate the grout and promote mold growth. Always dry the area thoroughly after cleaning to prevent excess moisture.
- Avoid Ignoring Ventilation: Poorly ventilated bathrooms are a breeding ground for mold. Ensure your bathroom is properly ventilated during and after cleaning by opening windows or using exhaust fans.
- Don’t Delay Cleaning: Procrastinating on cleaning mold can lead to extensive damage and tougher stains. Regular maintenance and promptly addressing mold growth can save time and effort in the long run.
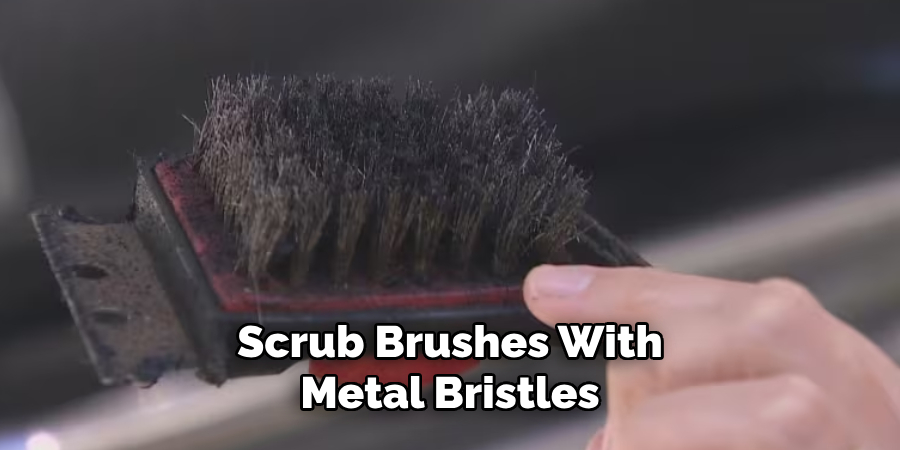
You can effectively remove and prevent mold from bathroom grout by avoiding these common mistakes.
What Are the Harmful Effects of Mould?
Mold can have a significant impact on both your physical health and the structural integrity of your home. Here are some harmful effects of mold:
- Respiratory Issues: Breathing in mold spores can irritate your respiratory system, causing symptoms like coughing, wheezing, and difficulty breathing. It can also trigger asthma attacks and allergies.
- Skin Irritation: Direct contact with mold can cause skin irritation, redness, and rashes.
- Headaches and Fatigue: Exposure to mold has been linked to frequent headaches and feelings of fatigue.
- Structural Damage: Mould can weaken the structure of your home by breaking down materials like drywall, wood, and insulation. This damage can be costly to repair and may compromise your home’s safety.
- Toxic Effects: Some types of mold produce mycotoxins that can have toxic effects when inhaled or ingested, leading to more severe health issues.
Addressing any signs of mould growth promptly is crucial to preventing these harmful effects and maintaining a safe and healthy living environment.
Conclusion
Successfully removing mold from bathroom grout involves a combination of thorough cleaning, preventative measures, and regular maintenance. By following the steps outlined, including using effective cleaning solutions and maintaining proper ventilation, you can eliminate mold and keep your bathroom grout clean and healthy.
Additionally, employing extra tips like using baking soda and vinegar or hydrogen peroxide can enhance your cleaning efforts.
Avoiding common pitfalls, such as mixing certain chemicals or using abrasive tools, is equally important in preserving the integrity of your grout. Regularly monitoring for mold and taking swift action at the first sign of regrowth will help ensure a long-term solution.
By incorporating these practices into your cleaning routine, you can maintain a mold-free bathroom and create a safer, more hygienic home environment.
Hopefully, the article on how to remove mould from bathroom grout has provided useful insights and tips to effectively tackle this common household issue. Happy cleaning!

