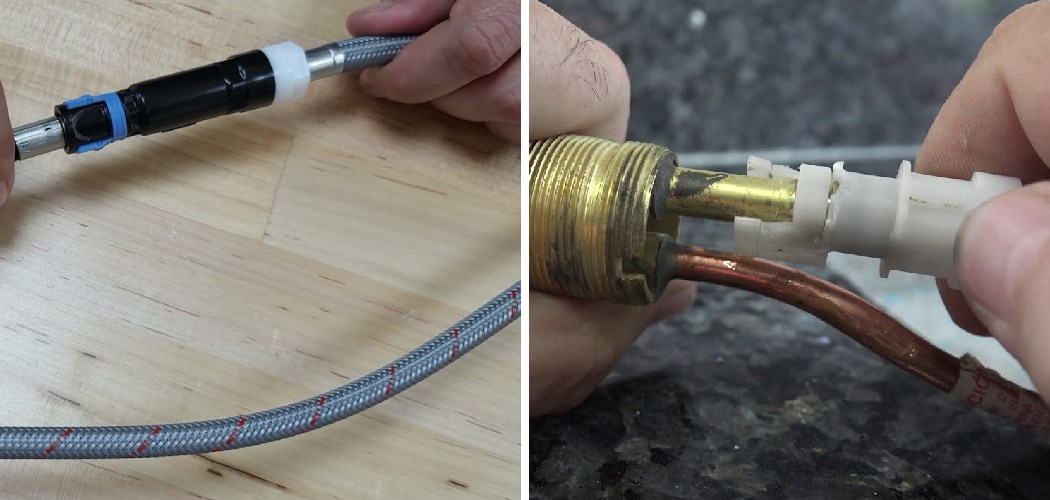
Removing a plastic faucet connector might seem like a daunting task, but with the right approach and tools, it can be accomplished smoothly and efficiently. Whether you’re replacing an old faucet or addressing a leak, understanding the process is crucial for a successful home plumbing project.
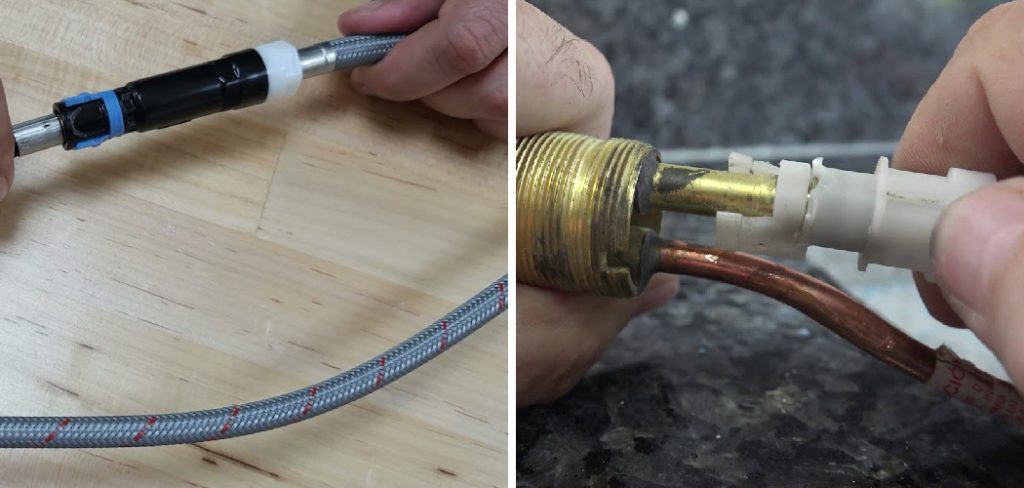
This guide on how to remove plastic faucet connector will walk you through the steps needed to safely and effectively remove a plastic faucet connector, ensuring that you avoid common pitfalls and achieve a reliable result.
What is a Plastic Faucet Connector?
A plastic faucet connector is a small, but essential component of your household plumbing. It connects the water supply line to the faucet, allowing for water to flow through and into your sink. These connectors are typically made from durable plastic materials and come in various sizes to fit different faucets.
It’s important to note that plastic faucet connectors are not meant to last forever. Over time, they can degrade and become damaged due to constant exposure to water and pressure. This is why knowing how to remove them is essential in maintaining your plumbing system.
Why Remove a Plastic Faucet Connector?
There are several reasons why you may need to remove a plastic faucet connector. Some of the common reasons include:
Replacing an Old or Broken Faucet With a New One:
If your current faucet is old, damaged or simply outdated, you may want to replace it with a new one. In this case, removing the plastic faucet connector is necessary in order to install the new faucet.
Fixing a Leak:
A leaking faucet can cause significant water waste and damage to your home. If the leak is coming from the connection between the water supply line and the faucet, removing and replacing the plastic connector can help resolve the issue.
Cleaning or Replacing Parts:
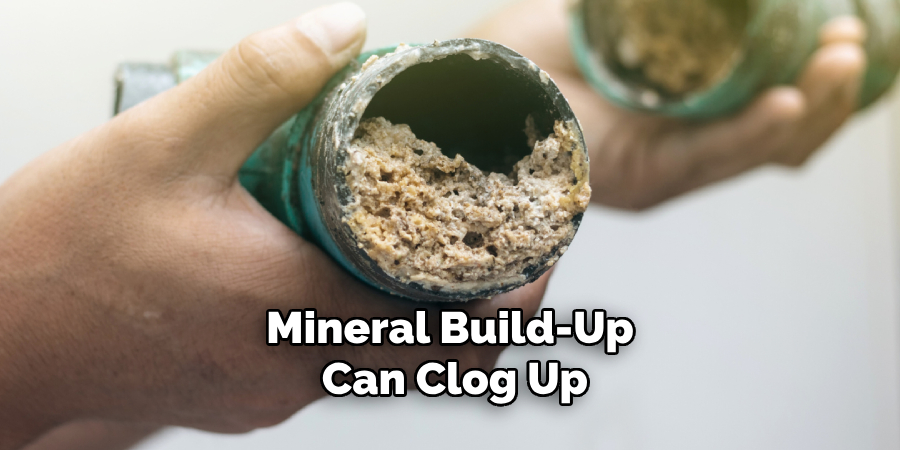
Sometimes, debris or mineral build-up can clog up your plastic faucet connector, affecting its performance. In such cases, removing and cleaning the connector or replacing it altogether can restore proper water flow.
Tools and Materials Needed
To remove a plastic faucet connector, you will need the following tools and materials:
Adjustable Wrench:
An adjustable wrench is essential for loosening and tightening the plastic faucet connector. Its adjustable jaws can be modified to fit different sizes of connectors, providing a secure grip without damaging the plastic. When using an adjustable wrench, make sure to turn it slowly and steadily to avoid cracking the connector or stripping the threads.
Pliers:
Pliers are useful for gripping and turning the faucet connector, especially if it is tight or difficult to remove. They can also help hold other components in place while you work.
Bucket or Towel:
A bucket or towel is helpful for catching any residual water that may leak out when you disconnect the faucet connector. This will keep your workspace clean and prevent water damage to surrounding areas.
Pipe Tape (Thread Seal Tape):
Pipe tape, also known as thread seal tape, is necessary for wrapping the threads of the new connector when you install it. This ensures a watertight seal and prevents leaks.
Safety Glasses:
Wearing safety glasses is important to protect your eyes from any debris or splashes that may occur during the removal process.

With these tools and materials on hand, you are ready to proceed with the step-by-step instructions for removing the plastic faucet connector.
7 Step-by-step Guidelines on How to Remove Plastic Faucet Connector
Step 1: Turn Off the Water Supply
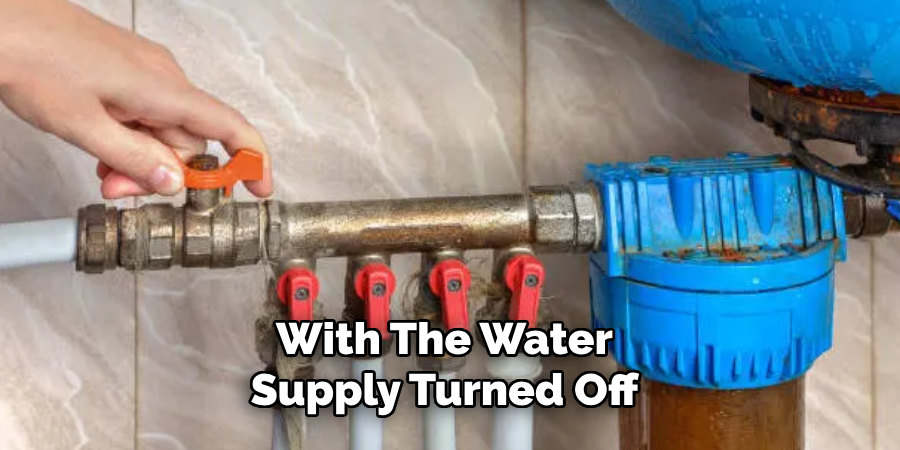
Before you start removing the plastic faucet connector, it’s crucial to turn off the water supply to prevent any unwanted leaks or water damage. Locate the shut-off valves under the sink; these are typically found where the water supply lines connect to the wall. Turn the valves clockwise until they are fully closed.
If you can’t find the individual shut-off valves, you may need to turn off the main water supply to your house. Once the water supply is securely turned off, open the faucet to release any remaining water in the lines and reduce pressure before proceeding to the next steps.
Step 2: Disconnect the Water Supply Line
With the water supply turned off and any residual water drained from the faucet, you can now proceed to disconnect the water supply line.
Position your bucket or towel underneath the connector to catch any remaining water that might spill out during this step. Using an adjustable wrench, gently loosen the nut that secures the water supply line to the plastic faucet connector. Turn the wrench counterclockwise until the nut is free.
Once loosened, carefully pull the water supply line away from the connector. If it feels stuck, apply a bit more pressure carefully, but avoid using excessive force that could damage the line or connector. If needed, use pliers to get a better grip.
Once the water supply line is disconnected, set it aside, and you are ready to move on to the next step.
Step 3: Loosen the Nut Connecting the Connector to the Faucet
The next step is to disconnect the plastic faucet connector from the faucet. Using an adjustable wrench, loosen and remove the nut that holds the connector in place. Similar to removing the water supply line, turn the wrench counterclockwise until it’s free.
If you encounter any resistance, try using pliers for a better grip or applying some penetrating oil to help loosen any stuck components. Once again, avoid using excessive force as this could cause damage. Once loosened, carefully pull off the plastic faucet connector from its base on top of the faucet.
Step 4: Clean the Area
With the plastic faucet connector removed, take a moment to thoroughly clean the area where the connector was attached.
Use a clean cloth to wipe away any debris, dirt, or mineral build-up that may have accumulated. It’s essential to have a clean, smooth surface to ensure a proper fit and seal when installing the new connector.
If you notice any stubborn deposits, you might need to use a mild cleaner or vinegar to dissolve mineral buildup. Once the area is clean and dry, you can proceed with installing the new plastic faucet connector, ensuring a leak-free and secure connection.
Step 5: Prepare the New Plastic Faucet Connector
Before attaching the new plastic faucet connector, it’s essential to prepare it properly to ensure a secure and leak-free fit. Start by wrapping the threads of the new connector with pipe tape (thread seal tape).
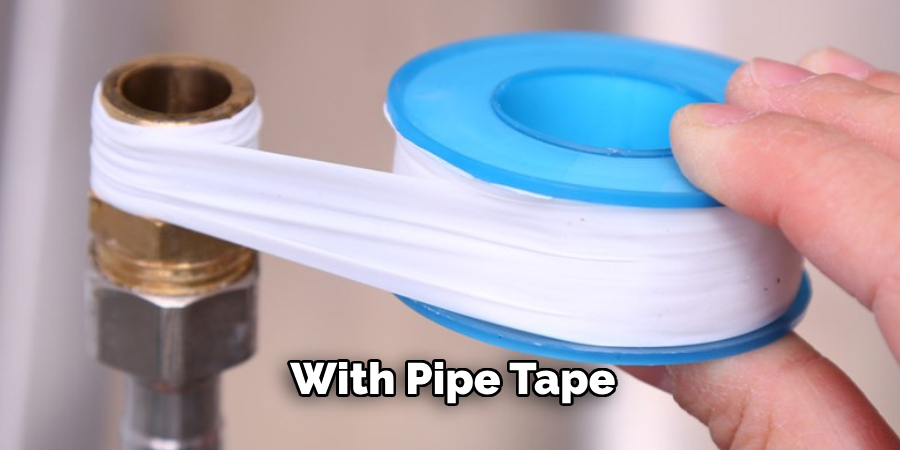
Hold the connector steady and wrap the tape in a clockwise direction, ensuring that you cover the threads evenly with two to three layers of tape. This will help create a watertight seal and prevent any potential leaks.
After wrapping the threads, inspect the connector to ensure no debris or damage is present. Once you’re confident that the new connector is ready and properly wrapped, you’re prepared to move on to the installation.
Step 6: Attach the New Connector to the Faucet
Carefully place the new plastic faucet connector onto its base on top of the faucet. With one hand holding the connector in place, use your other hand to start threading and tightening the nut that holds it down. Use an adjustable wrench to secure the nut tightly, but avoid over-tightening, which could cause damage or leaks.
Once firmly attached, turn on the water supply to check for any potential leaks around the new connector. If you see any drips or signs of leakage, make sure to tighten any loose connections until everything is secure and dry.
Step 7: Reconnect the Water Supply Line
The final step is to reconnect the water supply line to the new plastic faucet connector. Carefully align the line with the connector and hand-tighten the nut onto its threads. Use an adjustable wrench if needed, but avoid over-tightening as this could cause damage or leaks.
Once securely attached, turn on the water supply and open the faucet to check for any potential leaks or problems. If everything looks good, you have successfully removed and replaced your plastic faucet connector!
Following these step-by-step guidelines on how to remove plastic faucet connector will ensure a smooth and successful removal process for your plastic faucet connector. Remember to always prioritize safety by wearing appropriate gear and taking necessary precautions throughout the process.
With a bit of patience and careful attention, you can complete this task with ease an you’ll be one step closer to a functioning faucet! Happy DIY-ing!
Conclusion
Replacing a plastic faucet connector might seem like a daunting task, but with the right tools and a systematic approach, it can be done efficiently and effectively.
By carefully following each step on how to remove plastic faucet connector—turning off the water supply, disconnecting and removing the old connector, cleaning the attachment area, preparing and installing the new connector, and finally reconnecting the water supply line—you ensure a secure and leak-free fit.
Always remember to prioritize safety by using appropriate gear and taking necessary precautions. A little patience and attention to detail can go a long way in achieving a smoothly functioning faucet. With these guidelines, you’re well-equipped to tackle this DIY project confidently and with excellent results. Happy DIY-ing!

