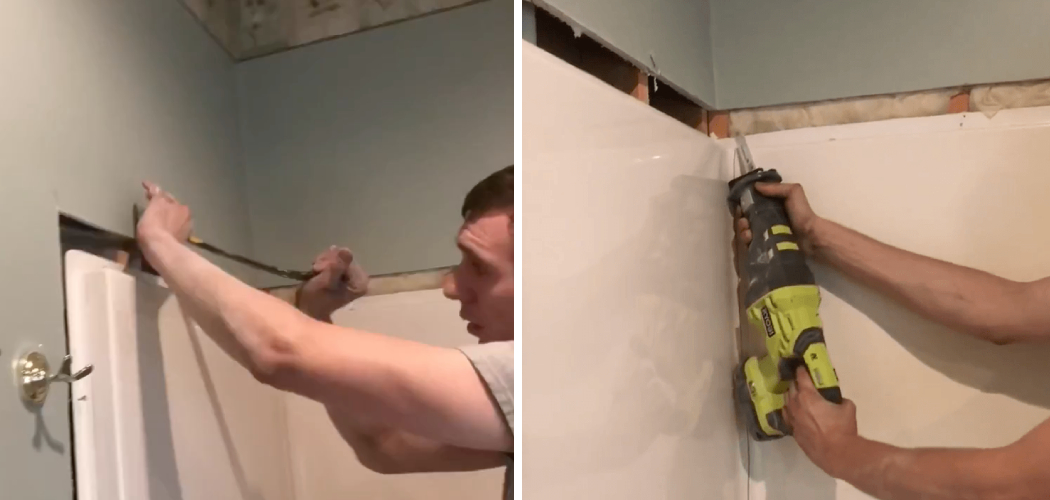
Do you want to replace the plastic shower walls in your bathroom but need to know how? Removing and replacing old plastic shower walls can be a daunting task.
But, with a few simple tips and precautions, it can be done quickly and safely. In this blog post, we’ll walk you through every step – from assessing the damage to your existing wall material to choosing the right replacement for your home.
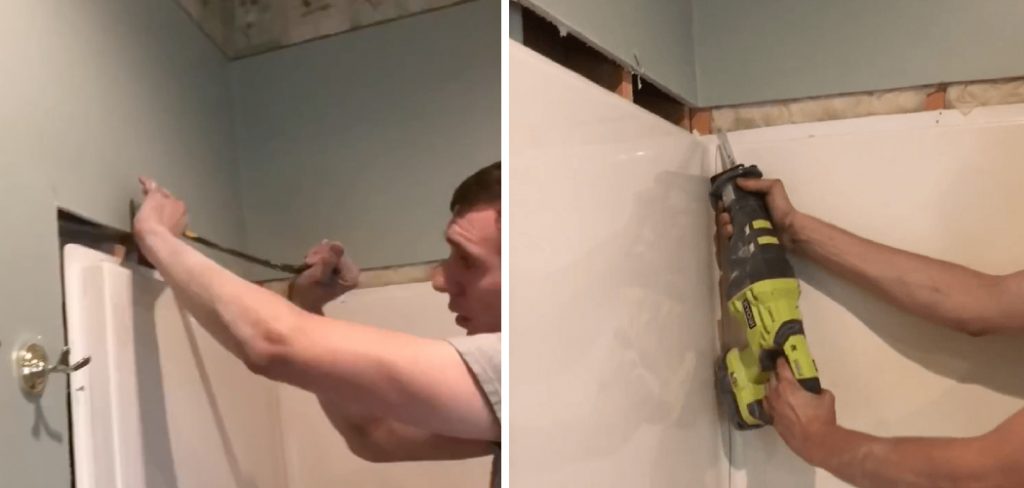
With a few simple tricks and tools, you will soon find a beautiful clean slate ready for whatever customization project or design refresh you’re looking to implement. Whether you want to replace them with ceramic tiles or give your bathroom a facelift, removing those pesky plastic shower walls is the first step in completing your dream reno project.
Read on for more helpful tips and advice on how to remove plastic shower walls!
What Will You Need?
Before you start the removal process, taking stock of your supplies is important. You’ll need a few items that can be found at any hardware store:
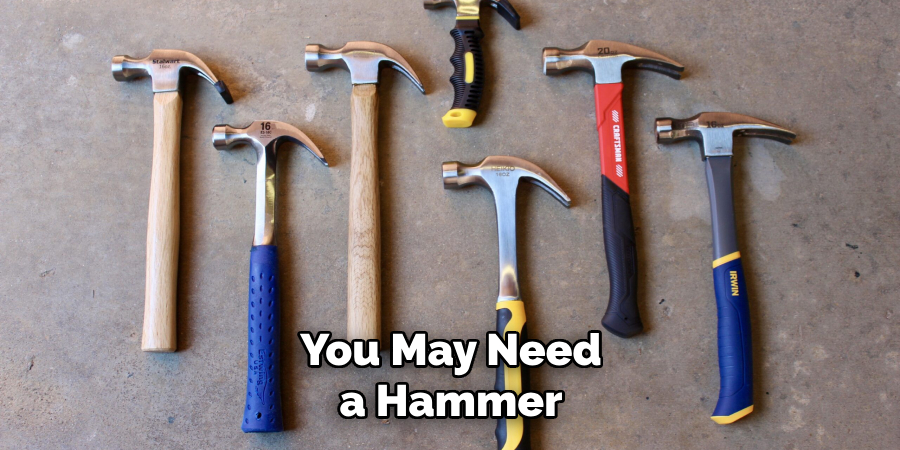
- A hammer and chisel
- Pliers
- Screwdriver (Phillips or regular)
- Safety goggles and gloves
- An adhesive remover (if necessary)
- Replacement material of your choice
Once you have these items, it’s time to get started!
10 Easy Steps on How to Remove Plastic Shower Walls
Step 1. Use Safety Gear:
Put on your safety gear. No matter what type of project you’re tackling, taking the necessary safety precautions is always important. Wearing protective gloves and goggles will help protect you from any dust or debris created while removing the shower walls.
Step 2. Check for Damage:
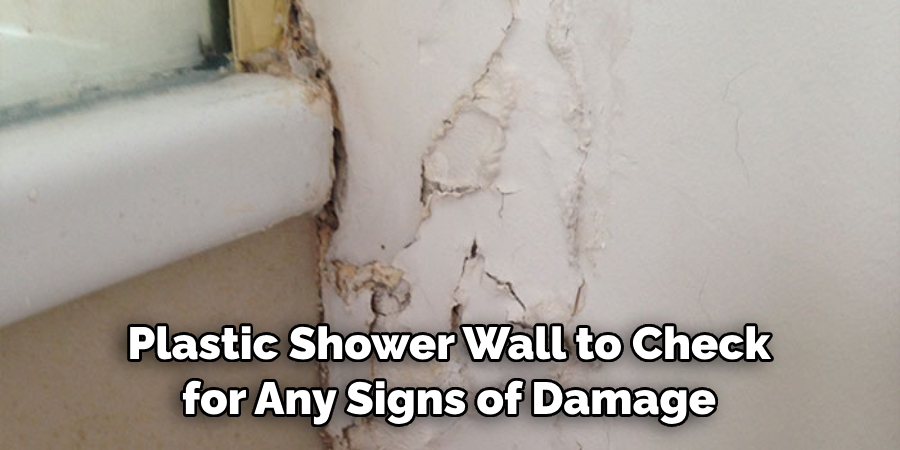
Examine your existing plastic shower wall to check for any signs of damage that may need to be addressed before removal. Look for cracked or loose tiles, sagging seams, discoloration, and mold or mildew spots. Fix any issues before moving on to the next step.
Step 3. Remove Caulking:
Using a screwdriver, carefully remove any caulking between the wall and frame around the perimeter of the shower stall. If necessary, use an adhesive remover to remove stubborn caulk residue. Be sure to use caution, as these products may be flammable.
Step 4. Remove the Screws:
Remove the screws holding the plastic shower wall in place using a Phillips or regular screwdriver. Keep your finger on the casing so it doesn’t fall as you unscrew it. Work from top to bottom and use caution when loosening bolts, as they may be tight or eroded over time.
Step 5. Lift the Wall:
Once all the screws have been removed, carefully lift it up and away from its frame to free it from its fixtures. You may need an extra set of hands to help hold and support the wall while you move it out of place. Be careful not to damage any existing plumbing or electrical components as you do this.
Step 6. Disconnect the Water Pipe:
If the plastic shower wall is connected to a water pipe, you must disconnect it before attempting to obliterate it. To do this, loosen the compression nuts on either side of the connection and gently pull them apart with your pliers. Use a wrench or adjustable wrench to help loosen any stubborn fittings.
Step 7. Remove Remaining Pieces:
Once all the connections have been removed and undone, you can remove any remaining pieces of plastic from the frame or flooring around the shower stall. You may need a hammer and chisel to break away any stubborn sections that are still attached to its mountings. It is important to be careful and precise when working with tools like this.
Step 8. Clean the Area:
Once all of the plastic pieces have been removed, it’s time to clean up the area and make sure that no residue or debris is left behind.
Use a vacuum cleaner and a damp cloth to remove any remaining dust or dirt particles before moving on to the next step. If you have stubborn areas that won’t come clean, use a mild scrubbing solution and an old toothbrush to remove the dirt.
Step 9. Install New Wall Material:
Now that you’ve successfully removed your old plastic shower wall, it’s time to install new material. Choose whatever type of wall material you desire – from ceramic tile to glass blocks – and follow the manufacturer’s instructions for proper installation techniques.
Step 10. Reinstall Caulking:
Finally, use your caulk gun to reinstall caulking around the perimeter of the shower stall to ensure a watertight seal. This will help keep your new wall material pristine for years. Remember, it’s important to use a high-quality caulk that is made specifically for bathrooms.
Congratulations! You’ve just easily removed and replaced an old plastic shower wall. With a few simple tools and supplies, you can now enjoy a fresh, modern look in your bathroom- without all the fuss and mess. Happy renovating!
5 Additional Tips and Tricks
- Start by scrubbing the walls with a sponge and soapy water to dislodge any stubborn dirt or grime.
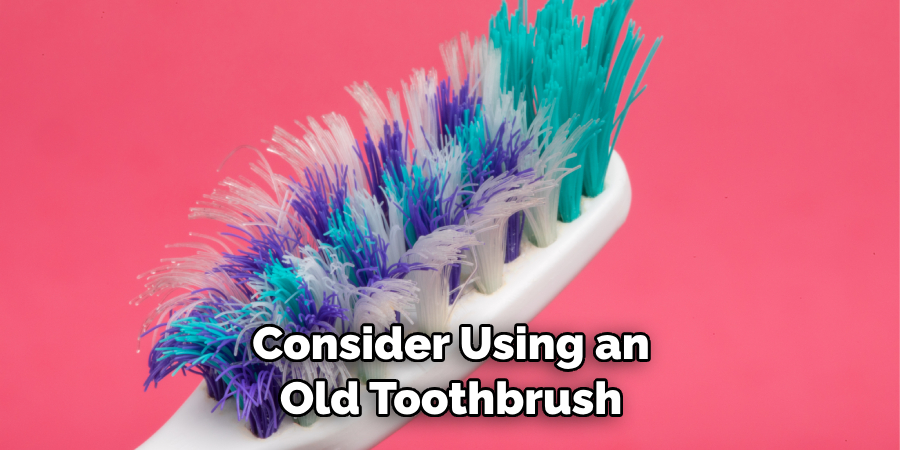
- Consider using an old toothbrush to get into hard-to-reach areas and scrub away any mildew or stubborn dirt.
- For tougher stains, try using a mixture of baking soda and water to create a paste that you can apply directly onto the wall and gently rub with a sponge until it has been removed.
- After you have finished scrubbing, rinse the walls off with warm water to ensure all soapy residue is gone before drying them with an old towel or rag.
- Once dry, use a plastic sealant to protect the walls from future damage and keep them looking their best! This will also make them easier to clean in the future.
With these tips and tricks in mind, removing plastic shower walls should be easy!
5 Things You Should Avoid
1. Avoid using any harsh chemicals as they could damage the plastic.
2. Don’t try to use abrasive materials like steel wool or scrubbing pads, as they can scratch the walls and weaken their structure over time.
3. Be sure not to leave any soapy residue behind, which can cause mold and mildew buildup on your walls.
4. Refrain from using a power washer or pressure washer to clean your shower walls, as the high-pressure water may damage them further or lead to cracks in the surface of the plastic.
5. Wait to apply sealant after everything has been thoroughly dried, otherwise, it will not be effective!
By following these tips and tricks, you can ensure that your plastic shower walls are safe and clean for years to come.
Can You Tile a Plastic Shower Wall?
While it is possible to tile over plastic shower walls, it requires a certain level of skill and experience. You should consult with an experienced professional before attempting this process yourself, as many steps require precision for a successful installation. Additionally, you may need special tools and adhesive to ensure the tiles remain firmly attached and don’t fall off after time.
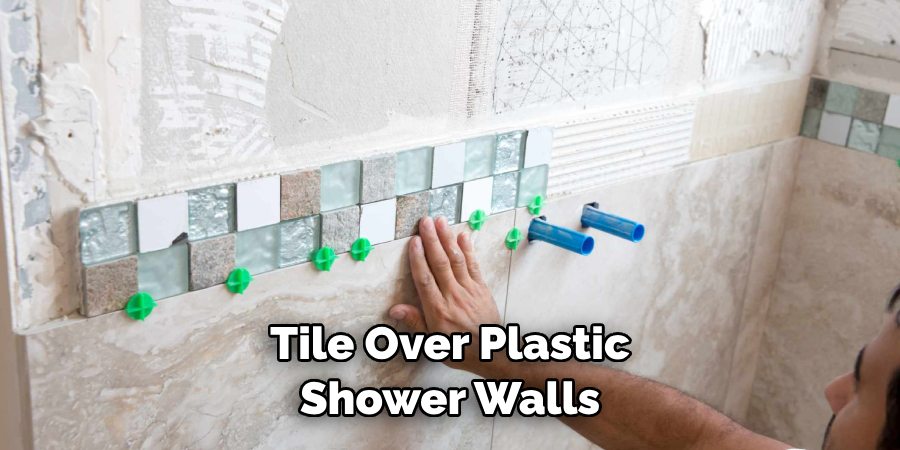
Remember, when removing plastic shower walls or updating them with tile, always exercise caution and consult a professional when necessary. With the right steps taken, your shower walls will look great and last for years.
Following these tips and tricks, you can successfully remove your plastic shower walls and keep them looking their best!
How Do You Remove Shower Wall Panels Without Damaging Them?
Removing shower wall panels without causing any damage requires careful attention and the right tools. Start by loosening the caulking around the edges of the panel with a utility knife or razor blade.
Use a putty knife to slowly pry up one corner of the panel and gently pull it out, supporting its weight as you do so. Once removed, use an old toothbrush and soapy water to scrub away any dirt or grime buildup before disposal.
Lastly, clean off any remaining adhesive on both sides of the wall with white vinegar before re-caulking. With these steps considered, you can easily remove shower wall panels without damaging them.
Following these simple tips and tricks, you can easily and safely remove plastic shower walls. So don’t delay – start removing your shower walls today! With the right steps taken, you’ll be sure to have a clean and fresh-looking shower in no time.
Conclusion
Now that you have a better understanding of how to remove plastic shower walls safely and effectively, you can make your decision on the best way to go about it. Remember that each installation is different, so while some methods might work for one setup, they could cause damage to another. If you still need clarification, contact a professional who can provide specific guidance.
The goal is always to preserve your investment while ensuring safety is maintained throughout the process. Consider every option available before deciding on the best route forward, and feel free to seek extra advice if needed.
Let this blog post be your guide as you embark on this important task, ensuring that by the end of it all, your bathroom shines brighter than ever!

