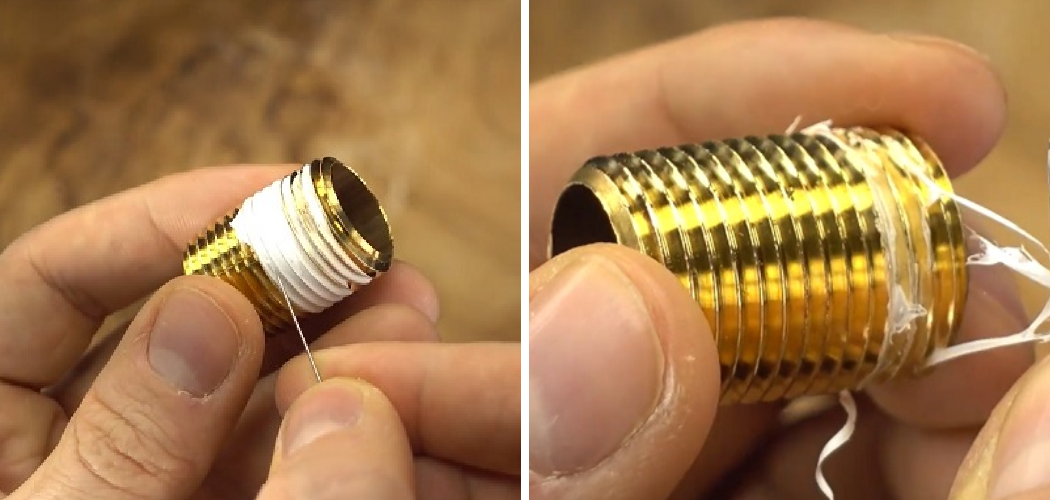
Plumber’s tape, commonly known as Teflon or PTFE tape, is a vital material used extensively in plumbing to ensure a tight seal between threaded pipe joints, thus preventing leaks. This thin, white tape is wrapped around the threads of pipes and fittings to create a water-tight barrier. However, before applying a new plumber’s tape or undertaking any repairs, it is important to remove the old tape. Failure to do so can result in an ineffective seal and potential leaks. The process of how to remove plumbers tape involves careful steps to avoid damaging the threads while ensuring all residue is eliminated.
This guide will provide detailed instructions on gathering necessary tools, preparing the area, and executing the removal process efficiently. Understanding and following this process will help ensure a secure and leak-free installation.
Gathering Necessary Tools and Materials
Tools Needed
To effectively remove plumber’s tape, you will need:
- Utility Knife or Razor Blade: For cutting the tape.
- Pliers: To help peel the tape away.
- Wire brush or Old Toothbrush: For scrubbing residue off the threads.
- Cleaning Solution: Such as rubbing alcohol or soap and water, to help dissolve the tape.
Safety Precautions
Before starting the tape removal process, observe the following safety precautions:
- Wearing Gloves: To protect your hands from sharp tools and cleaning solutions.
- Ensuring a Clear and Safe Workspace: Remove any obstructions around the pipe or fixture and ensure adequate lighting to avoid accidents.
Preparing the Area
Turning Off the Water Supply
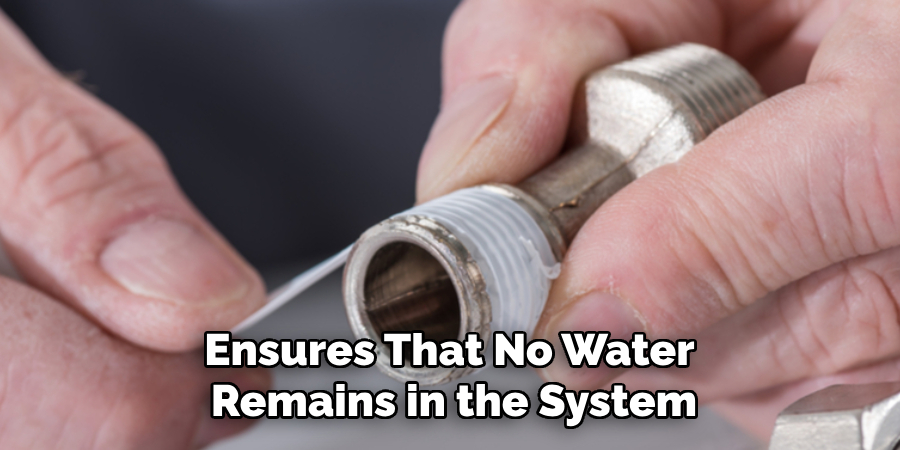
Before attempting any work on the pipes, shutting off the water supply to the pipe or fixture is crucial. This can usually be done by locating the shut-off valve and turning it clockwise until it stops. Once the water supply is shut off, relieve any remaining pressure in the pipes by opening a nearby faucet or valve. This ensures that no water remains in the system, making it safer and easier to work on the plumbing.
Clearing the Work Area
Remove any objects or obstructions around the pipe or fixture you will be working on to ensure a smooth and safe working environment. Clear the immediate area of any tools, cleaning products, or other items that may get in the way. Additionally, make sure the workspace is well-lit. Adequate lighting is crucial for visibility and helps prevent accidents, allowing you to see the threads clearly as you remove the plumber’s tape.
How to Remove Plumbers Tape: Removing the Plumber’s Tape
Cutting Away Excess Tape
Begin removing the plumber’s tape by carefully cutting away the excess using a utility knife or razor blade. Position the blade at the point where the tape starts, and make shallow cuts to ensure you do not damage the threads underneath. If necessary, score the tape along its length, making multiple light passes to avoid applying excessive pressure.
It is important to be meticulous during this step, as any nicks or scratches to the threads can compromise the integrity of the pipe joint, leading to potential leaks or the need for additional repairs. Once the tape is adequately cut, you can move on to the next step with confidence that the underlying threads are intact.
Peeling Off the Tape
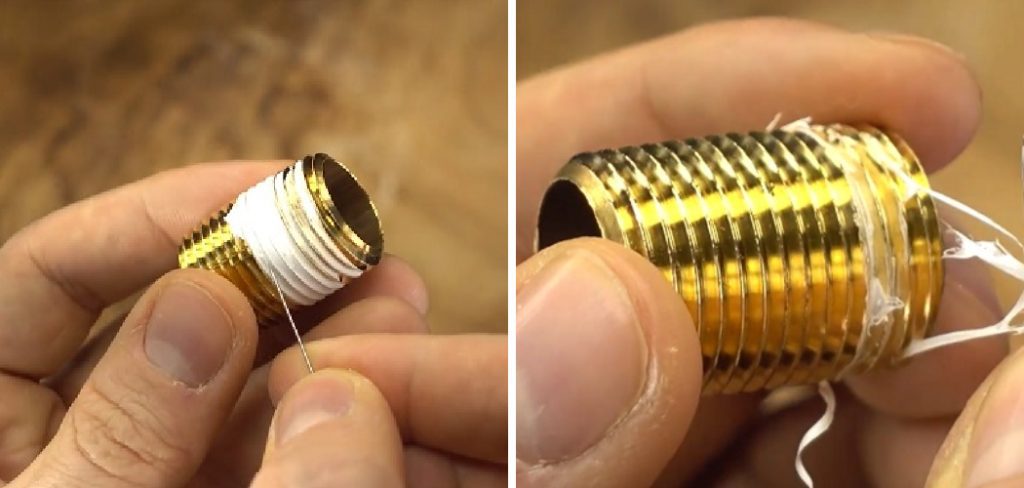
With the tape cut, use your fingers or a pair of pliers to begin peeling it away from the threads. Start at the edge where the cut was made, and gently lift the tape. Slowly and steadily work around the pipe, continuously peeling off the tape. The goal is to remove as much of the tape as possible in one piece to make the subsequent cleaning steps easier.
Working slowly and carefully minimizes the risk of breaking the tape into smaller fragments, which can complicate the removal process. Should you encounter any resistance or particularly stubborn sections, use the pliers to gently pull these pieces free without damaging the threads. Patience is key to removing the old plumber’s tape efficiently and thoroughly.
Cleaning the Threads
After the bulk of the tape has been removed, cleaning the threads to eliminate any remaining residue is essential. Take a wire brush or an old toothbrush and scrub the threads vigorously. The bristles will help dislodge any tape fragments still clinging to the pipe. Make sure to work thoroughly, covering all areas of the threads to ensure no residue is left behind.
For particularly stubborn tape residue, apply a cleaning solution such as rubbing alcohol or a mixture of soap and water to the threads. The cleaning solution can help dissolve any residual tape, making removing it easier. Dip the brush into the solution and continue scrubbing the threads, ensuring you get into all the crevices. Regularly rinse the brush in the solution to remove accumulated tape fragments and residue.
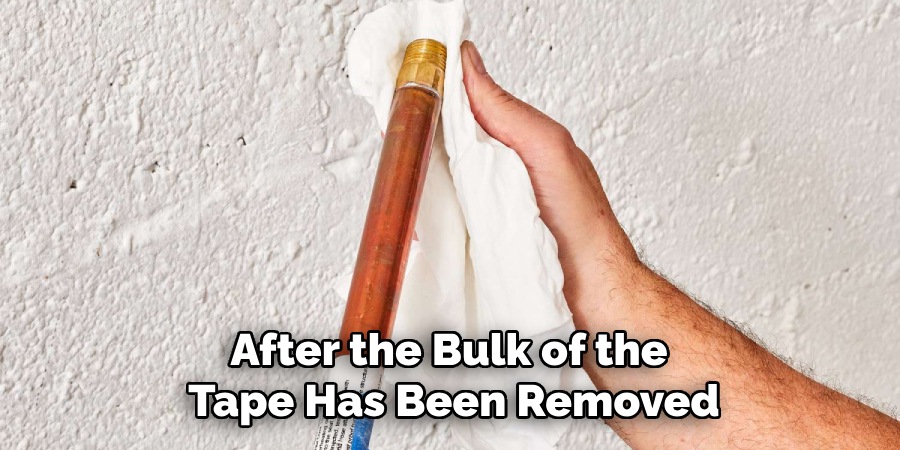
Once you are confident that the threads are clean, take a dry cloth and wipe them thoroughly to remove any leftover moisture or cleaning solution. Inspect the threads closely to ensure no remnants of the old tape, as any residue could interfere with properly applying the new plumber’s tape and creating a tight seal. Clean, dry threads will ensure the new tape adheres properly and provides an effective barrier against leaks.
Inspecting and Preparing for Reinstallation
Inspecting the Threads
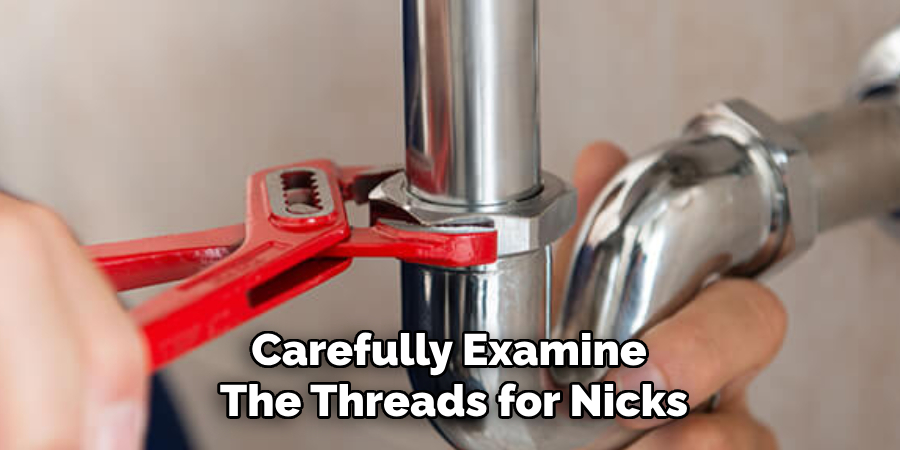
Before applying a new plumber’s tape, it is crucial to inspect the threads for any damage or signs of wear. Carefully examine the threads for nicks, scratches, or any other imperfections that could interfere with creating a tight seal. Running a fingertip gently over the threads can help in identifying subtle damages that may not be immediately visible. Ensuring that the threads are clean, smooth, and free of debris is essential for the effective adhesion of the new plumber’s tape and to avoid potential leaks or the need for further repairs.
Drying the Area
After ensuring the threads are in good condition, the next step is to dry the area completely. Use a clean, dry cloth to wipe down the threads and the surrounding area. Any moisture left behind can compromise the effectiveness of the new tape application, leading to potential leaks. Carefully go over all the nooks and crannies of the threaded sections to ensure thorough drying. It is important that the threads and the immediate environment are completely dry before applying the new plumber’s tape or proceeding with any additional repairs. This precautionary step helps ensure a secure and leak-free installation.
Applying New Plumber’s Tape
Choosing the Right Tape
Selecting the appropriate plumber’s tape, or PTFE tape, is crucial for ensuring a reliable seal. High-quality PTFE tape comes in various types, each suited for different applications. Standard white PTFE tape suits most water pipes and fittings, while yellow gas-rated PTFE tape is designed for gas lines. Choosing the right type of tape for your specific needs is essential to guarantee a leak-free connection. Additionally, ensure the tape’s width matches the size of the threads you are working on. A tape that is too wide or too narrow may not adhere properly, compromising the integrity of the seal.
Applying the Tape Correctly
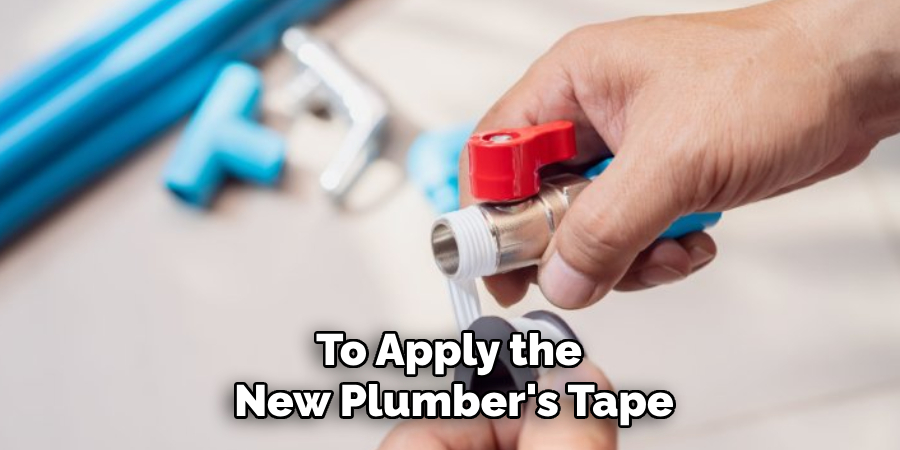
To apply the new plumber’s tape, begin by positioning the tape at the end of the threads. Wrap the tape clockwise around the threads, as this direction ensures that the tape will not unwrap when the fitting is tightened. Apply the tape with slight tension, overlapping each wrap to cover the threads evenly. Typically, three to four wraps are sufficient to create an effective seal. Be careful not to overwrap, as too much tape can cause threading difficulty and potentially lead to leaks. Once the threads are well-covered, proceed with reassembling the pipe or fixture as needed.
Conclusion
Properly handling the process of how to remove plumbers tape is crucial for maintaining the integrity of your plumbing connections. Starting with cutting the tape carefully to avoid damaging the threads and then peeling off the tape slowly and meticulously ensures that the threads remain intact. Thoroughly cleaning the threads with a wire brush and a suitable cleaning solution removes any lingering residue, paving the way for effective reinstallation. The final inspection and complete drying of the area prepare the threads for the application of the new plumber’s tape, ensuring a secure and leak-free connection.
Understanding the importance of both tape removal and reapplication is key to achieving an effective seal that prevents leaks and extends the longevity of the plumbing fixtures. Regular maintenance, including periodic checks and tape replacement, helps maintain reliable connections and prevents potential plumbing issues. By mastering these steps, you can ensure the durability and dependability of your plumbing system.

