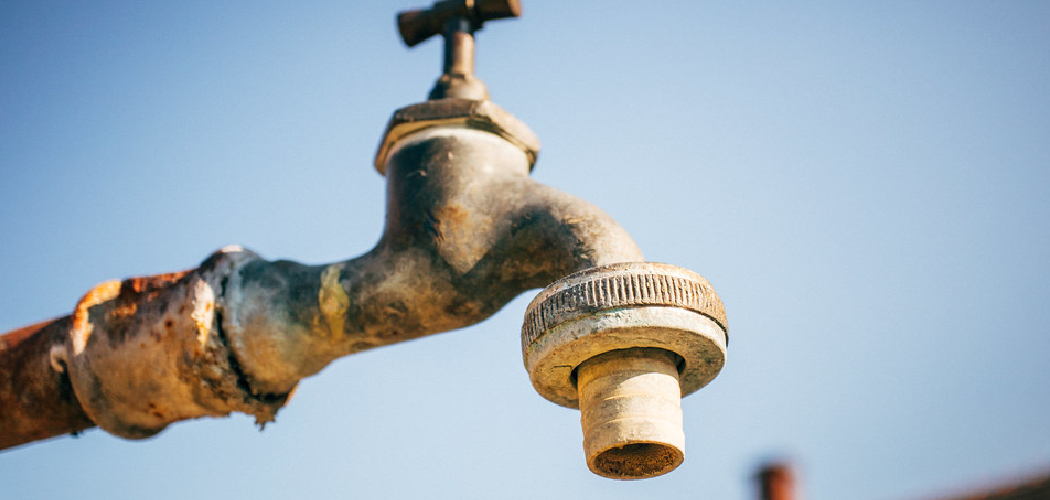
Are you tired of seeing rust in your tap water? Do you want to learn to remove it and have clean, clear water? Look no further, as we have compiled a comprehensive guide on removing rust from tap water.
Rust in tap water can be frustrating and concerning, often leading to discoloration, unpleasant taste, and potential damage to household appliances. This problem typically arises from aging pipes or high iron content in the water supply. How to remove rust from tap water is essential not only for improving its appearance and taste but also for ensuring safety and prolonging the lifespan of your plumbing and fixtures.
Fortunately, several methods and tools are available to help eliminate rust from water effectively, allowing you to enjoy clean and clear water in your home.
What Are the Causes of Rust in Tap Water?
There are several reasons why tap water may contain rust, including:
- Aging Pipes: Over time, metal pipes can corrode and develop tiny holes that allow rust to enter the water supply.
- High Iron Content: Some areas have a high concentration of iron in their water sources. This can cause discoloration and a metallic taste in the tap water.
- External Contamination: If your home’s plumbing system is connected to old or damaged pipes outside your property, it could introduce rust into your tap water.
Regardless of the cause, it is essential to address the issue promptly to prevent further damage to your plumbing and ensure clean drinking water for you and your family.
What Will You Need?
To address issues with rusty tap water, you may need the following supplies:
- Use rust remover or cleaner specifically designed for plumbing systems.
- Replacement of pipes and fittings, if necessary.
- plumber’s tape or sealant to prevent future leaks.
It may also be helpful to have a plumber’s contact information in case the issue becomes too complex to handle on your own.
8 Easy Steps on How to Remove Rust From Tap Water
Step 1: Turn Off the Main Water Supply
Begin by locating your main water shut-off valve. This is typically found near the water meter or where the water line enters your home. Turning off the main water supply is crucial to prevent further flow of water while you work on resolving the issue. Rotate the valve clockwise until it is fully closed.
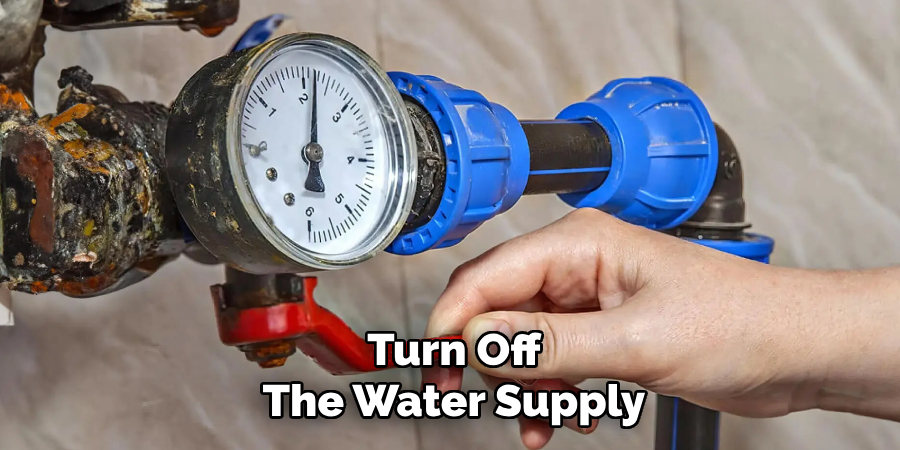
Confirm that the water has stopped by turning on a tap in your home — if no water comes out, you’ve successfully shut off the supply. This step ensures a safe and dry workspace and helps avoid potential water damage.
Step 2: Drain the Pipes
After shutting off the main water supply, it’s essential to drain the remaining water from the pipes. Begin by opening all the faucets in your home, starting with the ones located on the lower levels and gradually working your way up to the higher floors. This allows gravity to help clear the pipes completely. Don’t forget to flush the toilets as well to remove water from the tanks. Properly draining the system ensures there won’t be any residual water interfering with your work and minimizes any risk of leaks or spills.
Step 3: Disconnect the Main Water Line
Once the pipes have been drained, locate the main water line where it connects to your home. This is typically found near the water meter or in a utility area. Use an adjustable wrench to loosen the fittings and disconnect the main line carefully. Be sure to have a bucket or towel nearby to catch any residual water that might escape during this process. This step will ensure the system is fully isolated, allowing you to proceed safely with repairs or replacements.
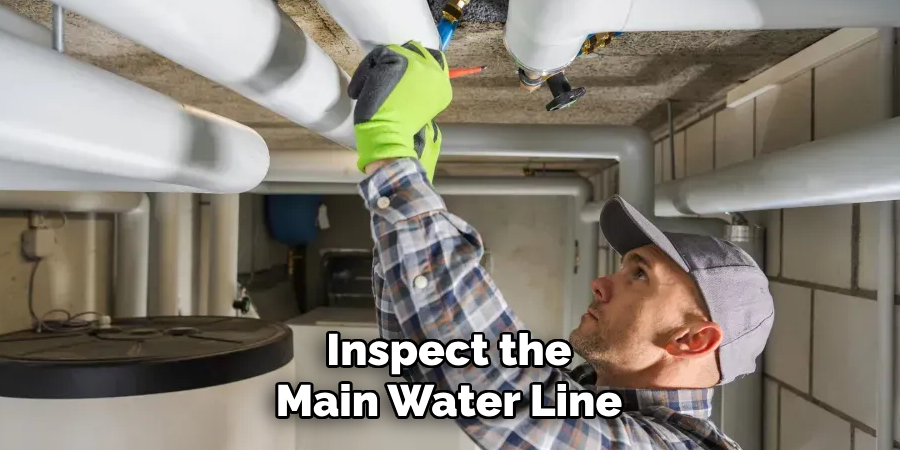
Step 4: Inspect the Main Water Line for Damage
Once the main water line is disconnected, carefully examine it for any signs of damage or wear. Look for cracks, corrosion, or leaks indicating the need for repairs or replacement. If you notice any issues, take detailed notes or photographs to reference when consulting a professional or purchasing replacement parts. This inspection is a crucial step to ensure your plumbing system’s integrity and address potential problems before they escalate.
Step 5: Drain the Remaining Water
After inspecting the main water line, the next step is to drain any remaining water from the system. Locate and open your home’s lowest faucet or spigot to allow water to flow out completely. This step prevents residual water from causing leaks or interfering with repairs. Ensure you have a bucket or towel ready to manage any excess water that may spill during this process. Draining the system thoroughly will provide a safe and dry workspace for the following stages of the repair.
Step 6: Remove the Damaged Section of Pipe
To remove the damaged section of the pipe, begin by identifying the exact area that needs to be replaced. Carefully inspect the pipe for cracks, rust, or visible breaks, as this will help you determine the extent of the damage. Use a pipe cutter or hacksaw to cut out the damaged section. Ensure your cuts are clean and straight for a proper fit during replacement.
If needed, use sandpaper or a file to smooth the edges of the remaining pipe ends to remove any burrs or rough spots. Remember to measure the removed section accurately so the replacement piece will fit snugly into place. Take extra care to avoid damaging surrounding structures or other parts of the plumbing system during removal. This step is critical in ensuring a secure and leak-free repair.
Step 7: Prepare and Fit Replacement Pipes
Before fitting the replacement pipes, ensure that all components, including connectors, gaskets, and fittings, are clean and in good condition. Any debris, dirt, or damage can compromise the integrity of the repair and lead to future leaks. Double-check the replacement pipes to confirm they are the correct size and material for your existing plumbing system.
Once verified, apply a suitable sealant or plumber’s tape to the threads or contact surfaces to enhance the seal. Carefully align the replacement pipes and connectors to avoid cross-threading or improper positioning. Gently but firmly tighten the connections, ensuring each piece fits securely without overtightening, which could cause cracks or deformations.
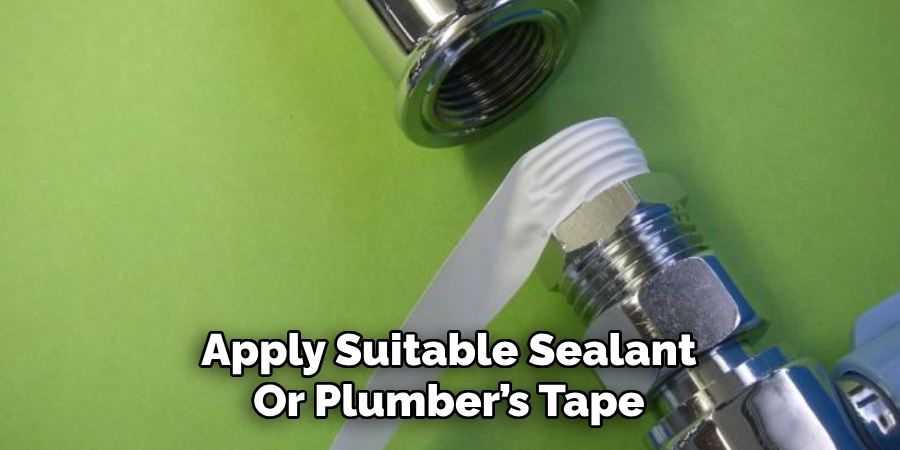
After assembly, visually inspect the entire connection for uniformity and stability, as this will play a key role in the longevity of the repair. These extra precautions will provide a robust and long-lasting solution to the plumbing issue.
Step 8: Keep Maintenance
Like any other system, your plumbing will require regular maintenance to keep it functioning correctly. This includes checking for leaks, cleaning out drains and pipes, and replacing worn or damaged parts.
Regular maintenance not only helps prevent significant problems from occurring, but it can also save you money in the long run. By catching minor issues early on, you can avoid costly repairs.
In addition to regular maintenance, it’s essential to be mindful of what goes down your drains. Avoid flushing items such as grease, wipes, and feminine hygiene products that could clog or damage your pipes. Proper disposal of these items can significantly extend the lifespan of your plumbing system.
By following these simple tips and regularly maintaining your plumbing system, you can ensure that it functions efficiently for years.
5 Things You Should Avoid
- Using Strong Chemicals Without Proper Knowledge
Avoid using harsh chemical rust removers without understanding their potential effects. Some chemicals can corrode your plumbing system further or even contaminate your water supply if not used correctly.
- Ignoring the Source of the Problem
Do not attempt to treat rust in your tap water without identifying the root cause. Often, the issue lies within aging pipes or water heaters, and temporary fixes will not address the underlying problem.
- Relying Solely on Home Remedies
While DIY methods like vinegar or baking soda might offer a temporary solution, relying solely on them may not eliminate rust or prevent it from recurring. Consider professional solutions for lasting results.
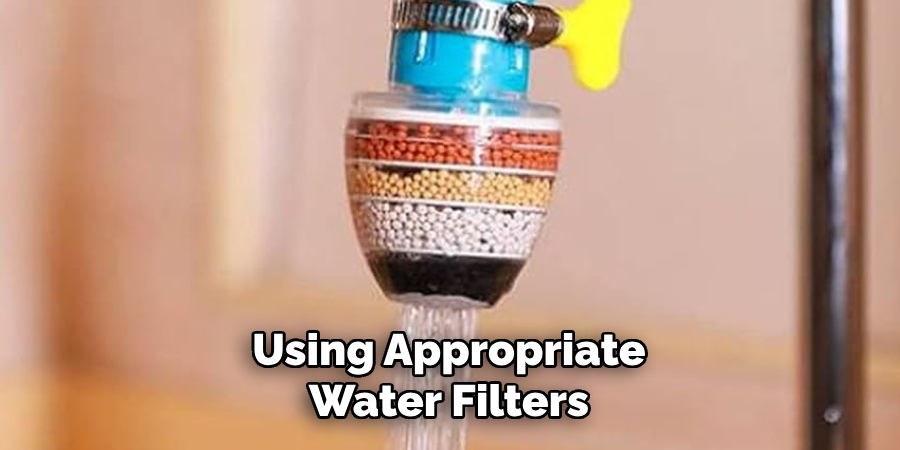
- Skipping Water Filtration Options
Using appropriate water filters designed for rust removal can worsen the problem over time. Select a filtration system suited for your home’s water quality to remove rust particles effectively.
- Postponing Maintenance or Repairs
Avoid delaying routine maintenance or repairing damaged pipes and water heaters. Procrastination can lead to increased rust contamination and potentially expensive repairs down the line. Regular inspections can help prevent future issues.
By avoiding these common mistakes and taking proper precautions, you can prevent rust in your home’s water supply and ensure clean, safe drinking water for you and your family.
Conclusion
How to remove rust from tap water requires a proactive and methodical approach to ensure your water is safe and clean.
Start by identifying the source of the rust, whether it stems from old pipes, a deteriorating water heater, or a sediment buildup. Installing a whole-house water filtration system or a dedicated iron filter can remove rust particles and other contaminants.
Regular maintenance of plumbing systems, including flushing the water heater and replacing outdated pipes, is essential to prevent future rust issues. For immediate but temporary solutions, using water filters for drinking and cooking can help while addressing the root cause.
By taking these steps, you can restore and maintain the quality of your tap water for daily use.

