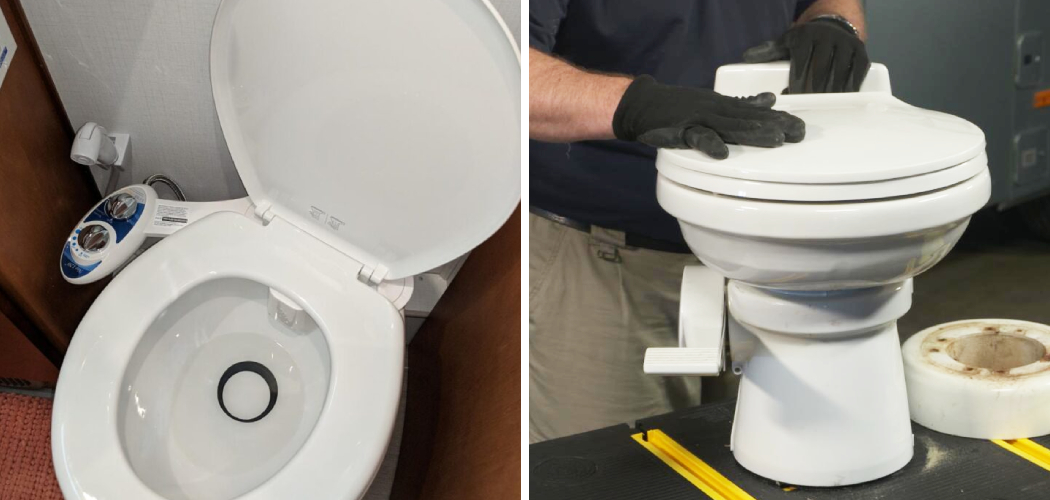
Are you looking to remove an RV toilet from your recreational vehicle? Here’s a guide on how to remove rv toilet in just a few simple steps.
Removing an RV toilet may seem like a daunting task, but don’t be intimidated! By following simple steps and using the right tools, you can safely and easily take out your old toilet so you can replace it with a new one or use it to decorate other items.
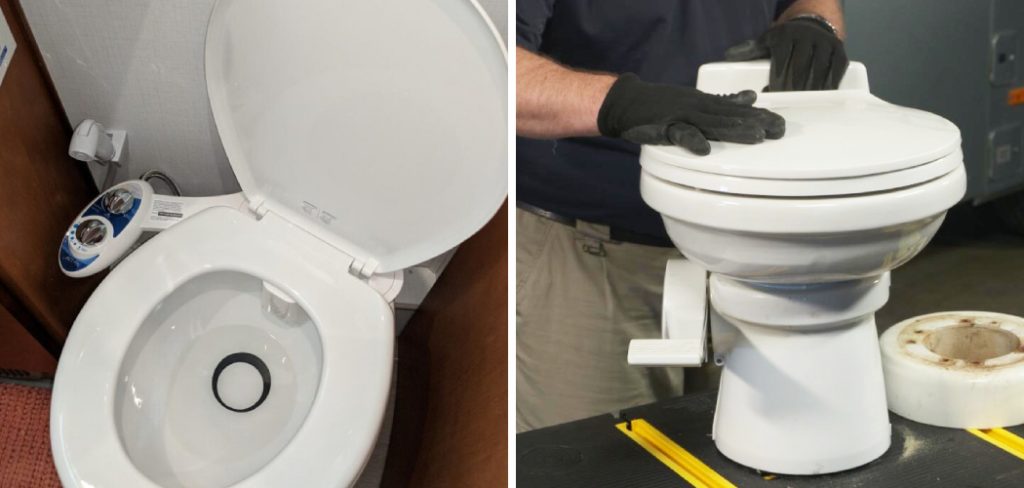
Whether you’re planning on cleaning up the area around your RV or simply giving the area some much-needed attention, removing an RV toilet is a great way to start.
In this blog post, we’ll provide instructions on removing your existing unit and tips for successfully installing replacement toilets in no time. So grab your tools, and prepare for success – let’s get started!
What Will You Need?
Before you begin, make sure you have the following items:
- A pair of gloves
- Phillips head screwdriver
- Flathead screwdriver
- Wrench or adjustable wrench
- Pliers
- Plastic putty knife (for scraping)
- Cotton rags/towels
Once you have the necessary items, it’s time to get started.
10 Easy Steps on How to Remove RV Toilet
Step 1: Preparation
Before beginning the process, make sure you have plenty of space to work. Turn off the water lines in order to avoid any leaks and messes while you’re working. If your RV toilet is connected to a black water tank, make sure you have disconnected it.
Step 2: Remove the Plastic Casing
Look for plastic clips that may be securing the toilet seat and remove them with a screwdriver or pliers. After the clips are removed, slide out the casing around the toilet. This should give you access to all the screws that need to be removed to remove the RV toilet from its mountings completely.
Step 3: Unscrew Mountings
Using a wrench or adjustable wrench, begin unscrewing each mounting bolt until all of them are detached from the RV’s walls or floor. Be careful not to lose any of the bolts, as they may be needed for re-installation. Be careful not to scratch the walls or floor with your tools.
Step 4: Lift the Toilet Carefully
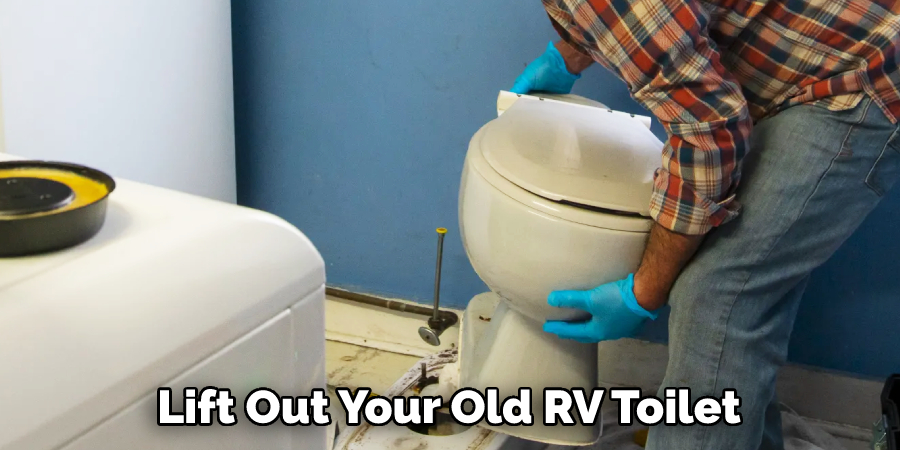
Once all of the mounting bolts have been removed, it’s time to lift out your old RV toilet. Make sure you lift carefully, keeping your back straight and using your legs to support the weight of the unit. Once it is free from its mountings, slide it out so that you can begin cleaning up any mess left behind from the removal process.
Step 5: Clean Up the Area
Using a cotton rag or towel, wipe down any dirt or debris that remains in and around the area where the toilet was installed. This will help keep any new installation clean and also make sure there are no leftover particles that could cause damage to the new toilet. Don’t forget to also clean the area around the drain pipe, as this will help keep odors at bay.
Step 6: Remove the Wax Ring
Using a plastic putty knife, carefully remove the wax ring from where it was originally installed on the RV’s floor or wall. Ensure you do not leave any residue behind to keep your new installation clean and free of potential contamination. Additionally, make sure you don’t scratch the surface of your RV with the putty knife.
Step 7: Clean Drain Pipe
Look for any blockages or buildup within the drain pipe and use a plumber’s snake (or other similar tools) to clear out any debris or clogs found inside. This step is important to ensure that no future blockages occur with your new toilet installation. You can also use a cotton rag to clean the inside of the drain pipe.
Step 8: Inspect Seals & Connectors
Examine all seals and connectors to make sure that they are still in good condition. If any of them appear worn or frayed, it may be best to replace them before re-installing your new toilet. It will be best to replace the seals and connectors with ones that are specifically made for RV toilets.
Step 9: Reinstallation
Once all the necessary steps have been taken, it’s time for reinstallation! Follow instructions for the specific model and size of toilet you are installing, and make sure that everything is securely attached. Once the toilet is installed, turn on the water lines and test out your new RV toilet!
Step 10: Enjoy Your New Toilet!
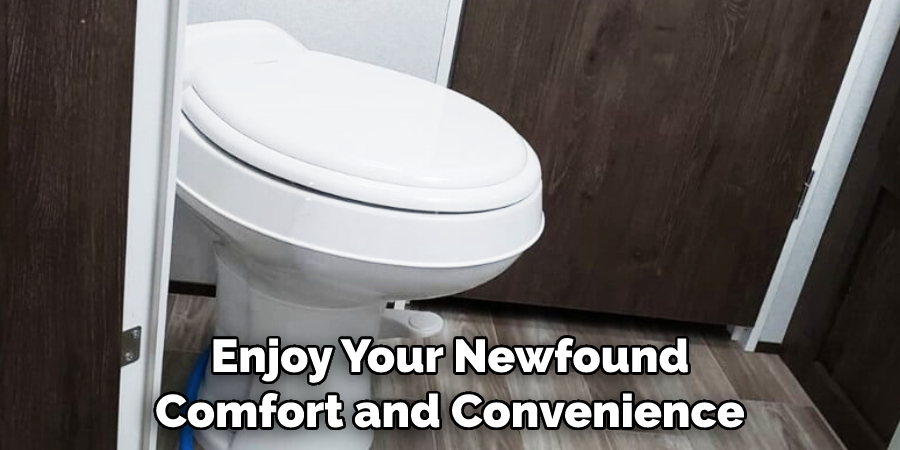
Congratulations – you’ve successfully removed your old RV toilet and installed a shiny new one. Enjoy your newfound comfort and convenience, and always remember to follow the manufacturer’s instructions when installing or replacing any part of your RV.
By following these easy steps, you can now remove your RV toilet. You can also check out another guide on how to install a new RV toilet for further tips and advice on completing this job!
5 Additional Tips and Tricks
- Make sure to turn off the water supply valve before attempting to remove the RV toilet. This will help keep you from creating a mess as you are taking apart your toilet.
- Prepare a large bucket and some rags—you’ll use these to catch any extra water or debris that may come out when removing the toilet from your RV.
- It is recommended that gloves be worn when handling anything related to plumbing, so make sure you have those on hand too.
- Gently unscrew all of the bolts and screws holding the RV toilet in place, one at a time so that nothing gets damaged in the process.
- If needed, gently pry up any additional components holding the toilet in its place. Once everything is loose, carefully lift out the toilet and place it in the bucket. Disconnect any additional connections (hoses, etc.) as needed.
Once you have removed your RV toilet, clean up all the mess that may remain. Additionally, double check all of the bolts and screws to make sure they are tightened securely before re-installing your new RV toilet!
5 Things You Should Avoid
- Do not force anything when unscrewing bolts or screws—make sure to be gentle so you don’t damage any of the components.
- Do not turn on the water supply valve until the RV toilet is completely re-installed and all connections are secure.
- Make sure to tighten all bolts and screws securely, but do not overtighten them as this may cause damage.
- Avoid putting too much strength into removing stubborn parts—if something is stuck, try using a lubricant like WD-40 before trying to remove it forcibly.
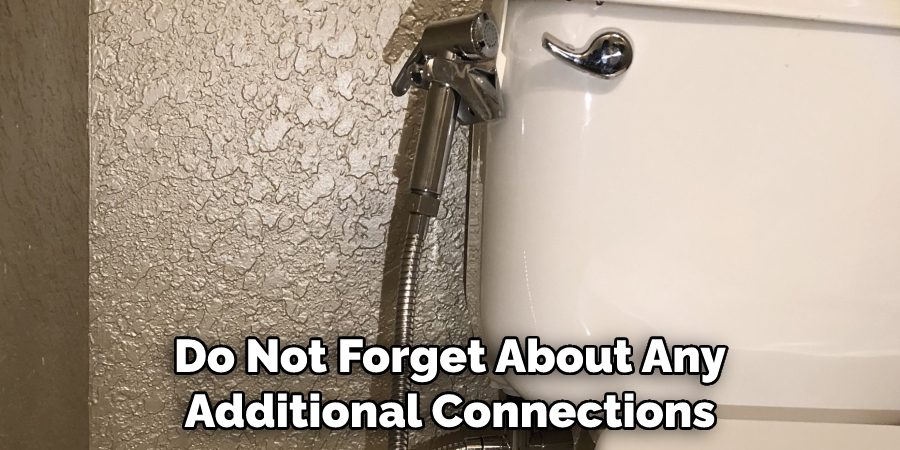
- Don’t forget about any additional connections (hoses, etc.). Make sure these are disconnected before attempting to lift out the RV toilet.
Remember to take your time when removing and replacing an RV toilet, as this will help you avoid any costly mistakes or damages!
Can You Replace the RV Toilet?
Yes, you can replace an RV toilet if needed. Depending on the type of RV toilet you have, some specialized tools and parts may be required for installation. Make sure to read up on the particular make and model before attempting to do so yourself, or contact a professional if needed.
It is also important to ensure that the new RV toilet fits properly in your RV before making any permanent changes.
Finally, always check local regulations and laws regarding plumbing before installing a new RV toilet in your vehicle. Overall, replacing an RV toilet with some preparation and caution is possible!
Can You Use RV Toilet Without Water?
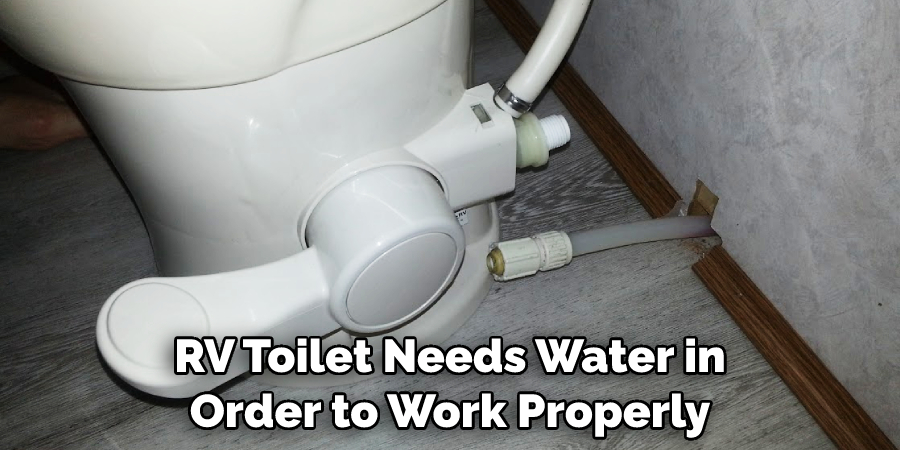
No, you cannot use an RV toilet without water. The RV toilet needs water in order to work properly, as it is required for flushing and disposing of waste. Without water, the toilet will be unable to perform its necessary functions, which could lead to problems down the line. Make sure that your RV has a functioning water supply before attempting to use the toilet!
Overall, it is important to remember that an RV toilet needs water in order to work properly. Make sure that your vehicle has a functioning water supply before attempting to use the toilet!
Additionally, be sure to check all local regulations and laws regarding plumbing before making any permanent changes.
Conclusion
Removing an RV toilet may seem daunting at first, but it doesn’t have to be! By following the steps on how to remove rv toilet and understanding how each part of your RV toilet works, you can take the necessary precautions when removing it. Investing in a proper sealant will ensure a tight fit and help you avoid any future problems with leaks.
Taking your time and following the appropriate safety protocol is also essential to ensuring that your project goes smoothly. With these tips and techniques, you can easily remove your RV toilet like a pro! Remember, if all else fails, seek professional assistance because this isn’t a job for everyone.
Working with a trusted professional can put your mind at ease and make sure that the installation process goes as smoothly as possible.

