Sticky tile glue often remains on bathroom floors after removing old tiles, creating an unsightly and stubborn mess. This residue can be tough to clean off, as it tends to cling tightly to the surface and may require specific techniques to remove. Proper removal of tile glue is crucial, not just for aesthetic reasons, but also to ensure the successful installation of new tiles. New tiles require a clean and smooth surface for optimal adhesion, and leftover glue can compromise the durability and appearance of your renovated floor.
This article provides a step-by-step guide on how to remove sticky tile glue from floor bathroom surfaces effectively, using safe and efficient methods. By following these instructions, you can achieve a clean and adhesive-free floor, making the tiling process smoother while improving your bathroom’s overall look. With the right tools and patience, tile glue removal doesn’t have to be overwhelming.
Materials and Tools Needed
Essential Materials
- Plastic Scraper or Putty Knife: Opt for a non-abrasive tool to prevent damaging the floor surface while scraping off the glue.
- Rags or Cloths: These are crucial for wiping up excess glue and cleaning the area as you work.
- Dish Soap or Mild Cleaner: A gentle cleaning agent can help break down the adhesive without harming your bathroom floor.
- Vinegar or Specialized Adhesive Remover: Use these if the tile glue proves stubborn to remove with just soap and water.
- Water: Essential for rinsing off residue and ensuring the floor is clean after glue removal.
Tools You’ll Need
- Bucket: Ideal for mixing and holding your cleaning solution throughout the process.
- Steam Cleaner (Optional): A steam cleaner can provide extra effectiveness by softening the glue, making it easier to scrape off.
- Rubber Gloves: Protect your hands from potential irritation caused by cleaners or adhesive removers during the work.
- Mop and Bucket: Necessary for the final cleaning step to leave the surface free of sticky residue and sparkling clean.
Having all these materials and tools prepared before starting ensures an efficient and smooth glue removal process.
Assessing the Type of Tile Glue
Identifying the Glue Type
Before starting the glue removal process, it’s essential to identify the type of adhesive used. Tile adhesives come in different forms, including thin-set mortar, mastic, and epoxy-based adhesives. Each of these has distinct characteristics that can help in their identification:
- Thin-Set Mortar typically appears as a hard, cement-like substance. It is often gray or white and can adhere stubbornly to surfaces. This type of adhesive is commonly used in areas exposed to moisture, such as bathrooms or kitchens.
- Mastic is softer, often creamy or sticky in texture, and has a pale tan or white color. It is commonly used for lightweight tiling projects and indoor applications.
- Epoxy-Based Adhesives are strong and durable, with a smooth, resin-like appearance. They may leave a glossy residue and are often used for heavy-duty applications.
Understanding the Difficulty of Removal
The type of adhesive directly impacts the complexity of its removal. For instance:
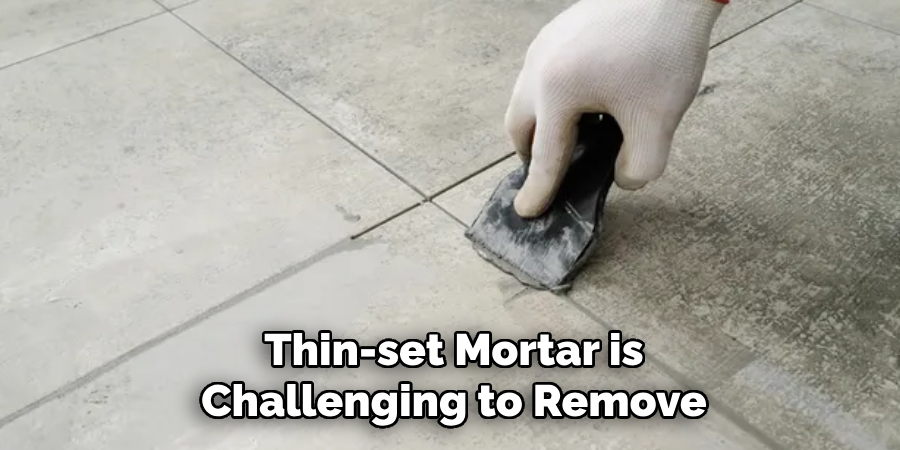
- Thin-Set Mortar is challenging to remove due to its cementitious nature. It often requires mechanical scraping tools, specialized solvents, or even power tools to break it down effectively.
- Mastic and similar adhesives are comparatively easier to remove. Simple cleaning solutions or hot water can often loosen their bond, making them suitable for less labor-intensive methods.
- Epoxy-Based Adhesives, on the other hand, require dedicated adhesive removers due to their high strength and resistance to regular cleaning products. This type may also necessitate professional-grade tools for complete removal.
Understanding the adhesive type ensures that the correct approach and tools can be utilized, saving time and effort.
Preparing the Area and Protecting the Surroundings
Step 1: Clear the Bathroom Floor
Begin by removing all items from the bathroom floor, including furniture, rugs, and any personal belongings. Clearing the area ensures that nothing gets damaged or obstructs the cleaning process. This step provides a clean workspace and minimizes the risk of unnecessary accidents or contamination.
Step 2: Protect Other Surfaces
To safeguard nearby surfaces such as walls, trim, and fixtures, use plastic sheeting or painter’s tape to create a protective barrier. This precaution prevents splashes or spills of cleaning solutions from causing discoloration or damage to areas not being worked on. Taking time to shield the surroundings properly ensures a smoother cleanup after the task is completed.
Step 3: Ventilate the Room
If the cleaning process involves strong chemicals, such as adhesive removers, ensure proper ventilation to maintain air quality and reduce exposure to fumes. Open any windows or doors in the bathroom and, if available, turn on exhaust fans to enhance airflow. Providing adequate ventilation is essential for safety and comfort during the cleaning process.
How to Remove Sticky Tile Glue From Floor Bathroom Initial Cleaning with Soap and Water
Step 1: Scrape Off Excess Glue
Before starting the cleaning process, use a plastic scraper or putty knife to remove as much glue as possible from the surface gently. Be cautious and avoid gouging, scratching, or damaging the floor. Work slowly and systematically to effectively scrape off any loose or hardened glue without harming the underlying material.
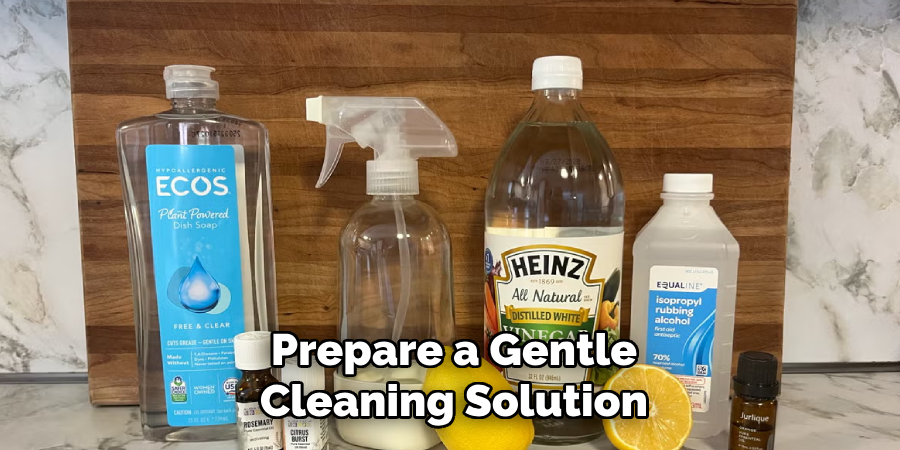
Step 2: Create a Cleaning Solution
Prepare a gentle cleaning solution by mixing warm water with a few drops of mild dish soap or household cleaner in a bucket. This combination is safe for most surfaces and effective at breaking down glue residue. Ensure the cleaner is well-dissolved to create a sudsy mixture for optimal results.
Step 3: Scrub and Wipe
Dip a sponge, cloth, or soft-bristled brush into the soapy water and scrub the affected areas using circular motions. This technique helps loosen the glue while minimizing potential damage to the flooring. Once the glue begins to break down, wipe away any residue and excess cleaning solution with a clean, damp cloth to keep the surface clear.
Step 4: Repeat if Necessary
For stubborn or thick glue remnants, apply more of the cleaning solution directly to the area and allow it to sit for a few minutes. The soaking process helps to soften the residue, making it easier to remove. Repeat the scrubbing and wiping steps until the glue is fully eliminated, ensuring the surface is clean and ready for further refinishing if needed.
Using Vinegar or Specialized Adhesive Remover
Step 1: Apply Vinegar for Mild Adhesives
If the glue is stubborn but not too thick, apply white vinegar directly to the sticky areas. Vinegar acts as a natural solvent, making it a practical option for breaking down mild adhesives. Saturate a clean cloth or sponge with vinegar, or pour it directly onto the affected area. Allow the vinegar to sit for 10-15 minutes so it can penetrate and loosen the adhesive. This step is beneficial for smaller, less extensive glue problems.
Step 2: Use an Adhesive Remover (if needed)
For tougher glue, such as thin-set mortar or industrial adhesives, vinegar alone may not be sufficient. Opt for a specialized adhesive remover available at hardware or home improvement stores. Carefully follow the manufacturer’s instructions to ensure safe and effective use. Apply the adhesive remover evenly to the affected area, allowing it the recommended time to soften the glue. Be sure to use gloves or other protective gear as specified on the product label to safeguard your hands and skin.
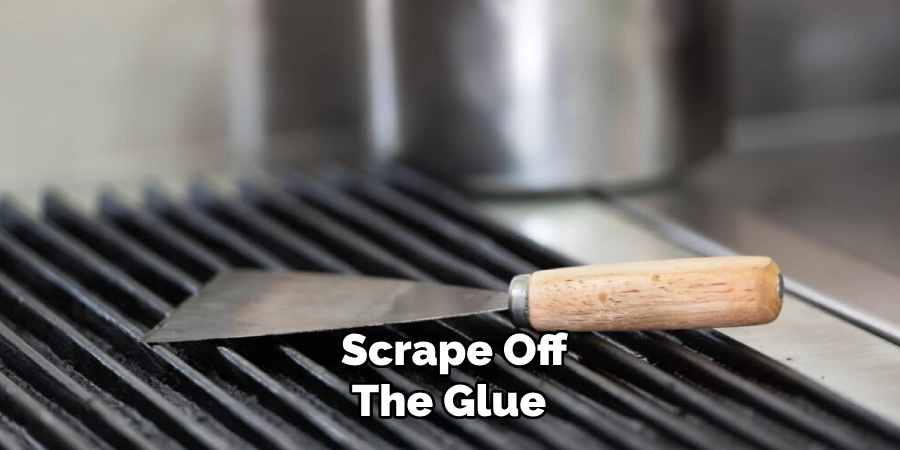
Step 3: Scrape Off the Glue
Once the vinegar or adhesive remover has had time to break down the glue, gently scrape away the residue with a plastic scraper. Take care not to scratch or damage the surface during this process. Gradually work across the area, removing as much glue as possible. When finished, wipe the surface clean with a damp cloth to remove any leftover adhesive or solution. Repeat the process if necessary for stubborn spots, allowing the surface to dry thoroughly afterward.
Steam Cleaning
Step 1: Use a Steam Cleaner (if available)
Steam cleaning can help soften and lift sticky glue residue, especially for tile adhesive like thin-set mortar. If you have a steam cleaner, direct the steam nozzle onto the glued areas, focusing on small sections at a time. The heat and moisture from the steam will penetrate the adhesive, making it easier to loosen and remove. Allow the steam to work on the glue for a few minutes to ensure it is thoroughly softened.
Step 2: Scrape Off the Glue
Once the glue has softened from the heat of the steam, use a plastic scraper to lift it from the surface carefully. Be gentle during this process to avoid damaging the underlying material. After scraping, use a clean cloth or sponge to wipe away any remaining glue residue or water from the steam cleaner. This will leave the surface smoother and cleaner.
Step 3: Repeat as Necessary
For stubborn patches of glue, you may need to repeat the steam cleaning process several times. Direct the steam back onto the adhesive until it becomes soft enough to scrape away easily. Persistence and patience are key to ensuring that all remnants of glue are effectively removed without compromising the surface. Once the area is glue-free, wipe it clean and allow it to dry completely before proceeding with any further steps or finishes.
Final Cleaning and Floor Care
Rinse the Floor
After successfully removing all the glue, it’s essential to give the floor a thorough rinse with clean water. This step helps eliminate any remaining cleaning solution or residue that might have been left behind during the removal process. Use a damp cloth or mop to ensure the floor is rinsed correctly and free of any lingering chemicals.
Dry the Floor
To prevent water damage, dry the floor as soon as possible after rinsing. Use a clean, dry cloth or a microfiber mop to wipe away any moisture. Ensure the surface is completely dry to avoid warping or damage, especially if the floor is made of hardwood or other water-sensitive materials.
Inspect the Floor
Carefully inspect the floor to confirm that all traces of glue have been removed. If you notice any leftover adhesive, focus on those specific spots and repeat the cleaning process as needed. Being meticulous during this inspection will ensure optimal results before proceeding with any additional steps.
Optional Sealing or Protection
Once the floor is clean and dry, you may want to take further steps to preserve its condition. Consider sealing the surface or applying a protective coating, which can help shield it from future wear and tear. If the area is going to undergo retiling or furniture placement, this extra layer of protection ensures the floor remains in excellent shape for a longer period.
Conclusion
Removing tile glue from your bathroom floor can be a manageable task with the right approach. Start by scraping off as much glue as possible, then clean the area with soap and water. For more stubborn residue, use vinegar or adhesive removers for effective results. Consider steam cleaning for a deep clean. Remember, patience is key—working in small sections will make the process smoother and less overwhelming.
Learning how to remove sticky tile glue from floor bathroom setups not only helps restore the surface but also encourages proper care and regular cleaning to prevent future adhesive buildup.

