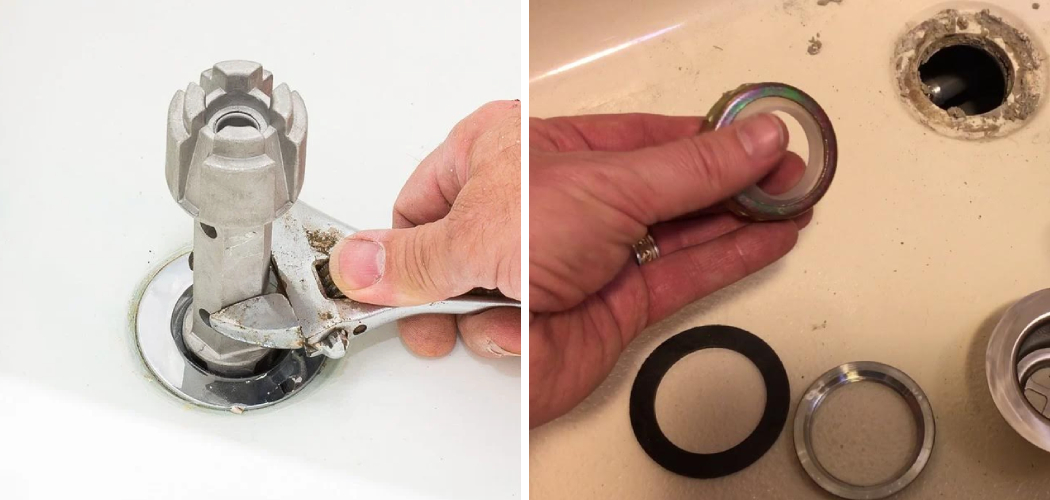
Regularly maintaining bathtub plumbing components is crucial to ensure their longevity and functionality. One of the key elements in this system is the drain flange, a vital part that seals the drain and connects it to the tub, facilitating proper drainage. Over time, the flange can accumulate debris, leading to clogs, or it may corrode and start leaking, disrupting the efficiency of your bathtub’s drainage system. In some cases, you might need to replace the drain flange entirely due to wear and tear. Understanding how to remove the bathtub drain flange is essential for addressing these issues promptly and maintaining a well-functioning bathroom.
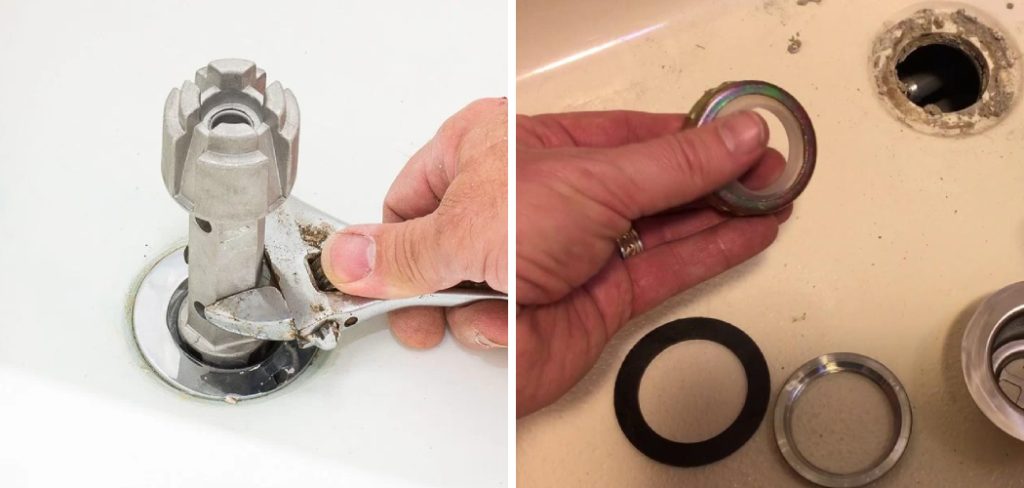
Gathering Necessary Tools and Materials
Tools Needed
To successfully remove the bathtub drain flange, you’ll need essential tools. A screwdriver, either flathead or Phillips, will help in releasing any screws holding the components together. Next, a drain wrench or tub drain extractor is crucial for gripping and turning the drain flange. Pliers or adjustable wrenches are useful for additional leverage and manipulating various parts. Finally, having a plumber’s putty or silicone sealant ready is important for reinstallation, ensuring a watertight seal and preventing future leaks.
Safety Precautions
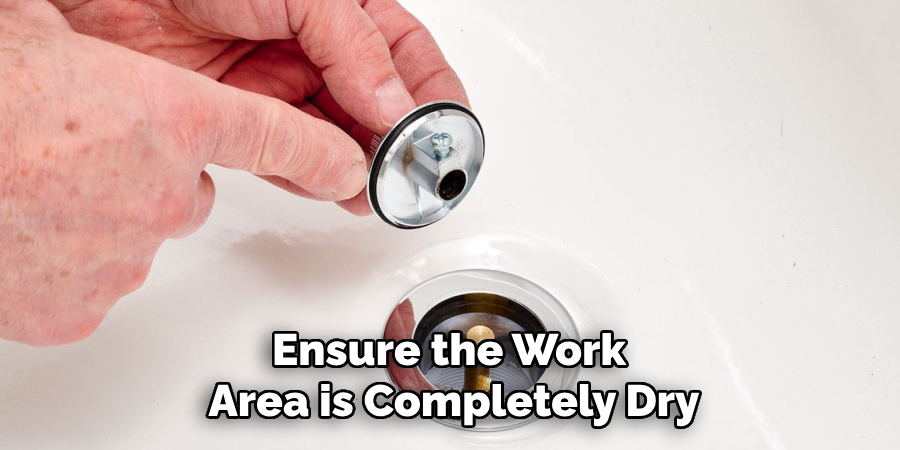
Before starting the task, ensure the work area is completely dry to avoid any slips or falls. Additionally, wearing gloves is highly recommended to protect your hands from sharp edges and rough surfaces during removal.
Preparing the Bathtub
Cleaning the Area
Begin by removing any standing water from the bathtub using a sponge or a wet/dry vacuum. Clean around the drain to clear away soap scum, hair, and other debris. A clean workspace is essential to avoid misplacing small parts during removal. Ensuring a tidy area will also provide better visibility and access to the drain components, making the task more manageable.
Removing the Drain Stopper
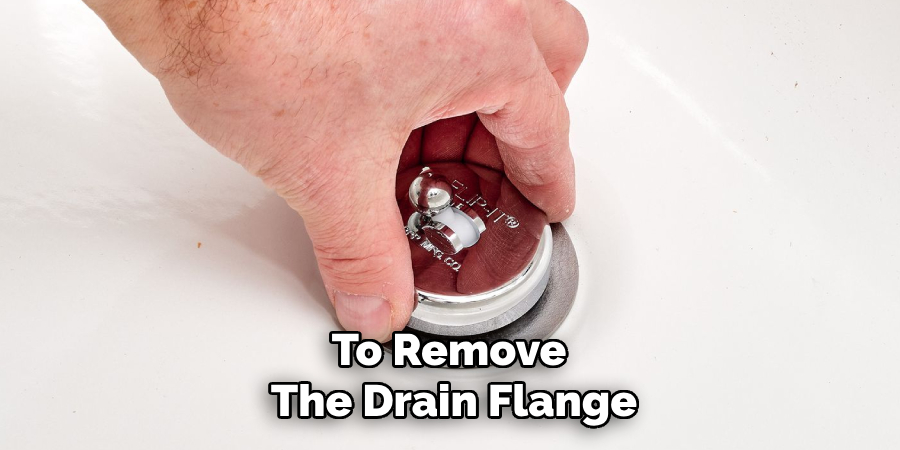
Drain stoppers come in various types, such as pop-up, lift-and-turn, and push-and-pull. To access the flange, you’ll first need to remove the stopper. For a pop-up stopper, grasp the stopper and pull upwards. For lift-and-turn stoppers, lift the stopper slightly and rotate it counterclockwise until it unscrews completely. Push-and-pull stoppers require you to pull up and down while rotating the stopper to disengage it. Once the stopper is removed, you will have clear access to the drain flange for the next steps.
How to Remove the Bathtub Drain Flange: Removing the Drain Flange
Using a Drain Wrench or Tub Drain Extractor
To remove the drain flange, you’ll start by using a drain wrench or tub drain extractor. Begin by inserting the tool into the drain flange’s crossbars, ensuring a snug fit to maximize grip. Once the tool is securely in place, start turning it counterclockwise. This motion is essential as it loosens the flange from the tub.
It’s important to use steady, even pressure while turning to prevent any potential damage to the tub. Inconsistent or excessive force can strip the crossbars or crack the tub’s surface. If the flange is resistant, pause and adjust the tool to ensure proper alignment and grip, then continue the counterclockwise turns until the flange is fully unscrewed and can be lifted out easily.
Alternative Method: Pliers and Screwdriver
If you don’t have a specialized drain wrench or tub drain extractor, you can use a pair of pliers and a screwdriver as an alternative method. First, take the pliers and place the handles into the drain flange’s crossbars, ensuring they are positioned firmly. Then, insert a screwdriver through the handles of the pliers. This setup creates a makeshift lever that gives you the necessary torque to turn the flange. Rotate the screwdriver counterclockwise, using it as a fulcrum to exert consistent pressure on the flange.
This should gradually loosen the flange. Again, use steady, even pressure to avoid damaging either the tub or the flange. With sustained effort, the flange will eventually unscrew and can be removed.
Dealing with Stubborn Flanges
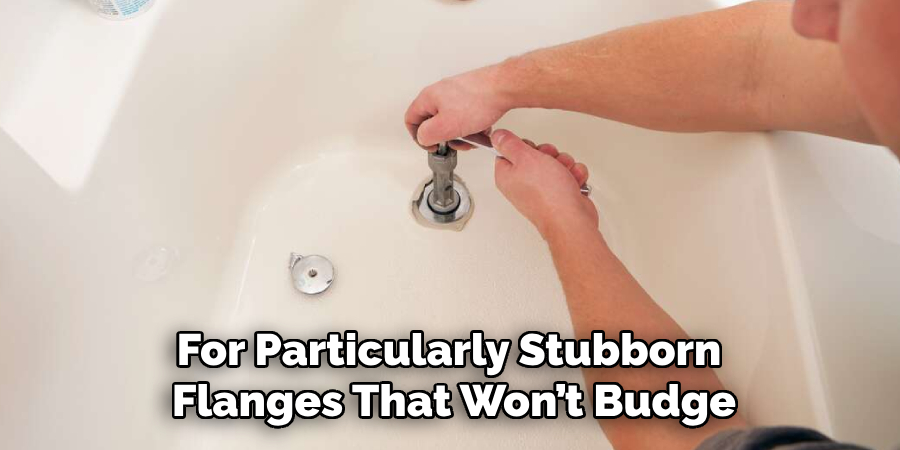
For particularly stubborn flanges that won’t budge, apply a few drops of penetrating oil around the flange’s edges. Allow the oil to seep in for a few minutes to help break down rust and grime that might be causing the flange to stick. If the flange remains immovable, use a hairdryer to apply heat around the metal. The heat will cause the metal to expand slightly, making it easier to unscrew the flange without causing damage to the tub. Keep the hairdryer at a safe distance to avoid overheating any surrounding surfaces. Even the most stubborn flanges can be coaxed into releasing from the drain with these additional steps.
How to Remove the Bathtub Drain Flange: Cleaning and Inspecting the Drain Area
Cleaning the Drain Opening
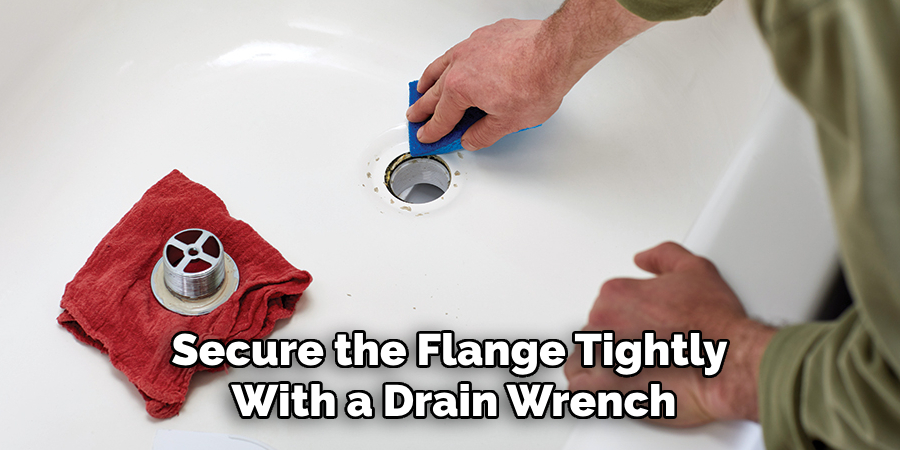
Once the drain flange is successfully removed, cleaning the drain opening is essential. Start by using a cloth or a soft brush to remove any loose debris, hair, or soap scum that may have accumulated around the drain. Next, carefully scrape off any remnants of the old plumber’s putty or sealant from the edges of the opening. A plastic scraper or an old credit card works well for this task, as it will not damage the tub’s surface.
After removing the old materials, clean the area with a damp cloth, ensuring no residue is left behind. This step is crucial to ensure that the new flange can be installed onto a clean, smooth surface, which helps achieve a watertight seal and prevent future leaks.
Inspecting for Damage
After cleaning, take a moment to inspect the condition of the drain pipe and the surrounding area for any signs of damage or wear. Look for cracks, corrosion, or signs of leaking around the drainpipe as well as any other areas that might indicate a potential issue. If you identify any damage, it is crucial to address these problems before installing the new flange.
Small cracks can often be repaired with waterproof sealant, while more significant issues may require professional attention to ensure the longevity and proper functioning of your bathtub’s drainage system. Taking the time to perform a thorough inspection can help prevent future complications and ensure the effectiveness of your repair efforts.
Reinstalling or Replacing the Drain Flange
Applying Plumber’s Putty or Sealant
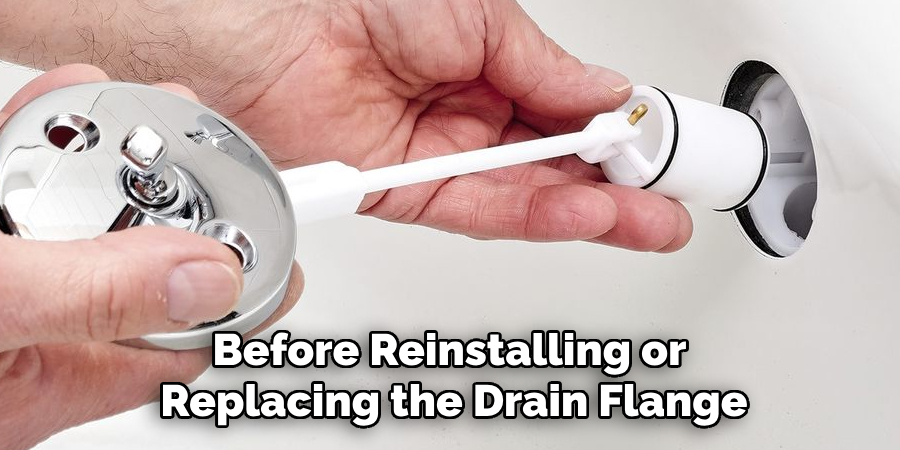
Before reinstalling or replacing the drain flange, applying the plumber’s putty or silicone sealant is crucial to ensure a watertight seal. Roll a small amount of plumber’s putty between your hands to create a rope-like shape, or apply a continuous bead of silicone sealant around the underside of the new flange. The putty or sealant acts as a barrier, preventing water from seeping through the gaps and causing leaks. Carefully place the prepared flange into the drain opening, ensuring it is properly aligned and seated evenly. This step is essential for achieving a secure and durable installation.
Securing the New Flange
Use a drain wrench or tub drain extractor to secure the new flange. Insert the tool into the crossbars of the flange and begin tightening it by turning clockwise. Ensure the flange is threading correctly and evenly into the drainpipe, applying steady and even pressure while turning. Once the flange is snugly in place, take a moment to wipe away any excess putty or sealant that may have squeezed out around the edges using a damp cloth. Removing the excess material helps to create a clean finish and prevent any unwanted buildup. Your new drain flange should now be securely installed and ready for use.
Testing for Leaks
Once the new drain flange is securely installed, the next step is to test for leaks. Begin by running water from the bathtub faucet for several minutes, allowing it to drain normally. Observe the area around the flange and underneath the tub for any signs of leaks or moisture. If you notice any water escaping, tighten the flange further or reapply the sealant as needed. Ensuring a proper seal is crucial for the longevity of your repair and to prevent future water damage. Once no leaks are detected, you can be confident that your installation is successful.
Frequently Asked Questions
1. What Tools Do I Need to Remove and Replace a Drain Flange?
To remove and replace a drain flange, you will need the following tools:
- Drain wrench or tub drain extractor
- Pliers and screwdriver (as an alternative method)
- Penetrating oil (for stubborn flanges)
- Hairdryer (for applying heat)
- Cloth or soft brush (for cleaning)
- Plastic scraper or old credit card (for removing old sealant)
- Plumber’s putty or silicone sealant (for ensuring a watertight seal)
- Damp cloth (for wiping away excess putty or sealant)
2. How Do I Know if The Drain Flange Is Damaged?
It is essential to inspect the drain flange and surrounding area after removal. Look for visible cracks, corrosion, or any signs of leakage around the drainpipe. If any of these issues are present, they indicate that the drain flange or associated components may be damaged and require attention before reinstalling or replacing the flange.
3. What Should I Do if The Flange Won’t Unscrew?
If the flange won’t unscrew, follow these steps:
- Apply a few drops of penetrating oil around the flange’s edges and let it sit for several minutes.
- Use a hairdryer to apply heat to the metal flange, causing it to expand slightly, making it easier to unscrew.
- Ensure you apply steady, even pressure when using a drain wrench, pliers, or screwdriver as a lever.
4. How Can I Prevent Leaks After Installing a New Drain Flange?
To prevent leaks after installing a new drain flange, ensure the following:
- Properly clean the drain opening and remove any old putty or sealant.
- Apply the plumber’s putty or silicone sealant to create a watertight seal before seating the new flange.
- Secure the flange tightly with a drain wrench or tub drain extractor.
- Test for leaks by running water and checking for any signs of moisture around the flange and underneath the tub. Tighten or reapply the sealant as needed.
Conclusion
In summary, knowing how to remove the bathtub drain flange and replace it with a new one involves several critical steps, including using the right tools, cleaning the drain opening, inspecting for damage, and securing the new flange with a plumber’s putty or sealant. Regular maintenance of your bathtub drain can prevent clogs and leaks, ensuring your drainage system’s longevity and proper functioning. If you encounter any issues during the process or if the flange is particularly stubborn, do not hesitate to seek professional help to ensure the job is done correctly and safely.
Proper repair and maintenance are key to avoiding costly future repairs and keeping your bathtub in excellent condition.

