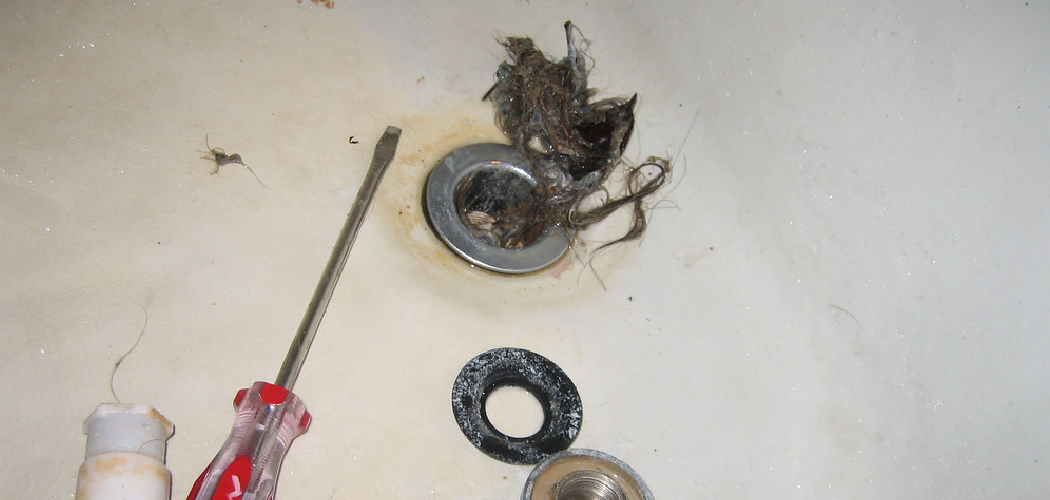
Removing the drain cover in a shower can be a straightforward task, yet it often requires careful attention to avoid damaging the surrounding tiles or the drain itself. Understanding the specific type of drain cover you are dealing with is essential, as there are various designs, including screw-in, snap-in, and weighted covers.
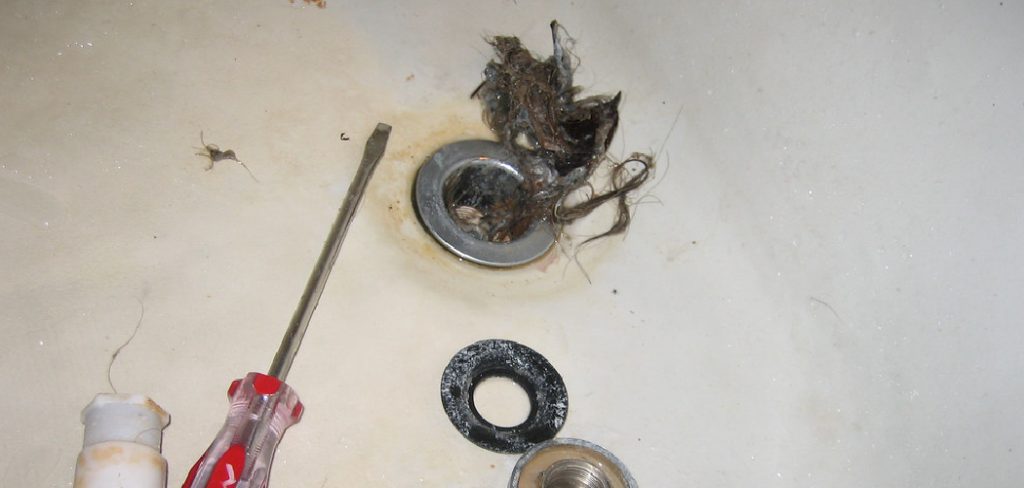
This guide on how to remove the drain cover in a shower will provide step-by-step instructions to assist you in safely and effectively removing the drain cover, ensuring that you can perform maintenance or repairs with confidence and ease.
What is a Shower Drain Cover?
A shower drain cover is a protective fitting that covers the opening of a shower drain, allowing water to flow through while preventing larger debris from entering the plumbing system. Typically made of metal or plastic, these covers come in various styles and designs to complement the aesthetic of the shower and ensure proper drainage.
In addition to their functional role, shower drain covers also help to maintain hygiene by keeping pests away and reducing the likelihood of clogs, ultimately extending the lifespan of the plumbing system. Understanding the type and purpose of your shower drain cover is crucial for effective maintenance and repairs.
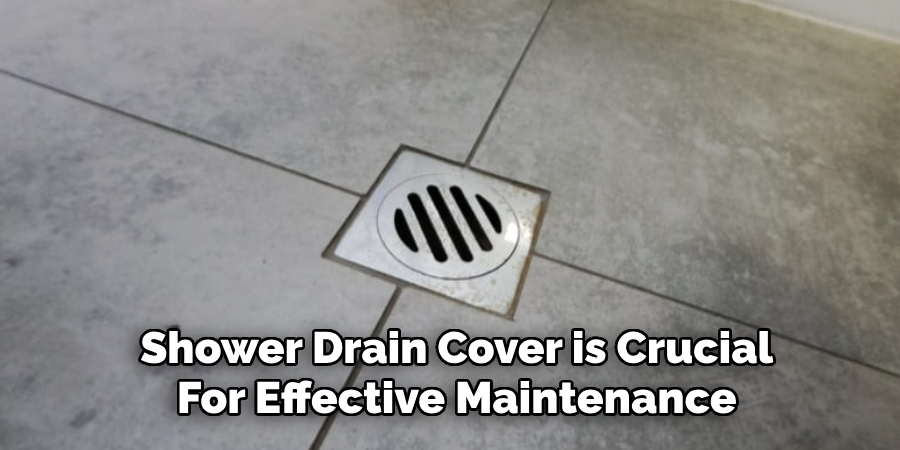
Tools and Materials Required
Screwdriver:
A screwdriver is necessary for removing screws that secure the drain cover in place. The specific type and size of screwdriver required will depend on the design of your drain cover, so it is essential to have a variety of options available.
Plunger:
While not always necessary, having a plunger on hand can be helpful for dislodging any debris or buildup that may be causing a clog in the drain.
Pliers:
Pliers may come in handy if your drain cover is secured with screws that are difficult to remove or if it requires twisting to release.
Bucket:
Having a bucket nearby will allow you to catch any water or debris that may fall out of the drain while removing the cover, preventing potential messes and making cleanup easier.
8 Step-by-step Guides on How to Remove the Drain Cover in a Shower
Step 1: Identify the Type of Drain Cover
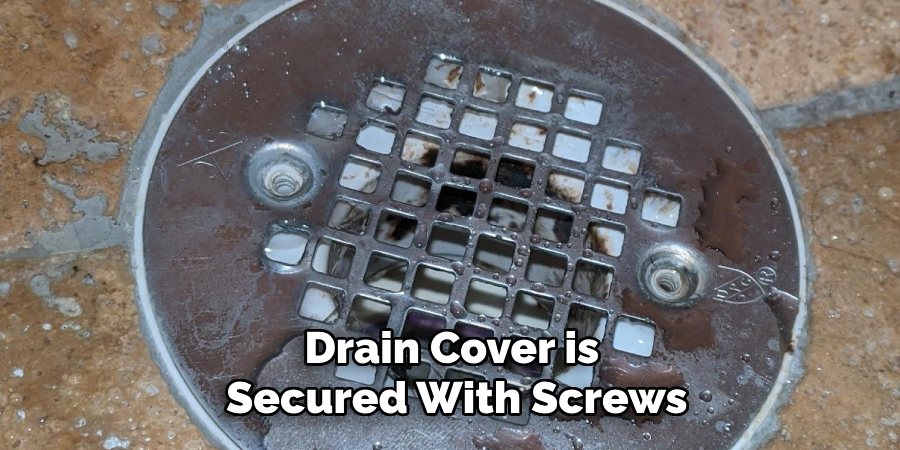
Before attempting to remove the drain cover, it’s crucial to identify its type. This will inform you of the correct method and tools needed for removal. Look closely at the drain cover’s edges and mechanism. If it has visible screws, it’s likely a screw-in cover, which will require a screwdriver. Snap-in covers, on the other hand, can usually be pried off with a flathead screwdriver or a similar tool.
Lastly, weighted covers often simply sit in place and can be lifted off without any additional tools. Understanding the specific design will not only facilitate the removal process but also help prevent damage to the cover and surrounding area.
Step 2: Unscrew the Drain Cover
If your shower drain cover has visible screws, use a screwdriver to loosen and remove them. Be sure to keep the screws in a safe place, as you will need them for reinstallation. If the screws are rusted or difficult to remove, try using pliers to get a better grip. Once all screws are removed, carefully lift off the cover and set it aside.
It’s important to avoid using excessive force when removing the cover, as this can cause damage to the drain or tiles around it. If the cover is stuck, try gently tapping it from various angles to loosen it before attempting to lift it off again.
Step 3: Pry Off a Snap-in Cover
Snap-in covers are designed to be removed by prying them off with a flathead screwdriver or similar tool. Insert the edge of the tool between the cover and the drain opening, and carefully apply pressure until you feel it start to release. Then, gently work your way around the perimeter of the cover until it comes loose.
Be cautious not to scratch or damage the surrounding tiles while prying off the cover. If necessary, use a cloth or towel as a barrier between the tool and the tiles.
Step 4: Lift Off a Weighted Cover
If your shower drain cover is weighted, it will typically be held in place by its own weight and can easily be lifted off without any tools. Carefully grasp the edges of the cover and gently lift it up and out of the drain opening.
It’s essential to handle weighted covers with care, as they can be heavy and cause injury if dropped on your foot or toes.
Step 5: Remove Any Debris or Buildup
With the drain cover removed, take this opportunity to check for any debris or buildup in the drain. If you notice any, use a plunger to try and dislodge it or remove it with your hands.
Be cautious not to push the debris further into the plumbing system, as this can cause more significant clogs and damage.
Step 6: Clean the Drain Cover
While you have the cover removed, it’s an excellent opportunity to clean it thoroughly. Use warm soapy water and a brush or cloth to scrub away any dirt, grime, or mold that may have accumulated on the surface. Rinse it off with clean water and dry it before reinstallation.
Properly cleaning your drain cover will help prevent buildup and maintain its functionality for longer.
Step 7: Reinstall the Drain Cover
Once you have completed the necessary cleaning and maintenance, it’s time to reinstall the drain cover. First, ensure that the drain area is dry and free of any debris to create a secure fit. For screw-in covers, align the cover with the drain opening and insert the screws back into their designated holes. Use the screwdriver to tighten them securely, but avoid overtightening, as this can damage the cover or the surrounding area.
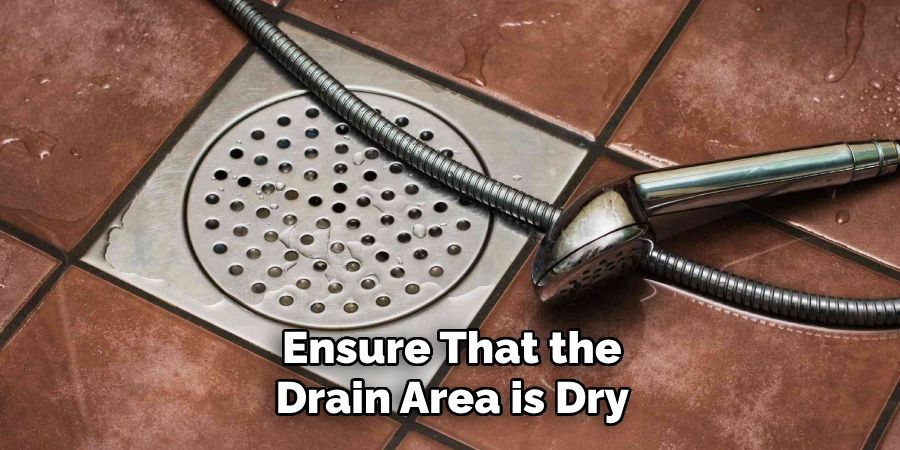
For snap-in covers, align the cover over the drain and gently press down until you hear a click, indicating it is securely in place. For weighted covers, simply position it over the drain opening and let it rest there. After reinstalling the cover, double-check that it is firmly secured and properly seated to prevent any future issues.
Step 8: Test the Drain
Once the cover is reinstalled, it’s essential to test the drain to ensure proper function. Run water through the shower and observe if it drains efficiently without any clogging or backup. If you notice any issues, repeat the cleaning and maintenance process as needed.
Properly maintaining your shower drain cover will not only help prevent clogs and damage but also extend its lifespan for optimal functionality. Regularly removing and cleaning the drain cover should be a part of your routine household maintenance. With these simple steps on how to remove the drain cover in a shower, you can effectively remove and reinstall your shower drain cover with ease. Now that you have successfully completed this task celebrate by taking a relaxing shower!
Frequently Asked Questions
Q: Can I Use a Plunger to Remove a Stuck Drain Cover?
A: It’s not recommended as it can potentially damage the cover or cause injury. Try using a screwdriver or tapping the cover from various angles to loosen it instead.
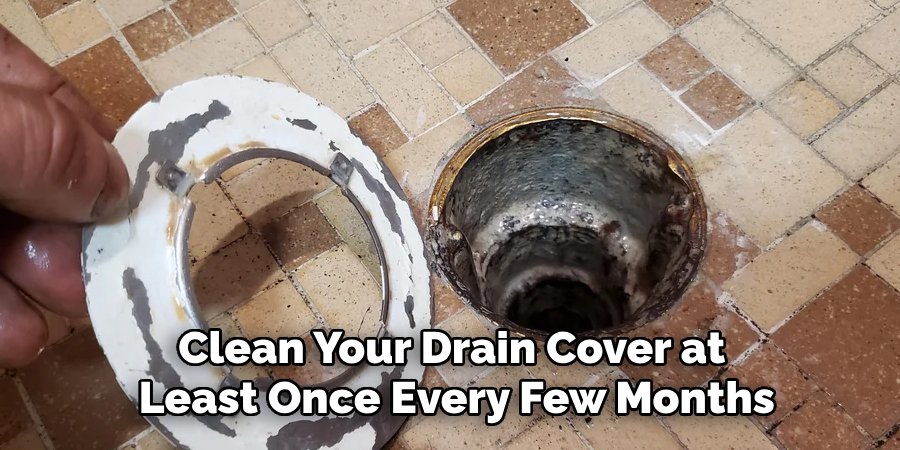
Q: How Often Should I Clean My Drain Cover?
A: It’s recommended to clean your drain cover at least once every few months, depending on usage and buildup. Regular cleaning will help prevent clogs and maintain proper drainage.
Q: What Do I Do if the Screws are Rusted and Won’t Come Out?
A: Try using pliers to get a better grip on the screws for easier removal. If that doesn’t work, you may need to consult a professional plumber for assistance. It’s essential not to force the screws out, as this can cause damage to the cover or drain. So, always be gentle and careful while removing the screws.
Q: Can I Use Bleach to Clean My Drain Cover?
A: It’s not recommended as bleach can potentially corrode metal covers and cause discoloration on plastic covers. Stick to mild soap and water for cleaning your drain cover. You can also use natural cleaning solutions such as vinegar and baking soda for tougher buildup. Be sure to rinse off any cleaning solution thoroughly before reinstallation.
Conclusion
Maintaining your shower drain cover is a simple yet crucial task that can prevent clogs and ensure efficient drainage in your bathroom. By following the outlined steps on how to remove the drain cover in a shower for removal, cleaning, and reinstallation, you can enhance the longevity of both the cover and your plumbing system. Regular upkeep, including addressing any debris and buildup, will contribute to a more sanitary environment and reduce the likelihood of plumbing issues.
Remember that a well-maintained drain is essential not only for functionality but also for creating a pleasant and hassle-free shower experience. By incorporating this maintenance into your routine, you can enjoy a clean and efficient shower for years to come.

