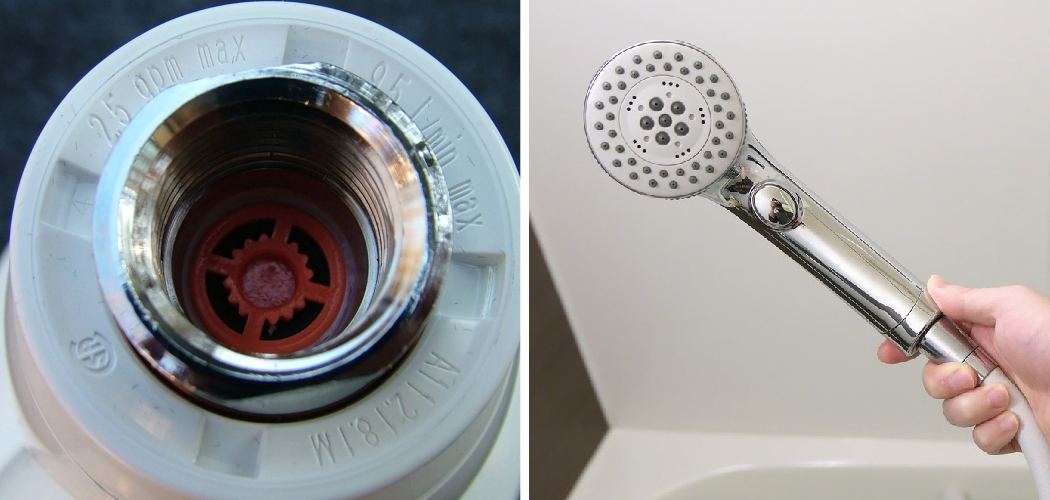
Are you feeling frustrated with the weak flow of water from your shower head? Are you looking for ways to improve your shower experience? If so, did you know that removing the flow restrictor from a shower head can help increase water pressure and give you an extra-powerful spray perfect for washing away dirt and grime?
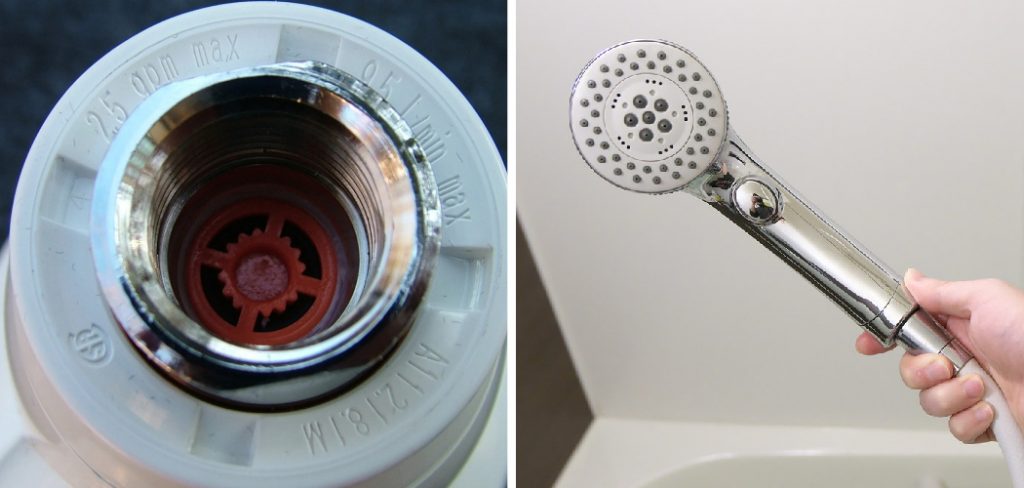
Removing the flow restrictor takes only minutes of your time, but it can make a world of difference in helping you get a truly refreshing shower. In this blog post, we’ll show you exactly how to remove the flow restrictor from a shower head—and why doing so could be the best thing to transform your bathroom experience!
Why Removing Flow Restrictor From Shower Head is Important?
Most shower heads are equipped with flow restrictors, which are small pieces of plastic that limit the amount of water flowing through them. These flow restrictors help conserve water and keep your utility bills low. But they can also reduce your shower head’s performance and leave you with a weak spray that may not be strong enough to wash away dirt and grime effectively.
Removing the flow restrictor can help increase water pressure and provide a more powerful spray, making it much easier to clean yourself during your shower. In addition to being more effective at cleaning, a high-pressure shower head also adds to your overall comfort during the showering experience.
The Benefits of Removing Flow Flow Restrictor From a Shower Head
Removing the flow restrictor from your shower head offers a variety of benefits. Here are just a few:
1. Increased Water Pressure
Removing the flow restrictor increases water pressure and gives you a more powerful spray for washing away dirt and grime effectively. It will definitely make your showering experience more enjoyable. The water pressure will be strong enough to ensure that you’re adequately cleaned and rinsed off, leaving your skin feeling refreshed.
2. Enhanced Shower Experience
A high-pressure shower head adds to your overall satisfaction with the showering experience. The powerful spray of water can leave you feeling energized and refreshed as opposed to a weak, barely-there flow of water.
3. Improved Cleaning Ability
A high-pressure shower head makes it much easier to clean yourself during a shower, and you’ll find that dirt and grime are washed away faster than before. You may even notice improved results from using soap and shampoo. Cleaning yourself in the shower can be a much more enjoyable experience with a high-pressure shower head.

Required Items
Before you start removing the flow restrictor, it’s important to make sure that you have all of the necessary items. Here is a list of everything you will need:
- Pliers
- Screwdriver
- Towel
- Container for the removed parts (optional)
10 Instructions on How to Remove the Flow Restrictor From a Shower Head
1. Turn Off the Water
Begin by turning off the water to your shower head. You can do this by either turning the knob on the wall or shutting off the main water valve for your home. The water needs to be completely off before you start working on the shower head.
2. Remove the Shower Head
Once the water is shut off, use a wrench or pliers to loosen and remove the shower head from the wall. Place it on a towel so that any remaining water can drain out. Shower head designs vary, so make sure you consult the manufacturer’s instructions if needed.
3. Locate the Flow Restrictor
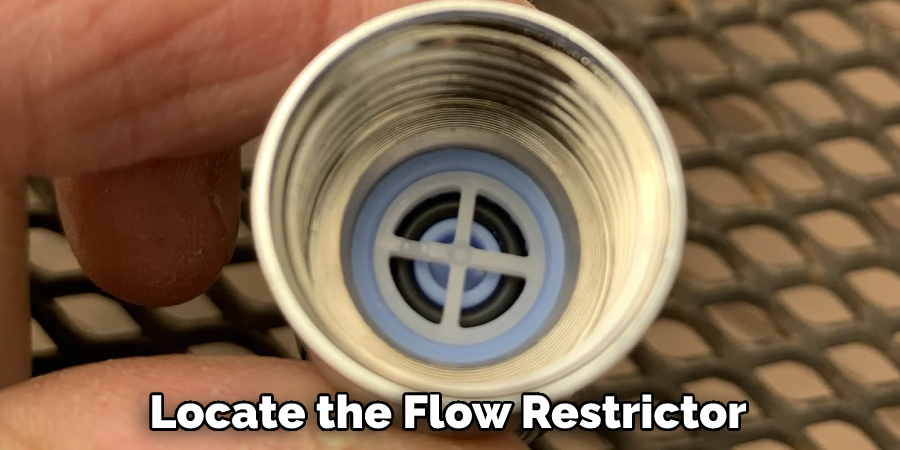
Now it’s time to locate the flow restrictor. It is typically located at the base of the shower head and can be a small disc or cylinder-shaped piece of plastic. Locating it can be tricky, so make sure you examine the shower head carefully before you proceed.
4. Loosen Flow Restrictor
Once you have located the flow restrictor, use your pliers to loosen the shower head. It will make it easier to remove. Remember to be gentle as you don’t want to damage it.
5. Remove Flow Restrictor
Now that the flow restrictor is loosened use your fingers or a screwdriver to remove it from the shower head. Be careful not to lose any of the parts in the process. If you are worried about losing any of them, put them in a container for safekeeping.
6. Clean the Shower Head
Now that the flow restrictor has been removed, it’s time to clean out any remaining debris from the shower head. Use a soft brush and warm water to remove any dirt or soap scum that may have built up over time.
7. Reinstall the Shower Head
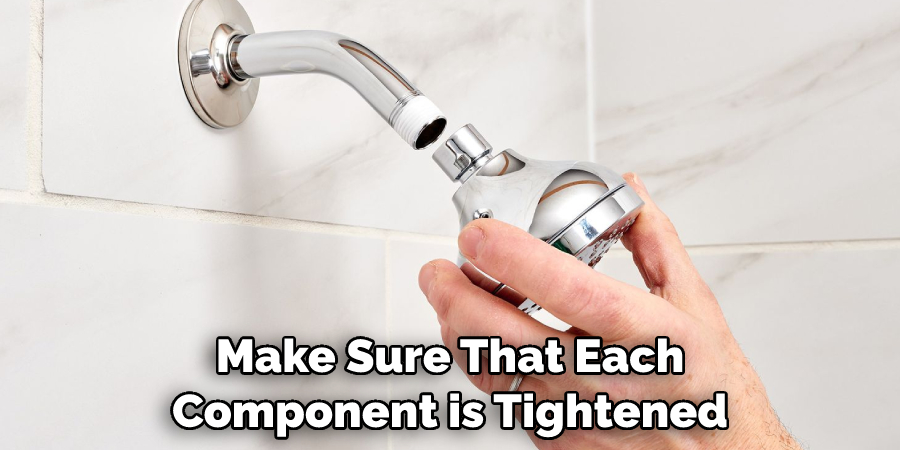
Once you have finished cleaning, you can begin to reinstall your shower head. Make sure that all of the components are securely tightened and that there is no leaking around the shower head before using it again.
8. Turn On the Water
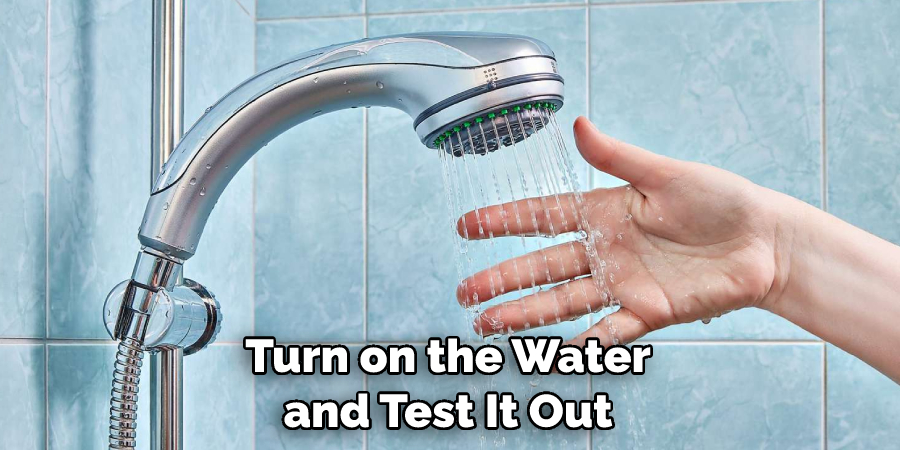
Now that the shower head is secure, you can turn on the water and test it out. Make sure that you are getting the desired pressure from the shower head, and if not, try adjusting the settings. Keep in mind that it may take some time for the water pressure to increase.
9. Reinstall the Flow Restrictor (Optional)
If you are not satisfied with the increased water pressure, you can always reinstall the flow restrictor. This will decrease the pressure again and conserve water in your household.
10. Enjoy
Finally, you can enjoy your new high-pressure shower head and the improved showering experience that it provides. With a few simple steps, you will be enjoying powerful showers for years to come. Make sure you check the manufacturer’s instructions for proper maintenance advice and cleaning tips to ensure the long life of your shower head.
8 Safety Precautions to Follow
1. Turn Off the Water Source
Always make sure that you turn off the water source before attempting to remove the flow restrictor from your shower head. It will help to prevent any accidents or damage from occurring. Water source valves are typically located near the base of the shower, so be sure to check them first before beginning.
2. Use Proper Tools and Equipment
When working on a project like this one, it is important to use proper tools and equipment. Make sure that you have all of the necessary items, such as pliers, a screwdriver, and towels, before beginning. It will help to make the process go more smoothly.
3. Wear Protective Gear
Wear protective gear such as gloves and eye protection when working on any type of plumbing project. It will help to protect you from any hazardous materials or tools that may be present during the process.
4. Exercise Caution During Removal
When removing the flow restrictor, be sure to exercise caution. Do not use too much force, or you could damage the shower head or other components of it. Caution is key when working on any sort of plumbing project.
5. Clean Thoroughly After Removal
Once the flow restrictor has been removed, make sure to clean the area thoroughly. This will help to prevent any dirt or debris from entering back into your water supply and causing harm later on. Cleaning the area thoroughly is an important safety precaution.
6. Follow the Manufacturer’s Instructions
When working on any type of plumbing project, it is always important to follow the manufacturer’s instructions for maintenance and installation procedures. This will help to ensure that your shower head lasts longer and functions properly.
7. Reinstall Parts Properly
When reinstalling the shower head, it is important to make sure that all of the pieces are put together properly. Make sure that each component is tightened securely and that there are no leaks around the shower head before using it again.
8. Test for Leaks After Installation
Once you have finished installing your new high-pressure shower head, it is important to test for any leaks. Make sure that all of the components are secure and that there are no weak spots or dripping before using it again.
By following these steps, you can easily remove the flow restrictor from your shower head and enjoy a more powerful showering experience. With careful planning and safety precautions in place, you can ensure that the job is done correctly and safely. Happy showering!
8 Maintenance Tips
1. Regularly check the shower head for any buildup of mineral deposits or clogs. You should do this once every few months. Also, check for any signs of damage to the flow restrictor or other parts of the shower head.
2. If you find that the water pressure is weak after a period of time, then it could be because of an accumulation of debris or mineral deposits on the flow restrictor. You should remove this build-up by using a vinegar and water mixture to soak the flow restrictor and then scrubbing it with a soft brush.
3. If you still don’t find your desired water pressure, try removing the entire shower head. You can do this by unscrewing it from the wall bracket or pipe that holds it in place. Do it gently and carefully, as you don’t want to damage any of the parts.
4. Once you have removed the shower head, locate the flow restrictor and remove it from the body of the shower head. You may need to use a pair of pliers for this step.
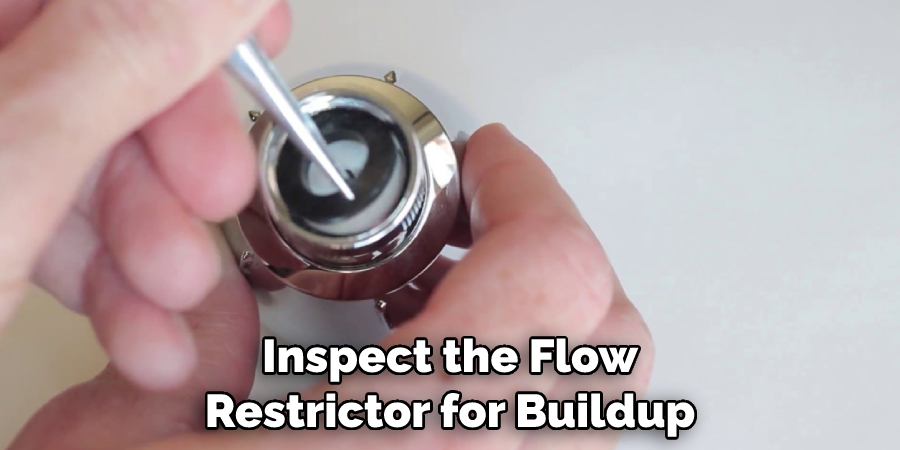
5. Next, inspect the flow restrictor for buildup and debris. If you find any, soak it in a vinegar and water solution for about 30 minutes before scrubbing it with a soft brush.
6. After cleaning the flow restrictor, reassemble the pieces of the shower head and reinstall them onto the wall bracket or pipe that holds it in place. Test the pressure to make sure the flow restrictor has been removed effectively.
7. If you are not comfortable removing, cleaning, or reinstalling the parts of the shower head yourself, then reach out to a professional plumber for assistance.
8. Finally, avoid using harsh chemicals or abrasive tools, as they can damage the components of the shower head and lead to costly repairs.
Conclusion
All in all, removing the flow restrictor from a shower head is not a complicated task to do. With a few basic steps on how to remove the flow restrictor from a shower head, tools, and some time, it is possible to easily remove an annoying flow restrictor without needing to invest in professional help. After the removal process is complete, you will be able to take refreshing showers with a full force of water like never before! It’ll provide an entirely new experience and make your daily showers much more invigorating.
Furthermore, being able to customize your showering experience greatly increases the quality of your life while also saving you money on utilities over time. So why not give it a go? If you’re still hesitant about taking on this project, find someone who has done it already or hire professional help; there’s no need to attempt something that may be out of your skill set.

