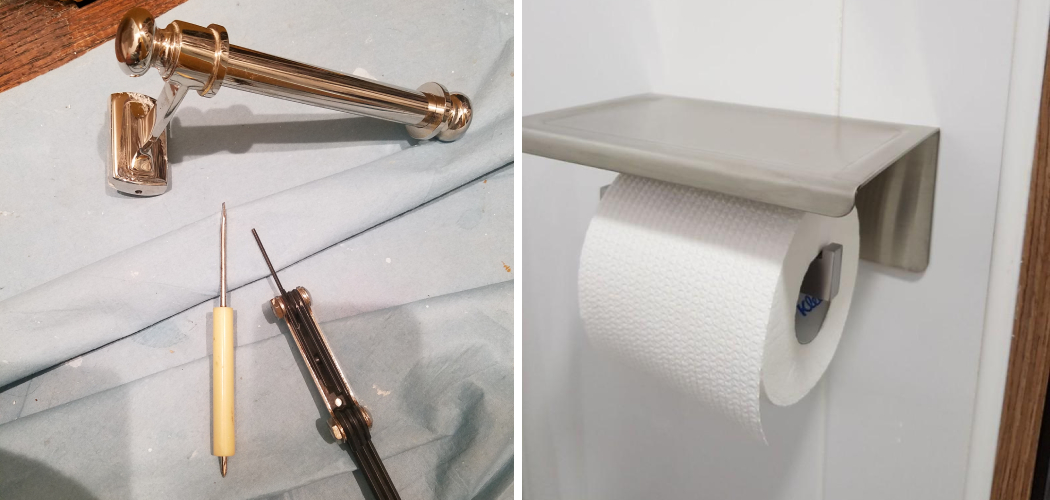
Toilet paper holders are an essential part of any bathroom. However, when it comes time to replace or repair them, the removal task can be daunting. This is especially true when no visible set screws are found. But don’t worry, we’ve got you covered! In this post, we will walk you through the steps of how to remove toilet paper holder without set screws to make this task effortless.
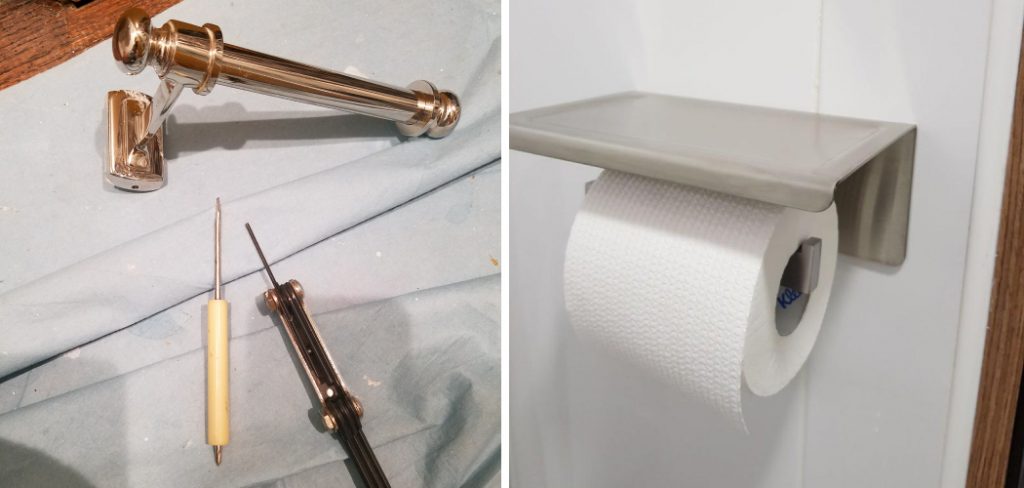
Can You Remove the Toilet Paper Holder without Set Screws?
Have you ever found yourself staring at your bathroom wall, wondering how in the world you’re supposed to remove that pesky toilet paper holder? If you’re like most people, you’ve probably tried unscrewing it, only to realize that no visible set screws are holding it in place. So what do you do? Believe it or not, there are a few tricks you can try.
One method involves using a hairdryer to heat up the adhesive behind the holder. In contrast, another involves using a putty knife or flathead screwdriver to gently pry it off the wall. Whichever method you choose, just be sure to go slow and steady, as you don’t want to damage your wall. With patience and determination, you’ll have that toilet paper holder off in no time!
Why Should You Remove the Toilet Paper Holder without Set Screws?
The toilet paper holder is one of those fixtures you probably don’t pay much attention to – until something goes wrong. Whether it’s loose on the wall, the rolls keep falling off, or you don’t like its design anymore, you may wonder how to remove it. If your toilet paper holder hasn’t visible set screws, you might be tempted to grab a hammer and chisel and chip it off the wall. But wait! There’s a better way.
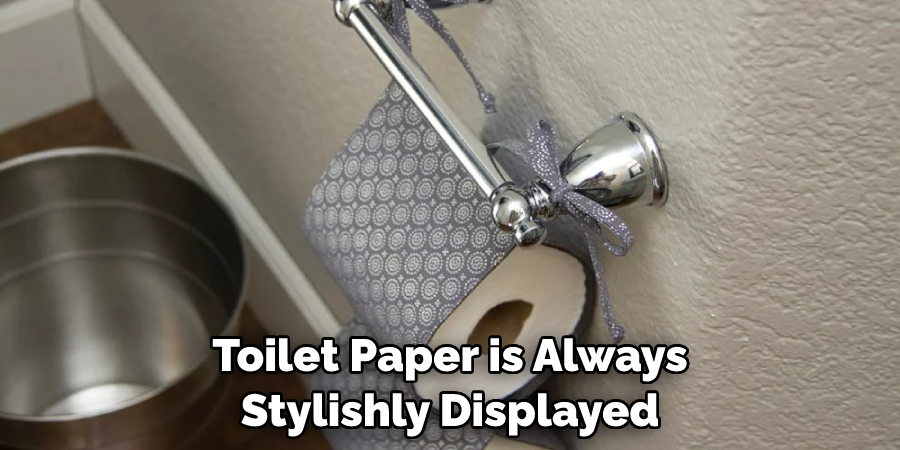
Removing the toilet paper holder without set screws requires a bit of finesse, but it’s completely doable with the right tools and a little patience. So why should you bother? Removing the holder properly will save your walls from unnecessary damage. Plus, it’s easy to update your bathroom’s look and ensure your toilet paper is always stylishly displayed.
7 Steps to Follow on How to Remove Toilet Paper Holder without Set Screws
Step 1: Inspect the Holder
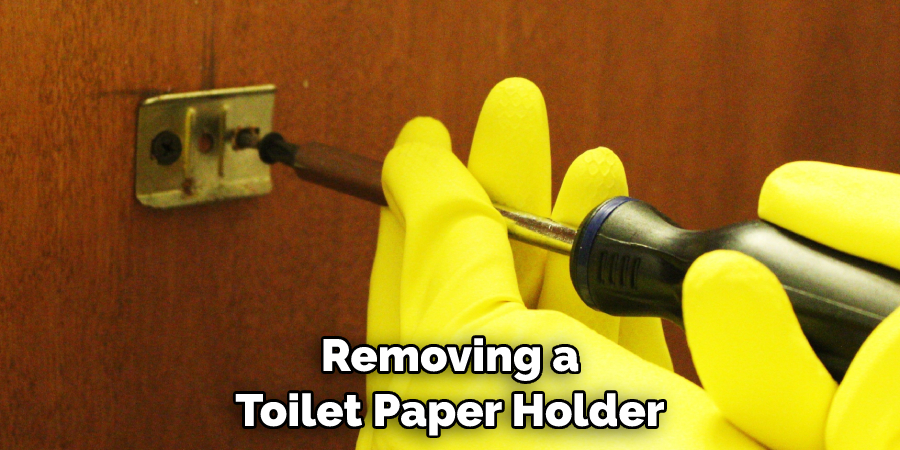
Before we begin, inspect the holder to check if it screws into the mounting bracket or is attached via adhesive tape or glue. If screws are present, gently unscrew them using a screwdriver. However, if there are no visible screws, we look for hidden mounting brackets that keep the holder in place.
Step 2: Find the Mounting Bracket
Toilet paper holders, even those without set screws, will have a mounting bracket attached to the wall to keep it in place. Check the wall surrounding the holder to locate any hidden screws. Some brackets can be located by slightly prying the holder away from the wall. Once found, use a screwdriver to remove them. You should also check the back of the holder for any screws or clips that may be holding the bracket in place and remove them.
Step 3: Pry the Holder Off
If no visible mounting brackets are present, your holder is most likely attached to the wall using adhesive tape or glue. To remove, use a flat tool like a putty knife to apply slight pressure between the holder and the mounting surface. You can add heat to loosen the adhesive glue. Never use extreme force or excessively pry the holder from the wall. Doing so may cause damage to the mounting surface or the holder itself.
Step 4: Use a Hair Dryer or Heat Gun
Sometimes, when a toilet paper holder is attached using adhesive tape or glue, adding a little heat will help break the adhesive. Use a hair dryer or heat gun to apply heat directly to the holder and mounting surface. Once heated, use your flat tool to pry the holder away from the wall carefully.
Step 5: Clean the Mounting Surface
After removing the holder, adhesive remnants are most likely stuck to the wall. Use a light solvent like rubbing alcohol or adhesive remover to clean the mounting surface thoroughly. It’s important to remove any remnants of glue or tape to ensure proper adhesion for your new holder.
Step 6: Install New Toilet Paper Holder
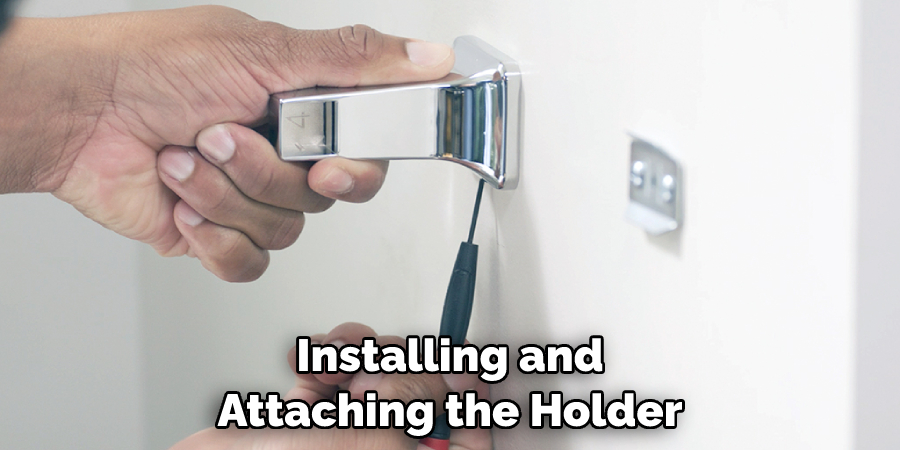
Once the mounting surface is clean, you’re ready to install your new holder. Follow the manufacturer’s instructions for installing and attaching the holder. Use small screws or adhesive tape to secure it in place if necessary. Make sure to follow any safety precautions recommended by the manufacturer.
Step 7: Enjoy a Clean and Secure Toilet Paper Holder
Once the new toilet paper holder is securely in place, you can begin your daily routine easily. Enjoy a clean, secure toilet paper holder that won’t budge or come undone. Congratulations, you have successfully removed a toilet paper holder without set screws!
That’s it! You’ve now learned how to remove toilet paper holder without set screws. Keep in mind that it might come off easy, but it may also require some work. Always take the necessary safety precautions and follow all manufacturer instructions when removing or installing your new holder. With these steps, you can ensure an efficient and secure changeover for your bathroom design.
5 Considerations Things When You Need to Remove Toilet Paper Holder Without Set Screws
1. Wall Material
When removing a toilet paper holder without set screws, you should first consider the wall material behind the fixture. Depending on the type of wall material, you may need to use different tools and techniques to safely remove the fixture.
For example, if your wall is made of drywall, you can easily pry off the fixture with a flathead screwdriver. However, if your wall is made of tile or another hard surface material, you will likely need a hammer and chisel to break through it.
2. Fixture Size
The size of the fixture will also be an important factor in determining how best to remove it. If the fixture is large and heavy, prying it off with a screwdriver, hammer, or chisel may be difficult.
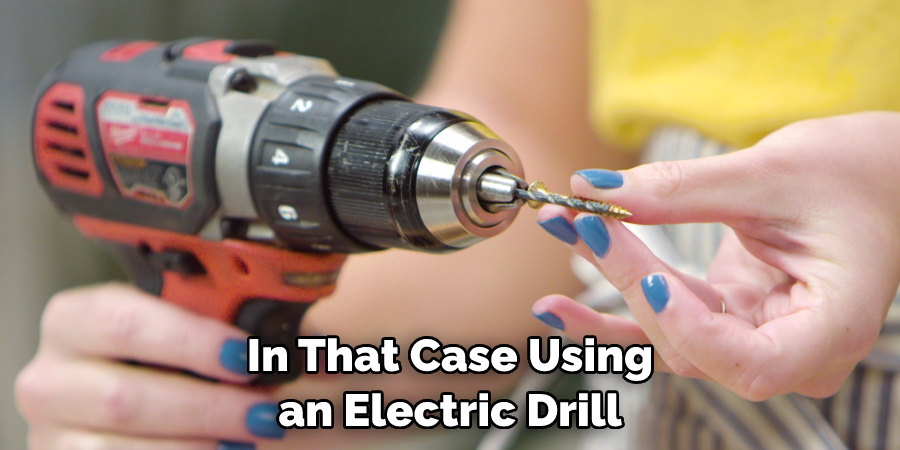
In these cases, using an electric drill with a specialized bit may be better for removing fixtures from walls. Additionally, if the fixture has multiple connected pieces (such as two separate arms), you may need more than one tool to remove them all at once properly.
3. Adhesive
Another factor that should be considered when removing a toilet paper holder without set screws is whether or not any adhesive is holding it in place. If adhesive is present, it must be carefully removed before attempting to remove the fixture itself. This can usually be done by applying heat from a hairdryer or using a specialized adhesive remover product available at most hardware stores.
4. Accessibility
The accessibility of the toilet paper holder will also play an important role in deciding how best to remove it without set screws. Suppose the holder is in an area with limited access (such as behind furniture).
In that case, using an electric drill may not be feasible due to a lack of space for maneuvering around obstacles. In these cases, using a hammer and chisel or other manual tools may be easier since they require less operation space than power tools.
5. Safety
Finally, safety should always be taken into consideration when attempting to remove any fixture from walls or other surfaces without set screws or other fasteners present
Always wear protective eyewear and gloves when using tools such as hammers and chisels and when handling adhesives or other potentially hazardous materials like caulk or grout remover products for loosening stuck-on fixtures from surfaces like tile walls and floors. Additionally, ensure that any power tools are unplugged before beginning the removal process to avoid potential accidents or injury.
By following these steps and taking all necessary safety precautions, you can easily and safely remove a toilet paper holder without set screws.
Benefits of Removing Toilet Paper Holder Without Set Screws
Removing a toilet paper holder can be frustrating and daunting, especially when dealing with set screws. But what if we told you there is a solution? Imagine being able to change your toilet paper holder without having to search for tiny set screws or use specialized tools. The benefits of having a removed toilet paper holder without set screws are immense.
You can now effortlessly switch out your holder with the latest trendy design or repaint your bathroom without worrying about damaging the set screw connections. This makes it a stress-free and easy process, saving time and money. So, say goodbye to the headaches of set screws and say hello to a convenient and hassle-free approach to changing your toilet paper holder!
Conclusion
Removing a toilet paper holder without set screws can be challenging, but it’s not impossible! Always start by inspecting the holder and looking for any hidden screws or mounting brackets. If no screws are visible, apply a little heat using a hair dryer or heat gun to loosen the adhesive glue, and never use excessive force.
Once removed, always clean the mounting surface thoroughly to ensure proper adhesion for your new holder. We hope these tips will make your next toilet paper holder replacement project effortless! Thanks for reading our post about how to remove toilet paper holder without set screws.

