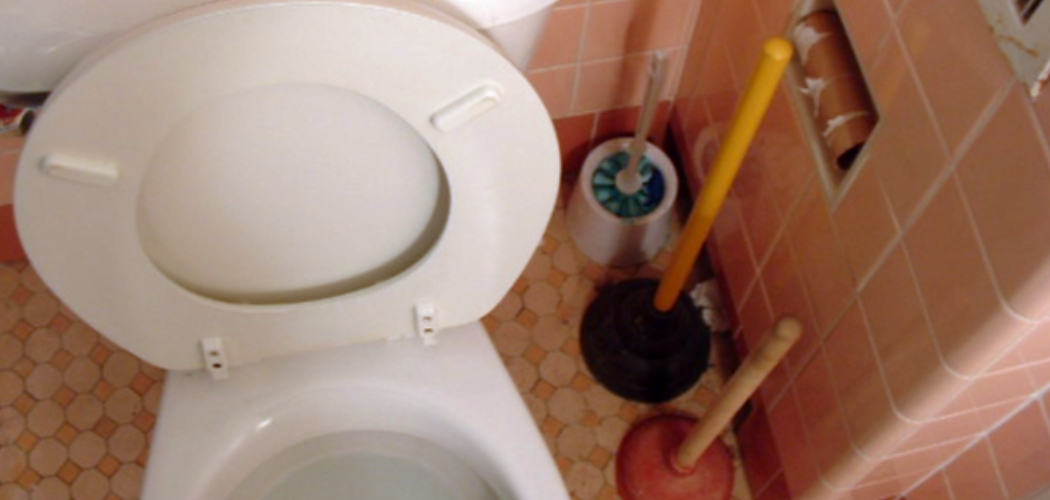
Dealing with tough clogs can be a frustrating and time-consuming experience, especially when you’re worried about damaging your plunger in the process. Fortunately, with the right approach and techniques, you can remove stubborn blockages effectively while keeping your tools in good condition. This guide will walk you through how to remove tough clogs without damaging the plunger.
Importance of Clearing Tough Clogs Effectively
Clearing tough clogs effectively is essential not only for maintaining the functionality of your plumbing system but also for preventing long-term damage and costly repairs. Ignoring persistent blockages can lead to increased pressure within pipes, which may cause leaks or even burst pipes over time.
Furthermore, improperly handled clogs can result in unsanitary conditions, unpleasant odors, and potential health hazards. By addressing clogs promptly and efficiently, you ensure a smoother flow in your drainage system while preserving the lifespan of your plumbing tools and fixtures. Taking the right approach also helps save time, effort, and resources in the long run.
Understanding Tough Clogs
Tough clogs can occur for a variety of reasons, often stemming from the accumulation of debris, grease, hair, or foreign objects in the drainage system. These blockages typically form over time as materials adhere to the walls of pipes, gradually narrowing the passage for water flow. Kitchen sinks, for instance, are prone to clogs from food particles and grease, while bathroom drains frequently face blockages from soap scum and hair.
The severity of a clog can also depend on factors like pipe material and age, as older or damaged pipes may contribute to the likelihood of stubborn blockages. Understanding the root cause of a clog is crucial for determining the best removal method and minimizing further damage to the plumbing system.
Why Plunger Damage Occurs
Plunger damage often occurs due to improper use and excessive force during attempts to clear tough clogs. When too much pressure is applied, the rubber cup or flange of the plunger can crack, tear, or lose its shape, rendering it less effective in creating a proper seal over the drain. Additionally, using the wrong type of plunger for the job—such as using a sink plunger on a toilet clog—can increase the likelihood of damage as these tools are designed for specific purposes.
Over time, exposure to harsh chemicals, like drain cleaners, can also weaken the rubber material, making it more prone to wear and tear. By understanding these common causes, you can take steps to handle clogs properly and avoid unnecessary harm to your plunger.
10 Methods How to Remove Tough Clogs without Damaging the Plunger
1. Assess the Nature of the Clog Before Using a Plunger
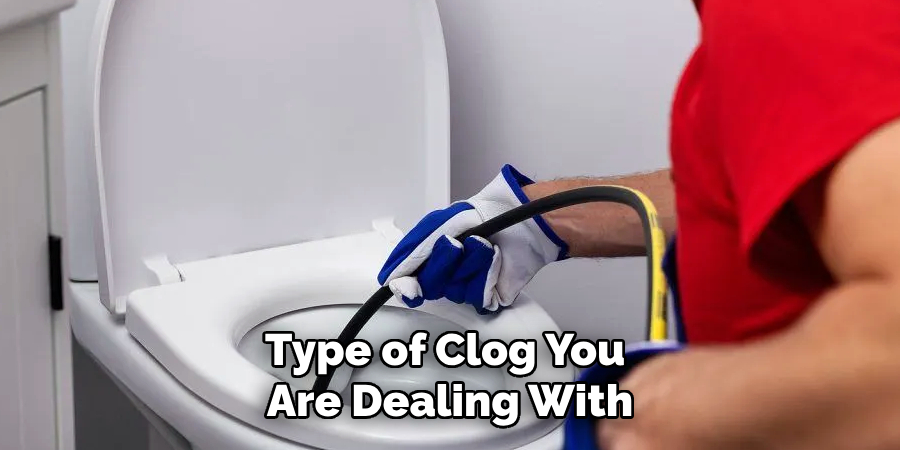
Before reaching for your plunger, determine the type of clog you are dealing with. Solid objects, grease buildup, or hair tangles may require different approaches. For example, plunging aggressively against a solid object, such as a toy or a chunk of food, can damage the plunger’s rubber cup. Use a flashlight to inspect visible clogs and decide whether pre-treatment, such as manually removing debris with gloves, is necessary. By understanding the clog, you can avoid unnecessary strain on your plunger.
2. Soften the Clog with Hot Water
One of the easiest and least invasive methods to loosen a clog is to pour hot (not boiling) water into the drain. The heat can break down grease or soap scum, making the clog easier to dislodge. This method is particularly effective for kitchen sinks or bathtubs. Fill a large pot or kettle with water, heat it until it’s just below boiling, and carefully pour it down the drain in stages. Allow the water to sit for 10–15 minutes before using your plunger. This preparation reduces the effort needed, protecting your plunger from excessive wear.
3. Use Dish Soap for Added Lubrication
Dish soap is another simple solution to help loosen stubborn clogs. Squirt a generous amount of liquid dish soap into the affected drain and let it sit for 10–15 minutes. The soap acts as a lubricant, reducing friction between the clog and the pipe walls. Follow up with hot water to further dissolve any greasy or sticky materials. When you use your plunger afterward, it will encounter less resistance, minimizing the risk of damage to the rubber cup.
4. Ensure a Proper Seal with the Plunger
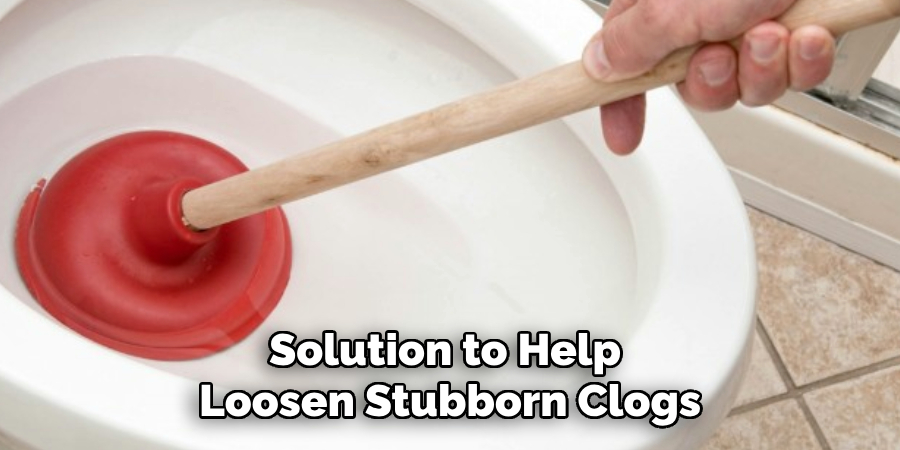
A proper seal between the plunger and the drain is critical for effective clog removal. If the seal is inadequate, you may apply unnecessary force, risking damage to the plunger. To create a tight seal, ensure the rubber cup fully covers the drain opening. For flat surfaces like sinks, moisten the edges of the plunger to improve suction. In toilets, ensure the plunger’s flange fits securely into the drain. This airtight seal maximizes pressure while reducing the need for excessive plunging force.
5. Use Controlled, Steady Plunging Techniques
Avoid the temptation to use brute force while plunging, as it can damage both the plunger and the plumbing. Instead, use controlled, steady motions. Begin by gently pushing down to expel air from the plunger cup, then pull upward without breaking the seal. Repeat this process in a rhythmic motion to build up pressure and loosen the clog gradually. Aggressive plunging not only risks tearing the plunger’s rubber but may also push the clog deeper into the pipe.
6. Augment the Process with Baking Soda and Vinegar
For a natural and effective clog-busting solution, combine baking soda and vinegar. Pour one cup of baking soda into the drain, followed by one cup of white vinegar. The chemical reaction produces bubbles that can break apart debris. Cover the drain with a stopper or damp cloth to direct the reaction downward. Allow the mixture to work for 20–30 minutes, then flush with hot water. This method softens clogs, making plunging easier and safer for your tool.
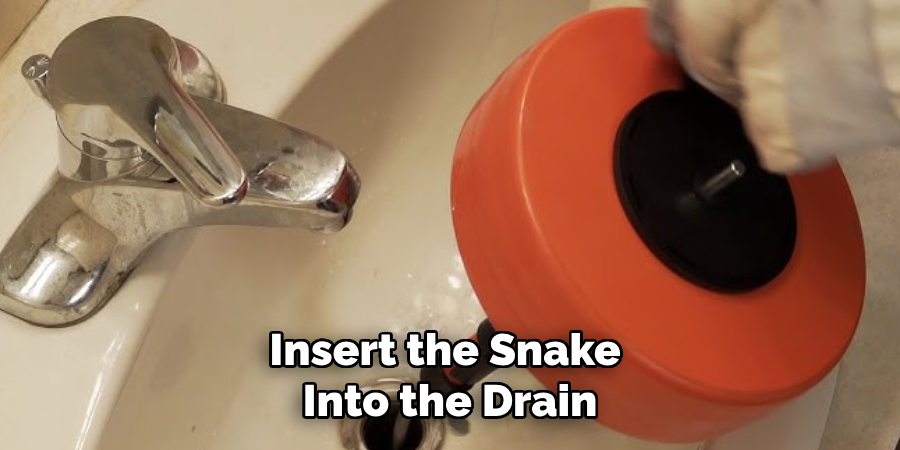
7. Use a Drain Snake as a Pre-Plunging Measure
If the clog persists after a few attempts with the plunger, consider using a drain snake (also known as a plumber’s auger). Insert the snake into the drain and rotate the handle to latch onto or break apart the obstruction. Once the clog is partially cleared, switch to the plunger for final dislodgment. Using a drain snake first reduces the effort required from the plunger, extending its lifespan and preventing unnecessary wear.
8. Protect the Plunger with a Bucket Technique
For particularly tough clogs, filling a bucket with water and pouring it directly into the drain can create extra force without straining the plunger. The water’s pressure can help dislodge debris or push it further down the pipe. Afterward, use the plunger to ensure the clog is fully cleared. This method minimizes the risk of overworking or damaging the plunger’s rubber cup, especially in toilets.
9. Avoid Harsh Chemicals to Prevent Wear
Chemical drain cleaners may seem like a quick fix, but they can damage your plumbing and the rubber components of your plunger. Harsh chemicals can weaken the rubber over time, making it less effective and more prone to cracking. Instead, opt for natural methods like vinegar and baking soda or enzymatic cleaners designed to break down organic matter safely. By avoiding corrosive substances, you preserve the longevity of your plunger while effectively tackling clogs.

10. Maintain and Store Your Plunger Properly
After clearing the clog, take the time to clean and inspect your plunger. Rinse it thoroughly with warm, soapy water to remove any debris or bacteria. Inspect the rubber cup for signs of wear, such as cracks or tears. Store the plunger in a dry, upright position to prevent deformation of the rubber. Proper care and storage ensure that your plunger remains effective for future use and reduces the likelihood of it sustaining damage during tough clogs.
Maintenance and Upkeep of Drain Plungers
Proper maintenance and upkeep of your plunger can significantly enhance its functionality and lifespan. Begin by regularly cleaning your plunger after each use to remove any residue or bacteria it may have accumulated. Use warm water and a mild soap to rinse the rubber cup thoroughly, ensuring that no harmful substances are left behind. After cleaning, dry the plunger completely to avoid damaging the rubber or causing odors due to moisture retention.
Inspect your plunger for any wear and tear, such as cracks, tears, or deformities in the rubber cup or handle. Addressing damage early can prevent the plunger from becoming ineffective when you most need it. For storage, keep the plunger in a well-ventilated, dry area to maintain the flexibility of the rubber cup and prevent it from warping. Consider using a holder or designated storage rack to keep the plunger upright and away from other household items for hygiene purposes.
By following these simple maintenance steps, you can ensure your plunger remains a reliable tool for tackling tough clogs, reducing the need for frequent replacements, and saving both time and money in the long run.
Conclusion
Removing tough clogs without damaging your plunger requires a combination of preparation, proper technique, and the right tools. From softening clogs with hot water and dish soap to using baking soda and vinegar or a drain snake, these methods minimize the strain on your plunger while maximizing efficiency. Avoiding harsh chemicals and adopting controlled plunging techniques further protect your tool and plumbing system. Thanks for reading, and we hope this has given you some inspiration on how to remove tough clogs without damaging the plunger!

