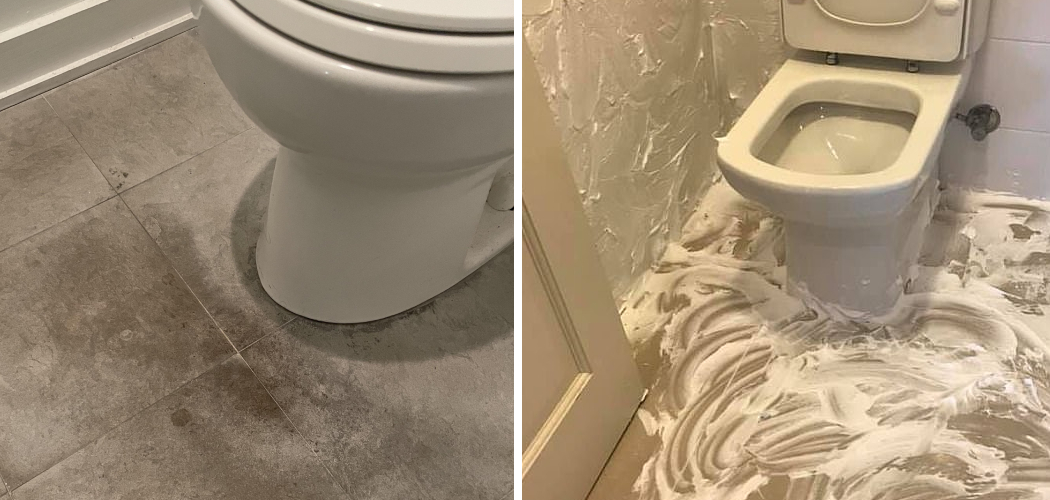
Do you have unsightly urine stains on your bathroom floor that won’t disappear no matter how hard you scrub? Are the unpleasant smells making it impossible to use your restroom in peace? If so, don’t despair! We are determined to provide a simple cleaning solution for removing stubborn stains and foul odors.
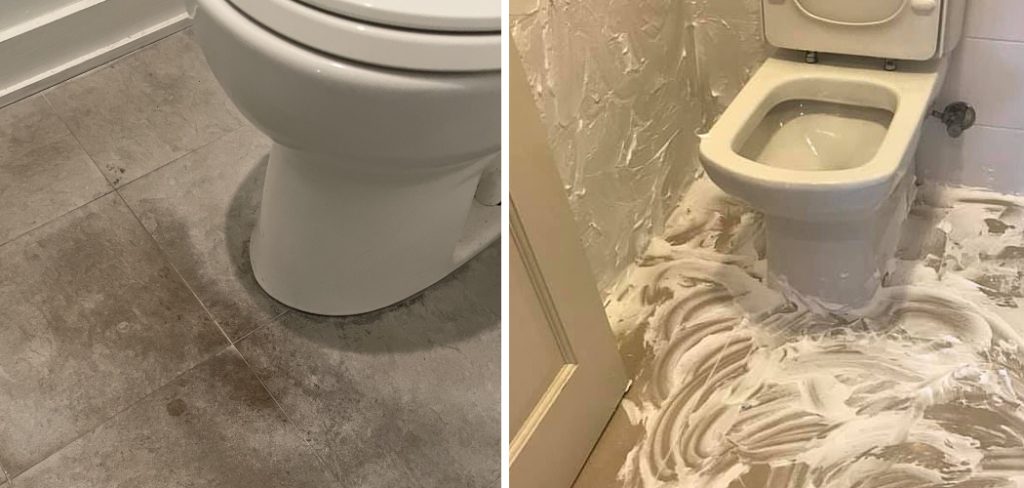
Urine stains can be a pain, but with the right approach, you can quickly get rid of them for good. Additionally, knowing how to remove urine stains from your bathroom floor can be a valuable skill, especially if you have kids or pets in the house.
Discover our easy-to-follow tips for getting rid of those embarrassing yellow patches – read on to find out how to remove urine stains from bathroom floor!
What Will You Need?
Before diving into the cleaning process, let’s ensure you have all the necessary tools and materials. You will need:
- A spray bottle
- White vinegar
- Baking soda
- Hydrogen peroxide
- Dish soap
- Hot water
Once you have all these items at hand, you are ready to start cleaning!
10 Easy Steps on How to Remove Urine Stains From Bathroom Floor
Step 1. Begin with a Preliminary Clean:
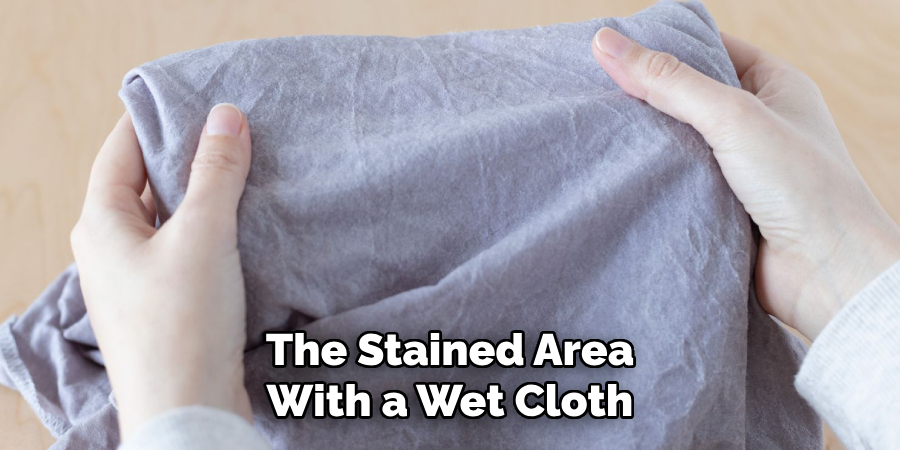
Start by wiping the stained area with a wet cloth, removing dirt or loose particles. This gives you a clean baseline to start the stain removal process. If the stain has already dried, dampen the cloth with warm water to soften and loosen it.
Step 2. Apply White Vinegar:
Vinegar is a natural deodorizer and can help in breaking down the stain. Fill your spray bottle with white vinegar and generously apply it over the stained area. Let it sit for 15-20 minutes, allowing the vinegar to penetrate and decompose the urine stain. After this time has elapsed, clean the area with a dry cloth.
Step 3. Sprinkle Baking Soda:
Next, sprinkle a generous layer of baking soda over the vinegar-soaked stain. Baking soda is excellent for absorbing odors and lifting stains. Allow it to sit on the stain for 10-15 minutes. Don’t rush this step; the baking soda needs time to work its magic on the urine stain.
Step 4. Apply a Mixture of Hydrogen Peroxide and Dish Soap:
While the baking soda is still on the stain, mix equal parts of hydrogen peroxide and dish soap in a bowl. Stir well to combine. Pour this mixture over the baking soda, fully covering the stained area. The combination of baking soda, hydrogen peroxide, and dish soap works to break down and lift the stain while also eliminating any lingering odors. Let this sit on the stain for another 15-20 minutes.
Step 5. Scrub the Stain:
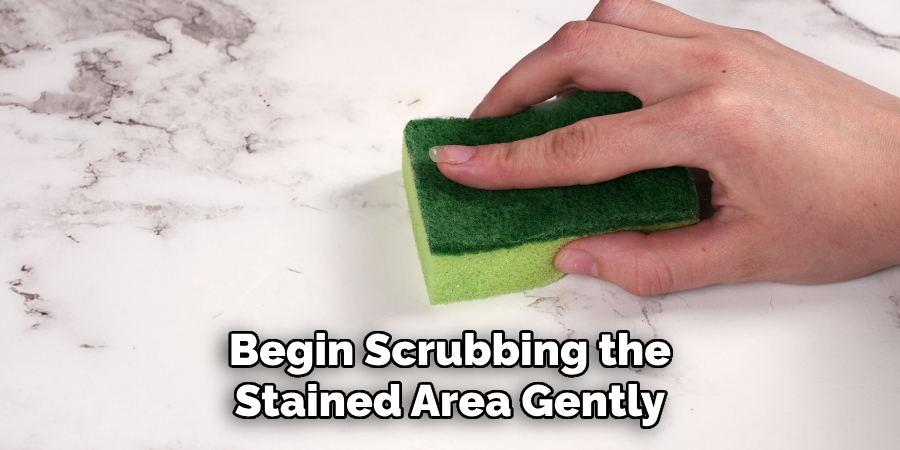
After allowing the mixture to sit, take a scrub brush or an old toothbrush and begin scrubbing the stained area gently. The scrubbing movement should be circular and firm enough to work the mixture into the stain but not so hard that it damages the floor. This step helps to break down the stain further and perform the cleaning solution deeper into the flooring.
Step 6. Rinse the Area:
After scrubbing the stain thoroughly, the next step is to rinse the area. Using warm water, rinse the entire area, thoroughly wash away the cleaning solution and loosen stain particles. This step ensures that no residues are left on the floor that may attract dirt and create a new stain. Be sure to rinse thoroughly, providing all the baking soda, hydrogen peroxide, and soap have been removed.
Step 7. Dry the Area:
After thoroughly rinsing the area, it’s time to dry it. Blot the area to remove as much water as possible using a clean, dry cloth or towel. You can also use a fan or hairdryer on a low setting to speed up drying. Drying the area ensures that no water is left behind, which could damage your floor or create an environment for mold and mildew to grow.
Step 8. Inspect the Area:
Once the area is completely dry, it’s time to inspect it closely. Check if the stain and odor have been completely removed. You may need to repeat the process if you can still see any residue or smell any odor. Cleaning stubborn urine stains sometimes requires a second or even a third round of treatment. Remember, persistence is critical to achieving the best results.
Step 9. Try an Enzyme Cleaner:
If the stain and odor persist after several attempts, you may need an enzyme cleaner specially designed to remove urine stains. These cleaners contain enzymes that break down the proteins in urine and eliminate any remaining traces of the stain and odor. Be careful when using enzyme cleaners, as some may contain strong chemicals that can damage certain types of flooring. Always read the label and follow the instructions carefully.
Step 10. Prevent Future Stains:
Now that your floor is clean and free of urine stains, you’ll want to prevent them from happening again. Some simple preventative measures include immediately cleaning up any spills or accidents and regularly cleaning your bathroom floors. Consider using a waterproof sealant on your flooring to protect it from future stains.
Following these steps, you can quickly and effectively remove urine stains from your bathroom floor.
5 Additional Tips and Tricks
Tip 1. Regular Maintenance:
Regularly cleaning your bathroom floor can help prevent urine stains from setting in. A weekly or bi-weekly cleaning with a mild bathroom cleaner can help keep your bathroom fresh and stain-free.

Tip 2. Protect Your Grout:
If you have tiled flooring, keep your grout lines well-sealed to prevent urine from seeping into them. This not only helps to maintain the appearance of your floor but also prevents any lingering odors.
Tip 3. Use a Black Light:
Sometimes, urine stains may be invisible to the naked eye. If you suspect there may be hidden stains on your bathroom floor, try using a black light to locate them. Urine stains will glow under the light, making it easier to identify and treat them.
Tip 4. Avoid Harsh Chemicals:
When cleaning urine stains, avoiding using harsh chemicals that can damage your flooring or harm your health is essential. Stick to natural cleaners like vinegar, baking soda, and hydrogen peroxide.
Tip 5. Consider Professional Cleaning:
If you’re dealing with stubborn or large urine stains on your bathroom floor, seek professional cleaning services. They have the necessary equipment and expertise to remove tough stains without damaging your flooring.
With these tips and tricks, you can effectively remove urine stains from your bathroom floor and keep your space clean and fresh.
5 Things You Should Avoid
1. Avoid Ignoring Spills:
The longer a urine spill stays on your floor, the harder it will be to remove. It’s crucial to clean up any spills as soon as they occur to prevent stains and odors from spreading.
2. Avoid Using Bleach:
While bleach is often used for its strong cleaning properties, it can react with the ammonia in urine, creating harmful fumes. It can also damage certain types of flooring, so it’s best to avoid using bleach when treating urine stains.
3. Avoid Scrubbing Too Hard:
Scrubbing too vigorously can damage your floor and also spread the stain further. Be gentle yet thorough when cleaning urine stains from your bathroom floor.
4. Avoid Using Hot Water:
Hot water can set the stain and make it more challenging to remove. Stick to using warm or cool water when cleaning urine stains.
5. Avoid Skipping a Test Patch:
Before using any new cleaning solution on your bathroom floor, always do a test patch in an inconspicuous area. This will ensure that the solution doesn’t cause any damage or discoloration to your flooring.
By avoiding these things, you can effectively remove urine stains from your bathroom floor without causing any damage or spreading the stain further.
Does Dish Soap Remove Urine Stains?
Yes, dish soap can be an effective cleaner for removing urine stains from your bathroom floor. However, it may not be strong enough to remove tough or set-in stains. It’s best to use dish soap and other cleaning solutions like vinegar or hydrogen peroxide for optimal results. Always rinse the area thoroughly after using any cleaning solution on your floor.
Additionally, make sure to use a mild dish soap that is safe for your specific type of flooring. Some types of flooring, such as hardwood or marble, may require unique cleaning products and should not be cleaned with harsh chemicals or abrasive materials. If you need more clarification, it’s best to consult the manufacturer’s instructions or seek professional advice.
Conclusion
All in all, when it comes to removing urine stains from bathroom flooring, one can take several different steps. From detergents and vinegar solutions to products made specifically for this purpose, no matter what the stain looks like or how long it has been set into the material, you can get rid of it quickly.
Hopefully, this guide on how to remove urine stains from bathroom floor has given you the information and confidence to tackle any urine stains in your bathroom effectively. Remember to act quickly and use safe, natural solutions for the best results. With regular maintenance and preventative measures, you can keep your bathroom floor clean, fresh, and free of urine stains.
Now that you know all the tips and tricks for removing those tough urine stains from your bathroom floor, why not put them into practice? Take charge now and show those unsightly marks who’s boss!

