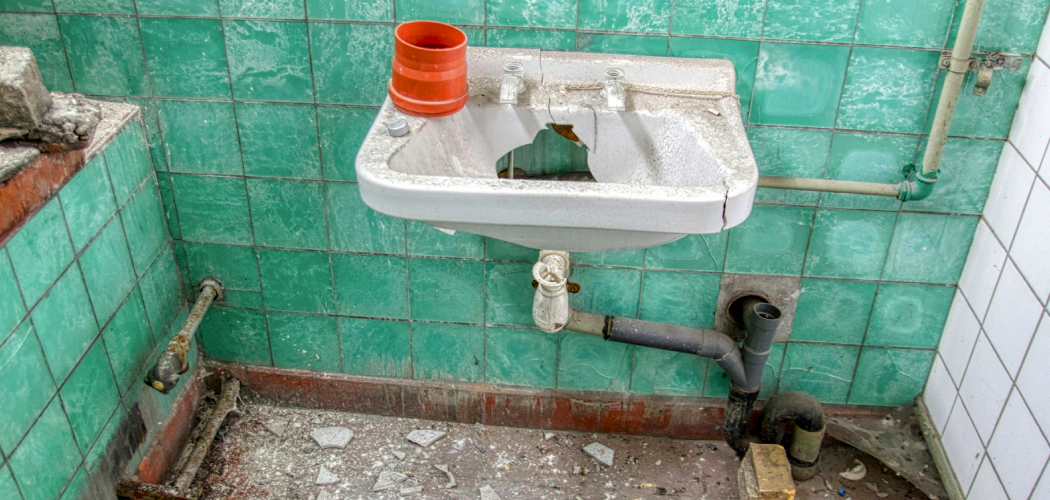
Repairing a cracked bathroom counter can seem like a daunting task, but with the right tools and guidance, it’s a manageable DIY project. Whether the crack is small and superficial or more significant, addressing it promptly can help prevent further damage and restore the functionality and appearance of your counter.
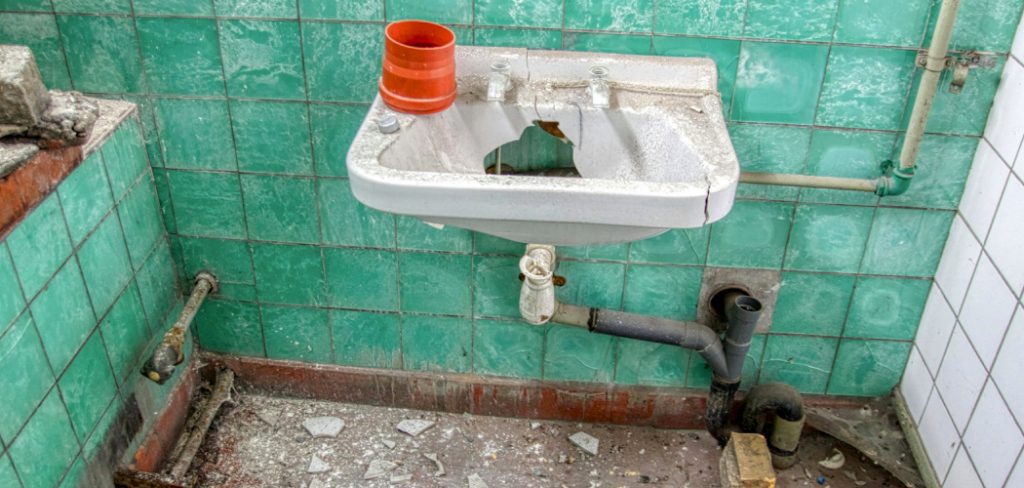
This guide on How to repair a cracked bathroom counter will walk you through the steps needed to repair a cracked bathroom counter effectively, saving you the cost of a full replacement.
Why Is Repairing a Cracked Bathroom Counter Important?
A cracked bathroom counter not only looks unsightly, but it can also become a breeding ground for bacteria and mold. If left unaddressed, the crack can spread and compromise the entire structure of your countertop, making it more challenging and expensive to repair in the future.
Additionally, a cracked counter can also affect the functionality of your bathroom. Depending on its location, it may cause water leakage or make daily tasks such as teeth brushing and makeup application more difficult. Therefore, repairing a cracked bathroom counter is not just about aesthetics but also necessary for maintaining a clean and functional space.
Tools and Materials Needed
Before you start repairing your cracked bathroom counter, gather all the necessary tools and materials to ensure a smooth process. These include:
Protective Gear:
Safety should always be a top priority when working on any DIY project. Make sure to wear protective gear such as gloves and safety glasses to protect yourself from potential injury.
Cleaning Supplies:
You’ll need to thoroughly clean the cracked area before starting any repairs. Have a good quality cleaner, such as an all-purpose cleaner or rubbing alcohol, handy.
Epoxy Resin:
Epoxy resin is a popular and effective adhesive for repairing bathroom counters. It’s strong, durable, and waterproof, making it ideal for withstanding moisture and daily use in a bathroom.
Mixing Utensils:
To apply the epoxy resin, you’ll need mixing utensils such as plastic spoons or sticks. Avoid using metal utensils as they can react with the resin.
Sandpaper:
The sandpaper will be needed to smooth out any rough edges or excess epoxy after it has cured.
Paint or Sealant:
If your bathroom counter is made of a material that requires painting or sealing, make sure to have the appropriate supplies on hand. This may include paintbrushes, sealant, and paint or stain.
8 Step-by-step Guides on How to Repair a Cracked Bathroom Counter
Step 1: Prepare the Area
Before starting the repair, it is essential to prepare the cracked area properly. Begin by removing any items from the countertop to create a clear workspace. Thoroughly clean the surface around the crack using an all-purpose cleaner or rubbing alcohol to remove dirt, grime, and soap residue.
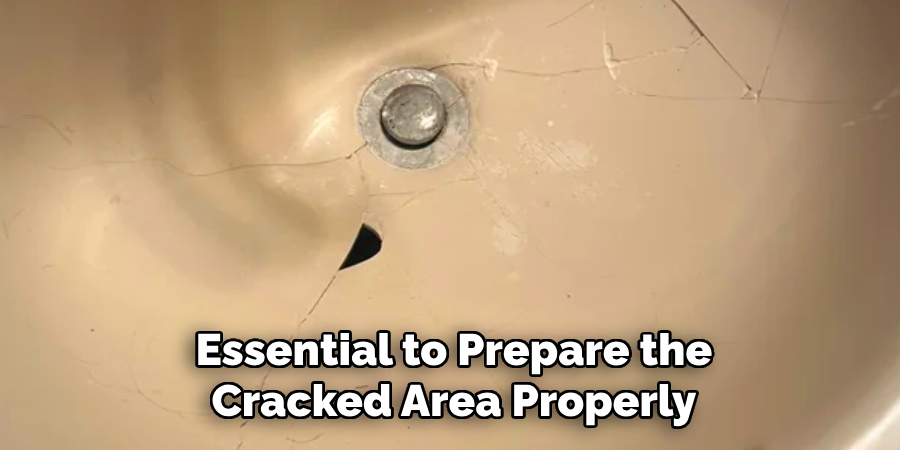
Allow the area to dry completely, as moisture can interfere with the adhesive properties of the epoxy resin. If there are any loose fragments around the crack, gently remove them to create a smooth and stable surface for the repair. Taking the time to prepare the area will ensure a better bond and a smoother overall finish.
Step 2: Mix the Epoxy Resin
Once the area is clean and dry, the next step is to prepare the epoxy resin for application. Follow the manufacturer’s instructions carefully when mixing the resin and hardener. Typically, this process involves combining equal parts of the two components in a disposable container.
Use a plastic spoon or stick to thoroughly mix the resin and hardener until the mixture is uniform in color and consistency. Be mindful of the working time indicated on the epoxy packaging, as it will begin to harden relatively quickly once mixed. Prepare only the amount of epoxy you can apply within the working time to avoid waste. Properly mixed epoxy resin is crucial for a strong and durable repair.
Step 3: Apply the Epoxy Resin
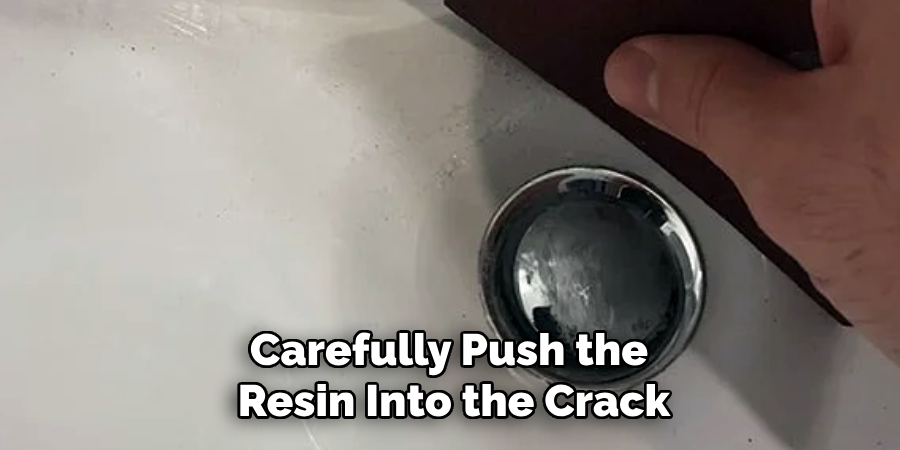
Using a plastic putty knife or spatula, apply the mixed epoxy resin to the cracked area. Carefully push the resin into the crack, ensuring that it fills all crevices and creates a level surface. If needed, use a toothpick or small brush to reach deep into narrow cracks.
Once applied, smooth out any excess with a putty knife or spatula to create an even surface. Make sure not to leave any gaps or air bubbles in the resin as this can weaken the repair.
Step 4: Let It Cure
Allow the epoxy resin to cure for at least 24 hours before using your bathroom counter. This will give the resin ample time to harden and ensure a strong bond. Avoid placing any objects or applying pressure on the repaired area during this time. If possible, cover the repaired area with plastic or tape to protect it from dust or debris.
It’s important to note that the curing time may vary depending on the type of epoxy resin used, so be sure to follow the manufacturer’s instructions for best results.
Step 5: Sand Down Excess Resin
Once the epoxy resin has fully cured, the next step is to sand down any excess material to create a smooth and even surface. Start by using medium-grit sandpaper (such as 120-grit) to remove the bulk of the excess resin. Work gently and carefully to avoid damaging the surrounding area of the countertop.
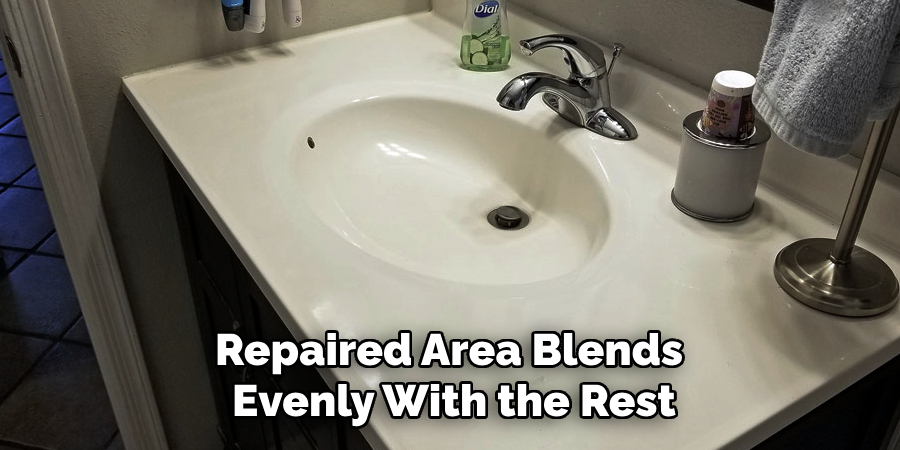
After the rough sanding, switch to finer grit sandpaper (such as 220 grit) to polish the surface and achieve a seamless finish. Sand in a circular motion, checking regularly to ensure the repaired area blends evenly with the rest of the countertop. Wipe away any dust or debris with a clean, damp cloth before moving on to the next step. Sanding is essential to restore the counter’s appearance and prepare it for painting or sealing if needed.
Step 6: Paint or Seal
If your bathroom counter is made of a material that requires paint or sealant, now is the time to apply it. Follow the manufacturer’s instructions carefully when applying paint or sealant and allow adequate drying time before using the countertop again.
If your countertop does not require painting or sealing, you may skip this step and move on to the next one.
Step 7: Buff and Polish
After sanding and painting/sealing (if needed), use a buffing compound and a soft cloth to bring back the shine to your bathroom counter. Apply the compound in circular motions, working in small sections at a time. Once complete, wipe away any excess compound with a clean cloth.
If your counter was not painted or sealed, you can also use this step to buff and polish the epoxy resin repair to create a smooth, glossy finish.
Step 8: Prevent Future Cracks
To prevent future cracks from occurring on your bathroom counter, make sure to avoid placing heavy objects on it and use cutting boards when handling sharp utensils. Also, regularly clean and maintain your countertop to keep it in good condition. Taking these preventive measures will help extend the life of your repaired bathroom counter.
Following these step-by-step guides on How to repair a cracked bathroom counter will help you effectively repair a cracked bathroom counter and restore its functionality and appearance. Remember to always use caution when working with epoxy resin and follow the manufacturer’s instructions for best results. With proper care, your repaired bathroom counter can last for years to come. So, go ahead and fix that crack – your countertop will thank you!
Additional Tips
- If your countertop is made of a natural stone like granite or marble, be sure to use an epoxy resin specifically designed for these materials.
- For larger cracks, consider using a reinforcing material such as fiberglass cloth to provide extra strength and support to the repair.
- If you are not confident in your DIY skills, it is always best to consult a professional for repairs on valuable or delicate bathroom counters.
- Regularly inspect your bathroom counter for any signs of cracks or damage, and address them as soon as possible to prevent further issues.
- For long-lasting results, choose a high-quality epoxy resin and follow the instructions carefully.
- If the crack on your bathroom counter is severe or extends beyond the surface, it may be best to replace the entire countertop rather than attempt a repair.
- Consider using a cutting board or tray under items that may cause scratches or damage to your bathroom counter, such as perfumes or hair styling tools.
- Properly seal any joints or seams on your bathroom counter to prevent water from seeping in and causing future cracks.
- If you do not have access to epoxy resin, consider using a two-part epoxy putty as an alternative for smaller repairs.
- Avoid exposing the repaired area to extreme temperatures while it is curing, as this can affect the strength and durability of the repair.
- Always wear protective gear, such as gloves and goggles, when working with epoxy resin to avoid skin irritation or eye damage.
- Keep in mind that some types of epoxy resin may emit strong fumes, so be sure to work in a well-ventilated area.
- Do not attempt to sand or buff the repaired area until the epoxy resin has fully cured, as this can damage the repair and affect its longevity.
- Lastly, remember that patience is key when repairing a cracked bathroom counter. Rushing through any of the steps can lead to a subpar repair job and may require redoing the entire process. Take your time and follow each step carefully for the best results.
Conclusion
Repairing a cracked bathroom counter is a manageable DIY project that can save you time and money compared to replacing the entire countertop. With the right tools and materials, you can successfully repair a cracked bathroom counter and restore its functionality and appearance. Remember to take your time and follow the steps carefully for the best results.
And don’t forget to regularly clean and maintain your countertop to prevent future cracks from occurring. Thanks for reading this article on How to repair a cracked bathroom counter.

