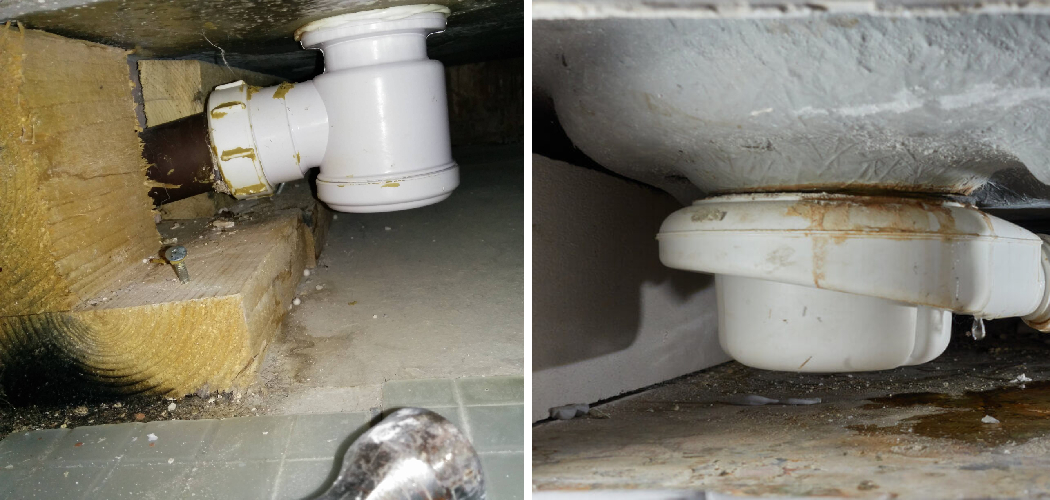
Have you ever had to deal with a leaking shower pan? It can be one of the most frustrating problems to try and solve in your bathroom.
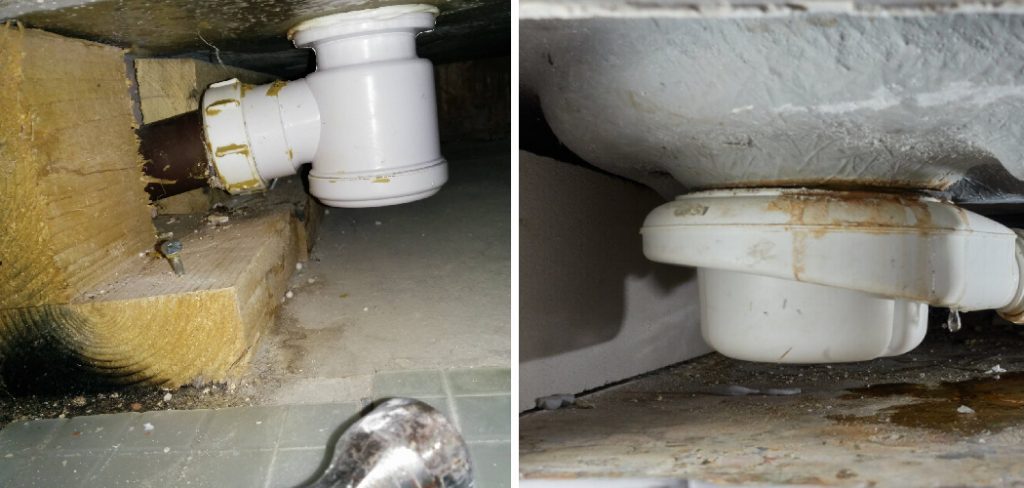
Whether it’s due to age, poor installation, or structural damage, a leaking shower pan is more than just an annoyance – it’s an issue that requires immediate attention before further issues are caused by water spilling into unaffected areas.
In this blog post on how to repair a leaking shower pan, we will discuss how to diagnose and repair a leaking shower pan quickly and cost-effectively without having to call a professional plumber.
By following our step-by-step guide you’ll save money on costly repairs while preventing further water damage from occurring in your bathroom. Read on for tips!
12 Step-by-step Guidelines on How to Repair a Leaking Shower Pan
Step 1: Identify the Source of the Leak
The most common cause of a leaking shower pan is age-related deterioration, but it can also be due to poor installation or structural damage. To identify the source of the leak, examine the shower pan for any cracks, loose joints, or damaged seals in visible areas. If you do find a source of water intrusion, move on to Step 2. However, if you cannot find a source of water intrusion, move on to Step 8. It’s important to identify the source of the leak before attempting any repairs on your own.
Step 2: Tighten Loose Fixtures and Seals
If the sources of the leak are loose fixtures or worn-out seals, begin by tightening all connections between fixtures with a wrench or screwdriver. Replace any worn-out gaskets and caulk around them to ensure that they remain waterproof. It may also be necessary to replace the shower pan itself if it’s severely damaged. But before you do, make sure to take measurements so you can find a pan that fits the exact dimensions of your bathroom.
Step 3: Apply Caulk to Cracks and Joints
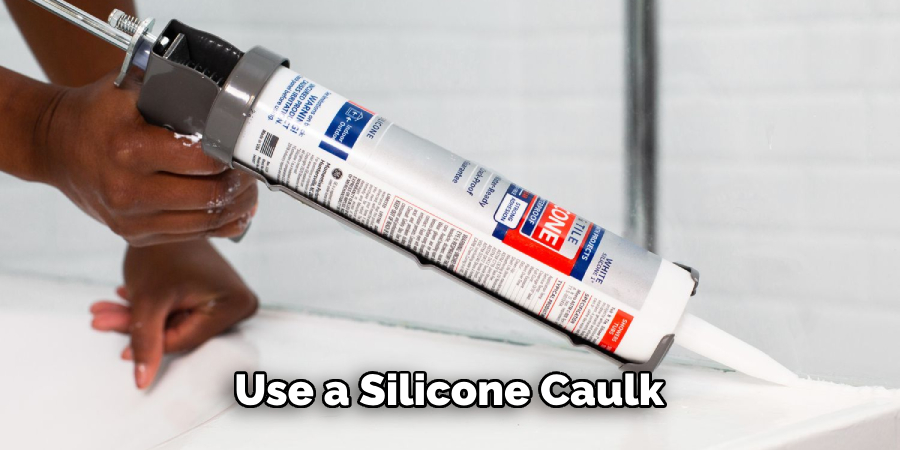
Once all loose fittings have been secured and sealed off, use a silicone caulk designed for showers to fill in any visible cracks or joints. Make sure to apply the caulk along the edges of the shower pan and where two pieces of tile meet, paying special attention to any gaps between the tiles and the drain pipe. It’s also important to caulk around the drain itself so water can’t sneak in from underneath. You can also use a waterproofing sealant to add an extra layer of protection against water intrusion. It may be necessary to reapply sealant every few years as part of your regular maintenance.
Step 4: Install a Membrane
Once all cracks and gaps have been sealed off with silicone caulk, install a membrane specifically designed for showers over the entire area. This will help prevent water from leaking into other parts of your bathroom and keep your shower pan protected against further damage.
This is a particularly important step if you’re installing a new shower pan, as it will help to protect the pan from any future water intrusion. It’s also a good idea to use a membrane if you’re installing new tiles, as it will help ensure that water doesn’t seep through any potential gaps between tiles and the shower pan.
Step 5: Apply Grout to Tiles
If you have ceramic or porcelain tiles in your shower, apply grout between them using a sealant specially designed for use in bathrooms. Once again, pay special attention to the area around the drain pipe and any gaps between the tiles. But be sure not to over-apply the grout, as it will make your shower tiles difficult to clean. Although a membrane is necessary to keep water out, it’s just as important that the grout is applied correctly so moisture can evaporate effectively.
Step 6: Re-caulk Joints and Edges
Once the grout has been applied, re-caulk all joints and edges of your shower pan with silicone caulk. Ensure that you use a waterproof sealant designed for bathroom fixtures in order to keep water from leaking out. It’s also important to make sure that the caulk is applied in a continuous bead with no gaps or breaks, as this will ensure that water won’t be able to seep through any gaps.
Step 7: Allow Time to Dry
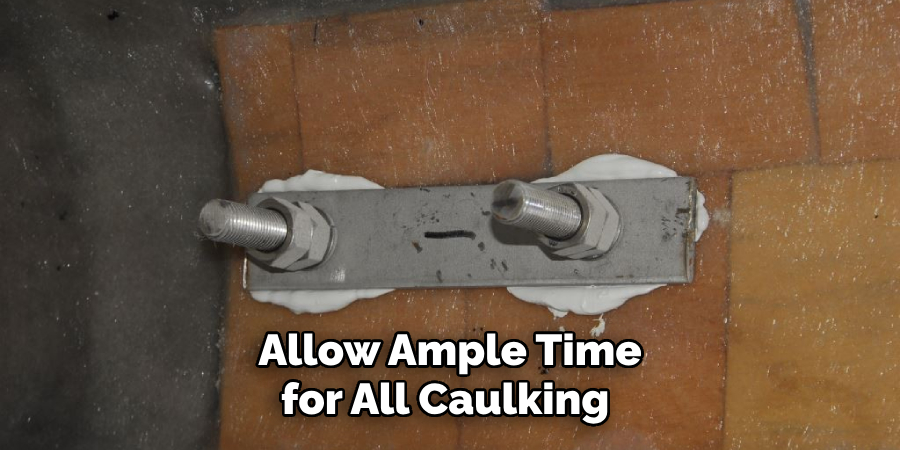
Allow ample time for all caulking and sealing materials to fully dry before testing out the shower pan. A minimum of 24 hours is recommended for optimal drying time. But it may be necessary to wait longer depending on the type of sealant or grout you’ve used. You can also use a water-resistant sealant to help speed up the drying process.
Step 8: Test Out Your Shower Pan
To visually check if your repair job was successful, run some water into the shower pan and check for any signs of leakage. If water starts to leak out, go back and make sure that you have securely tightened all fixtures and applied enough caulk or sealant along cracks and joints. If all appears to be in order, you’ve successfully repaired your leaking shower pan!
Step 9: Add Waterproofing Spray
Once you have inspected your repairs and are satisfied that no further leakage is occurring, apply a waterproof spray designed for use in showers over the entire area. This will help protect the surface from further damage due to moisture intrusion. It’s important to apply the spray evenly, so make sure you cover all visible areas of your shower pan.
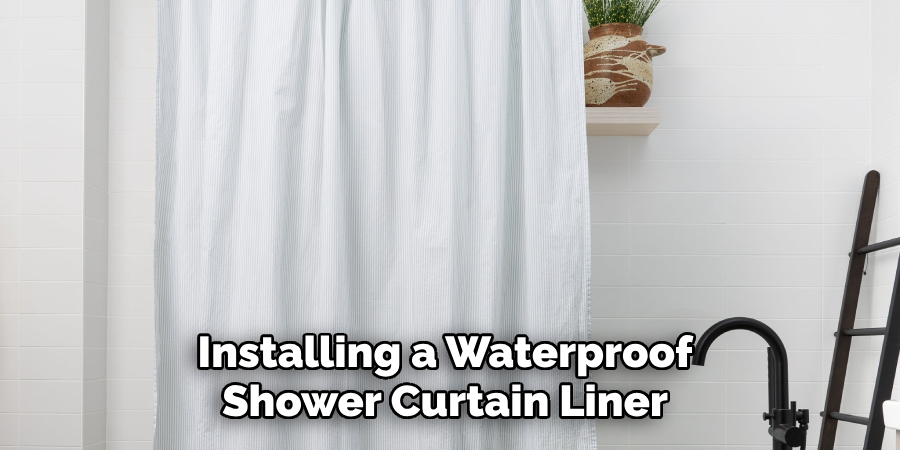
Step 10: Install Shower Curtain Liner
Finally, install a shower curtain liner over the entire area of your leaking shower pan to help keep it dry at all times. This will also help prevent water spills from accumulating on the floor outside of the shower pan. It’s important to check the liner periodically for any signs of water damage and replace it if necessary. Otherwise, it can serve as an extra layer of protection against water intrusion.
Step 11: Clean Up Excess Water
Once you have successfully repaired your leaking shower pan, use a wet/dry vacuum to remove any excess water from the area surrounding the shower. You may need to repeat this process multiple times until all remaining moisture has been removed. Always make sure that the area surrounding your shower pan is dry before using it again.
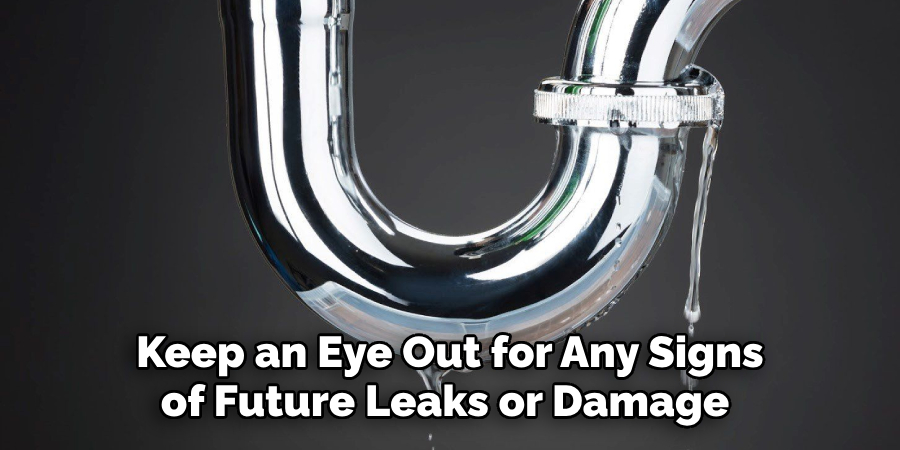
Step 12: Keep an Eye Out for Future Leaks
Finally, keep an eye out for any signs of future leaks or damage and address them promptly if they occur. Remember to inspect all fixtures regularly and apply a waterproof sealant as necessary in order to prevent further leakage and water damage.
In addition, regular maintenance of your shower pan can help ensure that it remains in good condition for years to come.
Following these steps on how to repair a leaking shower pan is a great way to ensure that your bathroom remains safe and dry at all times. Doing it yourself is a cost-effective solution that will save you from having to call in a professional plumber – something that can be costly and time-consuming. Best of luck!
Frequently Asked Questions
Q: What Kind of Caulk Should I Use for My Shower Pan Repair?
A: It’s recommended that you use a silicone-based caulk specifically designed for use in bathrooms. This will provide a waterproof seal that will help keep water from leaking into other parts of your bathroom.
Q: How Often Should I Check for Leaks After Repairing My Shower Pan?
A: It’s a good idea to inspect all fixtures and seals in your shower pan regularly. Applying a waterproof sealant every few months can also help prevent further leakage and water damage.
Q: What Should I Do if My Shower Pan Leaks Again After Repairs?
A: If you find that your shower pan continues to leak after repairs, it may be due to structural damage or poor installation. In this case, it’s best to call in a professional plumber for assistance.
Q: Is There Anything Else I Can Do to Prevent Further Leakage?
A: Installing a waterproof shower curtain liner over the entire area of your shower pan can help keep it dry at all times. Additionally, keeping an eye out for any signs of future leakage or damage is also recommended.
Conclusion
Repairing a shower pan can be difficult, but it’s not impossible. With the right tools and materials, you can keep your shower functioning properly for years to come! Just make sure you plan ahead and research specific instructions related to repairing your specific model pan.
If you cannot do the job yourself, then don’t hesitate to contact a professional plumber for assistance. Remember, leaks can cause serious damage if left unchecked.
The timely repair will save time and money in the long run—it’s definitely worth taking the time now to fix any problems as soon as they arise. Whether you’re able to do it yourself or seek help from a professional, there are plenty of options available when it comes to patching up that leaky shower pan.
So take a deep breath and get started on fixing up that leak for good! Thanks for reading this article on how to repair a leaking shower pan.

