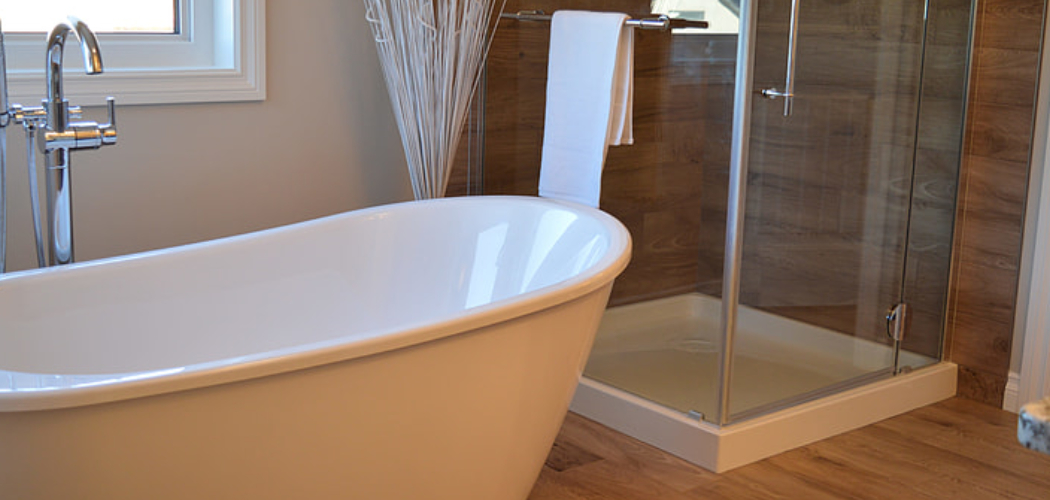
When it comes to maintaining a sleek and functional bathroom, knowing how to repair an acrylic bathtub can be a valuable skill. Acrylic bathtubs are popular due to their versatility, affordability, and aesthetic appeal. However, like any material, they are not immune to damage over time. Chips, scratches, and cracks can occur from everyday use, but the good news is that these issues can often be repaired without the need for professional help.
By following a few simple steps on how to repair acrylic bathtub, you can restore your bathtub to its former glory, ensuring it remains a beautiful centerpiece in your bathroom for years to come.
What is Acrylic?
Acrylic, also known as polymethyl methacrylate (PMMA), is a transparent thermoplastic often used as a lightweight, shatter-resistant alternative to glass. Its clarity and strength make it an ideal material for various applications, ranging from signage and display cases to skylights and bathtubs. Acrylic is favored in bathtub manufacturing due to its ability to be molded into complex shapes, its non-porous surface, and its resistance to mold and mildew.
Additionally, it maintains its color well and can be reinforced with a fiberglass backing for added durability. These properties not only make acrylic a practical choice for bathroom fixtures but also contribute to its growing popularity in home design.
Needed Materials
Before you begin repairing your acrylic bathtub, it’s important to gather all the necessary materials. Many of these items can be found at your local hardware store or online.
Acrylic Repair Kit:
This will typically include a filler compound, sandpaper, and a finishing polish. Make sure to choose a kit specifically designed for acrylic bathtubs.
Isopropyl Alcohol:
This will be used to clean the surface of the bathtub before and after repairs are made.
Masking Tape:
This will help create clean lines and prevent any unwanted spread of filler compounds.
Fine Grit Sandpaper:
This will be used to smooth out any rough edges or surfaces on the bathtub.
Soft Cloth:
A soft cloth, such as microfiber, can be used to buff and polish the repaired area.
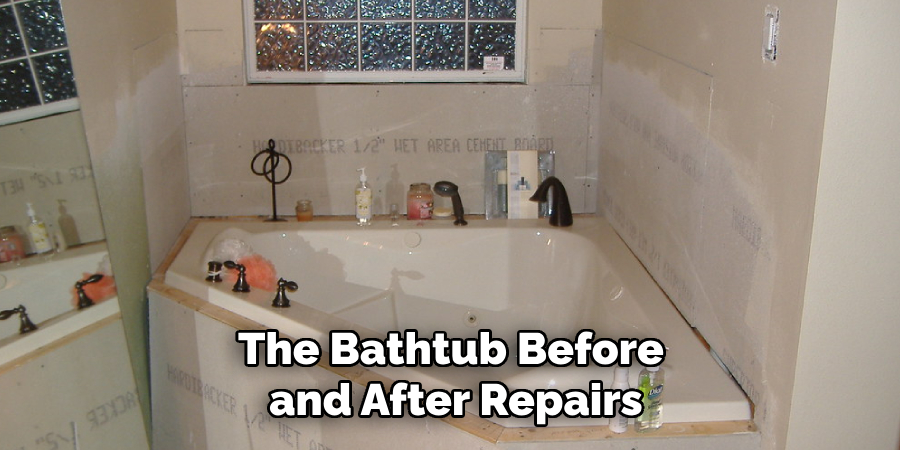
8 Step-by-step Guidelines on How to Repair Acrylic Bathtub
Step 1: Clean the Bathtub
Begin by thoroughly cleaning the bathtub to remove any grime, soap scum, or debris that might interfere with the repair process. Use a mild detergent and warm water to gently scrub the affected area and its surroundings, ensuring it covers the entire portion that you plan to repair. Rinse the area well and dry it with a clean towel.
Once dry, pour a small amount of isopropyl alcohol onto a soft cloth and wipe down the surface. This will help to eliminate any oils or residues that could prevent the repair materials from adhering properly. Make sure the bathtub is completely dry before moving on to the next step in the repair process.
Step 2: Prepare the Filler Compound
Once the bathtub surface is clean and dry, it’s time to prepare the filler compound. Following the instructions provided with your acrylic repair kit, mix the filler compound thoroughly. Ensure that the compound achieves a consistent texture free from any lumps or air bubbles, as this will ensure a smooth application and a less noticeable repair.
Before applying, use masking tape to outline the damaged area, which will help contain the filler and maintain neat edges. With the filler ready and area prepared, you are now set to proceed with applying the compound to the damaged sections of the bathtub.
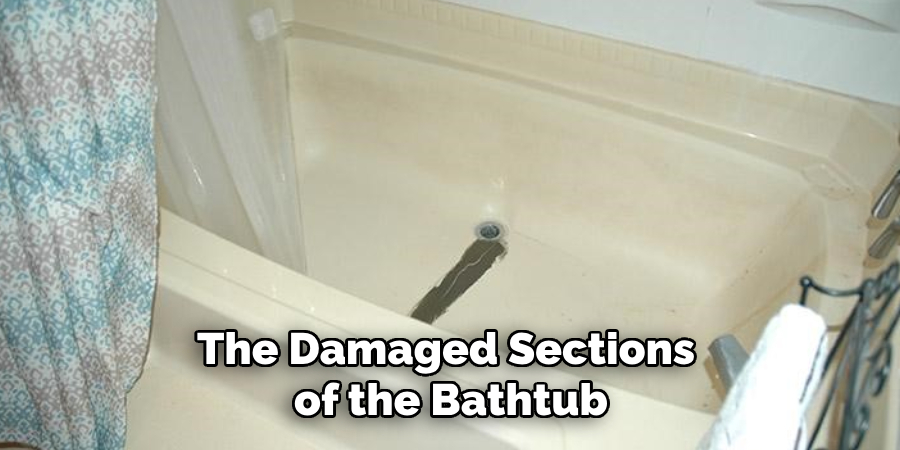
Step 3: Fill the Damaged Area
Using a putty knife or spatula, carefully apply the filler to cover the damaged area. Apply just enough compound to create a smooth and even surface, being careful not to overfill. If needed, use the edge of the tool to remove any excess material and ensure that it blends seamlessly with the surrounding surface. Once filled, allow the compound to dry completely before proceeding.
You can use a hairdryer set on low heat to speed up the drying process, but be sure not to overheat or melt the acrylic surface.
Step 4: Sand Down the Filler
Once the filler compound has dried completely, the next step is to sand down any excess material to create a smooth, uniform surface. Begin by using fine grit sandpaper to gently sand the repaired area. Hold the sandpaper flat against the surface and use circular motions to avoid creating uneven spots or scratches.
Be sure to check the progress frequently to ensure a seamless blend with the surrounding acrylic. After achieving a smooth result, wipe away any dust or debris with a soft cloth. This careful sanding will ensure that the repair feels natural to the touch and visually integrates into the original surface.
Step 5: Buff the Surface
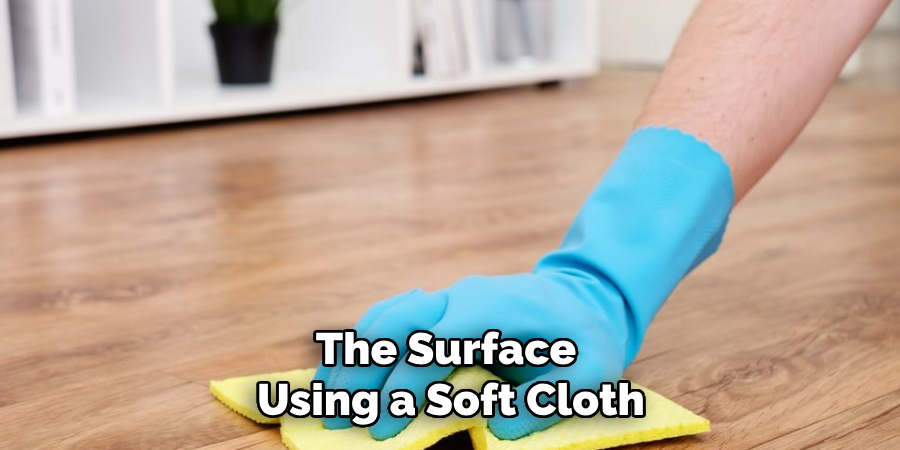
After sanding, it’s time to buff the surface using a soft cloth and acrylic polishing compound. This step will help to restore the shine and gloss of the repaired area, making it virtually undetectable. Apply a small amount of polishing compound onto the cloth and use circular motions to gently buff the surface until it appears glossy and smooth.
It’s important to avoid applying too much pressure or going over the same area repeatedly, as this could cause damage or scratches.
Step 6: Clean and Dry the Surface
After buffing, clean the surface once again with isopropyl alcohol and a soft cloth. This will remove any remaining polishing compound residue and ensure a clean surface for the next step.
Once cleaned, allow the bathtub to dry completely before moving on to the final steps.
Step 7: Apply a Protective Coating
To prevent future damage and extend the lifespan of your acrylic bathtub repair, it’s recommended to apply a protective coating after repairing. This can be achieved by using an acrylic sealant or wax, which will help to minimize scratches and maintain the glossy finish of the bathtub.
Follow the instructions provided with your chosen sealant or wax, ensuring it covers the entire repaired area and surrounding surfaces. Allow it to dry completely before using the bathtub again.
Step 8: Final Touches
Once the protective coating has dried, remove any masking tape used in earlier steps. Inspect the repaired area closely and make any final touches if needed. With proper application and care, your acrylic bathtub repair should last for many years to come.
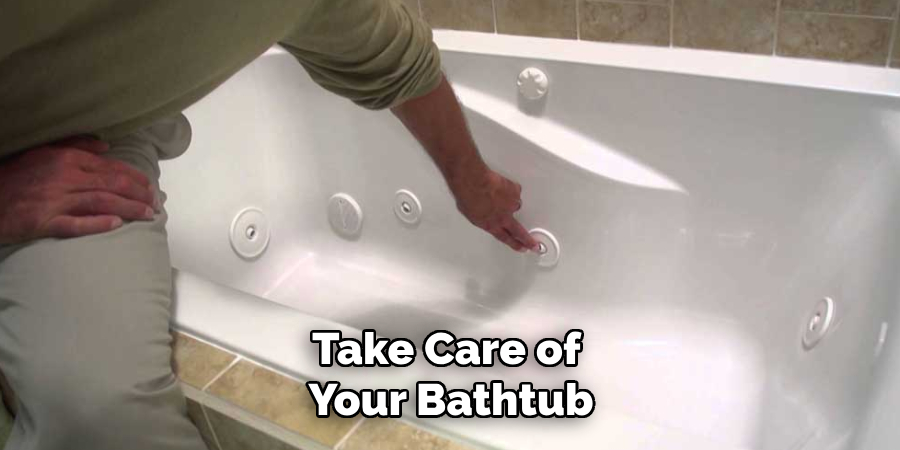
Following these step-by-step guidelines on how to repair acrylic bathtub will help you to successfully repair your acrylic bathtub and restore its original appearance. Remember to always use caution and follow the instructions provided with your chosen repair kit for best results. Additionally, it’s important to regularly clean and maintain your bathtub to avoid future damage and costly repairs. So, take care of your bathtub and enjoy a beautiful, functioning bathroom for years to come!
Additional Tips for Maintaining an Acrylic Bathtub
- To avoid damaging your acrylic bathtub surface, never use abrasive cleaners or harsh chemicals when cleaning.
- Use a non-slip mat or adhesive strips to prevent slips and falls in the bathtub.
- Avoid using sharp objects on the surface of your bathtub, as they can cause scratches or cracks.
- If you notice any small scratches or chips on the acrylic surface, address them promptly before they worsen.
- Regularly clean and dry your bathtub after each use to prevent build-up of grime and soap scum.
By following these tips and properly maintaining your acrylic bathtub, you can extend its lifespan and keep it looking brand new for years to come.
Frequently Asked Questions
Q: Can a Crack in an Acrylic Bathtub Be Repaired?
A: Yes, cracks in acrylic bathtubs can be repaired using the same process outlined above. However, it’s important to assess the extent of the damage and consult a professional if the crack is severe or requires extensive repair.
Q: Can I Use Acrylic Repair Kits on Other Surfaces?
A: Acrylic repair kits are specifically designed for repairing acrylic surfaces, so it’s not recommended to use them on other materials such as porcelain or ceramic. Always follow the instructions provided with your chosen repair kit and ensure that it is suitable for use on acrylic bathtubs.
Q: How Long Will an Acrylic Bathtub Repair Last?
A: With proper application and maintenance, an acrylic bathtub repair can last for many years. It’s important to regularly clean and maintain your bathtub to prevent future damage and prolong its lifespan. However, if the damaged area is extensive or the repair is not done properly, it may need to be redone sooner. It’s also important to note that acrylic bathtubs can naturally wear down over time and may eventually require replacement. Always consult a professional for advice on the best course of action for your specific bathtub.
Conclusion
Repairing an acrylic bathtub may seem like a daunting task, but with the right tools and following these steps on how to repair acrylic bathtub, it can easily be achieved at home. By taking proper care of your bathtub and addressing any minor damage promptly, you can keep it looking beautiful and functional for many years to come. If you have any doubts or concerns about the repair process, don’t hesitate to consult a professional for assistance.
With the right techniques and maintenance, your acrylic bathtub will continue to provide you with a luxurious bathing experience for years to come. So don’t let those pesky scratches or chips bring you down – take action and repair your acrylic bathtub today! So don’t wait any longer. Grab your repair kit and get started restoring your beautiful acrylic bathtub now!

