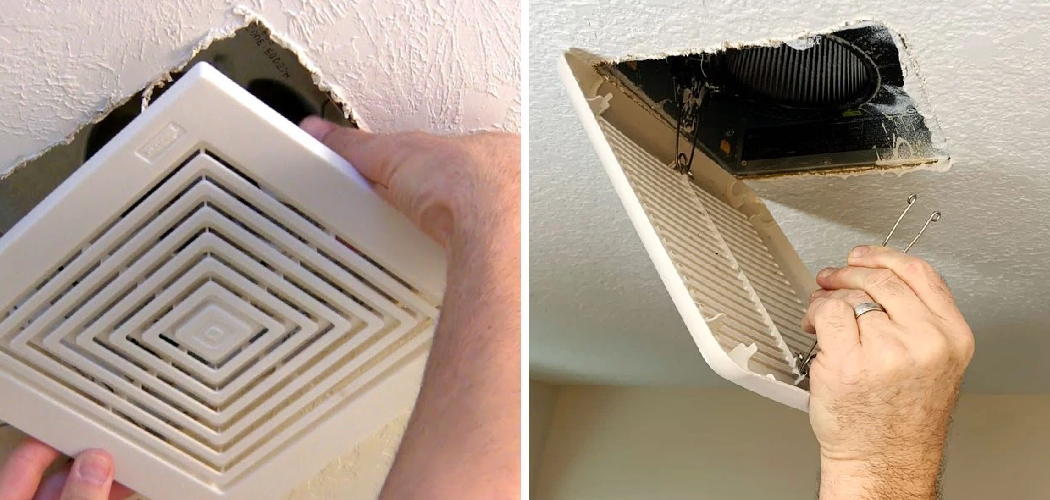
An exhaust fan plays a crucial role in maintaining a clean and moisture-free environment in your bathroom. Over time, however, these fans can become less effective or stop working altogether due to dust accumulation, electrical issues, or wear and tear. Addressing these problems promptly is essential to prevent mold growth and maintain air quality. This guide will provide step-by-step instructions on how to repair exhaust fan in bathroom, ensuring your fan operates efficiently and reliably.
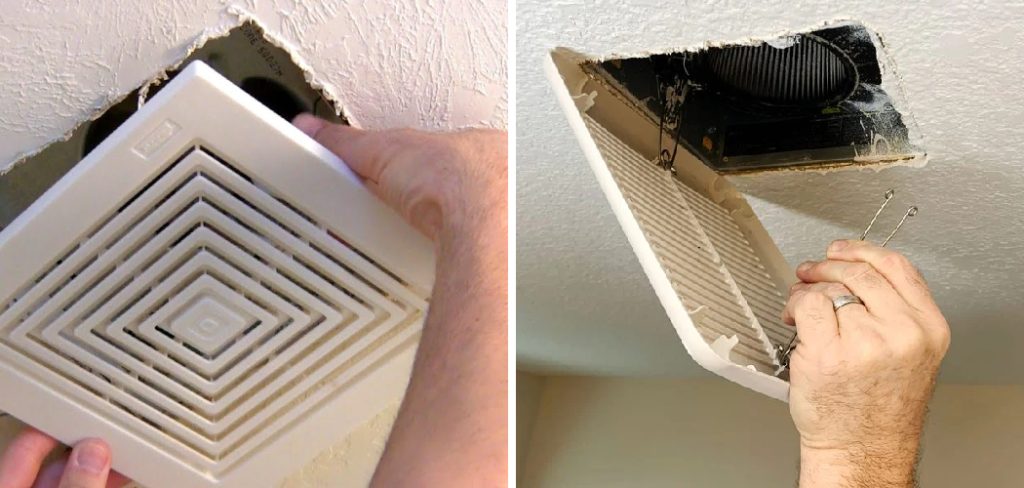
Common Reasons Bathroom Exhaust Fans Stop Working
Several factors can contribute to the malfunctioning of a bathroom exhaust fan. One of the most common issues is the accumulation of dust and debris, which can clog the fan and hinder its operation. Over time, this can lead to overheating and potential motor burnout. Another frequent problem is electrical issues, such as loose wiring or a blown fuse, which can cause the fan to stop receiving power.
Additionally, wear and tear on the motor components can lead to mechanical failure, especially if the fan is used frequently or has been in service for many years. Understanding these common problems can help in diagnosing and addressing issues quickly, ensuring your exhaust fan continues to perform optimally.
Signs Your Bathroom Exhaust Fan Needs Repair
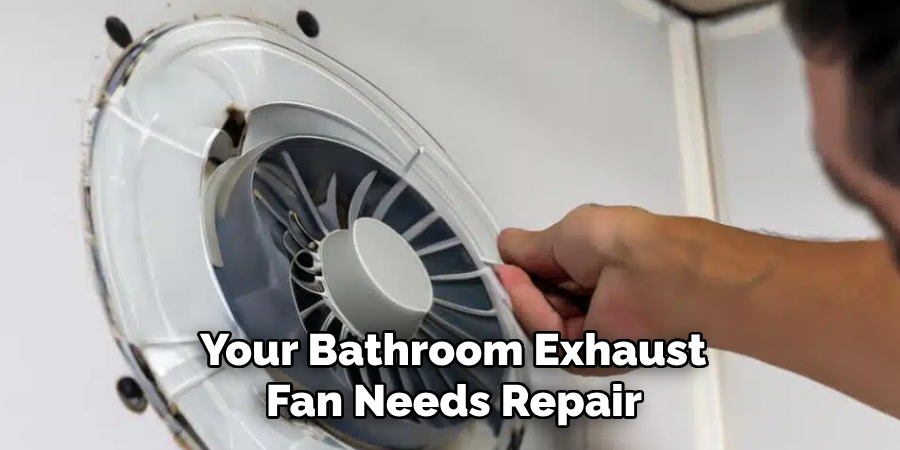
Recognizing the signs that your bathroom exhaust fan needs repair can help prevent more severe problems. One key indicator is a noticeable decrease in the fan’s ability to move air, which can result in persistent fogged mirrors and lingering odors after use. Another warning sign is unusual noises, such as grinding or rattling sounds, which could indicate motor issues or loose components.
Visual checks can also reveal problems, such as visible dust and debris buildup on the fan grille or housing. Additionally, if the fan ceases to turn on or seems to fluctuate in power, this may point to electrical issues that need attention. Being aware of these signs ensures timely repairs and maintains a healthy bathroom environment.
Tools and Materials Needed for Exhaust Fan Repair
Before beginning the repair process, it’s essential to gather the necessary tools and materials to ensure a smooth and efficient job. Here is a list of what you’ll likely need:
- Screwdrivers: Both Phillips and flathead screwdrivers are essential for removing and securing the fan’s cover and housing.
- Multimeter: Useful for checking electrical connections and ensuring there is proper power supply reaching the fan.
- Vacuum Cleaner or Compressed Air: To remove dust and debris from the fan blades and housing.
- Soft Brush: A small brush can help dislodge stubborn dust and grime from tight spots.
- Replacement Parts: Depending on the issue, you may need a new fan motor, blades, or wiring components.
- Lubricant: A light lubricant spray can help reduce noise and improve fan operation.
- Safety Gear: Goggles and gloves are recommended to protect against dust and sharp components.
Having these tools and materials ready will prepare you for a thorough and effective repair of your bathroom exhaust fan.
10 Methods on How to Repair Exhaust Fan in Bathroom
Ensuring your bathroom exhaust fan is in top working condition isn’t just about comfort—it’s essential for maintaining air quality and preventing mold and mildew.
1. Clean the Fan Blades
Over time, dust and grime can accumulate on fan blades, reducing efficiency and causing noise. To clean them, turn off the power to the fan and remove the cover. Use a damp cloth or vacuum with a brush attachment to clean the blades. Regular cleaning can extend the fan’s lifespan and improve air circulation.
2. Check the Power Supply
If the fan isn’t working at all, the issue might be as simple as a blown fuse or tripped circuit breaker. Ensure the fan is receiving power by checking your home’s electrical panel. If necessary, replace the fuse or reset the breaker. Always ensure the power is off before inspecting the fan to prevent any accidents.
3. Replace the Motor
Worn-out motors are a common issue in older fans. If your fan is making strange noises or running inefficiently, it might be time to replace the motor. Consider purchasing a replacement motor kit that matches your fan’s model. Installation typically involves unscrewing the old motor and fitting the new one in its place.
4. Inspect the Wiring
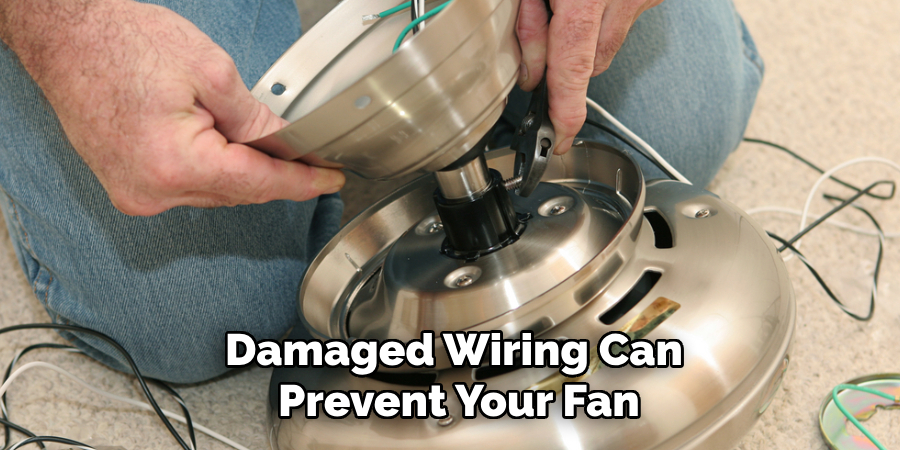
Loose or damaged wiring can prevent your fan from operating correctly. With the power off, check the wiring connections. Make sure wires are securely connected and in good condition. Use a voltage tester to ensure there’s power reaching the fan. If you’re unsure, consulting an electrician is wise.
5. Lubricate Moving Parts
Squeaking or grinding noises may indicate a lack of lubrication. Apply a few drops of light machine oil to the moving parts, such as the motor shaft or bearings. Be careful not to over-lubricate, which can attract dust and debris. This simple maintenance can significantly reduce noise and wear.
6. Tighten Loose Screws
Vibration from fan operation can loosen screws, causing rattling. Check all visible screws on the fan assembly and housing. Tighten any that have come loose to eliminate noise and ensure the fan operates smoothly. Regularly checking screws can prevent future issues.
7. Replace the Fan Cover
A cracked or broken cover can impede airflow and allow dust buildup. If the cover is damaged, consider replacing it with a new one that fits your fan’s model. A new cover can improve aesthetics and efficiency.
8. Upgrade the Ventilation Duct
Inadequate ducting can restrict airflow and reduce fan performance. Check for blockages or kinks in the duct and clear or straighten them as needed. Upgrading to a larger or more efficient duct can also enhance the fan’s ventilation capabilities.
9. Install a Backdraft Damper
If you notice airflow issues, installing a backdraft damper can prevent outside air from entering the bathroom through the fan. This not only improves air quality but also enhances energy efficiency. Most dampers can be fitted directly into the ducting.
10. Optimize Fan Placement
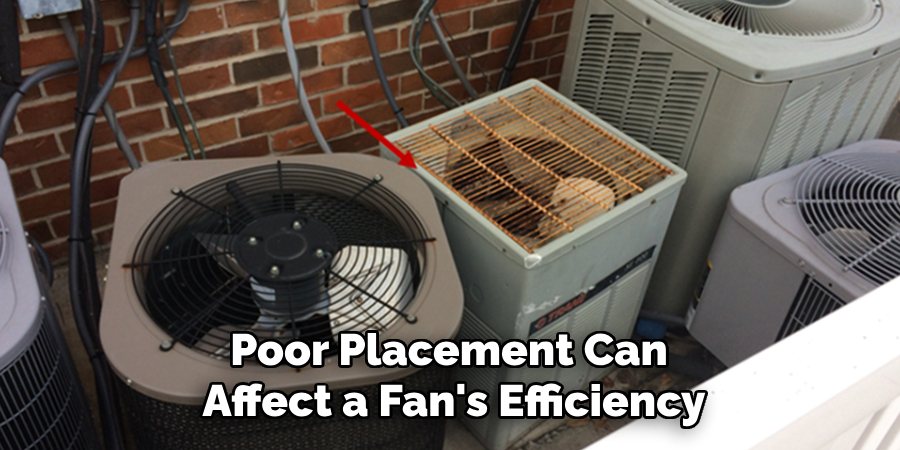
Poor placement can affect a fan’s efficiency. Ensure the fan is correctly positioned between the most moisture-prone areas and the nearest exterior wall or eave. Repositioning the fan may require professional assistance, but it can make a significant difference in performance.
When to Consider Replacing the Exhaust Fan
While repairs and maintenance can extend the life of a bathroom exhaust fan, there are times when replacement is the more practical and cost-effective option. Consider replacing the fan if it exhibits any of the following signs:
Persistent Noise
If your fan continues to make excessive noise despite proper cleaning and lubrication, it may indicate that the bearings or motor are beyond repair. A new fan can operate quietly and efficiently without the constant drone disrupting your bathroom experience.
Poor Performance
Consistently inadequate performance, even after attempting the repair methods listed, could suggest the fan is no longer capable of moving air as required. A new, more powerful model will ensure effective moisture and odor removal, maintaining optimal air quality in your bathroom.
Visible Damage
Signs of wear, such as cracks in the fan housing or cover, corrosion on metal parts, or broken fan blades, are indicators that replacement is necessary. Damaged components can impede fan efficiency and potentially lead to operational hazards.
Energy Inefficiency
Older fans tend to consume more electricity while delivering less performance. If you notice a spike in energy bills attributed to frequent fan usage, consider upgrading to a modern, energy-efficient model designed to save on power consumption while performing effectively.
Frequent Repairs
If you find yourself repeatedly fixing the same issues or encountering new problems after each repair, investing in a new fan may be more economical in the long run. Continuous repairs can accumulate costs that surpass the price of a new fan, making replacement a more viable option.
Maintenance Tips
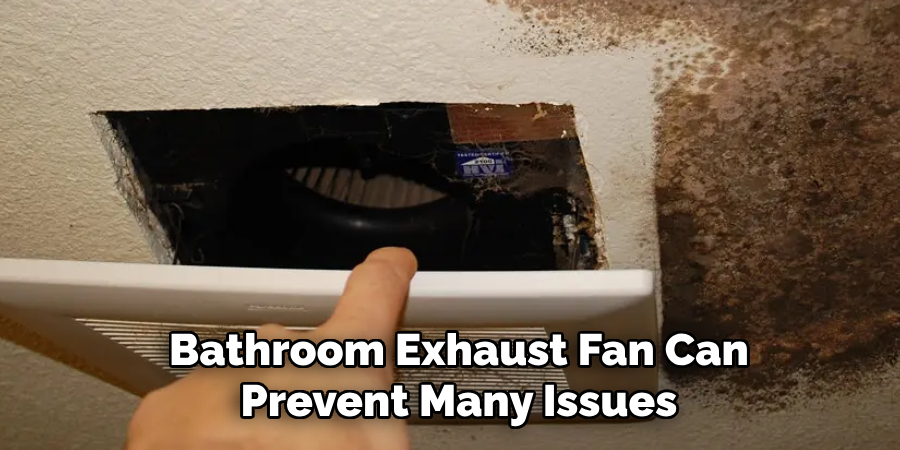
Regular maintenance of your bathroom exhaust fan can prevent many issues and extend its lifespan. Here are some maintenance tips to keep your fan running efficiently:
- Schedule Regular Cleanings: Aim to clean the fan blades and cover at least twice a year to prevent dust buildup. An accumulation of dirt can impede airflow and strain the motor.
- Inspect for Damage: During cleanings, examine the fan for signs of wear and tear, such as cracks or rust. Address minor issues promptly to avoid more significant problems later.
- Test Fan Functionality: Periodically, check that the fan starts promptly and runs smoothly without unusual noises. This can help catch potential failures early.
- Ensure Proper Ventilation: Make sure no objects block the fan’s air inlets or outlets. Adequate clearance is necessary for the fan to properly exchange air.
- Replace Filters as Needed: If your fan model includes a filter, follow the manufacturer’s guidelines for replacement to ensure optimal airflow and hygiene.
Conclusion
Maintaining your bathroom exhaust fan is crucial for effectively managing moisture and odors, and it contributes to the overall air quality of your home. Regular cleaning, inspection, and minor adjustments can greatly extend the life and performance of your fan. However, there will be times when replacement becomes necessary due to persistent noise, poor performance, visible damage, energy inefficiency, or frequent repairs. Thanks for reading, and we hope this has given you some inspiration on how to repair exhaust fan in bathroom!

