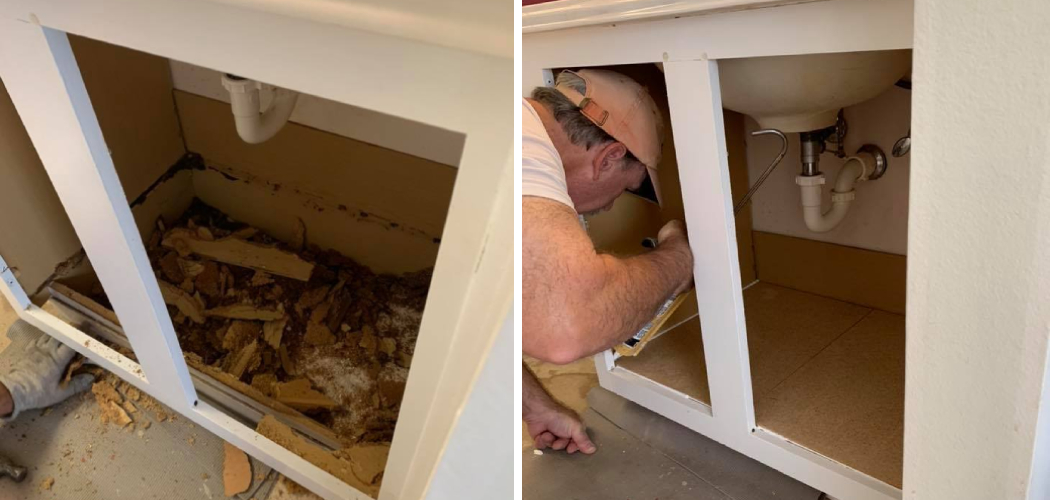
Water damage can be a huge hassle, and repairing it is important to keep your bathroom looking great. A water-damaged vanity can be particularly difficult to repair as it can affect the structure of the vanity and cause permanent damage if left untreated for too long. This is why it’s so important to know how to repair water-damaged bathroom vanities properly.
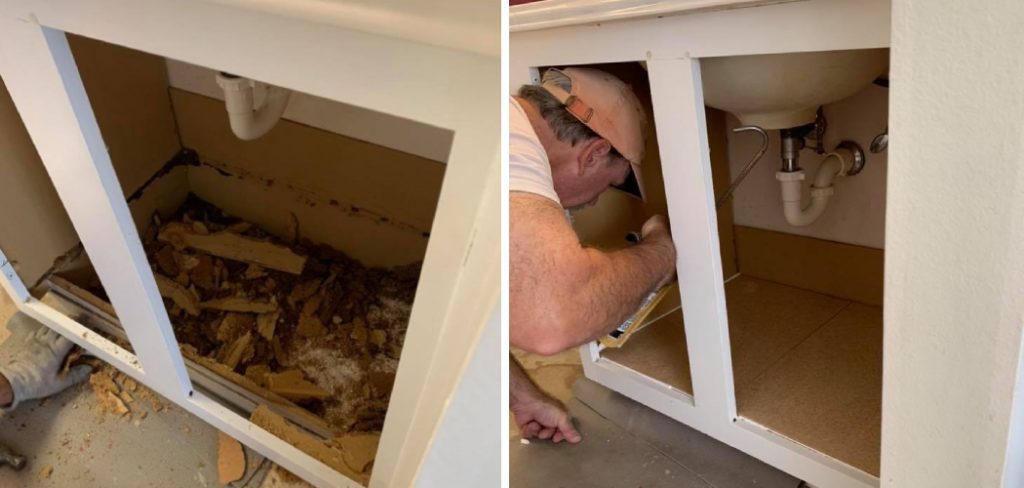
The main advantage of repairing a water-damaged bathroom vanity is that it can help restore its aesthetic appearance. This can be important to maintain an attractive, well-kept look in your bathroom. Additionally, repairing the damage can also help ensure the longevity of your vanity and prevent further problems from occurring in the future. In this blog post, You will learn how to repair water damaged bathroom vanity.
Tools You Will Need
- Safety glasses
- Dust mask
- Putty knife
- Saw (hand saw or power saw)
- Hammer
- Sandpaper (coarse and fine grit)
- Paint brushes (various sizes)
- Screwdriver and screws
- Nails
- Wood filler
- Primer
- Paint or stain
Step-by-Step Processes for How to Repair Water Damaged Bathroom Vanity
Step 1: Inspect the Vanity
The first step in repairing water-damaged bathroom vanity is to inspect it thoroughly for any signs of damage. Look for warping, mold, discoloration, or other visible evidence of damage that may have occurred due to exposure to water.
Step 2: Remove Damaged Parts
If you find any parts that are damaged beyond repair, they will need to be removed, including countertops, bases, drawers, and doors. After removing any damaged parts, it is important to dry out the area by wiping down all surfaces with a clean cloth and allowing them to air-dry.
Step 3: Apply Primer & Paint
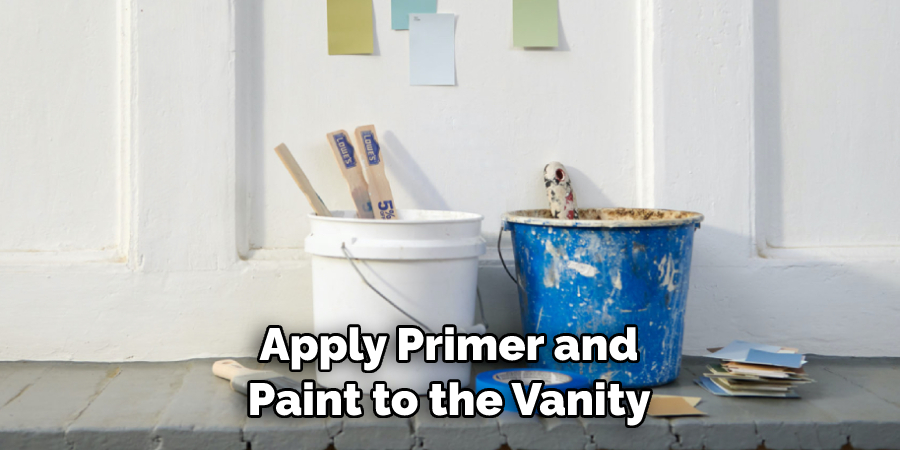
When the area has been completely dried out, you can begin to apply primer and paint to the vanity to help prevent future damage. Once the primer and paint have been applied, you can begin to reinstall the cabinetry that was removed during step two. Be sure to use screws when attaching any pieces of wood.
Step 4: Replace Countertops
If the countertop was removed during step two, you can now reinstall it. Be sure to use screws or nails when securing the countertop in place. After replacing the countertops, you can reinstall any drawers and doors that were removed during step two. Again, use screws or nails when securing them in place.
Step 5: Replace Hardware
If any hardware was removed during step two, now is the time to replace it. Ensure all pieces are securely tightened before moving on to the next step. After replacing all of the hardware and cabinetry, you should clean the entire vanity with a clean cloth and then wax it to help protect the finish from future damage.
Finally, you can now enjoy your newly repaired vanity. You should be proud of the hard work that went into restoring it to its previous glory. Make sure to keep an eye on it to catch any potential damage early on.
Tips for How to Repair Water Damaged Bathroom Vanity
- As with any repair job, you should always wear gloves, safety glasses, and a dust mask to protect yourself from potential hazards.
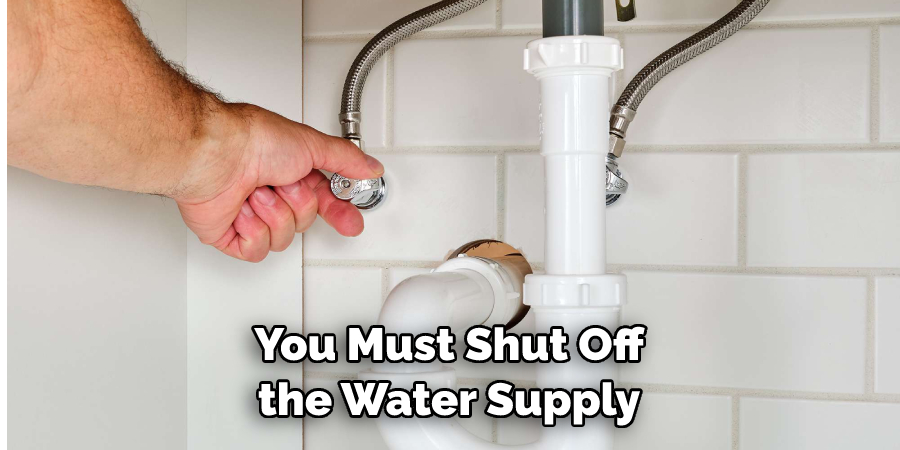
- You must shut off the water supply before beginning your repair work. Ensure all valves are turned off completely so no water can get into the vanity.
- Unplug any electrical appliances in the bathroom, such as a light or fan, near the vanity to minimize any risk of electric shock.
- Ensure you have sufficient lighting before beginning your repair work so that it’s easier to see what you’re doing.
- If you’re working with any materials containing toxic fumes, such as paint or solvents, ensure the area is well-ventilated.
- Before using any tools or equipment, ensure they are in good working order and there are no frayed cords.
- Follow all manufacturer instructions when using power tools or other equipment. Always disconnect the power source before making any repairs.
These safety tips are important to remember when repairing a water-damaged bathroom vanity, as it can be hazardous. If you ever feel unsafe or unsure about performing the task yourself, hiring a professional for help is best.
What Are the Signs of Water Damage to a Bathroom Vanity?
Water damage to a bathroom vanity can be difficult to spot. However, homeowners need to pay attention to potential signs of water damage to avoid more extensive problems down the road. Here are some of the most common indicators of water damage on a bathroom vanity:
- Warping or Buckling: If your vanity top has warped or buckled, this is often a sign that water has had an opportunity to get in and cause damage.
- Discoloration: If you notice discolored patches on the vanity top or sides, this can also be a sign of water damage.
- Cracks or Crevices: Small cracks or crevices in the vanity’s surface or top can be a sign that water has found its way into the vanity and caused damage.
- Water Stains: If you see any water stains around the edges of your vanity, this usually indicates a leaky faucet or sink, both of which can lead to water damage in the bathroom vanity.
By being aware of these signs of water damage, you can begin to repair your bathroom vanity before the damage becomes more extensive.
Is It Possible to Fix Water Damaged Wood, or Does It Need to Be Replaced?
When it comes to water-damaged bathroom vanities, the answer depends on the extent of the damage. If the vanity is relatively new and has only experienced minimal water damage, such as discoloration or slightly warped wood, it may be possible to repair it.
However, if there are signs of structural damage or deterioration, then replacing it may be necessary. When repairing a water-damaged bathroom vanity, the following steps should be taken:
- Clean the affected areas with soap and water to remove any dirt or debris that can further damage the wood.
- Sand down any rough spots or warped wood sections and fill in minor cracks using wood putty.
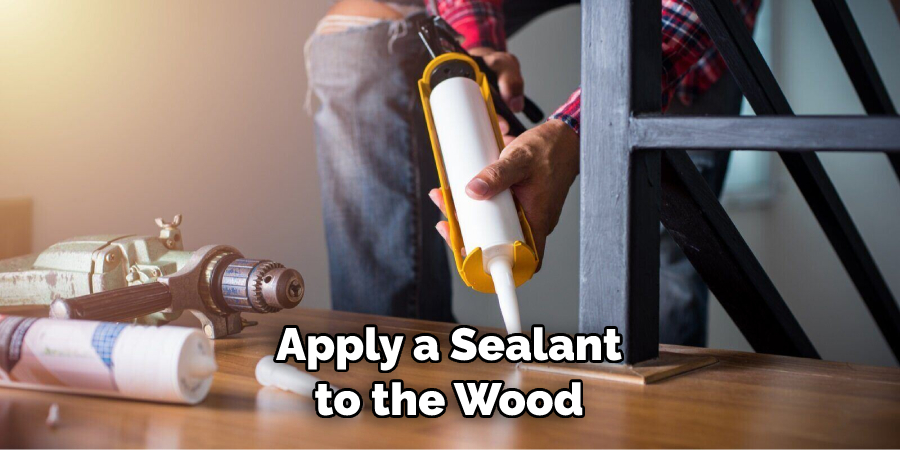
- Apply a sealant to the wood, such as latex paint or a clear sealant, to protect it from further damage.
- Reattach any detached hardware and replace any broken pieces.
- Add a coat of polish or varnish to give the vanity a refreshed look.
It is important to remember that repairing water-damaged bathroom vanities can be time-consuming and costly, so it is best to assess the cost of repairs versus replacement before taking any action.
How Can You Clean and Restore a Water Damaged Bathroom Vanity?
Water damage can be a major concern for any homeowner. Your bathroom vanity, particularly if it is made of wood, may suffer from water damage caused by leaks or flooding. In this case, you will need to take action right away to clean and restore your bathroom vanity before the damage becomes permanent. One of the first steps in repairing a water-damaged bathroom vanity is to identify the source of the damage.
If you have identified a leak, you must fix it right away to prevent further damage. Once the source of the water has been fixed, it’s time to start cleaning and restoring your vanity.
Begin by removing wet items, such as towels or rugs, from around the vanity. Next, wipe it down with a dry cloth to remove any standing water and debris. You can then use warm water and detergent to clean the wood surface. Be sure to rinse off all soap residue before continuing.
How Can You Find Professional Help for Repairing Water Damaged Bathroom Vanities?
If you have water damage to your bathroom vanity and need professional help, there are a few ways to find assistance. First, it is important to understand what type of damage has occurred–whether it is due to flooding or other water-related issues.
Once you know the source of the damage, you can look for professionals who specialize in this area. You can start by asking for recommendations from friends and family or searching online for services in your area.
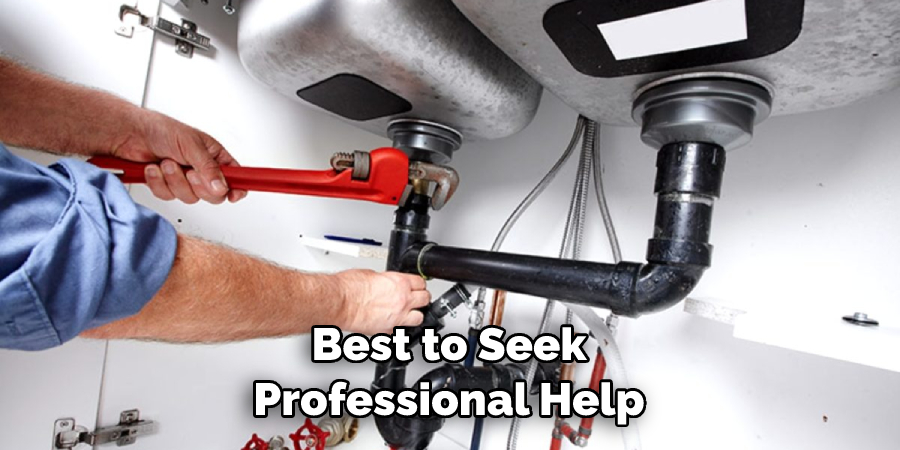
Many plumbing and home improvement stores also have knowledgeable staff who can offer advice on repairing a water-damaged bathroom vanity. Once you find a service provider, ask about warranties, labor costs, and any other questions you may have before making the final decision. If you are unsure about the extent of the damage or what type of repairs will be needed, it is best to seek professional help before attempting any DIY solutions.
Conclusion
In conclusion, repairing water-damaged bathroom vanity can be a daunting task that requires careful consideration and preparation. Taking the time to assess the damage, identify needed materials, and research repair methods is essential for completing successful repairs.
If you don’t feel comfortable taking on this project alone, consulting with a professional who can provide expert advice and assistance may be best. With patience and dedication, you can restore your bathroom vanity to its original condition and extend its lifespan for years. I hope reading this post has helped you learn how to repair water damaged bathroom vanity. Make sure the safety precautions are carried out in the order listed.

