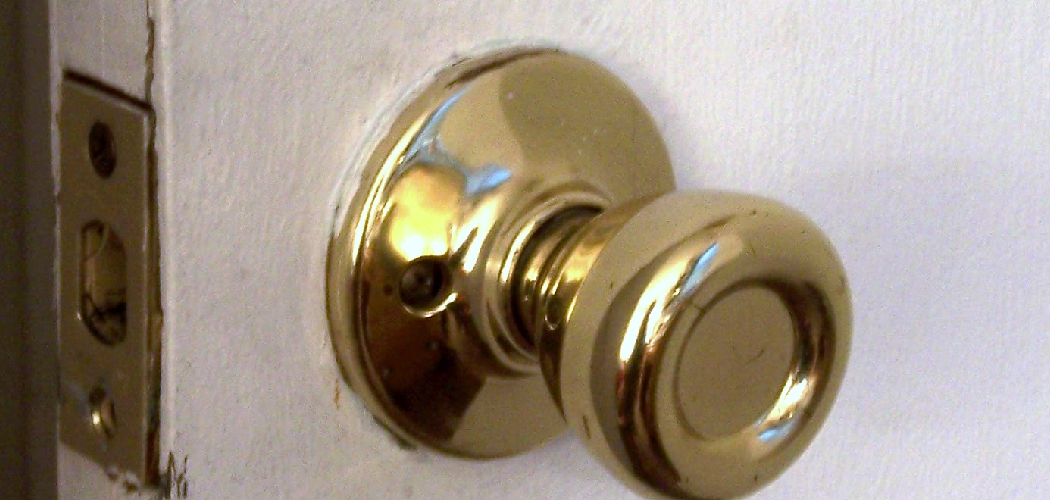
Replacing a bathroom door knob is a straightforward task that can enhance the functionality and appearance of your door. Whether you’re upgrading to a new design, fixing a broken knob, or improving home security, this DIY project is simple and requires minimal tools.
With the steps outlined in this guide on how to replace a bathroom door knob, you can complete the job quickly and efficiently, even if you have no prior experience with hardware installation.
Why Replace a Bathroom Door Knob?
There are several reasons why you may need to replace your bathroom door knob. Some common scenarios include:
- The current doorknob is damaged or broken.
- You want to upgrade the appearance of your door with a new design or finish.
- The lock on your current doorknob is malfunctioning, posing a security risk.
Regardless of the reason, replacing a bathroom door knob can improve both functionality and aesthetics.
Tools and Materials Needed
Before starting the replacement process, gather these tools and materials for a smooth installation:
- New Door Knob Set (With Screws and Latch)
- Screwdriver (Flathead or Phillips, Depending on Your Existing Hardware)
- Drill (Optional, if You Need to Drill New Holes)
- Measuring Tape
- Pencil
- Paint or Stain (Optional, if You Want to Match the New Door Knob Finish to Your Existing Hardware)
11 Step-by-step Guides on How to Replace a Bathroom Door Knob
Step 1: Measure and Buy the Right Size
Begin by measuring your existing door knob and latch to ensure compatibility with the new hardware. Use a measuring tape to check the backset, which is the distance from the edge of the door to the center of the knob hole. Additionally, measure the diameter of the hole in the door to make sure the new knob will fit properly.
Take note of these dimensions and confirm whether your door is prepped for a standard or custom-sized knob. Once you have the measurements, purchase a replacement door knob set that matches these specifications for a seamless installation.
Step 2: Remove the Old Door Knob
Begin by unscrewing the screws on the interior side of the door knob using a screwdriver. These screws typically hold the two halves of the knob assembly together. Once the screws are removed, gently pull the knobs on both sides of the door to detach them.
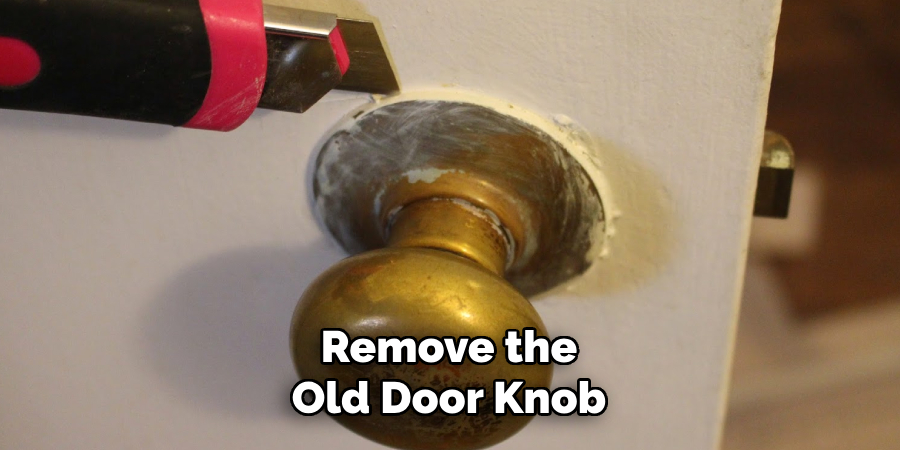
Next, use the screwdriver to unscrew the latch mechanism from the edge of the door and pull it out carefully. Be sure to keep all screws and parts together as you may need them as reference or for recycling purposes. With the old door knob fully removed, you’re now ready to proceed with preparing the door for the new hardware.
Step 3: Unscrew the Latch
Using your screwdriver, locate the screws securing the latch plate to the edge of the door. Carefully unscrew these fasteners and set them aside in a safe place. Once the screws are removed, gently pull the latch mechanism out of its slot.
Take a moment to inspect the area to ensure that no debris or remnants from the old hardware remain, as these could interfere with the installation of the new latch.
Step 5: Measure and Mark
With the old hardware removed, it’s time to prepare for the new installation. Take precise measurements of the door edge and the location of the latch slot to ensure compatibility with the new hardware.
Use a tape measure to confirm the backset distance and the size of the latch plate. Once measurements are confirmed, hold the new latch plate up to the edge of the door and mark its placement with a pencil. This will guide your adjustments and ensure the hardware aligns properly during installation.
Step 6: Drill Pilot Holes (If Needed)
Before attaching the new hardware, check if the screw holes from the previous hardware align with the new latch plate. If they do not match, use the pencil markings from the previous step as a guide and carefully drill new pilot holes. Ensure that the drill bit is slightly smaller than the screws to create a snug fit when securing the hardware.
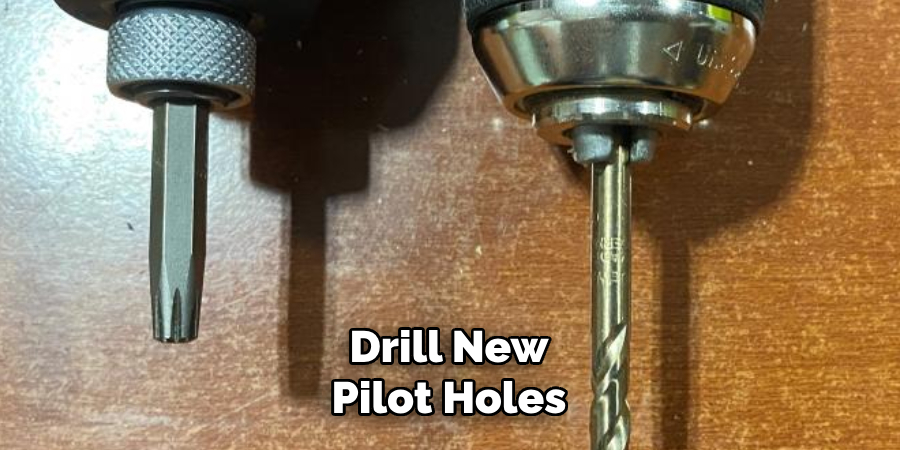
Take care to drill straight and avoid splintering the wood. Pilot holes help ensure the screws go in smoothly and prevent cracking or damaging the door during installation.
Step 7: Install New Latch
Position the new latch into the mortise on the edge of the door, ensuring that the beveled side of the latch faces the direction in which the door will close. Secure the latch by aligning it with the pilot holes you created earlier.
Use a screwdriver or drill to fasten the screws, being careful not to overtighten, as this could strip the wood or warp the hardware. Double-check that the latch operates smoothly by testing the mechanism a few times before proceeding to the next step.
Step 8: Install New Knob
Align the exterior and interior knob components with the latch mechanism installed in the previous step. Ensure that the spindle or connecting rod from one side of the knob properly inserts into the hole in the latch mechanism.
Once aligned, hold the knobs in place and secure them by tightening the screws provided. Use a screwdriver and ensure the knobs are firmly attached, but avoid overtightening to prevent damage to the hardware. Test the knob by turning it to ensure a smooth operation and proper engagement with the latch.
Step 9: Secure Knob with Screws
With the knobs properly aligned and held in place, locate the screw holes on each side of the knob assembly. Insert the screws provided into these holes and begin tightening them using a screwdriver. Start with one screw, ensuring it is partially tightened before moving to the next to maintain proper alignment.
Once all screws are in place, carefully tighten them fully, but avoid overtightening as this could strip the screws or damage the hardware. After securing the screws, double-check that the knob functions smoothly by turning it and verifying proper engagement with the latch.
Step 10: Test and Adjust as Needed
With the knob securely installed, it’s time to test its functionality. Begin by turning the knob several times to ensure it operates smoothly and engages the latch correctly. Open and close the door to confirm that the latch aligns properly with the strike plate and the door secures without resistance. If you encounter any issues, such as misalignment or stiffness, make minor adjustments to the screws or reposition the strike plate as necessary.
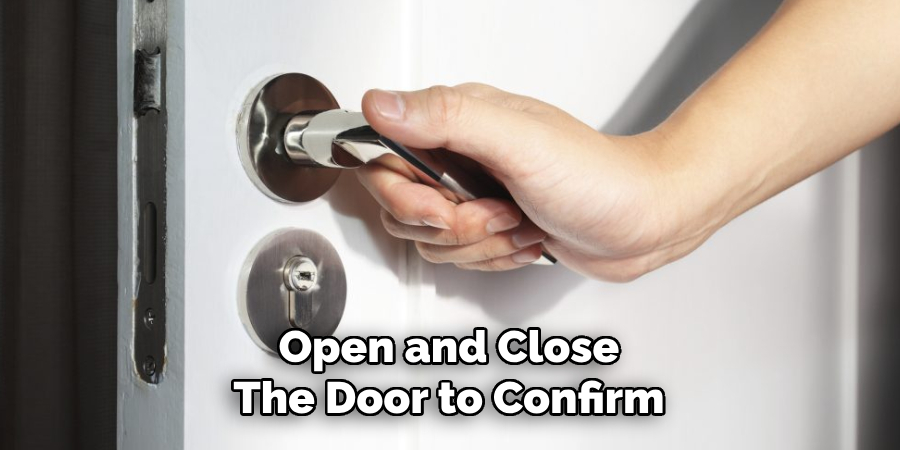
Repeat the testing process after each adjustment until the knob and latch mechanism operate effortlessly. This final step ensures the hardware is installed correctly and performs as intended.
Step 11: Clean Up
Once the installation is complete and the door hardware is functioning correctly, take a moment to clean up the workspace. Remove any leftover screws, packaging, or tools from the area. Wipe down the door and hardware with a soft, damp cloth to remove fingerprints, dust, or debris that may have accumulated during the installation process.
Properly storing your tools and disposing of waste ensures a tidy and safe environment, leaving the door looking polished and professionally finished.
Following these steps on how to replace a bathroom door knob will ensure a successful and efficient door hardware installation. Remember to always refer to manufacturer instructions and consult with a professional if needed for any questions or concerns. With the right tools, preparation, and knowledge, you can confidently install door hardware in your own home. Enjoy your newly upgraded doors!
Maintenance Tips
To keep your new door knob in good condition and functioning properly, here are some maintenance tips to follow:
- Regularly clean the exterior of the knob with a mild soap and water solution.
- Lubricate moving parts with a silicone-based lubricant every few months to ensure smooth operation.
- Check for loose screws and tighten them as needed.
- Inspect the latch periodically for wear and tear, and replace it if necessary.
- If your door knob has a lock, regularly test the key or combination to make sure it is working properly.
- Consider upgrading to a higher quality door knob if you notice recurring issues with your current one.
Frequently Asked Questions
Q: How Often Should I Lubricate My Door Knob?
A: It is recommended to lubricate your door knob every few months to ensure smooth operation. The frequency may vary depending on how often you use the door and the type of lubricant used.
Q: Can I Fix a Loose Door Knob?
A: Yes, a loose door knob can often be fixed by simply tightening the screws. However, if the issue persists or reoccurs frequently, it may be a sign that your door knob needs to be replaced.
Q: How Do I Know When It’s Time to Replace My Door Knob?
A: Some signs that it might be time to replace your door knob include consistent difficulty with turning or opening/closing the door, excessive wear and tear, or if you notice any safety concerns such as loose latches or locks.
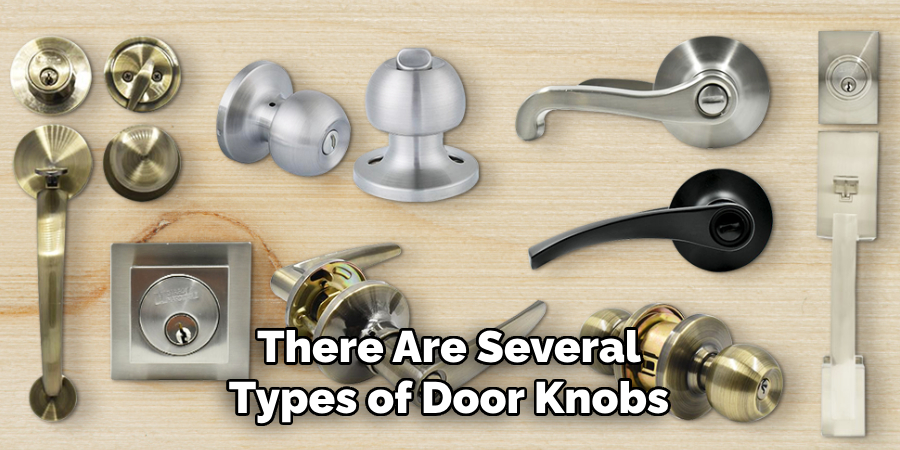
Q: What Are Some Different Types of Door Knobs?
A: There are several types of door knobs available, including traditional round doorknobs, lever-style doorknobs, and even electronic keyless entry systems. The type you choose will depend on your personal preference and the style/functionality you desire for your door.
Conclusion
Choosing the right door knob is essential not only for functionality but also for enhancing the overall look and security of your space. By understanding the various types available and recognizing when it’s time for a replacement, you can ensure your doors remain both practical and aesthetically pleasing.
Whether opting for a classic design or a modern keyless system, investing in quality hardware will provide long-term satisfaction and peace of mind. Thanks for reading this article on how to replace a bathroom door knob.

