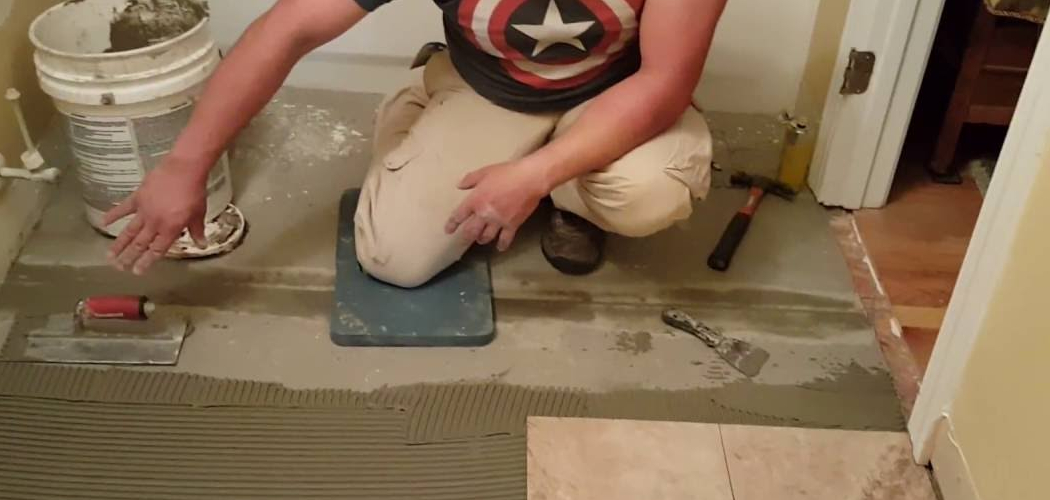
Replacing a bathroom floor is a rewarding project that can transform the overall look and functionality of one of the most essential spaces in your home. Over time, bathroom floors can become worn out, damaged, or outdated. Updating them can significantly enhance the room’s aesthetic appeal while improving durability. There are several benefits to undertaking this project, including creating a fresh and modern appearance, enhancing safety by addressing uneven or slippery surfaces, and resolving issues such as moisture or water damage that might compromise the floor’s integrity.
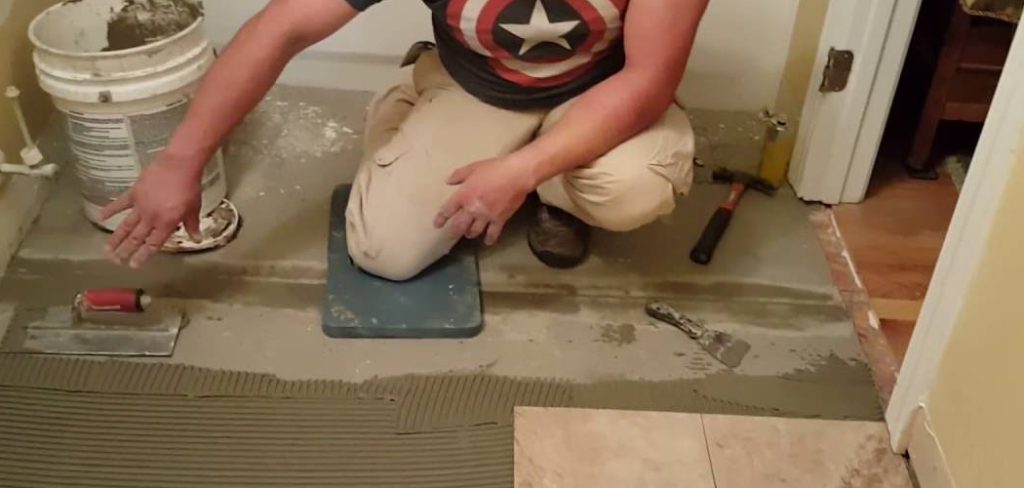
This article will serve as your comprehensive guide on how to replace a bathroom floor, providing a clear, step-by-step process to help you achieve professional results. From selecting the perfect materials to installing and sealing the new flooring, you’ll gain the confidence to tackle this home improvement task on your own or with minimal assistance.
Choosing the Right Flooring Material
Selecting the right flooring material is a critical step in replacing your bathroom floor. The material you choose will not only affect the look of your bathroom but also its functionality and longevity. Below are some popular flooring options to consider:
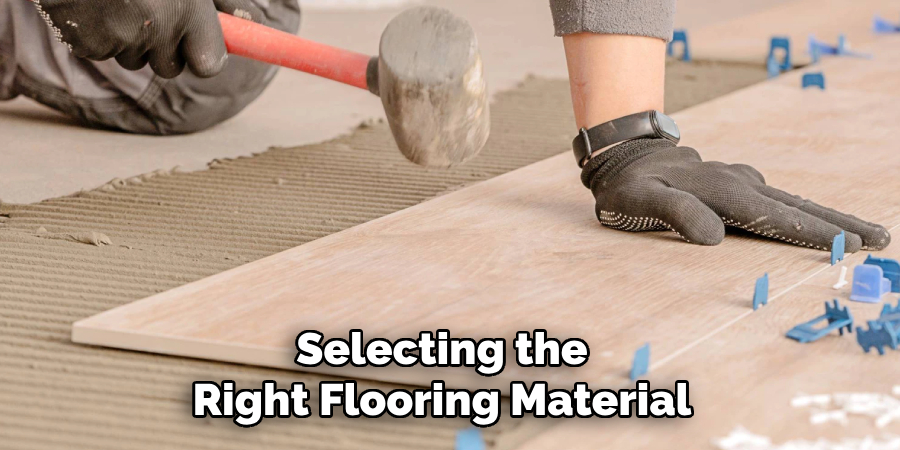
Popular Bathroom Flooring Options
- Vinyl: Highly popular for bathrooms, vinyl flooring is waterproof, durable, and budget-friendly. It comes in a variety of styles, including those that mimic wood or tile, making it suitable for different design preferences.
- Ceramic or Porcelain Tile: Known for being water-resistant and long-lasting, these tiles are available in a wide range of sizes, colors, and patterns, offering great design versatility.
- Waterproof Laminate: This stylish option provides the appearance of traditional hardwood at a more affordable price point. However, it requires proper sealing to prevent water damage in high-moisture areas.
- Natural Stone (e.g., Marble, Slate): For a touch of luxury, natural stone is both elegant and durable. It is an expensive option and requires sealing to maintain its water resistance.
- Cork: An eco-friendly choice, cork flooring is comfortable underfoot and naturally water-resistant. Like laminate, it will need adequate sealing to ensure durability in wet conditions.
Factors to Consider
- Moisture Resistance: Bathrooms experience high humidity, so prioritize materials that can withstand moisture without warping or deteriorating.
- Durability: Choose a flooring material that can handle daily foot traffic, accidental spills, and frequent cleaning without wear.
- Aesthetic: The flooring should complement your bathroom’s existing decor, including its color palette and style.
- Budget: Beyond the cost of materials, consider how much you’re willing to spend on installation, especially if you’re hiring professionals.
By carefully weighing these options and factors, you’ll be able to choose a flooring material that balances practicality with style, setting a strong foundation for your bathroom upgrade.
Materials and Tools Needed
Materials Required
- New flooring material (tile, vinyl, laminate, etc.).
- Underlayment (if necessary, depending on the flooring type).
- Floor adhesive or mortar (for tiles).
- Grout (for tile installations).
- Trim or molding (for finishing edges).
- Floor sealant (if required).
Tools You’ll Need
- Utility knife (for cutting vinyl or laminate).
- Tile cutter or saw (for ceramic or porcelain tiles).
- Measuring tape.
- Leveling tool.
- Rubber mallet (for tapping tiles into place).
- Grout float and sponge (for tile installation).
- Pry bar or crowbar (for removing old flooring).
- Safety gear: Gloves, knee pads, and safety glasses.

Having all necessary materials and tools on hand before beginning your project ensures a smoother installation process. Carefully selecting tools and materials tailored to your specific flooring type will also help avoid mistakes and delays. Safety gear is essential for protecting yourself while working, particularly during the removal of old flooring or cutting new materials. With proper preparation, you’ll be ready to transform your bathroom floor efficiently and effectively.
Preparing the Bathroom for Floor Replacement
Step 1: Remove Old Flooring
Start by removing the existing flooring to prepare the surface for the new installation. Use a pry bar or crowbar to carefully lift and pull up the old flooring material. For tile floors, break up the tiles and adhesive using a hammer and chisel, working from one corner outward. For vinyl or laminate flooring, gently peel or cut the material away from the subfloor, being careful not to damage the surface underneath. Properly dispose of all removed materials to keep your workspace clean and organized.
Step 2: Clean the Subfloor
Once the old flooring has been removed, thoroughly clean the subfloor to ensure it is free of dust, debris, and residue. Sweep or vacuum the area to remove particles that could interfere with the new flooring installation. Examine the subfloor for any issues such as moisture damage, rot, or uneven spots. If needed, repair these areas using a leveling compound or patching material to create a smooth and stable surface. It is crucial to address any imperfections to prevent problems with the new floor’s durability and appearance.
Step 3: Check the Subfloor’s Moisture Levels
Before proceeding with the new installation, confirm that the subfloor is completely dry. Excess moisture can lead to long-term damage, especially in bathrooms where humidity levels are higher. If you think moisture could be an issue, consider applying a moisture barrier to protect the new flooring and enhance its durability, especially in high-moisture environments like bathrooms.
How to Replace a Bathroom Floor: Installing the New Bathroom Floor
Step 1: Installing Underlayment (if required)
If your chosen flooring requires underlayment, begin by rolling it out smoothly across the subfloor. Cut the underlayment to fit the room’s dimensions using a utility knife. Carefully trim along the edges to ensure it fits snugly against the walls and around any fixtures. To secure the underlayment, use staples or adhesive, following the manufacturer’s specific recommendations. Properly installed underlayment helps to create a smooth, even surface and provides additional support for the flooring material.
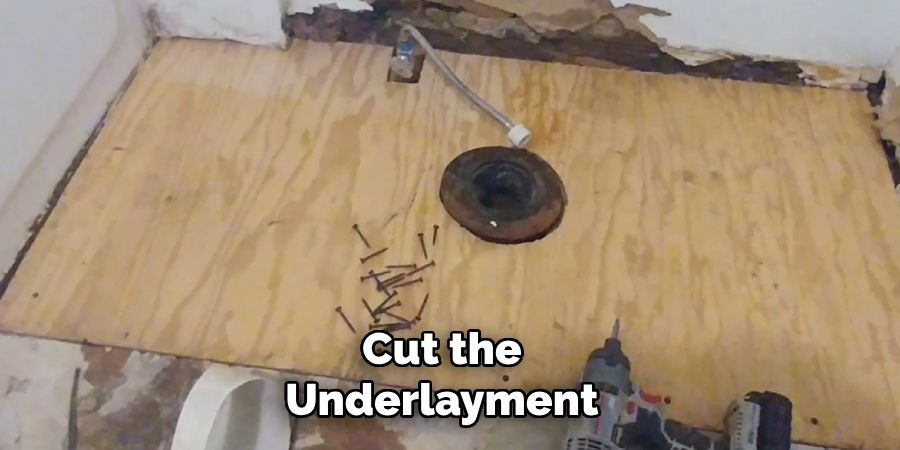
Step 2: Laying the New Flooring
For Vinyl or Laminate
Start in one corner of the bathroom and work outwards, ensuring you leave a small expansion gap (around 1/4 inch) between the flooring and the walls. This gap allows the flooring to expand or contract with changes in temperature or humidity. For glue-down vinyl, apply adhesive to the subfloor using a notched trowel. Carefully align the first sheet or plank with the wall and press it firmly into the adhesive, smoothing it out to remove any air pockets. For click-lock vinyl or laminate, align the pieces and snap them together tightly. Progress row by row, double-checking alignment and ensuring each piece is securely in place.
For Tile
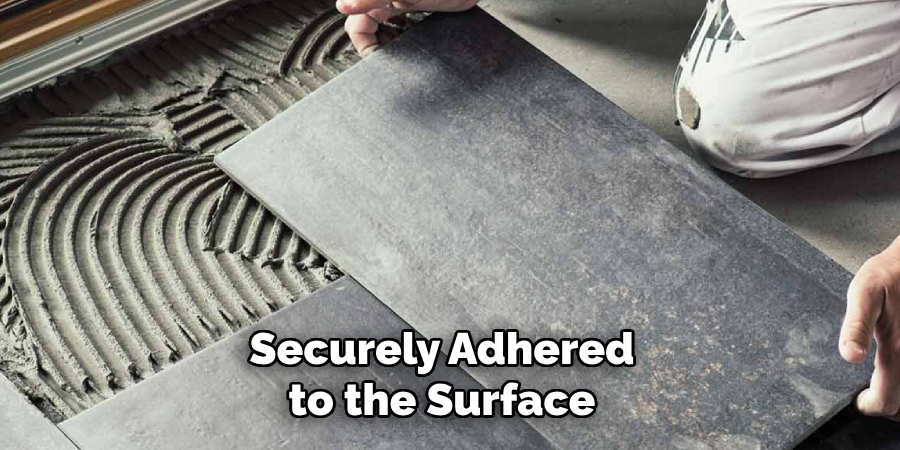
Spread a layer of thin-set mortar over a section of the subfloor, starting in the farthest corner from the door. Use a notched trowel to apply the mortar evenly. Lay the first tile by pressing it firmly into the mortar. Insert tile spacers between tiles to maintain even spacing for grout lines. Continue laying tiles row by row, applying consistent pressure and using a level to ensure the tiles are aligned. For added security, gently tap the tiles into place with a rubber mallet.
Step 3: Cutting Tiles or Flooring to Fit
Around edges, corners, or obstacles like toilets and vanities, you will need to cut your flooring or tiles to the correct size. For tiles, use a tile cutter or a wet saw for precise cuts. For vinyl or laminate, score the material with a utility knife and snap it along the scored line for a clean cut. Carefully fit these cut pieces into place, ensuring they align seamlessly with the rest of the flooring. Attention to detail in these areas ensures a professional and polished finish to your bathroom floor installation.
Grouting and Sealing the Floor
Step 1: Grouting the Tiles
Once the tiles are set, allow the mortar to dry for at least 24 hours. This waiting period ensures the tiles are securely adhered to the surface. After the mortar has dried, mix the grout according to the manufacturer’s instructions. Using a grout float, apply the grout by spreading it diagonally across the tiles to fill all the gaps between them. Make sure to press the grout firmly into the joints to avoid any air pockets. Wipe away any excess grout from the tile surface with a damp sponge, being careful not to remove grout from the joints.
Step 2: Cleaning the Tiles
After the grout has dried completely, which typically takes about 24 hours, it’s time to clean the tiles. Use a soft cloth or sponge dampened with warm water to remove any grout haze left on the surface. Avoid using harsh chemicals or abrasive materials, as these can damage the tiles. Repeat the process if necessary to ensure the tiles regain their original shine and clarity.
Step 3: Sealing the Floor
If you’ve used stone or unglazed tiles, sealing is essential to protect the floor against moisture and staining. Choose a tile and grout sealant that is suitable for the material. Apply the sealant evenly across the entire floor using a paint roller or brush, working in small sections for better control. Allow the sealant to penetrate and dry as per the product’s instructions before stepping on the floor. Sealing your flooring enhances durability and ensures a long-lasting, polished finish.
Finishing Touches
Step 1: Installing Trim or Baseboards
To achieve a polished look, install trim or baseboards around the edges of the floor. This step helps cover any visible gaps between the flooring and the walls, creating a seamless transition. Cut the trim pieces to fit the room’s dimensions, and secure them in place using nails or a strong adhesive. Ensure the trim is flush against the wall and floor for a tidy and professional finish.
Step 2: Replacing Fixtures and Cleaning Up
Once the trim is installed, proceed to reinstall any bathroom fixtures that were removed during the floor replacement, such as the toilet, vanity, or shelving units. Take care to align and secure each fixture properly. Afterward, clean the bathroom floor thoroughly, removing any dust, debris, or adhesive residue. Wipe down all surfaces and check for imperfections or uneven areas. Finally, perform a detailed inspection to confirm that the floor is level, secure, and ready for use.

Conclusion
Replacing a bathroom floor can seem daunting, but with the right approach, it’s entirely manageable. From choosing durable materials to preparing the area, installing the new flooring, grouting, and adding finishing touches, each step plays a critical role in achieving a polished, professional result. Take your time and carefully follow this guide on “how to replace a bathroom floor” for the best outcome. Remember, regular maintenance such as cleaning and resealing can help extend the life of your new floor, keeping it looking great for years to come. Your effort will be well worth it!

