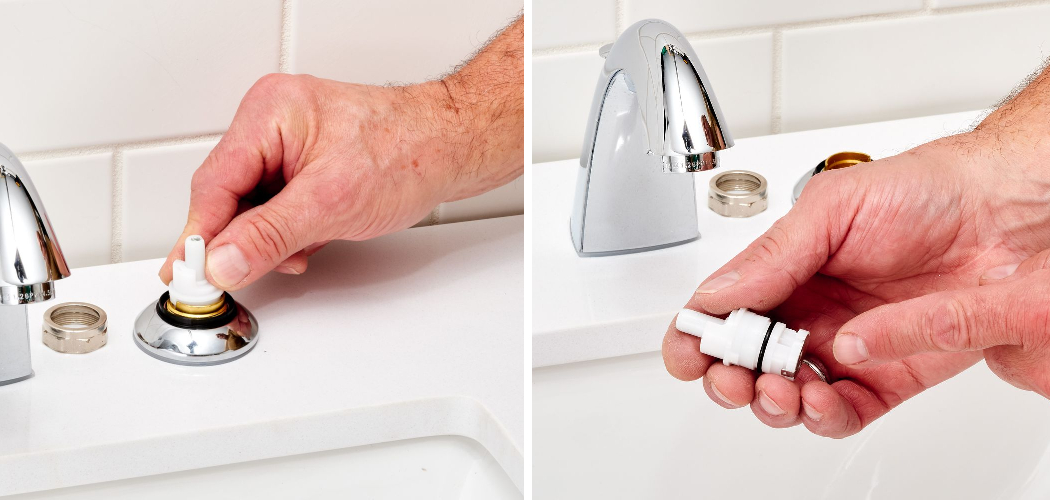
Are you looking for a simpler, more cost-effective way to replace your double-handle faucet cartridge? Replacing a broken faucet isn’t always the most straightforward process right off the bat. But don’t worry; there’s no need to call a professional or dread complicated repairs.
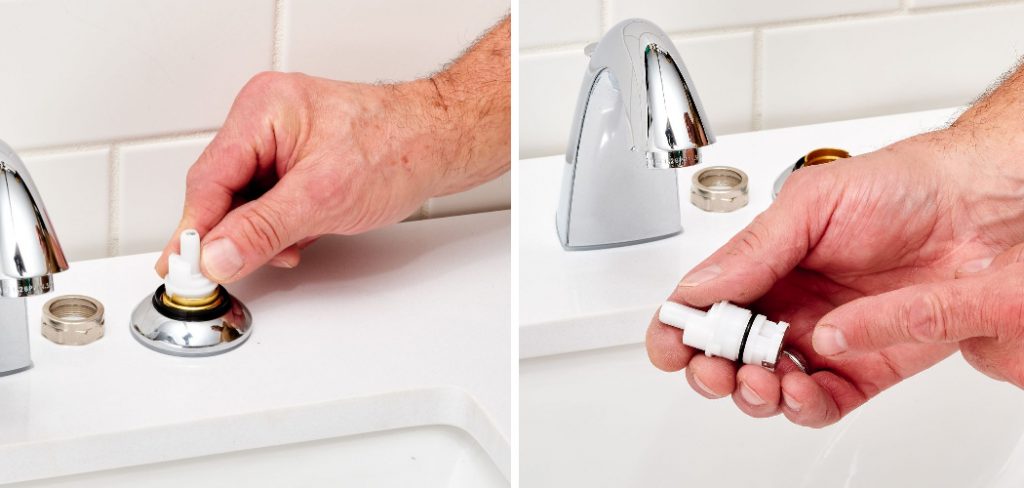
With patience and some mechanical know-how, it is possible to repair your leaking faucet with nothing but a few standard tools found in any home tool set – plus one simple product a replacement cartridge! Read on how to replace a faucet cartridge double handle below to find out how just how easy replacing this kind of fixture can be.
What is Faucet Cartridge?
A faucet cartridge is a device located inside the handle of your faucet. It controls both the on and off functions as well as the temperature settings you are able to use with your sink. They are generally long-lasting, but after extended use, the plastic disk within them can become worn down or cracked; leaving you with no other option than to replace them.
Tools and Materials Needed for Replacement:
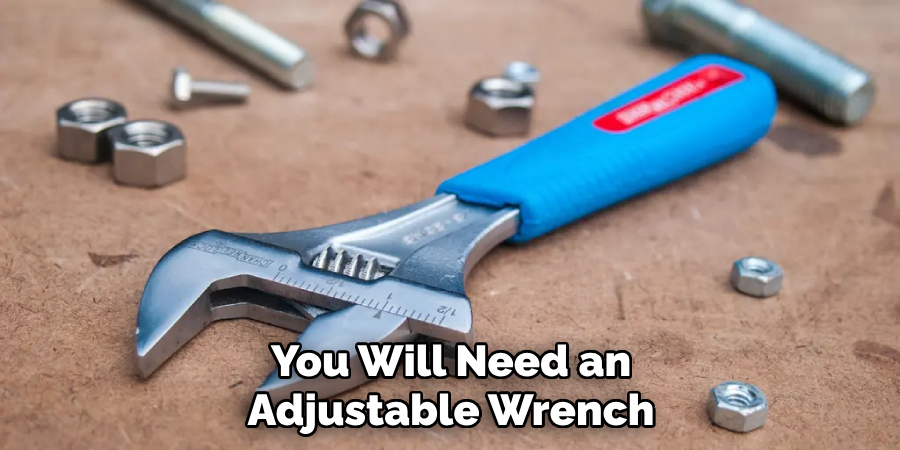
- Adjustable Wrench
- Phillips or Flat-head Screwdriver
- Plumber’s Putty
- Replacement Cartridge
- Rag
11 Step-by-step Instructions on How to Replace a Faucet Cartridge Double Handle:
Step 1: Turn Off the Water Supply
Make sure you turn off the hot and cold valves located under your sink before starting any work on your faucet. It’s also wise to place a bucket underneath the sink to catch any water that might come out. If you don’t feel confident in locating the valves, now is a great time to call a local plumber. But either way, you must turn off the water.
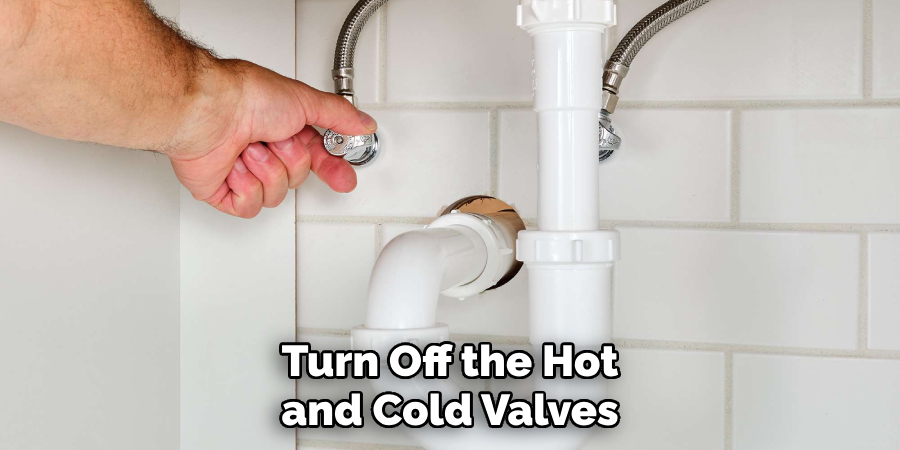
It’s the only way to ensure a safe, successful repair. It’s also important to know that when turning off the water supply, take note of which valve is for hot and which is for cold.
Step 2: Remove the Handle
Remove the handle of your faucet using an adjustable wrench – be sure not to over-tighten when loosening or tightening these bolts, as it can cause damage to your hardware. If your handle covers don’t come off easily, use a flathead or Phillips-head screwdriver to help loosen them.
This should be done carefully and with minimal force. It’s better to be gentle and take your time rather than trying to rush through it. This is especially true if you’re using an adjustable wrench. If you find that your handle covers are still stuck, and you don’t have the necessary tools handy, now may be a good time to call a professional.
Step 3: Unscrew the Retaining Nut and Cartridge
Unscrew the retaining nut located at the base of your faucet’s handle with an adjustable wrench, then remove it along with the cartridge. But be careful not to force any of the connectors.
If they are stuck, you may need a longer wrench or a pair of pliers to help loosen them. It’s also not a bad idea to use some lubricant such as WD-40 to help loosen any stuck screws or nuts. If you’re still having trouble, now might be a good time to call a plumber.
Step 4: Clean Out Any Debris
Carefully inspect both sides of where each part was removed from for any debris, and clean it out with a rag. It’s important to make sure all of the old sealants are removed and any remaining lint is eliminated.
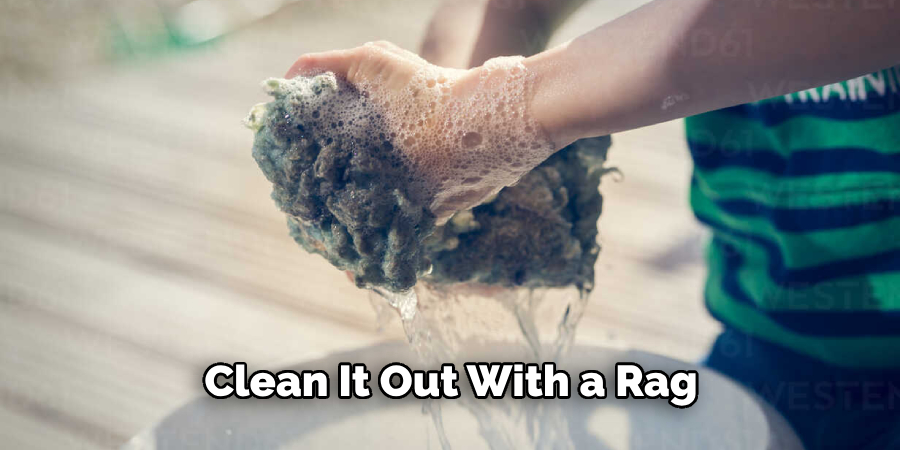
This will help create a better seal when the new parts are installed. This is also the time to check for any other problems with the faucet’s components that may need repairing. It’s best to address any issue now before it becomes a bigger problem in the future. This could save you time and money.
Step 5: Apply Plumber’s Putty
Before placing the new cartridge, take some plumber’s putty and place it around the edges of your faucet stem to create a waterproof seal. It’s important to make sure the putty is applied as evenly as possible. Then, place the new cartridge into its socket and screw it in using an adjustable wrench.
Be sure to not overtighten the cartridge or it may become damaged. This is a common mistake that can lead to future issues with your faucet. It’s best to be gentle and go slow. This will help ensure a tight seal and a job well done.
Step 6: Replace the Cartridge
Insert the new cartridge into the stem and secure it in place by tightening down the retaining nut. Make sure not to over-tighten or else you could damage the hardware. It is also important to check that the cartridge is correctly aligned before tightening it down all the way.
This will prevent any further issues with the faucet in the future. You may also want to use a lubricant on the threads of the cartridge stem before installing it. This will help ensure a better seal and prevent any unwanted leaks.
Step 7: Insert Handle
Once everything is securely fastened, insert the handle back into its original position and re-tighten any bolts that may have become loose during removal. You may want to use a lubricant such as WD-40 on the handle threads before replacing it.
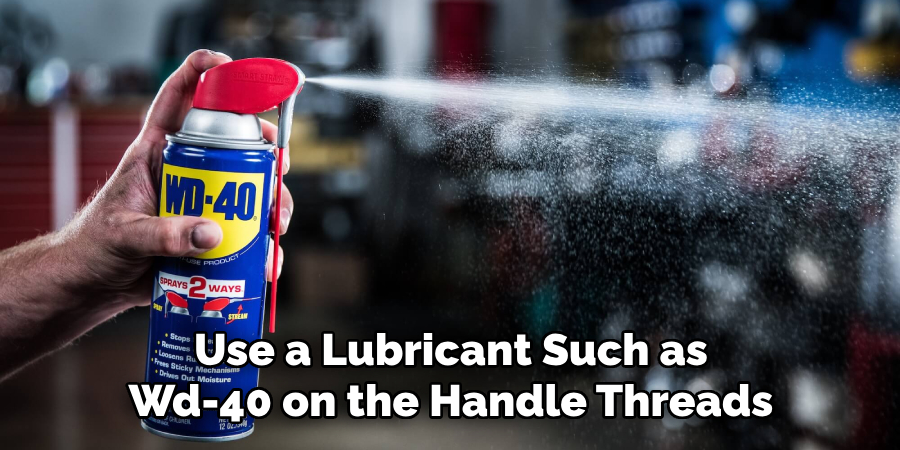
This will help make sure it’s properly sealed and won’t come loose over time. But don’t apply too much lubricant or it could cause damage to the other components of the faucet. However, if you’re still having trouble, now might be a good time to call a professional.
Step 8: Test Water Flow
Turn on the water supply and test out the flow of your newly installed cartridge. Check for any leaks or issues that may have occurred during installation, and make sure everything is running smoothly. Although you may be tempted to turn up the water pressure higher than normal, it’s best not to do this. Doing so can cause serious damage to the faucet and the components within it.
Step 9: Turn Off the Water Supply
When you’re done testing your faucet, turn off the water supply and test once more to ensure no leaks have sprung up in the meantime. It’s important to be thorough and make sure the faucet is functioning properly.
If you’re noticing any issues or if something still isn’t quite right, now is the perfect time to call a plumber. This will save you time and money down the road. You may also want to check the hot and cold valves to make sure they are still working correctly.
Step 10: Clean Up the Area
Once you’ve ensured that there are no issues with your newly replaced faucet cartridge, it’s time to clean up the mess from all of your tools and materials used throughout the process. Dispose of all debris appropriately.
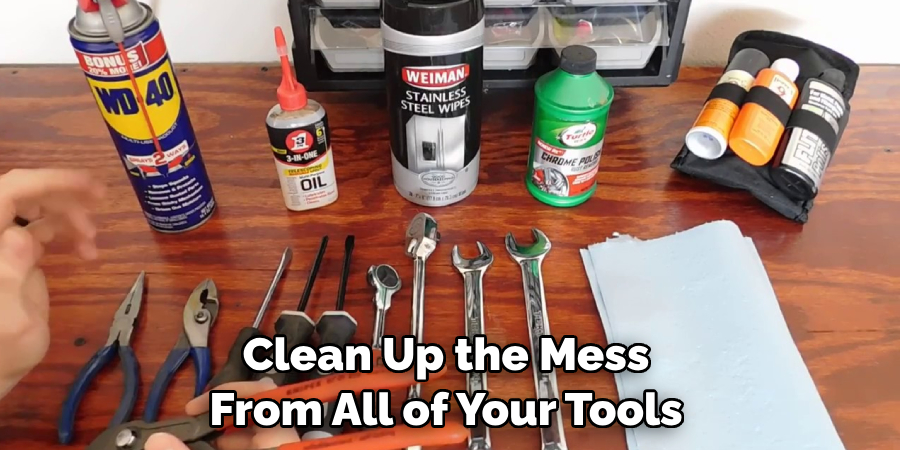
It’s also a good idea to clean the area under your sink thoroughly. This will help keep any dirt and grime from building up over time and causing issues with your faucet in the future.
Step 11: Enjoy Your Newly Replaced Faucet Cartridge!
You’ve successfully replaced your faucet cartridge double handle – now it’s time to enjoy the fruits of your labor! Enjoy a smoother, better-functioning faucet as you go about your daily life.
Always remember to check your faucet every now and then, just in case any issues arise. If they do, don’t hesitate to call a professional for help. With proper maintenance and care, your faucet should last you many years to come.
Congratulations! With patience and just a few tools, you have successfully replaced your faucet cartridge double handle. Now that you know how easy it is to do this kind of repair on your own, you can save both time and money in the future. Good luck with all of your home repair projects!
Do You Need to Use Professionals?
When it comes to replacing a faucet cartridge double handle, you can do the job yourself without any professional assistance. However, if you feel like you don’t have the confidence or experience to do the job on your own, then it may be best to get help from a licensed plumber.
Whatever route you decide to take, remember that safety should always come first! You can never be too careful when it comes to home repairs.
We hope this guide has given you some useful information on how to replace a faucet cartridge double handle. Good luck with all of your home repair projects!
Frequently Asked Questions
Q: How Do I Know if My Faucet is Leaking From the Cartridge?
A: The most common signs of a leaky faucet cartridge are dripping water from the handle area and a stuck handle that won’t move. If you suspect that your faucet is leaking from the cartridge, it’s best to replace it as soon as possible.
Q: What Tools Do I Need to Replace My Faucet Cartridge?
A: To replace your faucet cartridge, you will need an adjustable wrench, a Phillips or flat-head screwdriver, a plumber’s putty, a replacement cartridge, and a rag.
Q: Can I Install my New Faucet Cartridge Without Professional Assistance?
A: Yes! With patience and some mechanical know-how, it is possible to repair your leaking faucet with nothing but a few standard tools found in any home tool set – plus one simple product a replacement cartridge! Following the instructions provided in this guide, you can replace your faucet cartridge double handle without the need for professional assistance.
However, if you’re feeling uncertain about it or don’t feel like you have the time to do the repair yourself, then it may be best to call a plumber who has the experience and know-how to get the job done right. Good luck with all of your home repair projects!
Q: How Often Should I Replace My Faucet Cartridge?
A: Generally speaking, you should replace your faucet cartridge every 5-7 years. This is to ensure that your faucet is in proper working condition and free of any leaks or damage. However, if you notice any issues with your faucet before this time period, it’s best to go ahead and replace the cartridge right away. This will help save you from costly repairs down the road.
Conclusion
In conclusion on how to replace a faucet cartridge double handle, replacing a faucet cartridge double handle isn’t something that you should be afraid to do. You can easily learn to do it yourself and save time and money. With the proper tools and a little bit of elbow grease, you’ll be able to fix the problem quickly without having to hire a plumbing professional.
As always, if in doubt, don’t hesitate to call up an expert or take extra caution when nearing unfamiliar territory. We hope that our guide has helped make this process look much simpler than it appears! So go ahead and take the plunge – after all, your dripping faucet won’t fix itself!

