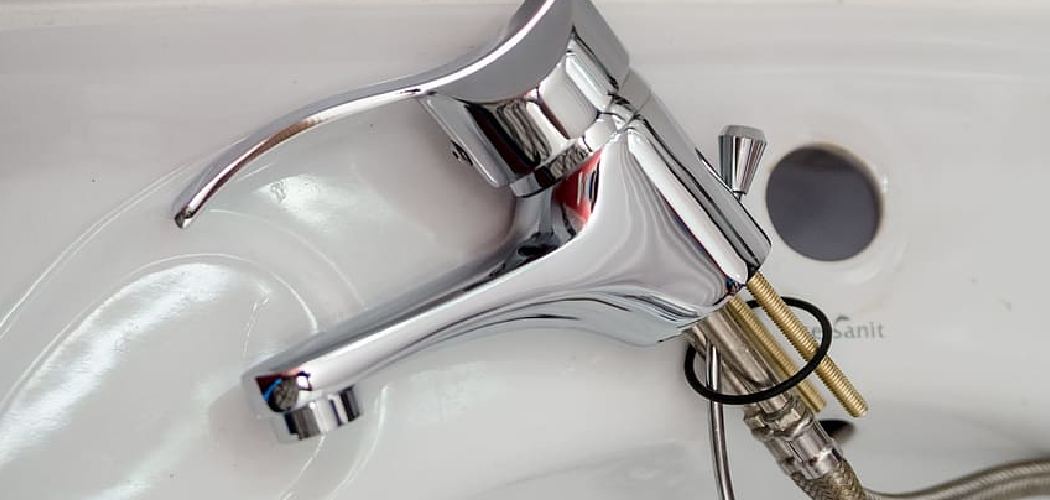
Replacing a mixer tap may seem like a daunting task, but with the right tools and guidance, it can be a straightforward DIY project. Whether you’re upgrading for aesthetic reasons or addressing a faulty tap, knowing how to replace it yourself can save both time and money. This guide will walk you through the step-by-step process of how to replace a mixer tap, ensuring a smooth and hassle-free experience.
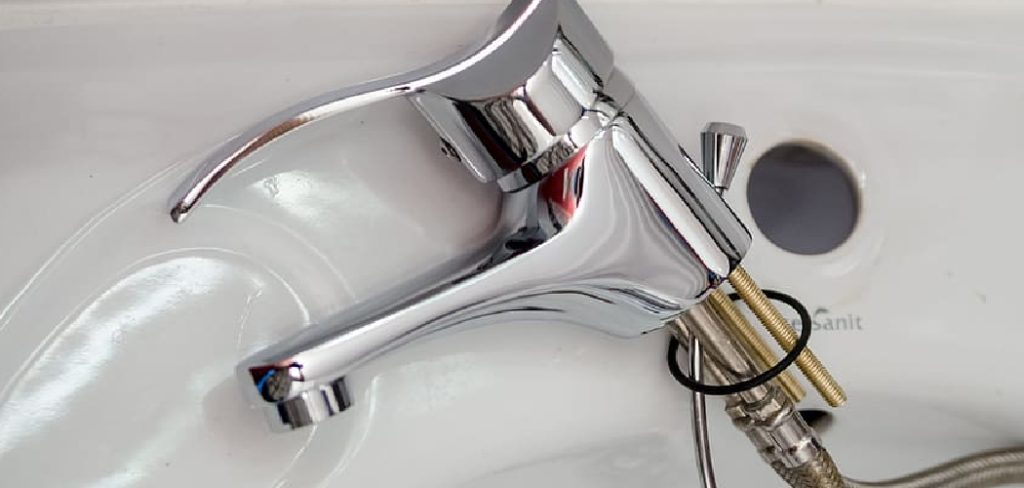
Common Reasons for Replacing a Mixer Tap
There are several reasons why you might need to replace a mixer tap. A common issue is persistent leaks or drips, which not only waste water but can also increase your utility bills. Over time, wear and tear can also cause the tap to lose functionality, such as difficulty in turning the handle or inconsistent water flow.
Another reason could be aesthetic updates; replacing an outdated or mismatched tap can instantly modernize the look of your kitchen or bathroom. Additionally, upgrading to a more efficient or eco-friendly mixer tap may be a choice for those looking to save water and reduce environmental impact. Whatever the reason, replacing your mixer tap can improve both functionality and the overall appearance of your space.
Tools and Materials You’ll Need
Before replacing your mixer tap, gather the necessary tools and materials to ensure a smooth and efficient process. Here’s a checklist of what you’ll need:
- Adjustable wrench – For loosening and tightening nuts and fittings.
- Screwdriver – Depending on the type of screws used, a flathead or Phillips screwdriver may be required.
- Plumber’s tape – Also known as Teflon tape, this helps to seal threaded connections and prevent leaks.
- Bucket – To catch any residual water when disconnecting pipes.
- Rags or towels – Useful for cleaning up spills and keeping the area dry.
- Basin wrench – Specifically designed for reaching and tightening nuts in hard-to-access areas under the sink.
- New mixer tap – Ensure it is compatible with your existing plumbing and matches your desired aesthetic.
- Flexible hoses – If your current hoses are old or incompatible with the new mixer tap, replacements may be necessary.
Having these tools and materials ready will help you tackle the replacement process efficiently and minimize any interruptions.
10 Methods How to Replace a Mixer Tap
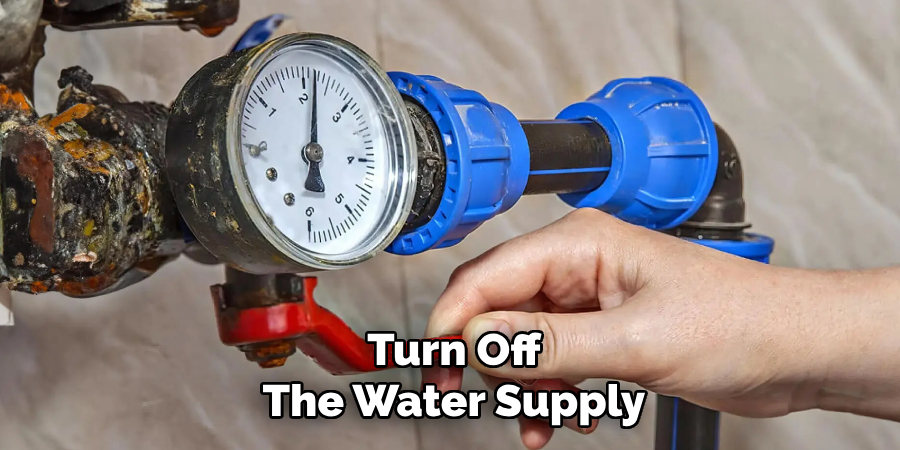
1. Turn Off the Water Supply and Drain the Pipes
Before doing anything, the first essential step is to turn off the water supply. This usually involves shutting off the isolation valves located under the sink or turning off the main stopcock if individual valves aren’t available.
Once the water is off, open the existing mixer tap to relieve any pressure and let residual water drain out. This step is non-negotiable—it prevents leaks and accidents during the replacement process and gives you a clean, dry workspace to begin the job.
2. Clear the Space for Easy Access
Access under your sink can often be tight and awkward, so it’s wise to clear out any stored items and ensure you have enough room to move. Lay down a towel or small bucket to catch any drips or drops during removal.
Depending on your kitchen or bathroom setup, you may also want to use a headlamp or work light to illuminate dark corners. Proper visibility and accessibility will make the rest of the job considerably easier and help prevent missteps or frustration.
3. Use a Basin Wrench to Loosen Tap Nuts
One of the most common tools used in mixer tap replacement is a basin wrench—a long-handled tool with a pivoting head designed to reach up behind sinks. Use this wrench to loosen and remove the securing nuts or backnuts that hold the old tap in place.
These nuts can be stiff due to corrosion or tight installation, so apply a little penetrating oil if needed. Patience is key here, as forcing it could damage surrounding plumbing or fixtures. Take your time and use the right tool for best results.
4. Disconnect the Flexible Tap Connectors
Mixer taps are typically connected to your plumbing system with flexible hoses or braided connectors. Using an adjustable wrench, carefully unscrew these hoses from the hot and cold water supply lines. Be prepared for a small amount of water to drip out, and have a cloth or towel ready to mop up any residual moisture.
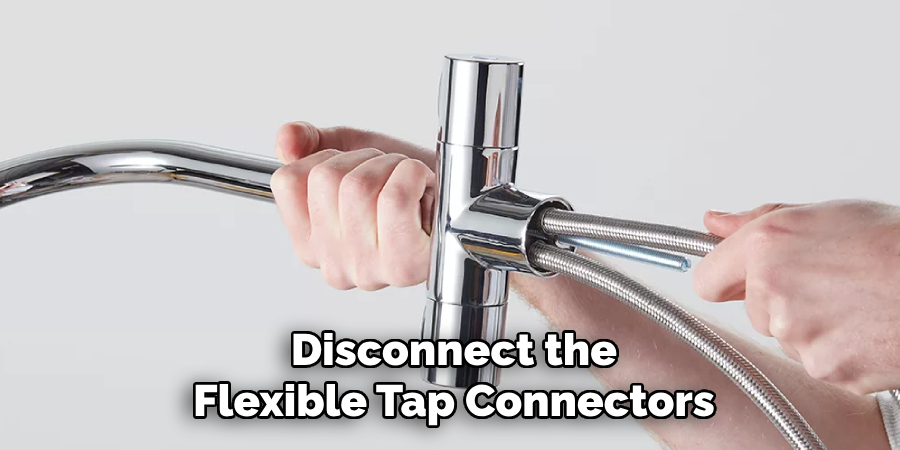
If the hoses are worn or frayed, it’s a good idea to replace them entirely with new, compatible connectors when installing the new tap for a secure, leak-free finish.
5. Remove the Old Tap from the Sink
With the water supply disconnected and the securing nuts removed, you should now be able to lift the old mixer tap straight up from the mounting hole in the sink or countertop. If it feels stuck, gently wiggle it back and forth to loosen any buildup or sealant that may be holding it in place. Take care not to scratch the sink surface during removal. Once it’s out, clean around the tap hole using a cloth and mild cleaner to remove any grime or limescale before proceeding with the new installation.
6. Position the New Mixer Tap Correctly
Place the new mixer tap into the mounting hole and ensure it is aligned properly. Many taps come with a rubber or plastic base seal to prevent leaks—make sure this is in place before setting the tap down. If your tap does not come with a gasket, you can apply a ring of plumber’s putty or silicone sealant around the base to create a watertight seal. Center the tap so it sits neatly and evenly before moving underneath to secure it in place.
7. Secure the Tap Using Fixing Kits or Brackets
Under the sink, secure the mixer tap using the provided fixing kit or brackets. This usually involves tightening backnuts or mounting plates that clamp the tap firmly against the sink or worktop. Use your basin wrench again to ensure a snug fit, but avoid over-tightening, as this could crack the sink or damage the tap.
A well-secured tap should feel solid with no wobble, even when the handles are turned with moderate pressure. This ensures a long-lasting and professional-looking installation.
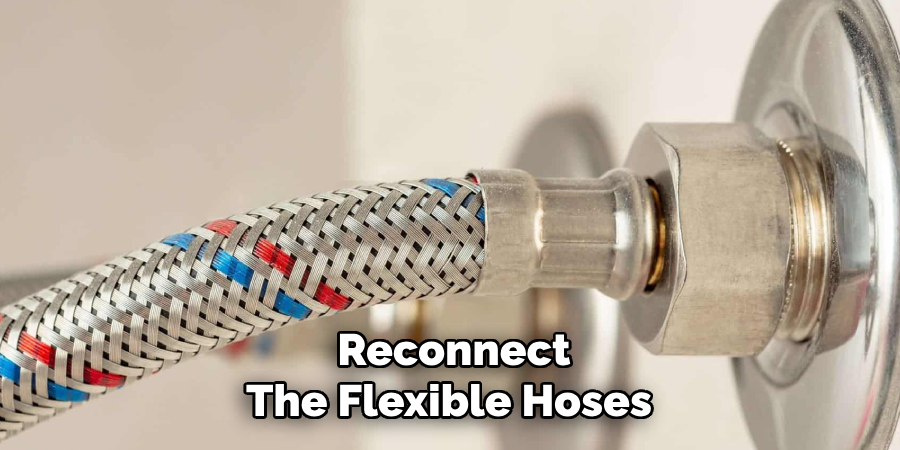
8. Reconnect the Flexible Hoses to the Water Supply
Once the tap is firmly in place, reattach the flexible connectors to the hot and cold water inlets under the sink. Make sure you match each hose to the correct valve—most taps are clearly marked with color indicators (red for hot, blue for cold).
Use an adjustable wrench to tighten the connections securely, but again, avoid over-tightening to prevent damaging the threads. Check that the hoses aren’t twisted or kinked, which could restrict water flow or cause leaks later on.
9. Turn On the Water and Test for Leaks
With everything connected, slowly turn on the isolation valves or main water supply to restore water flow. Open the new mixer tap and let the water run for a minute or two to flush out any debris or air trapped in the pipes. While the water is running, carefully inspect all joints and connections beneath the sink for any signs of dripping or leaks.
If you notice any moisture, shut off the supply and re-tighten the offending connection. It’s better to catch and fix a small leak now than deal with a major problem later.
10. Finish with a Clean-Up and Maintenance Tips
Once your new mixer tap is installed and working perfectly, take a moment to tidy up your workspace and admire your handiwork. Wipe down the tap and surrounding area, and store your tools for future use. It’s also a good idea to keep the tap’s manual and any spare parts in a safe place in case you need them later.
Finally, consider adding a regular cleaning schedule with gentle, non-abrasive cleaners to keep your new tap looking shiny and new. Regular maintenance helps prevent limescale buildup and extends the life of your tap.
Things to Consider When Choosing a New Tap
When selecting a new tap for your home, there are a few key factors to keep in mind to ensure it meets your needs. Start by considering the style and design of the tap to ensure it complements the overall aesthetic of your kitchen or bathroom. Functionality is equally important—think about whether a single-handle, double-handle, or pull-out spray tap would best suit your daily usage.
Additionally, check the compatibility of the tap with your existing sink and plumbing setup to avoid installation issues. Material and build quality are also crucial as they impact the tap’s durability and resistance to wear. Lastly, consider water efficiency features, such as aerators, to reduce water consumption while maintaining strong performance.
Conclusion
Replacing a mixer tap may seem technical, but by breaking it down into manageable steps and using the proper tools, it becomes a satisfying DIY achievement. Each of these ten methods is tailored to guide you through the process smoothly—whether you’re a seasoned home improver or a complete beginner. Now that you know how to replace a mixer tap, try it yourself today and feel good about completing such a big DIY job!

