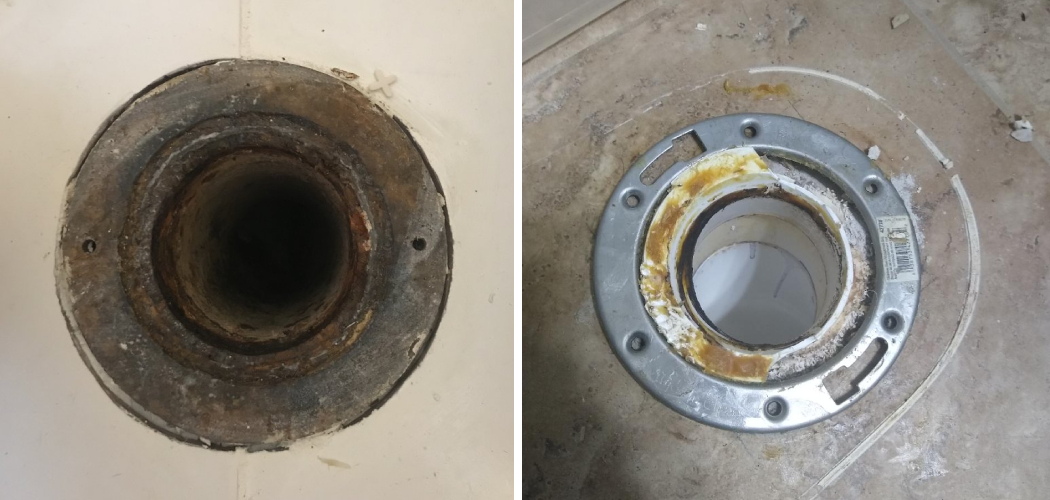
Dealing with a rusted toilet flange is a common issue in older bathrooms, and it’s crucial to address it promptly to maintain a functioning and leak-free toilet. The toilet flange, a vital component that connects the toilet to the floor and the sewer pipe, can deteriorate over time due to rust, causing instability and potential water damage. In this informative guide, we’ll outline the necessary steps on how to replace a rusted toilet flange effectively.
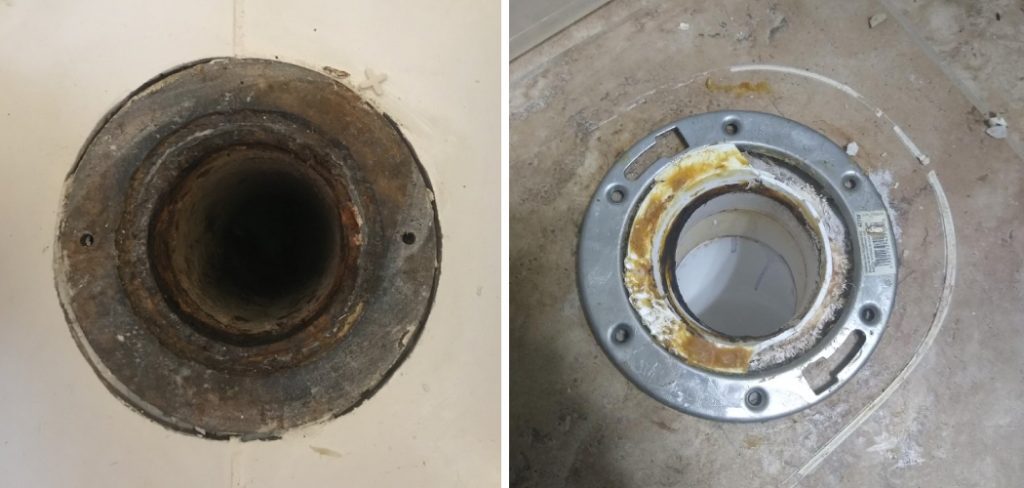
From assessing the extent of the damage to installing a new flange and ensuring a watertight seal, we’ll walk you through the process, empowering you to tackle this maintenance task with confidence and restore your toilet’s stability and functionality. Let’s dive into the steps needed to bid farewell to that rusted flange and welcome a reliable, leak-free connection for your toilet.
The Importance of a Functional Toilet Flange
A toilet flange is a crucial part of the installation of any type of commode. It connects the toilet to the drainage pipe, and it also helps keep your toilet firmly in place. If your toilet flange isn’t installed properly or becomes corroded over time, it can cause leaks that will damage both your floor and subflooring.
So if you notice any signs of rust or if the flange isn’t working correctly, it’s important to replace it as soon as possible. Although it may seem daunting at first, replacing a rusted toilet flange is actually quite simple.
Signs of a Rusted or Damaged Toilet Flange
When a toilet flange has become rusted or damaged, there are usually some tell-tale signs, such as the toilet wobbling when sat on, an unpleasant smell coming from the bathroom, and water leaking around the base of the toilet. If any of these signs are present, it is a good idea to replace the flange before further damage occurs. Although replacing a flange can be a messy job, it is possible to do it yourself if you have the right tools and materials.
Gathering Necessary Safety Gear and Tools
Before you begin, make sure you have all the necessary safety gear and tools at hand. The safety gear should include a pair of thick rubber gloves to protect your hands and safety goggles to shield your eyes from any debris. An old towel or a large rag would also be useful for cleaning up any water and grime.
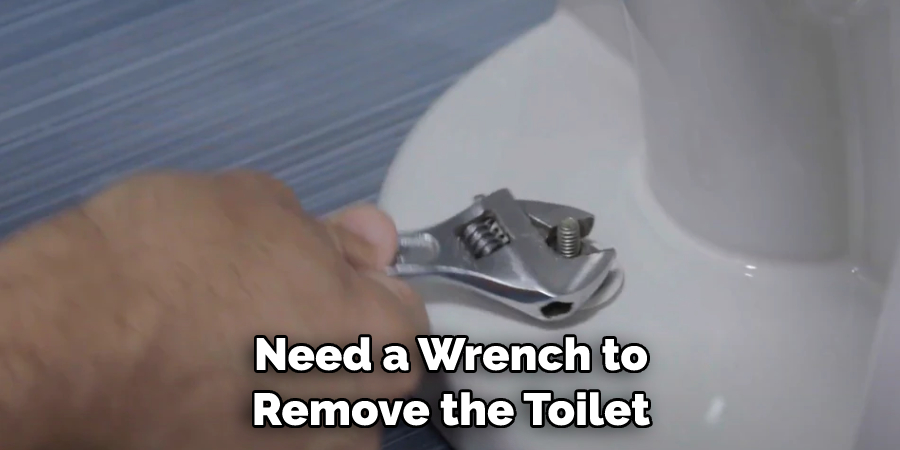
As for the tools, you’ll need a wrench to remove the toilet and the old flange, a putty knife to scrape off the old wax ring residue, a new toilet flange, a wax ring, and long closet bolts for securing the flange to the floor.
You may also want to have a bucket nearby for disposing of the old flange and wax ring. If the flange bolts are severely rusted, a hacksaw can be used to cut them off. Remember, preparation is key to a successful DIY project.
11 Steps How to Replace a Rusted Toilet Flange
1. Shut Off the Water Supply
The first step in replacing a rusted toilet flange is to turn off the water supply to the toilet. This will prevent any further damage from occurring while you work on the replacement. Once the water is shut off, remove the toilet and set aside.
2. Remove Toilet:
Once the water supply has been shut off, it is time to remove the toilet from its mounting position. Carefully lift the toilet and set it aside, making sure not to damage any of the surrounding flooring or plumbing fixtures in the process.
3. Disconnect Water Line:
Next, you will need to disconnect the water line that runs from the wall to the bottom of your toilet tank. Use an adjustable wrench or pliers to loosen and remove any fittings that may be connected between them. Shut off the water supply after you’ve done that.
5. Remove Old Flange:
After disconnecting all of your plumbing fixtures, you can now begin removing your old rusted flange from its mounting position on your flooring material. Use a hacksaw or reciprocating saw to carefully cut away at any remaining screws that are holding it in place before using a pry bar or flathead screwdriver to carefully pry it up and out of its mounting position.
6. Clean-Up Area:
Once you have removed your old flange, take some time to clean up any debris left behind, such as rust flakes or bits of broken plastic or metal pieces that may have come loose during removal. It is important that this area is completely free of debris before proceeding with the installation of a new flange so as not to cause any further damage during installation.
7. Install New Flange:
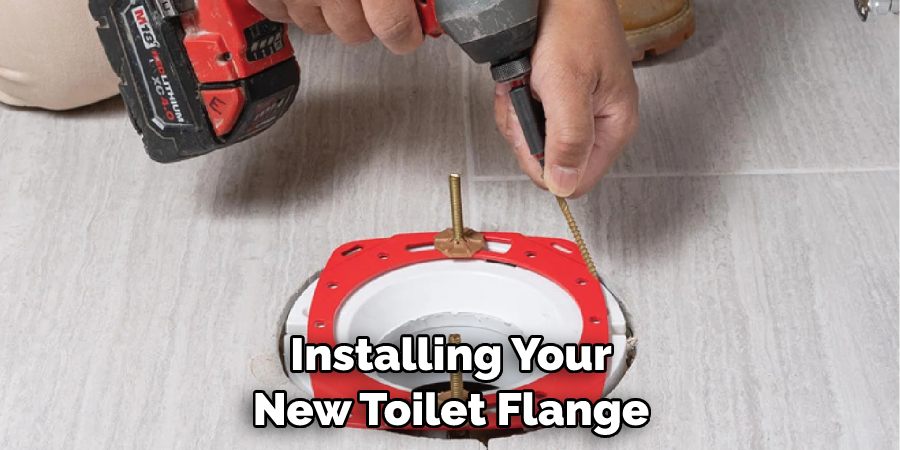
Now that you have cleared away all debris and prepared your area for installation, you can now begin installing your new toilet flange into its mounting position on your flooring material. Make sure that all screws are properly tightened and sealed with silicone caulk if necessary prior to moving on to Step 7 below for final testing and adjustment steps if needed.
8. Test Fit Toilet:
Now that you have installed your new flange into its mounting position, it is time for a test fit with your toilet bowl before continuing with any further adjustments or modifications if needed be done prior to reattaching all plumbing fixtures back into their respective positions for final testing purposes.
9. Reattach Plumbing Fixtures:
Once you have tested everything and made sure there are no leaks present anywhere within your system, then it is time to reattach all plumbing fixtures back into their respective positions for final testing purposes.
Start by reattaching the toilet to the flange, ensuring that it is secured properly and in an even manner. It might be necessary at this point to add some extra wax sealant around the base of the toilet for added security against any future leaks or seepage.
10. Adjust Toilet Tank Level:
Before reattaching all plumbing fixtures back into their respective positions for final testing purposes, make sure that they are properly adjusted so as not to cause any issues when refilling with water later on down the road.
This includes adjusting both the height level and angle of each fixture so as not to interfere with one another when refilling with water later on down the road.
11. Refill Water Supply and test Flush System:
Finally, once everything has been properly adjusted and secured back into place, it is time to refill the water supply and test the flush system one last time before declaring the job complete!
Things to Consider When Replacing a Rusted Toilet Flange
Once you have decided to replace your rusted toilet flange, there are a few things you should consider. First, determine which type of material you need for the replacement flange. You can choose from copper, brass, stainless steel and plastic varieties.

Each has its own benefits and drawbacks; copper is strong but expensive, while stainless steel is highly durable but also more expensive. Plastic is the most affordable option, but it may not be as strong or durable as metal varieties.
Next, measure the size of your current flange to determine which size you need for the replacement. You’ll have to account for any changes in pipe diameter if your old flange was cut too small, or if you plan on installing a new, larger flange. Make sure to buy a flange with the same pipe diameter as your current one, or slightly larger if necessary.
Finally, you’ll have to decide between purchasing a new or used flange. A new one is preferable for obvious reasons; it will be less likely to fail and should last longer than its used counterpart.
Common Mistakes to Avoid
When replacing a rusted toilet flange, there are certain common mistakes that should be avoided to ensure the job is done correctly. One of the most important things to remember is to make sure the new flange fits securely in place.
If it’s not tightly fitted, this can cause leaks and other problems down the road. Poorly sealed areas around the wax ring or seam can also cause leaks. Another mistake commonly made is using the wrong screws and fasteners when securing the flange to the flooring.
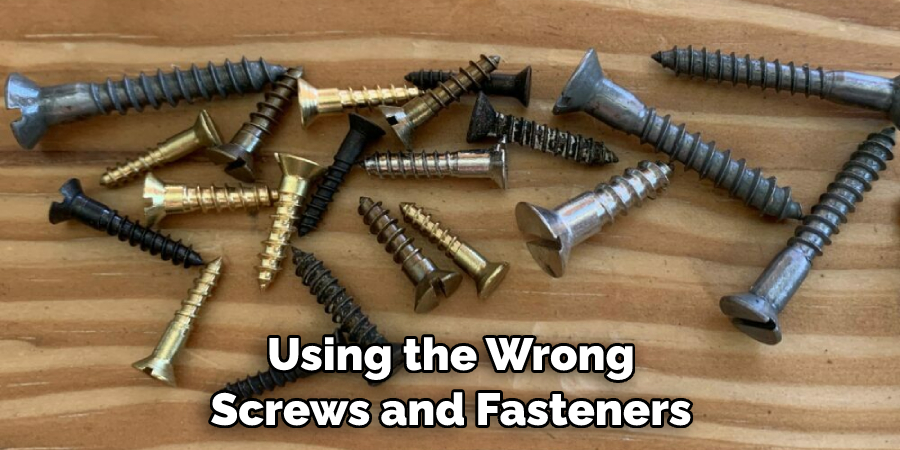
Be sure to use corrosion-resistant screws that are long enough to penetrate through both the flange and subfloor. Finally, make sure to take extra caution when removing the old flange. Careless attempts can damage the plastic drain pipe or other plumbing components in the area. Taking your time and following these tips can help you successfully replace a rusted toilet flange.
Safety Precautions for Replacing a Rusted Toilet Flange
It is important to take safety precautions while working on a plumbing project like replacing a rusted toilet flange. It is recommended that you wear protective clothing such as gloves, goggles, and long sleeves.
Make sure to turn off the water supply before beginning the project. It can be dangerous to work with electricity near water so it is best to unplug any electrical devices in the bathroom before starting.
Additionally, you should have a helper to work with when replacing a rusted toilet flange as it can be difficult. Make sure you know where all the valves in your plumbing system are and how to shut them off in case of an emergency.
Lastly, dispose of any hazardous materials in a safe manner according to local regulations. Always follow the manufacturer’s instructions when replacing a rusted toilet flange. Following these safety precautions will ensure that the job is done right and that you and your home are safe in the process.
Once you have taken all necessary safety precautions, it’s time to begin replacing the rusted toilet flange. The first step is to remove the old rusted flange from the floor. Use a screwdriver to loosen the screws holding it in place and then use a pry bar or putty knife to gently remove it from the floor.
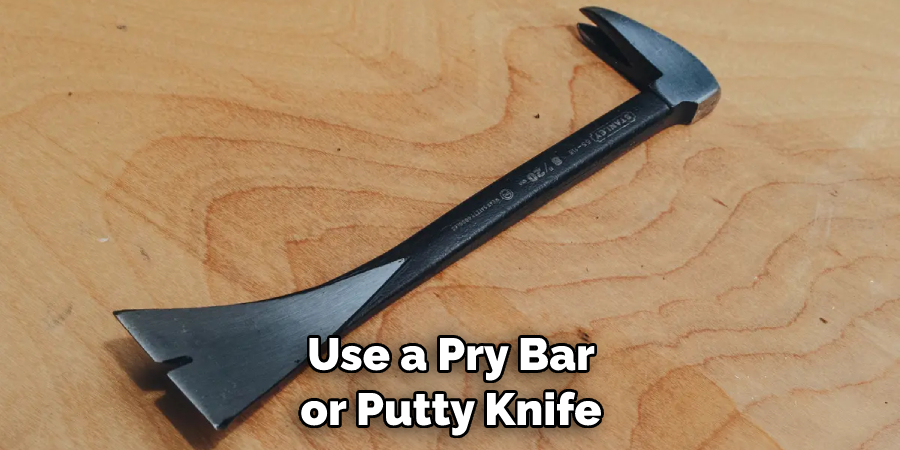
Once you have removed the old flange, use a scrub brush or steel wool to clean any rust off of the floor. Make sure that all dirt or debris is removed before installing the new flange.
Conclusion
Replacing a rusted toilet flange is an important part of any home improvement project. You can either do it yourself or hire a professional to help you. Doing it correctly the first time will save you money in the long run, as you won’t have to go through the expense of replacing the fittings again if they don’t work correctly.
Taking the necessary steps on how to replace a rusted toilet flange and researching solutions from experts can help ensure that your project goes smoothly.
Additionally, being aware of potential risks should be taken into account when taking on such a job yourself. Last but not least, whatever route you choose to take for this project, there are lots of resources available which will give you the confidence and knowledge required for tackling a job like this successfully – so dive in! It’s always rewarding when completing DIY projects around the house!.

