Replacing a bathtub may seem like a daunting task, but with the right tools and a bit of preparation, it can be a manageable DIY project. Whether you’re upgrading for a new look or addressing wear and tear, understanding the steps involved will help you achieve a professional finish. This guide will walk you through how to replace bathtub, ensuring a successful and stress-free experience.

Common Reasons for Replacement
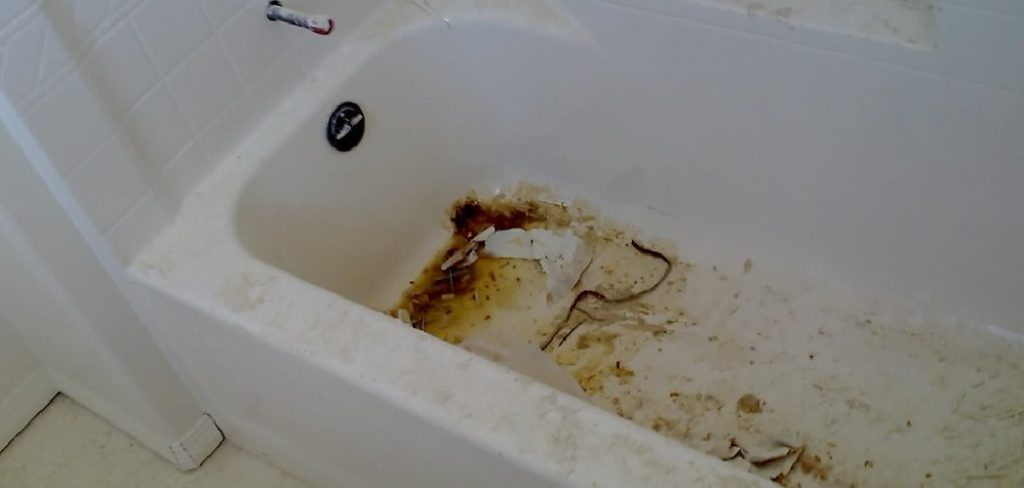
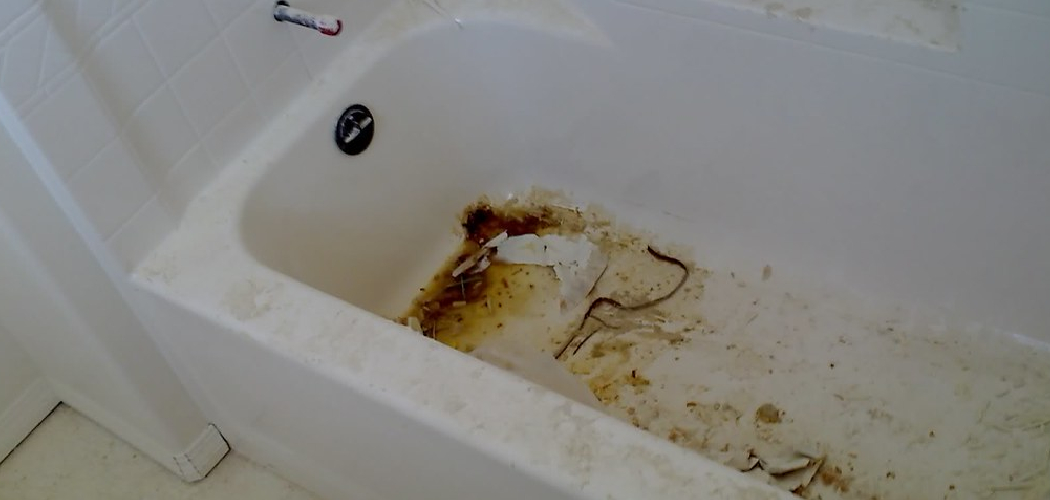
There are several reasons why homeowners choose to replace their bathtubs. One of the most common is damage over time, such as cracks, chips, or leaks, which can lead to water damage and inefficiency. Another reason is aesthetic upgrades; many people want to refresh their bathroom’s appearance with a newer, more modern tub design. Additionally, functional needs, such as installing a bathtub that is easier to access for aging family members or one with enhanced features like jets, often lead to replacement.
Lastly, inadequate size or discomfort of the existing bathtub may prompt homeowners to switch to a more suitable model for their needs.
Tools and Materials Needed
Before starting your bathtub replacement project, it’s important to gather all the necessary tools and materials to ensure a smooth process. Here is a list of items you will likely need:
- Tools:
- Adjustable wrench
- Screwdriver (Phillips and flathead)
- Utility knife
- Caulking gun
- Pry bar
- Level
- Drill and appropriate drill bits
- Pipe wrench
- Bucket
- Measuring tape
- Safety goggles and gloves
- Materials:
- New bathtub
- Plumbing tape
- Silicone caulk
- Tub drain assembly kit
- Mortar mix (for setting the new tub, if required)
- Replacement pipes or fittings (if needed)
- Plastic sheeting or drop cloths to protect flooring
Having everything prepared in advance will save time and help you avoid interruptions during the installation process. Double-check your new bathtub’s specifications to determine if additional materials or tools are required.
10 Methods How to Replace Bathtub
1. Plan the Replacement Project
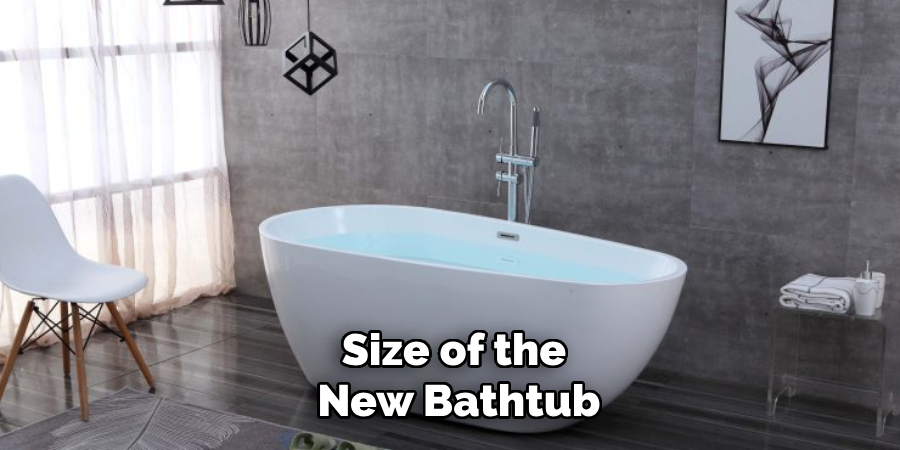
Begin by planning the project thoroughly. Decide on the type and size of the new bathtub, ensuring it fits the existing space. Measure the dimensions of the current tub, including width, length, and depth. Consider additional features such as material, style, and whether you need a standard, alcove, or freestanding tub. Planning ahead ensures a smoother replacement process.
2. Gather the Necessary Tools and Materials
Assemble all tools and materials required for the project. Common tools include a wrench, screwdrivers, a reciprocating saw, a pry bar, and a caulking gun. You’ll also need plumbing supplies, such as plumber’s tape, PVC pipes, and adhesive. Having everything ready reduces delays and keeps the project on track.

3. Turn Off the Water Supply
Before removing the old bathtub, turn off the water supply to prevent flooding. Locate the shut-off valve for the bathroom or turn off the main water supply for your home. Open the faucets to drain any remaining water from the pipes. This step is crucial for safety and avoiding water damage.
4. Remove the Old Bathtub Fixtures
Detach the faucet, spout, handles, and other fixtures connected to the old tub. Use a wrench or screwdriver to loosen the fittings. Keep the components in a safe place if you plan to reuse them with the new bathtub. Removing these fixtures makes it easier to lift out the tub.
5. Disconnect the Drain and Overflow
Access the drain and overflow connections beneath the bathtub. Use a wrench to loosen the nuts securing these parts. Remove the drain cover and overflow plate carefully. Disconnecting these components ensures the tub is free from the plumbing system, allowing for removal.
6. Cut Away Surrounding Caulk and Drywall
Use a utility knife to cut through the caulk sealing the tub to the wall and floor. If the bathtub is surrounded by tiles, remove a section of the drywall to expose the edges of the tub. A reciprocating saw can make this task easier. Cutting away these materials allows for easier removal of the old tub.
7. Remove the Old Bathtub
With all connections detached, lift the old bathtub out of its position. You may need assistance due to the weight and size of the tub. If the tub is too large to remove in one piece, use a reciprocating saw to cut it into smaller sections. Take precautions to avoid damaging the bathroom floor or walls.
8. Prepare the Space for the New Bathtub
Inspect the area where the old tub was installed. Check for water damage, mold, or structural issues, and repair them as needed. Clean the space thoroughly and ensure the subfloor is level and sturdy. Making these preparations ensures a solid foundation for the new bathtub.
9. Install the New Bathtub
Position the new bathtub in the designated space, ensuring it aligns with the plumbing connections. Secure the tub to the wall studs using brackets or screws as recommended by the manufacturer. Connect the drain and overflow components, ensuring all fittings are tight and watertight. Apply plumber’s tape to threads for added security.

10. Seal and Test the Installation
Apply a bead of silicone caulk around the edges of the bathtub where it meets the walls and floor. This step creates a watertight seal and prevents water damage. Reattach the fixtures and turn on the water supply to test the installation. Check for leaks and make adjustments if necessary. Once satisfied, clean the area and enjoy your new bathtub.
Things to Consider When Replacing a Bathtub
When replacing a bathtub, there are key considerations to keep in mind to ensure a successful and hassle-free project. First, determine your budget and factor in not only the cost of the tub but also any additional expenses for tools, materials, or hiring professionals if needed. Next, consider the plumbing layout—select a bathtub that aligns with your existing plumbing to avoid costly alterations.
Additionally, measure your bathroom space accurately to ensure the new bathtub fits seamlessly without requiring extensive modifications. Think about the material and style of the tub, balancing durability, ease of maintenance, and aesthetic appeal. Lastly, plan for proper waste disposal of the old bathtub and be prepared for potential challenges such as unforeseen repairs to surrounding walls or flooring.
Taking these elements into account will help streamline your project and ensure a satisfactory outcome.
Maintenance Tips for Your Bathtub
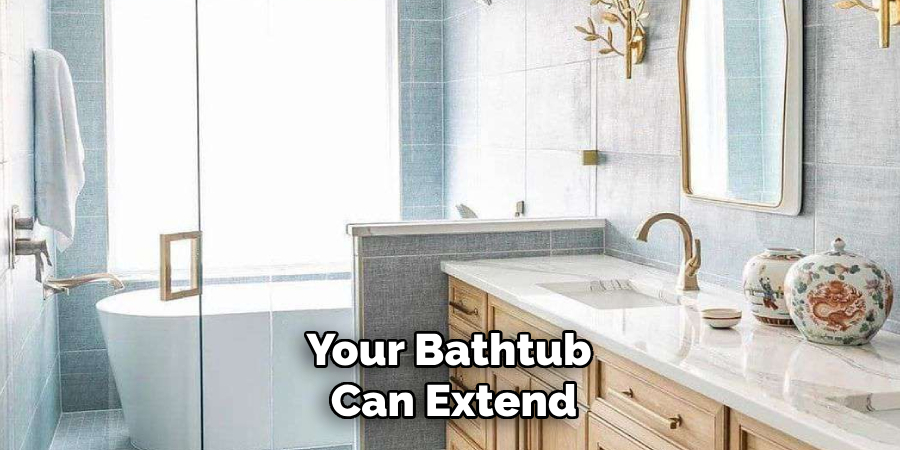
Proper maintenance of your bathtub can extend its lifespan and keep it looking pristine. Start by cleaning the tub regularly with a non-abrasive cleaner to avoid scratching the surface. For stubborn stains, use a mixture of baking soda and water or a mild vinegar solution. Avoid harsh chemicals that may damage delicate materials like acrylic or fiberglass. Ensure the caulking and seals around the bathtub remain intact to prevent water leakage and mold growth.

Inspect the drain regularly to remove hair or debris that could lead to clogging, and use a drain cover as a preventative measure. For bathtubs with jets, follow the manufacturer’s cleaning and maintenance guidelines to keep the system functioning efficiently. Routine checks, combined with gentle care, will help your bathtub retain its functionality and appearance over time.
Alternative Methods and Tips
Replacing a bathtub can be a challenging task, but there are alternative methods to consider depending on your needs and the extent of the renovation. For instance, instead of a full replacement, you might opt for bathtub refinishing or relining. Refinishing involves repairing and re-coating the surface of the existing tub to restore its appearance, while relining involves fitting a custom acrylic liner over the current tub.
These options are less labor-intensive and can save both time and money, making them ideal for bathtubs in good structural condition.
If you choose to proceed with a full replacement, consider hiring a professional plumber or contractor, especially if you are unfamiliar with plumbing systems or lack the necessary tools. Experienced professionals can ensure the job is done safely and efficiently, reducing the risk of costly mistakes or repairs down the line.
Additionally, if you’re working on your own, always wear appropriate safety gear, including gloves and goggles, to protect yourself from sharp edges, tools, and debris. Take advantage of online tutorials and guides for step-by-step assistance, and don’t hesitate to consult with hardware store experts for advice on selecting the right materials for your project.
Finally, consider upgrading your fixtures and features during the project. Installing a handheld showerhead, adding grab bars, or opting for a tub with built-in shelving can enhance functionality and elevate the overall look of your bathroom. Small adjustments and alternative methods can make a big impact while staying within your desired budget.

Conclusion
Replacing a bathtub can be a rewarding home improvement project that revitalizes the look and functionality of your bathroom. While the process requires careful planning and effort, the end result is a space tailored to your needs and preferences. By following the proper steps, considering alternative methods, and maintaining your new bathtub regularly, you can ensure its longevity and upkeep. Thanks for reading our blog post on how to replace bathtub! We hope you found it helpful and informative.

